In this article, we are going to discuss a very important issue that many advertisers face while working with Facebook Ads. This problem usually occurs after generating a Meta Pixel (Facebook Pixel) code and adding it to the website header, but while creating a custom audience, Facebook Ads Manager still shows an error.
This error appears as a red signal or red caution message, indicating that Facebook does not know whether the Facebook Pixel code has been added to the website or not. Even though the pixel code is already installed, Meta Ads Manager fails to detect it immediately.
This article explains why this issue occurs, what the red signal means, and how you can fix or speed up the detection process using Events Manager, exactly as explained in the video.
Understanding the Facebook Pixel Detection Issue
When you create a custom audience using Website as the source, Meta Ads Manager checks whether a Facebook Pixel is installed and active on your website.
If Meta cannot detect the pixel, it shows a red signal or error message, which creates confusion for many users. This does not always mean that the pixel is missing or installed incorrectly.
Why the Red Signal Appears in Ads Manager
Meta Needs Time to Detect the Pixel
When you generate a Meta Pixel code from Events Manager and add it to your website header section, Meta does not detect it instantly.
Meta usually takes 24 to 48 hours to:
- Identify that the pixel code has been added
- Start receiving website events
- Activate the pixel for custom audience creation
If you try to create a custom audience immediately after adding the pixel, Meta may still show a red caution signal.
When This Issue Usually Happens
This issue usually happens when:
- You have generated the Meta Pixel code
- You have already added it to the website header
- You try to create a custom audience immediately
- You do not wait for 24 to 48 hours
In this case, Meta has not yet recognized the pixel installation.
Who This Solution Is For
This solution is only for users who:
- Have generated a Meta Pixel code
- Have added the Facebook Pixel code correctly to the website header
- Are sure there is no mistake in the pixel code
If the pixel code is incorrect or not added properly, this method will not help.
Why Waiting 24 to 48 Hours Is the Default Method
By default, Meta automatically detects the pixel installation within 24 to 48 hours. After this time:
- The red signal automatically turns green
- Custom audience creation becomes available
However, if you do not want to wait and want to speed up the process, there is a manual method available.
How to Speed Up Facebook Pixel Detection Using Events Manager
Instead of waiting for 24 to 48 hours, you can manually notify Meta that the pixel is active by sending test traffic to your website.
This process helps Meta immediately recognize the pixel installation.
Opening Events Manager
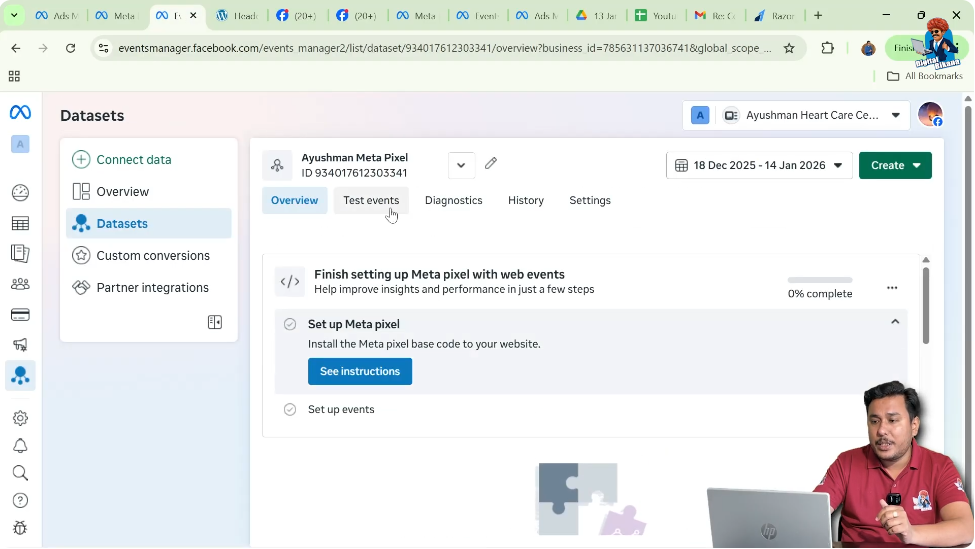
Step 1: Go to Events Manager
Access Pixel Data Set
Open Events Manager from your Meta Business tools. Once inside Events Manager:

- Select the Data Set
- Choose the Facebook Pixel that you created earlier
This data set represents your pixel code.
Using Test Events to Send Traffic
Step 2: Open the Test Events Section
Navigate to Test Events
Inside the selected pixel data set:
- Click on Test Events
This section allows Meta to send test or robotic traffic to your website to verify pixel installation.
Why Test Events Are Important
Test Events help Meta:
- Confirm that the pixel is installed
- Detect website activity
- Start tracking page views and events
As soon as Meta receives test traffic, it recognizes that the pixel is active.
Sending Test Traffic to Your Website
Step 3: Enter Your Website Domain
Provide Website URL
In the Test Events section:
- Enter your website’s domain name
- Make sure the domain is correct
This tells Meta where to send test traffic.
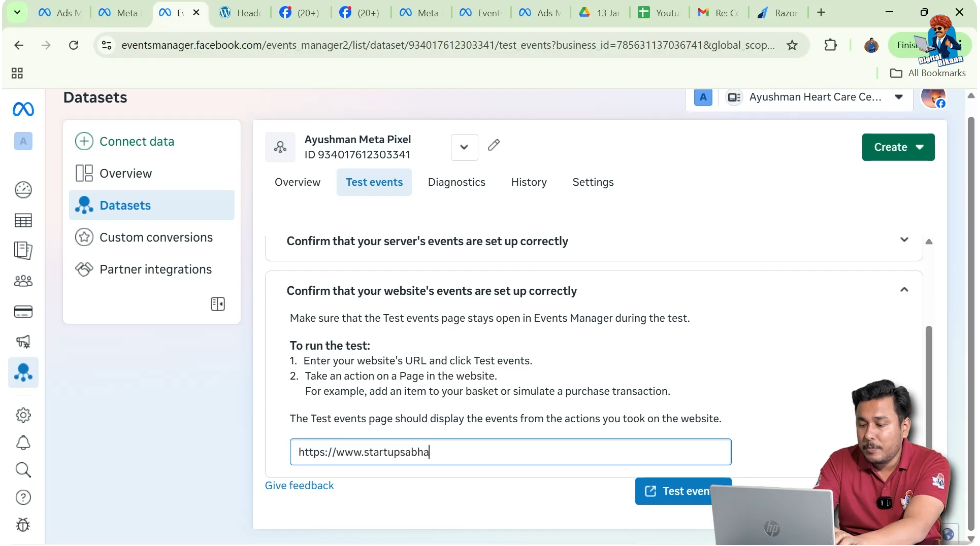
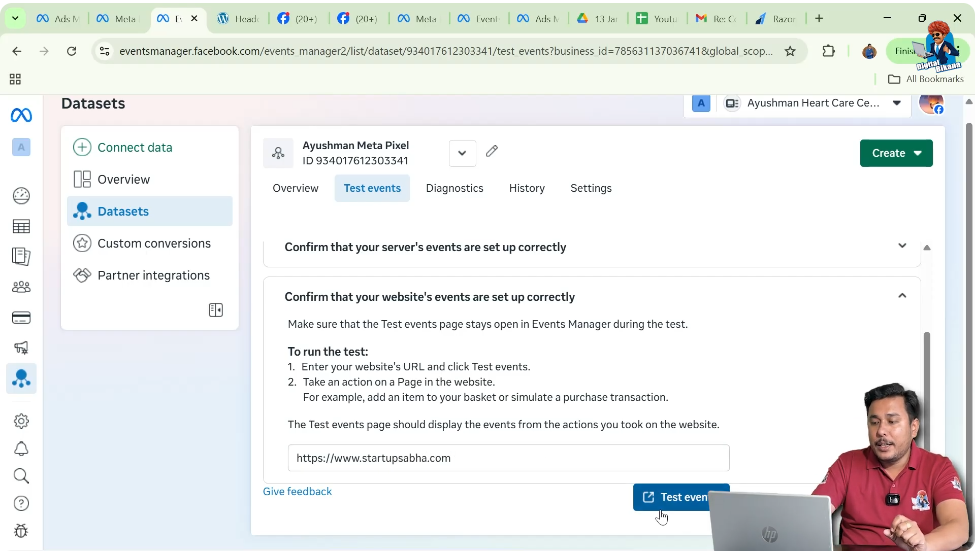
Step 4: Click on Test Events
Start Testing
After entering the domain:
- Click on Test Events
Meta will automatically open the front end of your website in a new tab.
Triggering Pixel Events on the Website
Step 5: Interact With Your Website
Scroll or Open Pages
Once your website opens:
- Scroll the page for some time
- Or open another page on your website
This interaction triggers events like Page View, which Meta captures.

Verifying Pixel Activity in Events Manager
Step 6: Return to Events Manager
Check Processed Events
Go back to Events Manager and you will see:
- Page View or other events processed
- Confirmation that the pixel is active
This means Meta has successfully detected your pixel.

Checking the Status in Ads Manager
Step 7: Refresh Ads Manager
Create Custom Audience Again
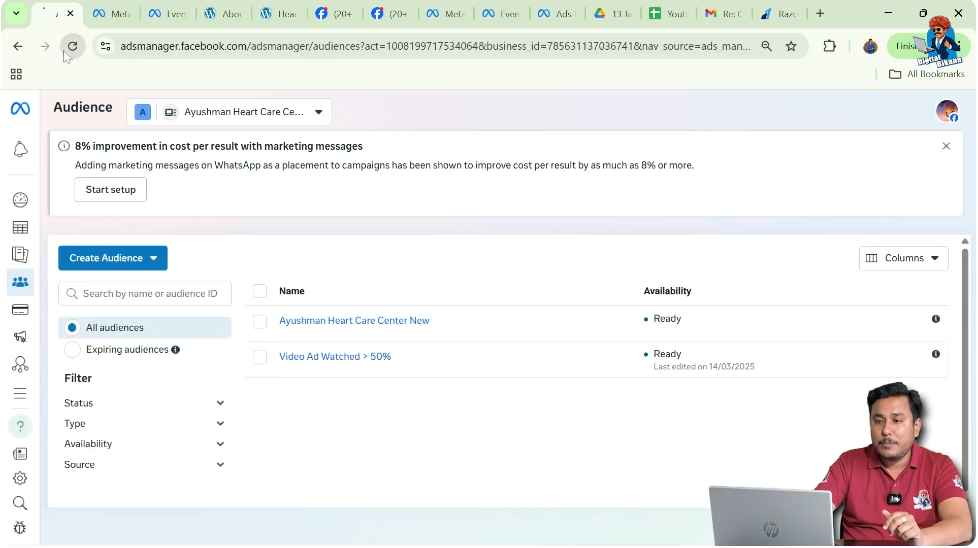
Now go back to Ads Manager:
- Click on Create Audience
- Select Custom Audience
- Choose Website as the source
- Click Next
Red Signal Turns Green
At this stage, you will notice that:
- The red caution signal has turned green
- Meta now recognizes the pixel installation
This confirms that the Facebook Pixel code has been added correctly.
What the Green Signal Means
A green signal means:
- Pixel is detected
- Website tracking is active
- Custom audience creation is enabled
You can now create website-based custom audiences without any issue.
Why This Method Works
This method works because:
- Meta receives real-time test traffic
- Pixel events are immediately recorded
- Detection process is accelerated
Instead of waiting 24 to 48 hours, detection happens instantly.
When You Should Use This Method
You should use this method when:
- Pixel is correctly installed
- You need to create custom audiences urgently
- You do not want to wait 24 to 48 hours
This is especially useful when you are setting up campaigns quickly.
Important Points to Remember
- This method does not fix incorrect pixel installation
- It only speeds up detection
- Pixel must already be added to the website header
Always confirm pixel installation before using this method.
Common Mistakes to Avoid
- Do not use this method if pixel code is wrong
- Do not skip website interaction during testing
- Do not enter the wrong domain name
Following the steps correctly ensures success.
Simplified Explanation
In simple words:
- Meta needs time to detect pixel
- Red signal means pixel not detected yet
- Test Events send traffic to your site
- Meta detects pixel instantly
- Red signal turns green
That’s how you fix the issue.
Final Conclusion
When Facebook Ads Manager shows a red signal while creating a custom audience using website traffic, it does not always mean that the Facebook Pixel code is missing or incorrect. In most cases, Meta simply needs time to detect the pixel installation.
By default, this process takes 24 to 48 hours. However, if you want to speed up this process, you can use the Test Events feature inside Events Manager. By sending test traffic to your website and triggering page view events, Meta immediately recognizes the pixel.
Once detected, the red signal automatically turns green, and you can create custom audiences without any issue. This method saves time and ensures your Meta Pixel setup is working correctly.
Related Posts