In this article, we are going to learn how to delete a custom audience in Facebook Ads Manager. Many times, while working on Facebook ads, we accidentally create a wrong custom audience or an audience that is no longer required.
Keeping unnecessary or incorrect custom audiences in your ad account can create confusion when you are setting up new ad campaigns. That is why it is important to know how to properly delete a custom audience from Facebook Ads Manager.
This article explains the complete and correct method to delete a custom audience step by step.
Why You May Need to Delete a Custom Audience
There are several situations where deleting a custom audience becomes necessary:
- You created a wrong custom audience
- You selected an incorrect data source
- The audience is no longer required
- You want to keep your ad account clean and organized
- You want to avoid confusion while creating new campaigns
Deleting unused or incorrect audiences helps maintain clarity and efficiency in your advertising workflow.
Where Custom Audiences Are Managed
Custom audiences are managed inside the Audiences section of Facebook Ads Manager. This section allows you to:
- View all saved audiences
- View all custom audiences
- Create new audiences
- Edit or delete existing audiences
To delete a custom audience, you must first go to this section.
Opening Facebook Ads Manager
Before deleting a custom audience, make sure you are logged into your Facebook account and have access to Facebook Ads Manager.
Once inside Ads Manager, navigate to the Audiences section where all audiences are listed.
Understanding the Audiences Section
Inside the Audiences section, you will see a list of all audiences created in your ad account. These may include:
Each audience will have its own name, type, and status. From this list, you can select the audience you want to delete.
How to Delete Custom Audience in Facebook Ads Manager?
Step 1: Go to the Audiences Section
Open Ads Manager and Audiences
First, open Facebook Ads Manager. Inside Ads Manager, go to the Audiences section. This is where all your audiences are stored.
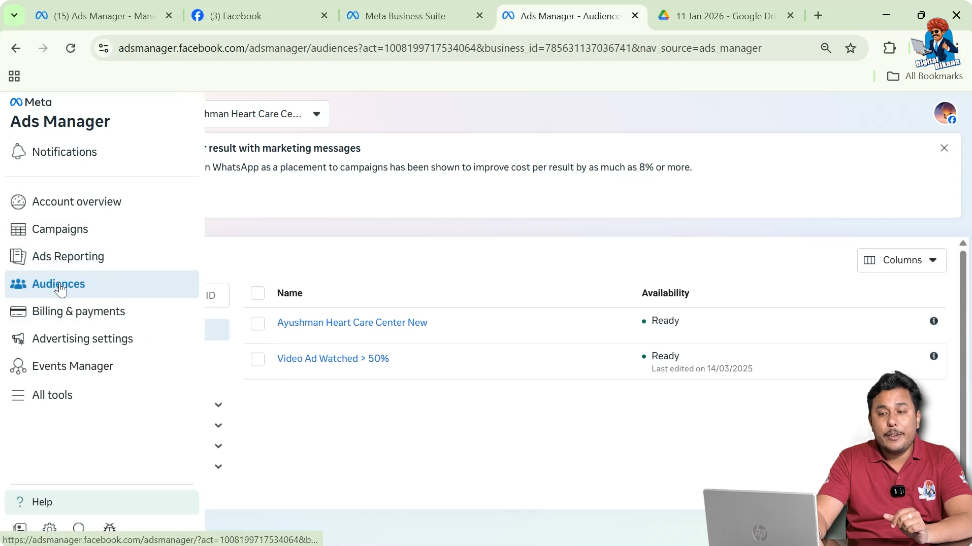
Step 2: Identify the Custom Audience You Want to Delete
Select the Incorrect Audience
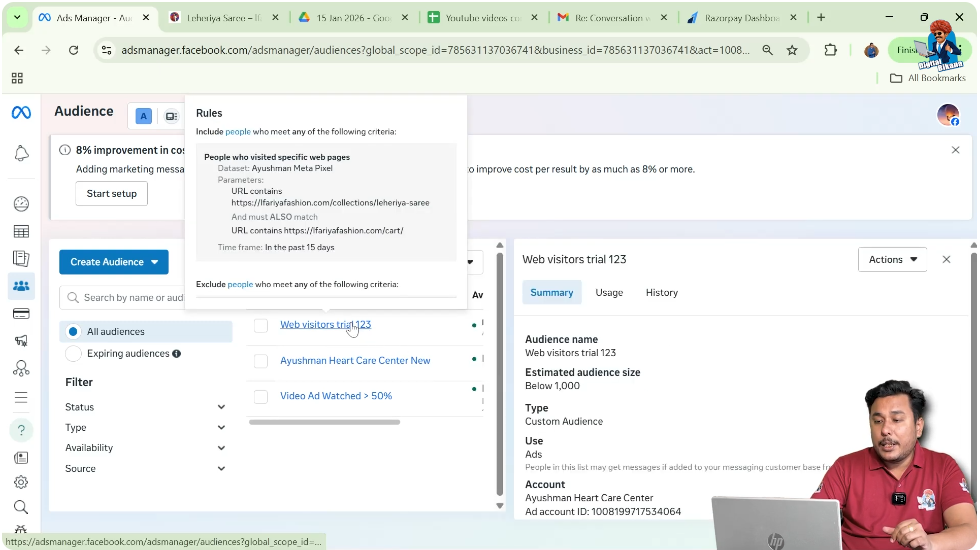
In the Audiences section, you will see multiple custom audiences. Identify the specific custom audience that you want to delete.
For example, you may have a custom audience named Website Visitors Trial 1 2 3 that was created by mistake.
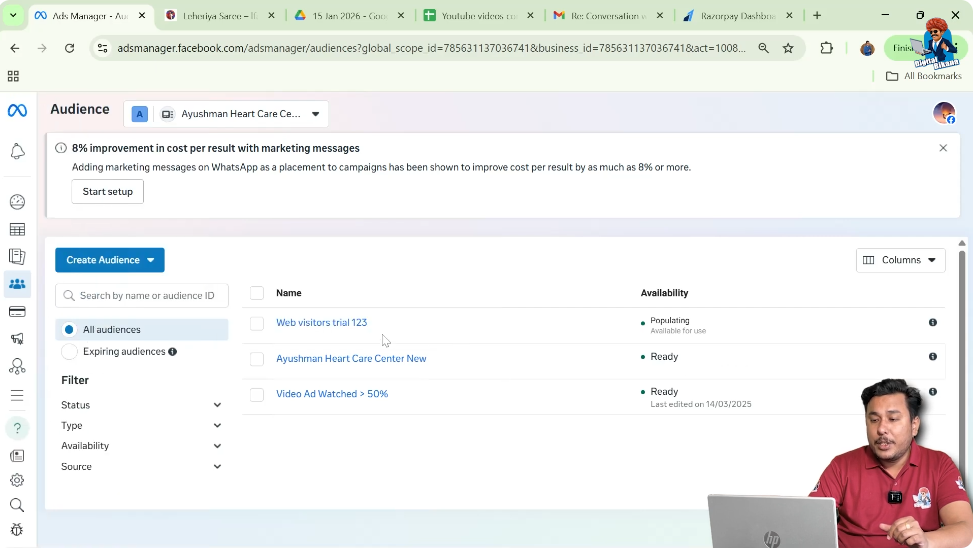
Step 3: Click on the Custom Audience
Select the Audience
Click on the custom audience that you want to delete. Once selected, additional options will become available.
Step 4: Click on Actions
Open Audience Actions
After selecting the custom audience, click on the Actions button. This button contains multiple options related to the selected audience.
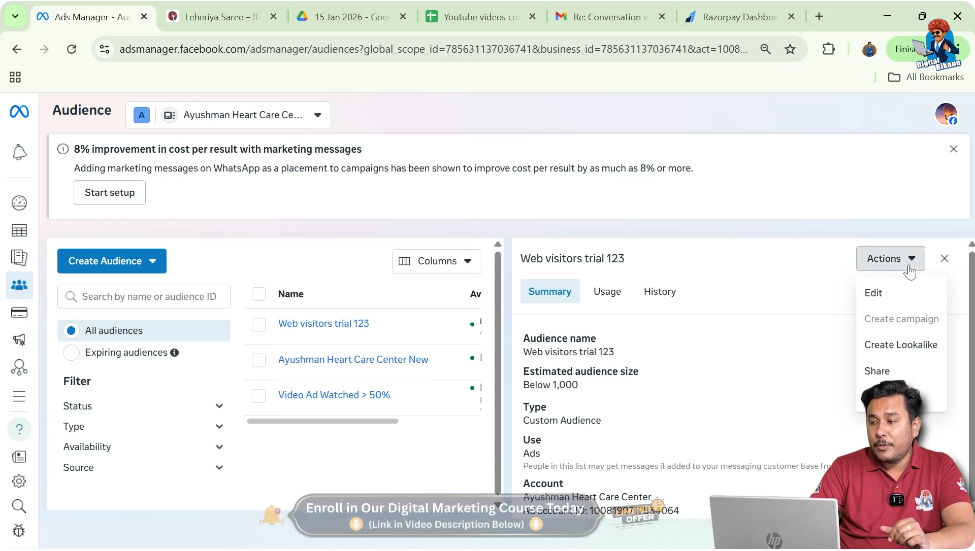
Step 5: Click on Delete
Choose Delete Option
From the Actions menu, click on Delete.
Facebook will ask for confirmation before deleting the audience.

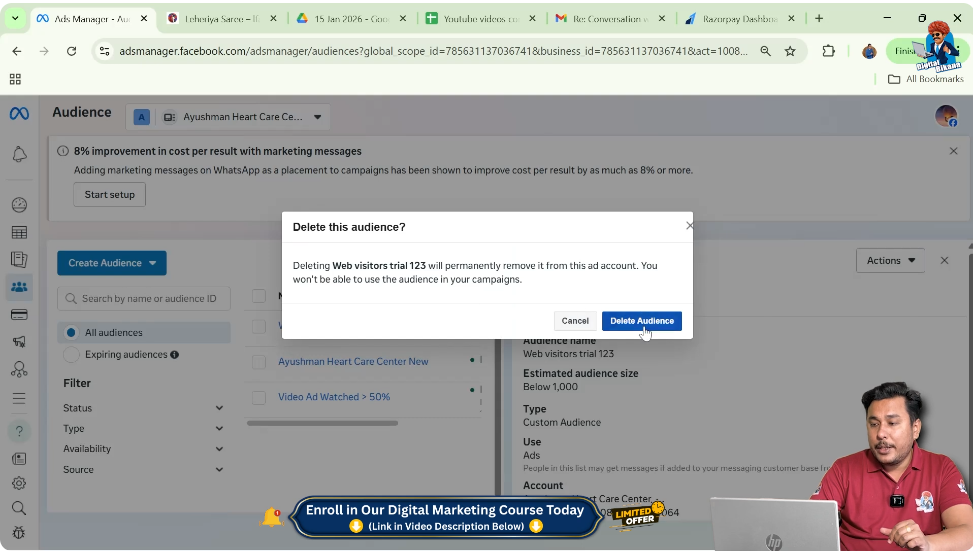
Step 6: Confirm Delete Audience
Final Confirmation
Click on Delete Audience to confirm the action.
Once confirmed, the custom audience will be permanently deleted from your ad account.
What Happens After Deleting a Custom Audience
After deleting a custom audience:
- The audience is removed from your account
- It will no longer appear in the Audiences list
- It cannot be used in future ad campaigns
- It cannot be recovered
That is why you should always make sure you are deleting the correct audience.
Important Things to Remember Before Deleting
Before deleting a custom audience, keep these points in mind:
- Ensure the audience is not being used in any active campaign
- Double-check the audience name
- Make sure the audience is no longer required
- Remember that deletion is permanent
Deleting the wrong audience may require you to recreate it again.
Why Deleting Wrong Audiences Is a Good Practice
Deleting wrong or unused custom audiences helps you:
- Avoid confusion during campaign setup
- Keep your ad account organized
- Work faster while selecting audiences
- Maintain better campaign structure
A clean ad account improves efficiency and reduces errors.
How This Helps in Future Campaign Creation
When your audience list is clean and well-organized:
- You can quickly find the right audience
- You avoid selecting wrong audiences
- You reduce mistakes during campaign creation
This makes your overall Facebook advertising process smoother.
Deleting Custom Audience Explained in Simple Words
In simple words:
- Go to Ads Manager
- Open Audiences section
- Select the custom audience
- Click Actions
- Click Delete
- Confirm deletion
That’s it. The custom audience is deleted.
Common Mistakes to Avoid
While deleting custom audiences, avoid these mistakes:
- Do not delete audiences that are still needed
- Do not delete audiences used in active campaigns
- Do not rush without checking the audience name
Always review before deleting.
Final Conclusion
Deleting a custom audience in Facebook Ads Manager is a very simple and straightforward process. If you have created a wrong custom audience or an audience that is no longer required, you can easily remove it from your ad account.
By going to the Audiences section, selecting the custom audience, clicking on Actions, and choosing Delete, you can permanently remove that audience. Keeping your ad account clean by deleting unnecessary audiences helps you avoid confusion and makes campaign creation easier in the future.
This small step plays an important role in maintaining an organized and efficient Facebook advertising setup.
Related Posts