In this article, we will understand how to create a Welcome message on WhatsApp Business API. When businesses start receiving a large number of messages through WhatsApp Business API, manually replying to every message becomes difficult. To handle this efficiently, Interakt provides automation features such as welcome messages and custom auto replies.
Understanding the Purpose of Welcome Messages in WhatsApp Business API
A welcome message is the first automated message that a customer receives when they send a message to your WhatsApp Business API number.
This message:
- Confirms that the customer has contacted the right business
- Greets the customer politely
- Guides the customer on how to continue the conversation
Welcome messages play an important role in creating a professional first impression.
How to create a Welcome Message on WhatsApp API?
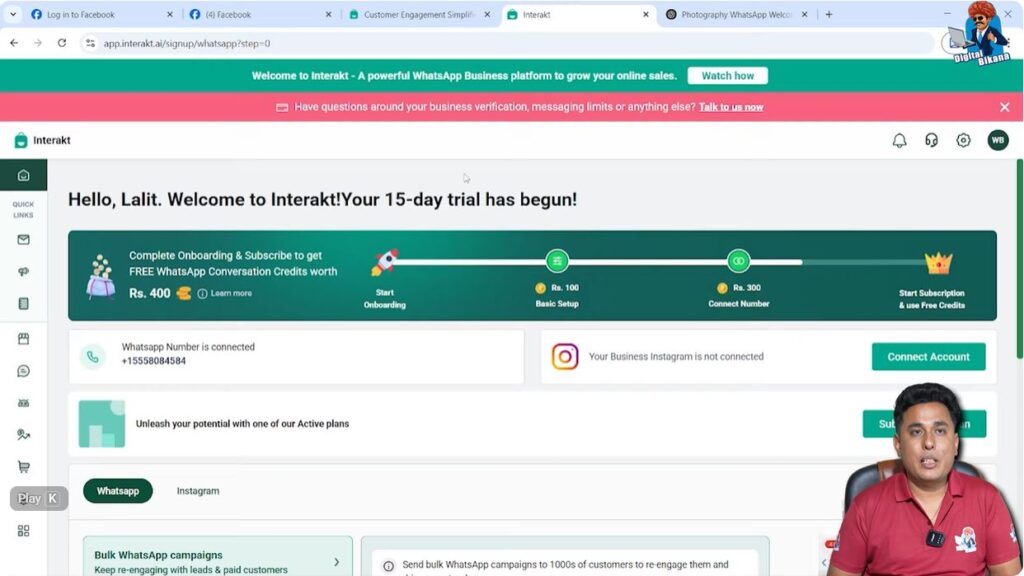
Step 1: Logging in to Interakt Dashboard
Before starting the setup, make sure that:
- You are already logged in to your Interakt account
- Your WhatsApp Business API is properly connected
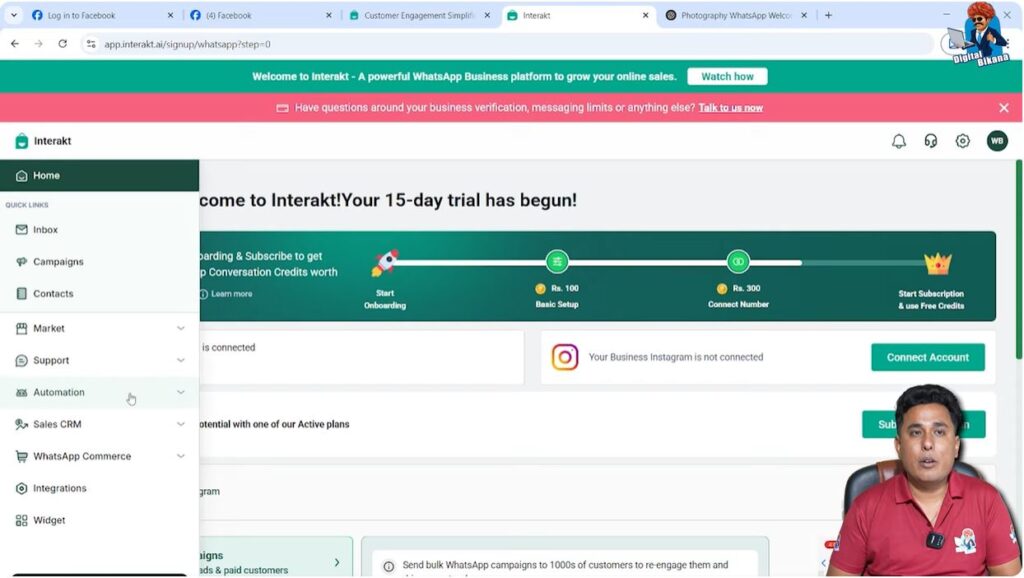
Once logged in, you will be on the Interakt dashboard.
Step 2: Navigating to the Automation Section
Locating the Left-Side Menu
On the Interakt dashboard, move your cursor to the left-side menu.
As soon as you bring your cursor to the left side, the navigation panel becomes visible.
Opening the Automation Menu
From the left-side menu, click on Automation.
The Automation section contains all features related to:
- Custom Auto replies
- Chatbot rules
- Automated message handling
Step 3: Accessing Auto Reply Settings
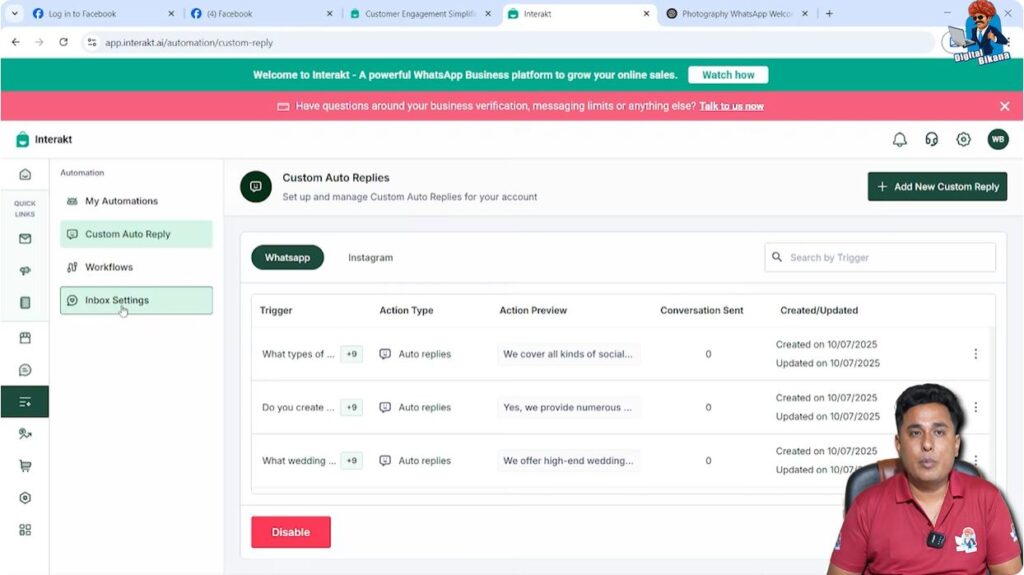
Inside the Automation section, you will see an option called Auto Reply.
Click on Auto Reply.

Step 4: Opening Inbox Settings
At the top of the Auto Reply page, you will see Inbox Settings.
You must click on Inbox Settings first because the welcome message is configured from this section.
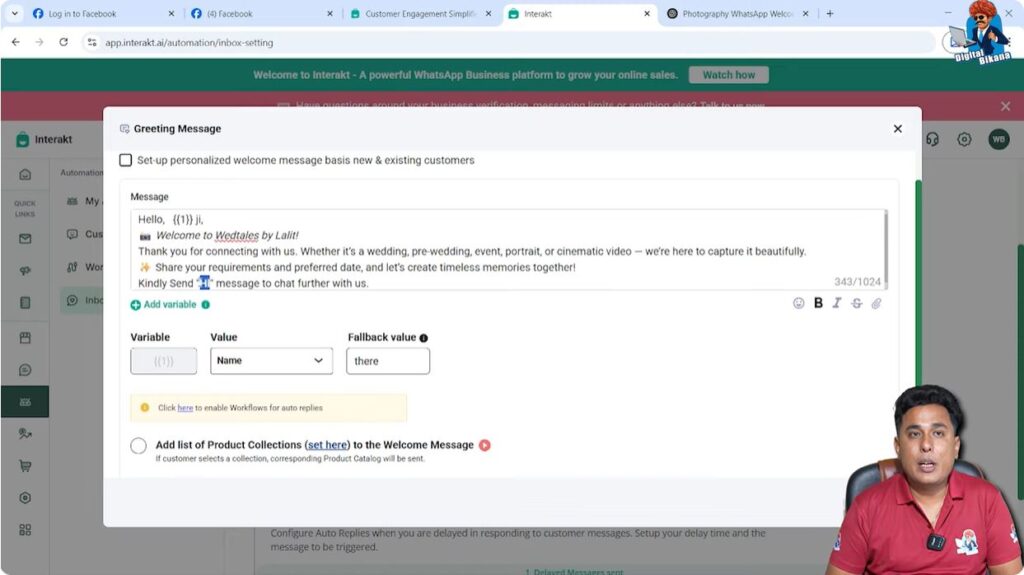
Step 5: Welcome Message Configuration Area
Checking Welcome Message Status
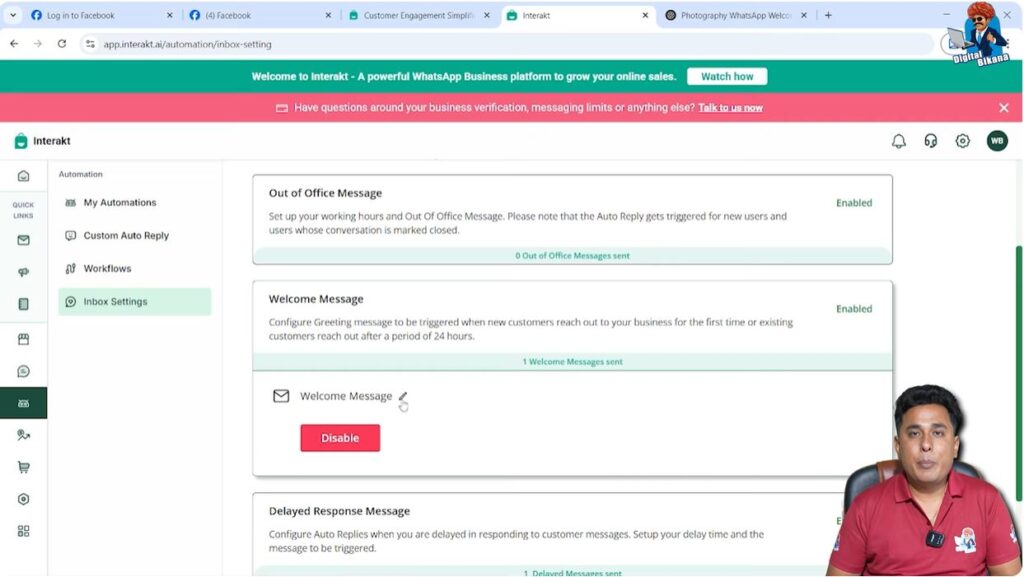
Inside Inbox Settings, you will notice that the Welcome Message option is already enabled by default.
This means the system is ready to send a welcome message automatically.
Opening the Welcome Message Editor
Click on the welcome message section.
A message editor panel will open, allowing you to modify the existing message.
Step 6: Removing the Default Welcome Message
Clearing Existing Text
When the message editor opens, an already written default message is visible.
To remove it:
- Press Ctrl + A to select the entire message
- Press Backspace to delete it completely

Now the message box is empty and ready for your custom welcome message.
Step 7: Writing the Custom Welcome Message
1. Adding the First Line
In the first line of the message editor, type:
Hello
After typing “Hello”, press Enter to move the cursor to the next line.
2. Positioning the Cursor for Personalization
Now, bring the cursor back to the same line where “Hello” is written.
This is important because we want to personalize the greeting.
Step 8: Adding Customer Name Using Variable
After the word “Hello”, give a space.
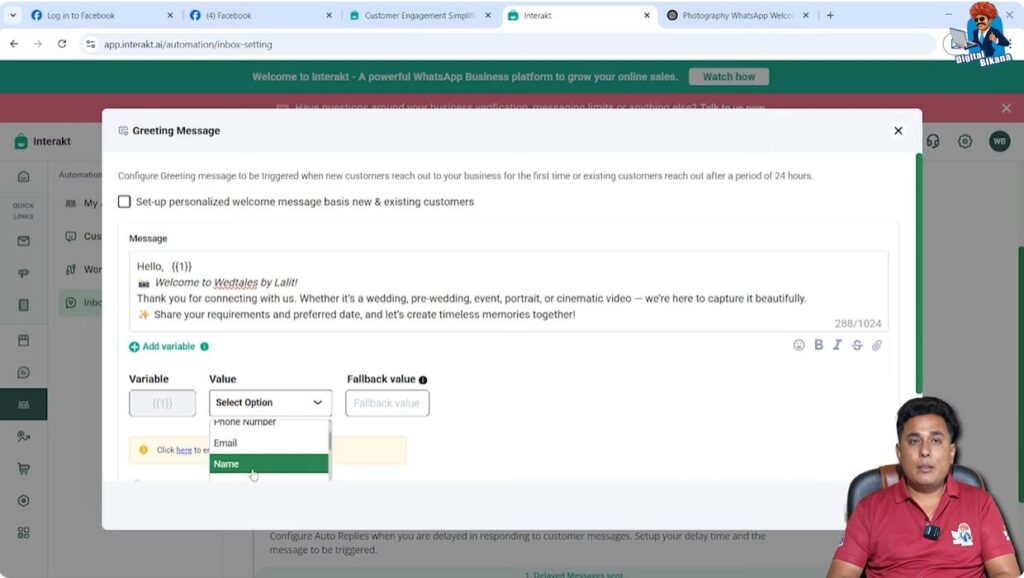
You will now see an option called Add Variable below the text area.
Click on Add Variable.
Why Add Variable Is Used
The Add Variable feature allows the welcome message to automatically include the customer’s name.
This makes the message feel personalized instead of generic.

Step 9: Selecting Variable Values
Inside the Add Variable settings:
- Select Name as the variable value
- In the fallback value field, enter There
The fallback value ensures that if the customer’s name is not available, the message still works smoothly.
Step 10: Completing the Greeting Line
Adding Respectful Address
After the variable, type:
Ji,
This adds respect and politeness to the greeting.
Writing the Welcome Text
Continue writing the message:
Welcome to Vet Tales by Lalit. Thank you for connecting with us.
This completes the main welcome message content.
Step 11: Guiding the Customer for Further Interaction
Adding a New Instruction Line
Press Enter to add a new line below the welcome message.
Type:
Kindly send “Hi” message to chat further with us.
This line instructs the customer on how to continue the conversation.
Language Flexibility
This instruction line can also be written in Hindi if required, to provide better clarity to customers.
Step 12: Formatting the Message Text
Highlighting the Keyword “Hi”
Select the word Hi within the message.
At the bottom of the editor, you will see a Bold (B) option.
Click on B to make the word Hi bold.
This makes the instruction more noticeable for the user.
Step 13: Saving the Welcome Message
Selecting Trigger Option
Scroll down within the editor.
You will see a dropdown option that is set to None.
Select None from the dropdown.
Saving the Configuration
After selecting None, click on Save.
This saves your welcome message configuration.
Welcome Message Setup Completed
Once saved, your welcome message is now fully configured.
Whenever a user sends a message to your WhatsApp Business API number:
- This welcome message will be sent automatically
- The customer’s name will appear dynamically
- The message will guide them on how to proceed
Importance of Custom Welcome Messages in WhatsApp Business API
A properly configured welcome message:
- Reduces manual effort
- Creates a professional brand impression
- Improves customer experience
- Sets clear expectations for interaction
It acts as the foundation for further automation.
Relationship Between Welcome Message and Auto Replies
The welcome message is the first step in WhatsApp Business API automation.
After setting up the welcome message:
- Custom auto replies can be created
- Chatbot flows can be designed
- Customer journeys can be automated
This session focuses only on the welcome message setup.
Key Points to Remember
- Automation section is used for welcome message setup
- Inbox Settings is the correct place to edit welcome message
- Add Variable helps personalize messages
- Fallback value prevents message failure
- Formatting improves message clarity
Final Summary
In this session, we learned how to set up a custom welcome message in Interakt for WhatsApp Business API.
The process included:
- Accessing Automation settings
- Editing Inbox Settings
- Removing default message
- Creating a personalized welcome message
- Adding customer name dynamically
- Formatting text
- Saving the configuration
This welcome message will now automatically greet customers whenever they message your WhatsApp Business API number.
Conclusion
Setting up a welcome message in WhatsApp Business API using Interakt is a simple but powerful step toward automation.
It ensures that customers receive an instant response, even outside business hours, and helps businesses manage conversations more efficiently.
In the next session, custom auto replies and deeper automation flows can be created to further improve communication and customer handling.
Related Posts