In this article, we will learn how to add the Facebook Pixel, also known as the Meta Pixel, to a WordPress website using the header section. The Meta Pixel is a crucial tool for tracking website visitors, understanding their behavior, and creating custom audiences for Facebook and Instagram ads.
This guide explains the complete process starting from the Meta Events Manager, copying the pixel code, installing a WordPress plugin, adding the code to the website header, and understanding why the pixel may not reflect immediately in Meta Ads Manager.
Understanding Meta Pixel and Its Importance
The Meta Pixel is a piece of code provided by Meta that allows advertisers to track actions users take on their website. When the pixel is properly installed on a WordPress website, Meta can record website visits and user interactions.
Once the pixel starts working correctly, it becomes possible to create custom audiences of website visitors in Meta Ads Manager. These audiences can later be used for retargeting ads. However, after adding the pixel code, it does not become active instantly, which is an important point explained in this article.
Accessing Meta Events Manager to Get Pixel Code
Before adding the pixel code to the website, the code must be copied from the Meta Events Manager.
Navigating to Events Manager
The process starts inside the Meta Events Manager. Here, the pixel that was already created in earlier steps is visible under the data sources section.
From the Events Manager dashboard, the pixel overview section is opened. This section displays the status and configuration options related to the selected pixel.

Finding the Meta Pixel Setup Option
By scrolling down in the pixel overview section, an option labeled Set up Meta Pixel appears. Clicking on this option opens multiple setup methods.
The manual installation option is selected because the goal is to add the pixel code directly to the WordPress website header.

Copying the Meta Pixel Code
Once the manual installation option is selected, Meta displays the complete pixel code.
This code needs to be copied exactly as provided. It is important that the entire code is copied without making any changes because even a small mistake can prevent the pixel from working properly.
After copying the code, the next step is to paste it into the WordPress website header section.
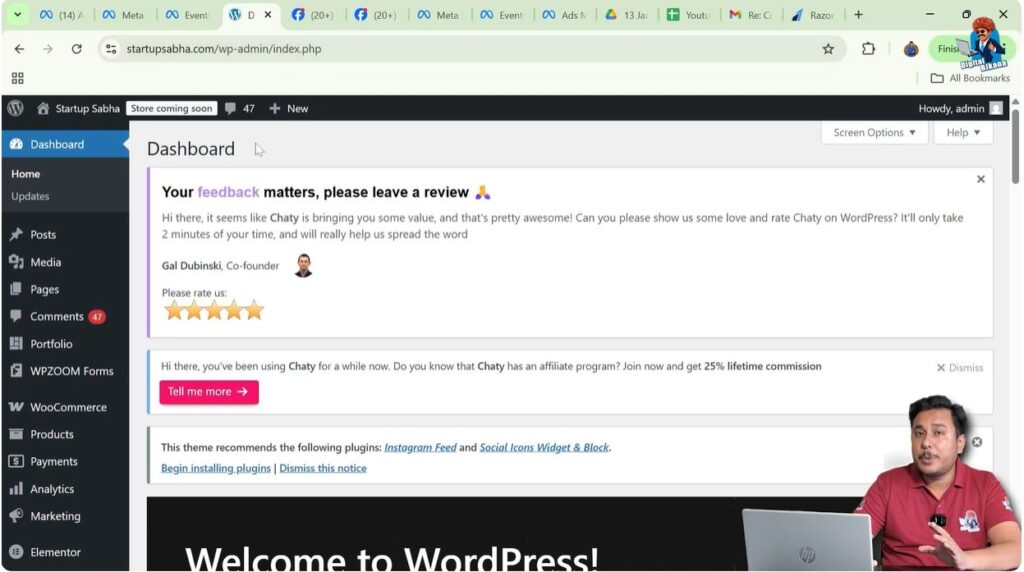
Opening WordPress Admin Dashboard
After copying the Meta Pixel code, the browser tab is switched to the WordPress website.
The WordPress admin dashboard is already opened, which is the control panel used to manage website content, plugins, and settings.
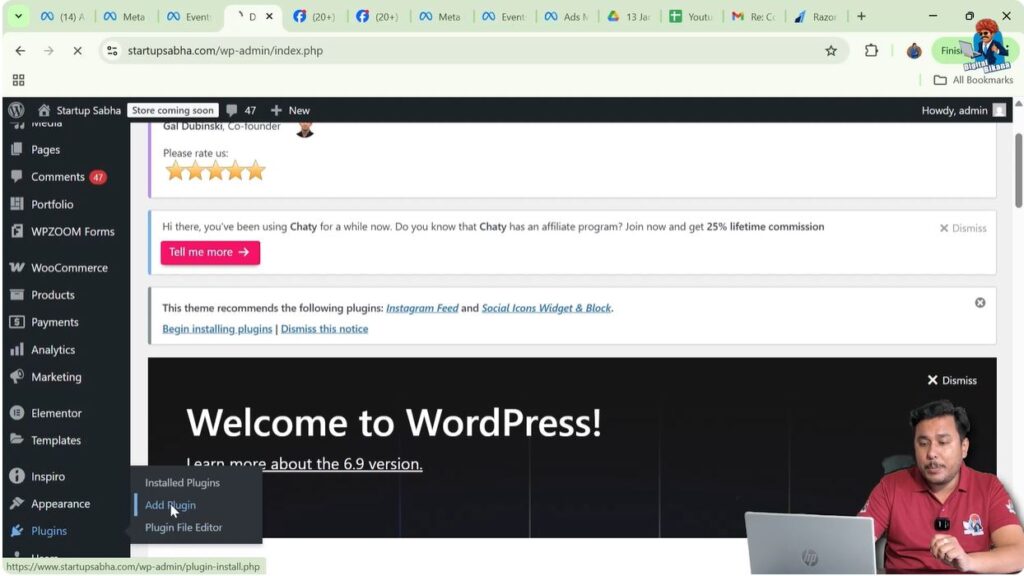
Since WordPress does not allow direct header editing by default, a plugin is required to safely add code to the header section.
Installing a Plugin to Add Code in Header Section
To add the Meta Pixel code to the website header, a plugin is installed from the WordPress plugin repository.
Step 1: Opening Plugin Section
Go to Plugins → Add New
From the left-side menu in the WordPress dashboard, the Plugins option is selected. Under Plugins, the Add New option is clicked to search for a suitable plugin.
Step 2: Searching for Header and Footer Plugin
Search for “Header and Footer”
In the plugin search bar, the term header and footer is typed. This search displays multiple plugins related to adding code in the header and footer sections.
Among these options, a plugin named WPCode appears.
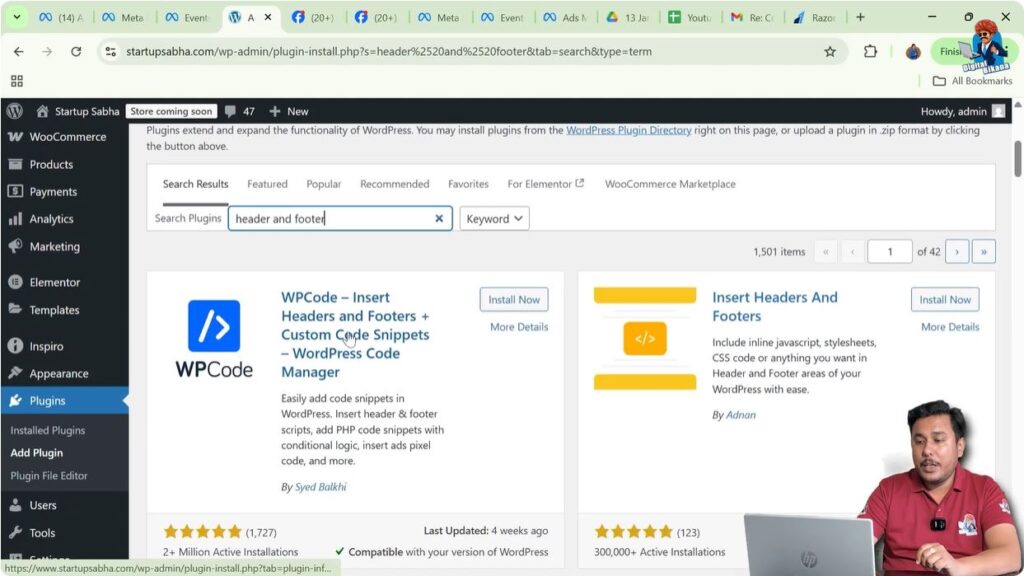
Step 3: Installing WPCode Plugin
Click on Install Button
The WPCode plugin is selected, and the Install button is clicked. WordPress starts installing the plugin on the website.

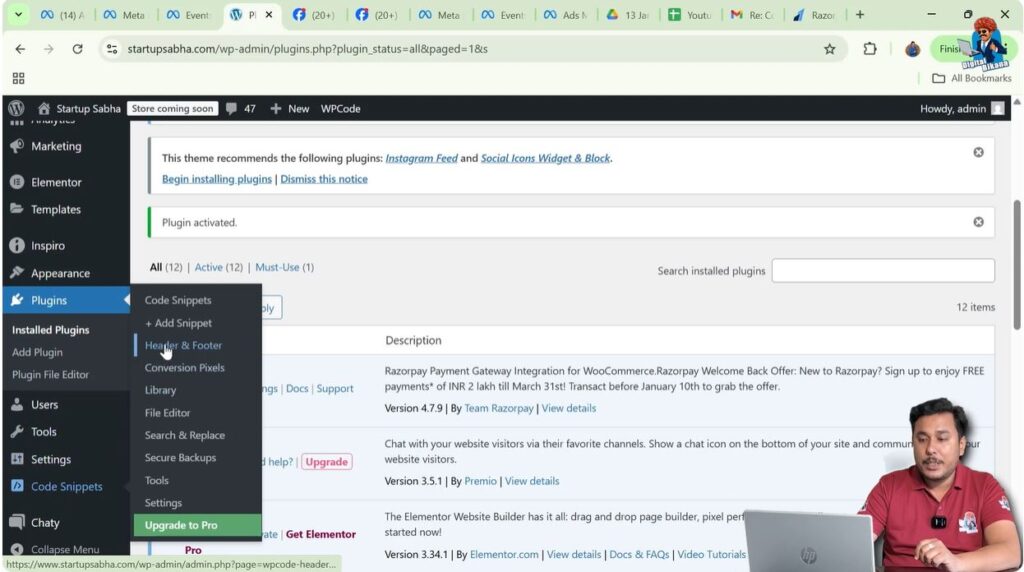
Step 4: Activating the Plugin
Click on Activate Button
After the installation is completed, the Activate button is clicked. Once activated, the plugin becomes available in the WordPress dashboard menu.

Accessing Header and Footer Section in WPCode
After activating the WPCode plugin, a new option appears on the left-side menu named Code Snippets.
Clicking on this option opens the settings related to adding custom code to the website.
Inside Code Snippets, there is a dedicated Header and Footer section where scripts can be added safely without modifying theme files.
Adding Meta Pixel Code to Header Section
The header section is now ready to accept custom code.
Removing Existing Pixel Code (If Any)
In this case, a Meta Pixel code was already pasted earlier. That existing code is removed completely to ensure clarity and avoid duplication.
Once the header field is cleared, the newly copied Meta Pixel code is pasted.
Pasting the Meta Pixel Code
Use Ctrl + V to Paste Code
The copied pixel code is pasted into the header section using the keyboard shortcut Ctrl + V.
After pasting the code, it is important to double-check that the entire script has been placed correctly without missing any part.
Saving the Changes
Click on Save Changes
Once the code is pasted, the Save Changes button is clicked. This action confirms that the Meta Pixel code has been successfully added to the WordPress website header.
At this point, the pixel code is live on the website.

Understanding Pixel Reflection Delay in Meta Ads Manager
Even after correctly adding the Meta Pixel code to the website, Meta does not recognize it immediately.
This delay often creates confusion for beginners, especially when they try to create custom audiences right after installation.
Checking Pixel Status in Meta Ads Manager
After saving the code, the next step is to check whether Meta Ads Manager recognizes the pixel.
Navigating to Ads Manager
The Meta Ads Manager is opened, and the Audiences section is accessed from the dashboard.
Trying to Create a Custom Audience
Select Website as Source
In the Audiences section, the Create Audience option is clicked, followed by Custom Audience.
When Website is selected as the source and the Next button is clicked, an error appears.
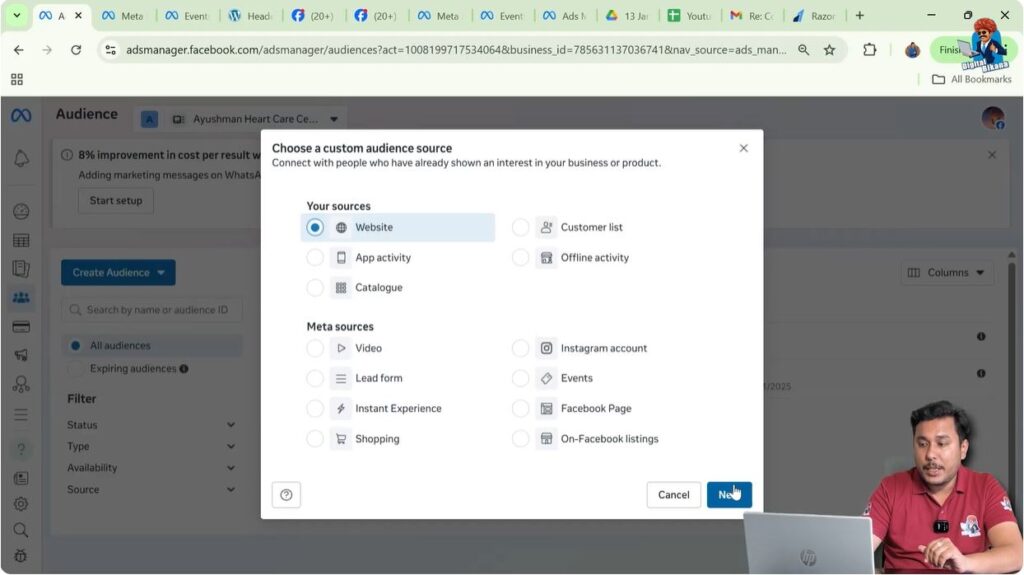
Understanding the Red Error Message
The error appears in the form of a red signal indicating that the Facebook Pixel has not been added to the website.
This happens even though the pixel code is already pasted correctly in the website header.
The reason for this error is that Meta needs time to identify and verify the pixel installation.
Why Meta Takes Time to Detect Pixel Code
Meta does not instantly recognize newly added pixel codes.
It usually takes 24 to 48 hours for Meta to identify that the pixel has been added to the website header section.
During this period, Meta Ads Manager may continue to show the red error message.
This delay is completely normal and does not indicate any mistake in the installation process.
What to Do If Pixel Is Not Detected Immediately
There are two available options if the pixel is not detected immediately:
Option 1: Wait for 24 to 48 Hours
The simplest option is to wait. After 24 to 48 hours, Meta automatically identifies the pixel and the red error turns into a green signal.
Once this happens, creating custom audiences becomes possible.
Option 2: Use a Shortcut Method
There is a faster method that helps Meta recognize the pixel more quickly.
This method will be explained in the next article in Meta Ads Tutorial For Beginners. By using that method, the red error signal can turn green faster without waiting the full 24 to 48 hours.
Conclusion
Adding the Facebook (Meta) Pixel to a WordPress website is a straightforward process when done correctly.
The key steps include copying the pixel code from Meta Events Manager, installing a header and footer plugin in WordPress, pasting the code into the header section, and saving the changes.
It is important to understand that Meta takes time to detect the pixel installation. Seeing a red error message immediately after installation is normal and does not mean the setup is wrong.
By either waiting for 24 to 48 hours or following the shortcut method explained in the next article, the pixel becomes active, allowing website visitor tracking and custom audience creation.
Related Posts