

In this article, you will learn how to create a category for blog posts on a WordPress website step by step. Categories help organize blog posts properly and make it easier for users to find content according to their interests. Creating categories in WordPress is very easy and can be done from the admin dashboard.
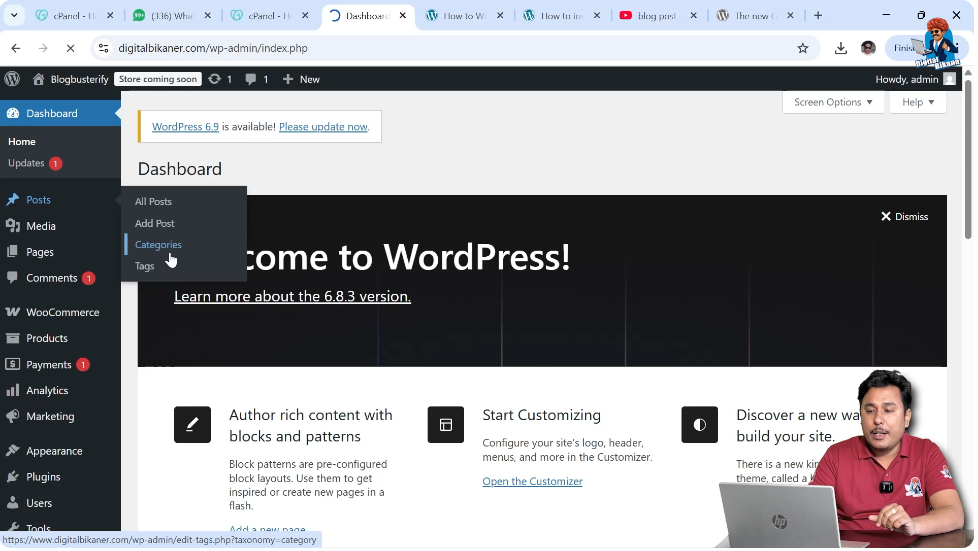
As you can see, we are inside the WordPress website admin dashboard. On the left side toolbar, there is a Posts section. Inside the Posts section, there is an option called Categories. From here, categories can be created and managed easily.
This guide explains the complete process of creating categories and also shows another method of creating categories while writing a blog post.
Creating Category from Categories Section
1. Go to Categories Section
First, log in to your WordPress admin dashboard.
After logging in, go to the left side toolbar and click on Posts.
Under the Posts section, click on Categories.
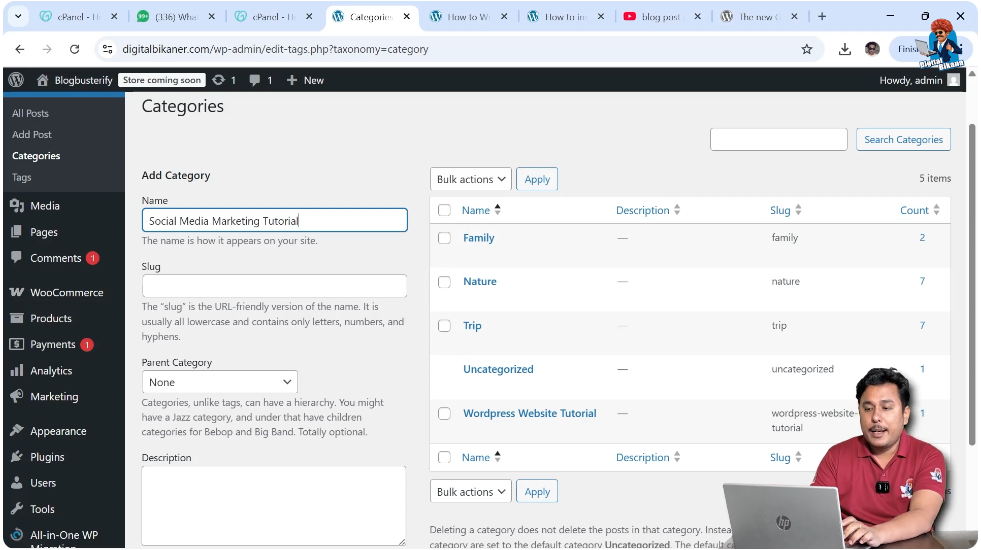
After clicking Categories, the category creation page will open.
Here you will see fields where you can enter category details.
Entering Category Name
2. Enter Category Name
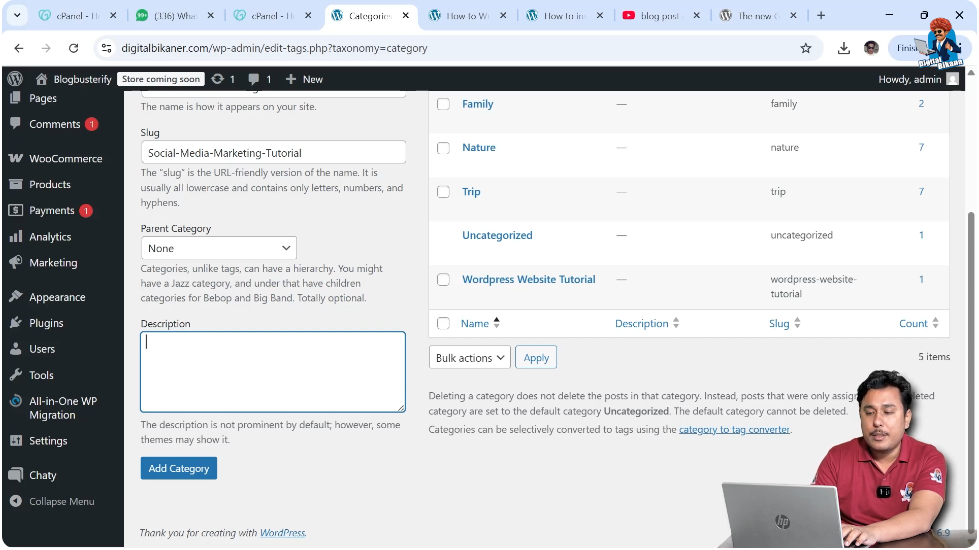
In the category creation page, first enter the Category Name.
You can enter any category name according to your blog topics.
For example:
After entering the category name, move to the slug section.
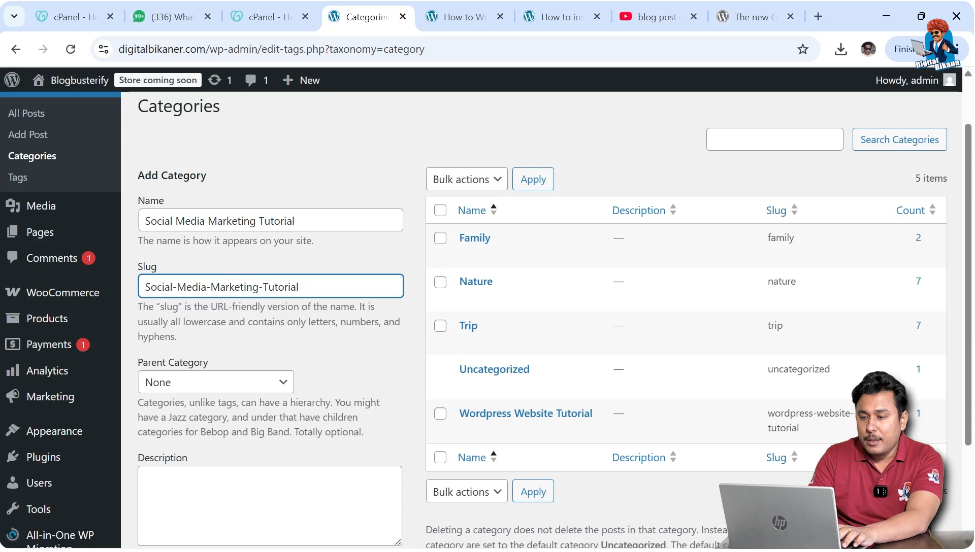
Creating Category Slug
3. Enter Category Slug
The slug is the part of the URL that represents the category.
Slug is used in the URL structure and acts like a permalink for the category page.
In URLs, spaces are not allowed, so dashes are used instead of spaces.
For example:
https://www.example.com/category/social-media-marketing-tutorial/
This is how category URLs are structured.
It is good for search engine optimization to include the primary keyword in the category URL.
Including keywords in the URL helps the category page rank in search engine results.
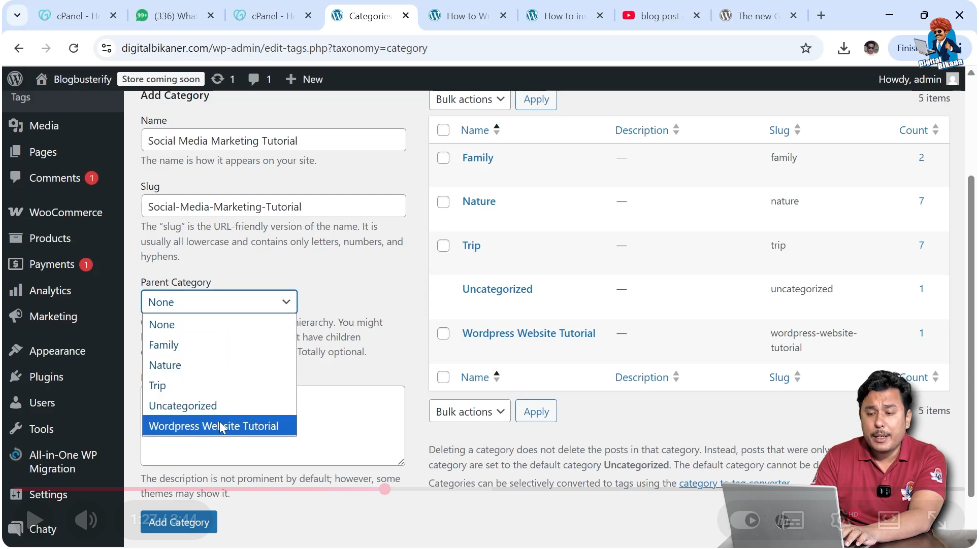
Selecting Parent Category
Parent Category Option
If the category is a main category, then you do not need to select any parent category.
If the category belongs under another category, then it becomes a subcategory.
In that case, you can select the parent category from the parent category option.
If the category is a parent category itself, you can leave this option empty.
Writing Category Description
Category Description
You can also enter a description for the category.
It is recommended to enter an SEO-optimized description with keywords.
This helps the category page rank in search engine results.
The description should include keywords for which you want the category page to rank.
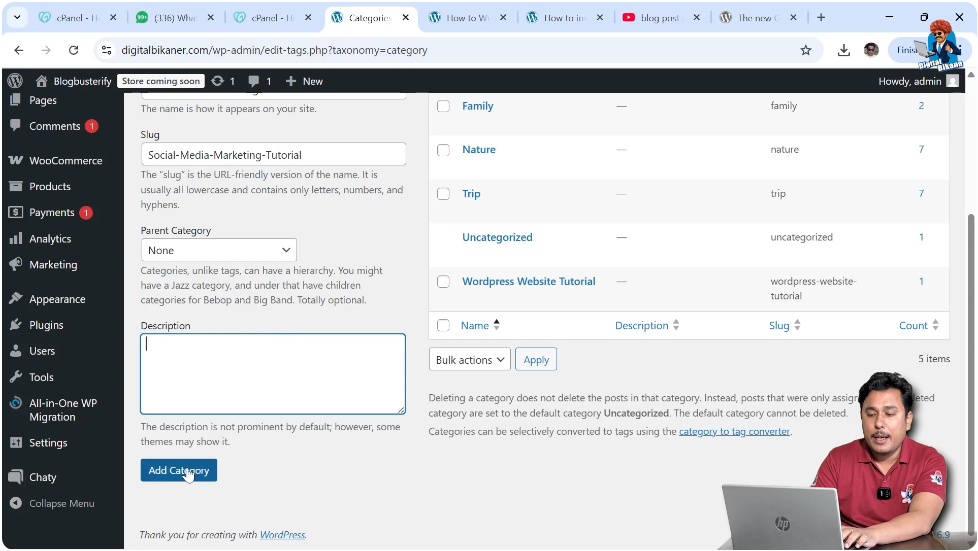
Adding Category
4. Click Add Category
After entering category details, click on Add Category.
Your category will be created successfully.
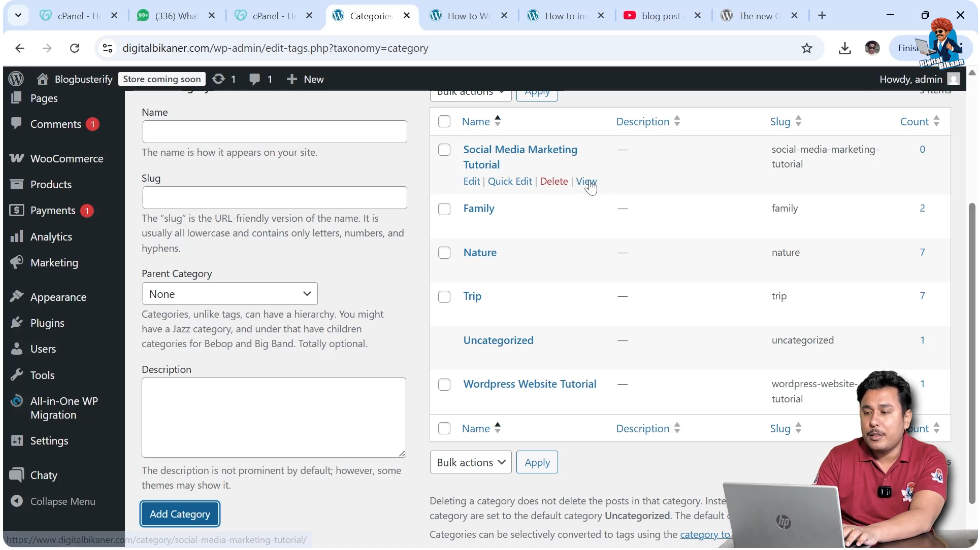
After creating the category, it will appear in the category list.
Viewing Category Page
Category Page View
After creating the category, you can click on View to open the category page.
If no blog posts are assigned to the category, the category page will show Nothing Found.
This happens because no articles are available in that category.
If blog posts are available in a category, they will appear on the category page.
Users can open articles by clicking Read More.
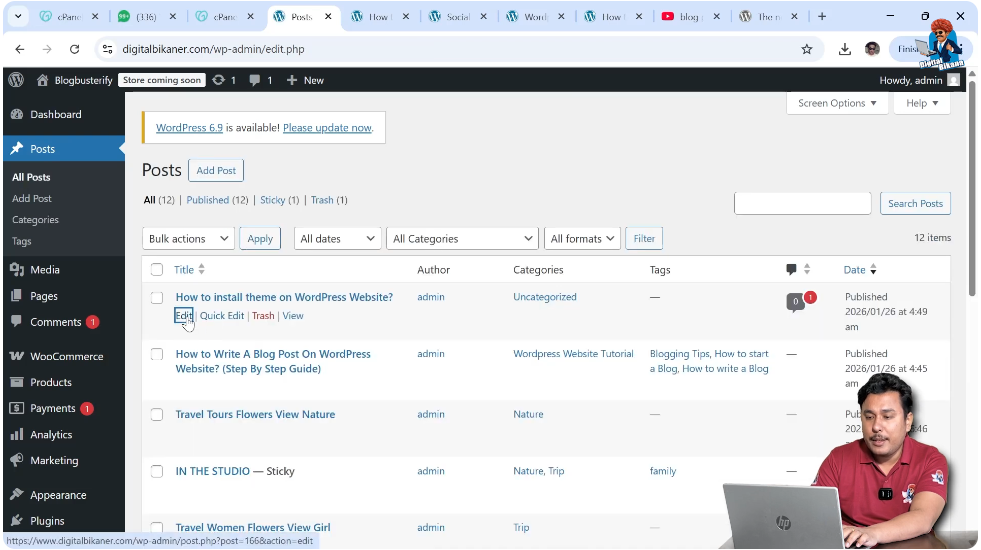
Creating Category While Writing Post
5. Create Category from Post Editor
There is another method to create categories.
You can create categories while writing a blog post.
Go to Posts → All Posts.
Open any blog post for editing or create a new post.
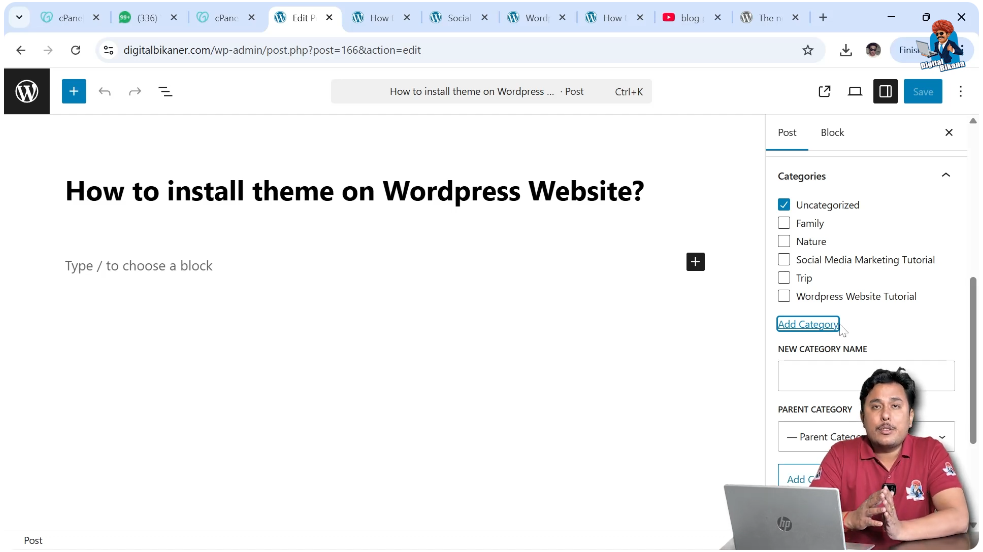
On the right side toolbar, open the Post settings.
Scroll down to the Categories section.
Click on Add New Category.
Enter the category name.
Click Add Category.
The category will be created and selected automatically.
Conclusion
Creating categories in WordPress is very easy. You can create categories from the Categories section in the Posts menu or directly from the blog post editor.
Categories help organize blog posts and make it easier for users to find content.
You can also create SEO-friendly category URLs and descriptions to help category pages rank in search engine results.
This is how you can create categories for blog posts on a WordPress website.
Related Posts


