
Creating a product in WooCommerce is one of the most important tasks while managing an eCommerce website. Whether you are selling clothing, electronics, digital products, or any other item, WooCommerce provides a structured and flexible way to add and manage products.
In this detailed guide, you will learn step by step how to add a product in WooCommerce on a WordPress website, including product name, description, images, categories, tags, attributes, variations, pricing, inventory, shipping, and publishing.
Accessing the WordPress Admin Dashboard
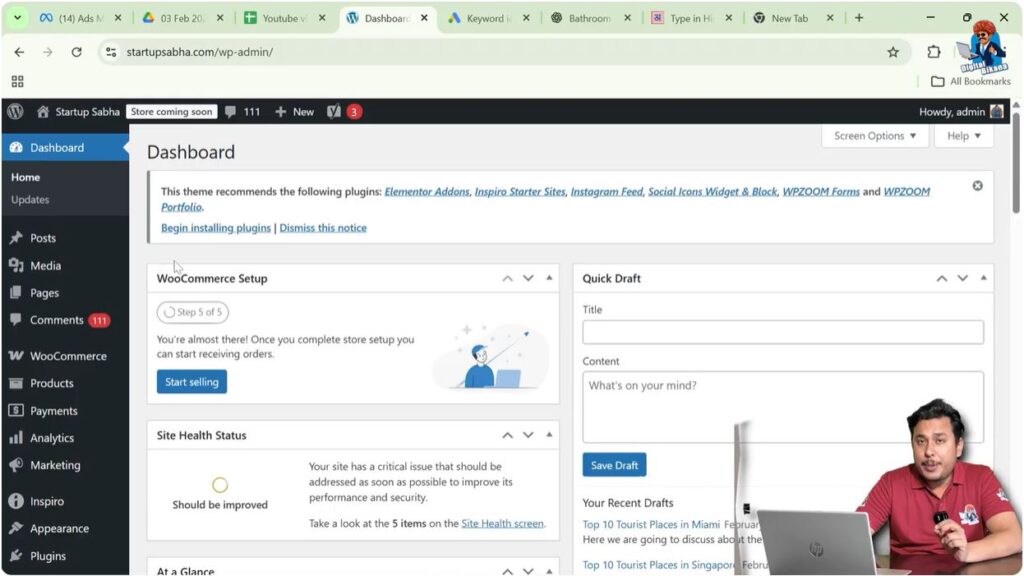
First, log in to your WordPress admin dashboard.
On the left side toolbar, you will see the Products option. Move your cursor over Products, and a submenu will appear automatically.
Click on Add New Product.
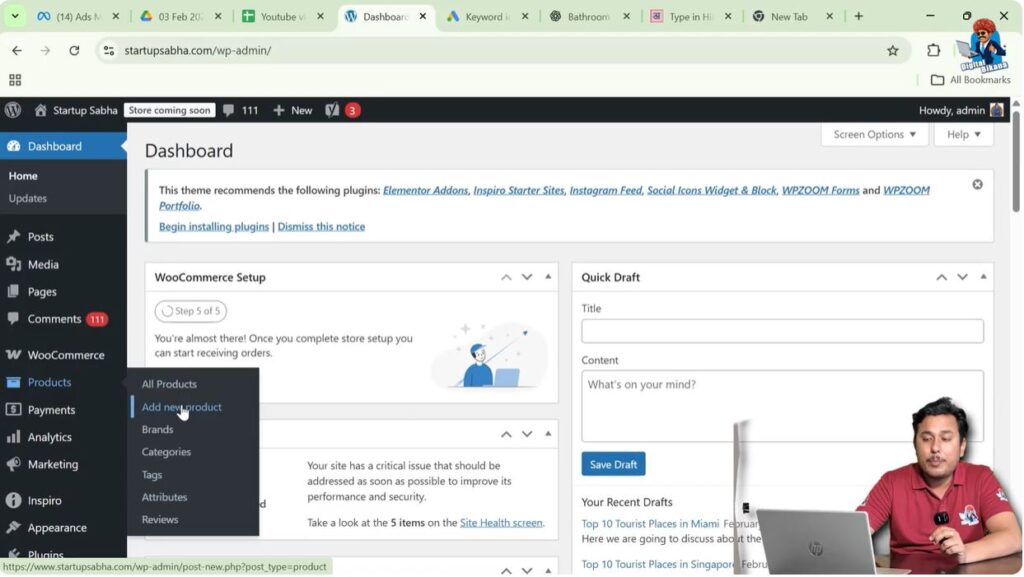
This will open the product creation page.
Adding Product Name and Description
Enter Product Name
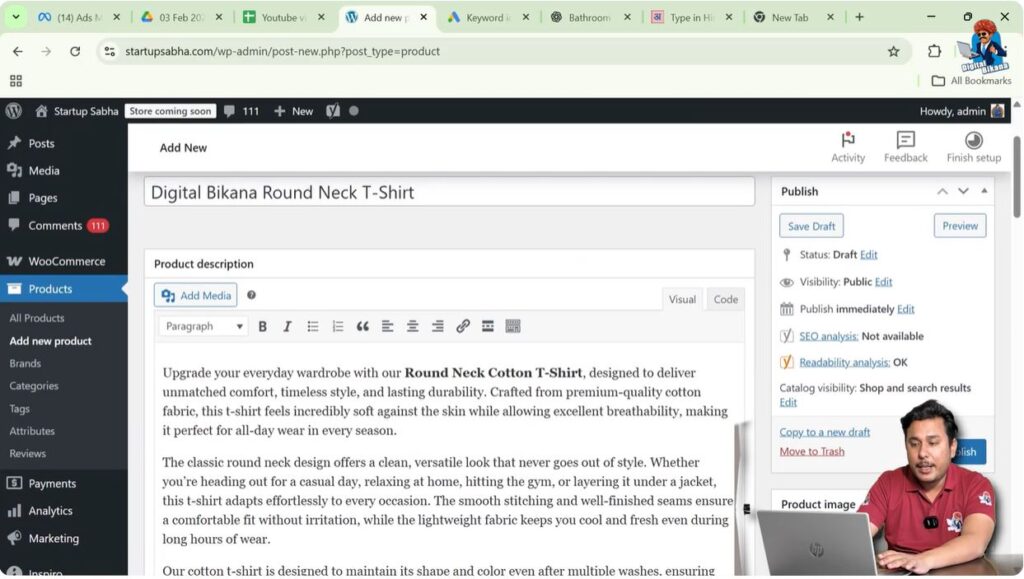
At the top of the page, you will see a field asking for the product name.
For example:
Digital Bikana Round Neck T-Shirt
Enter your product name clearly and properly.
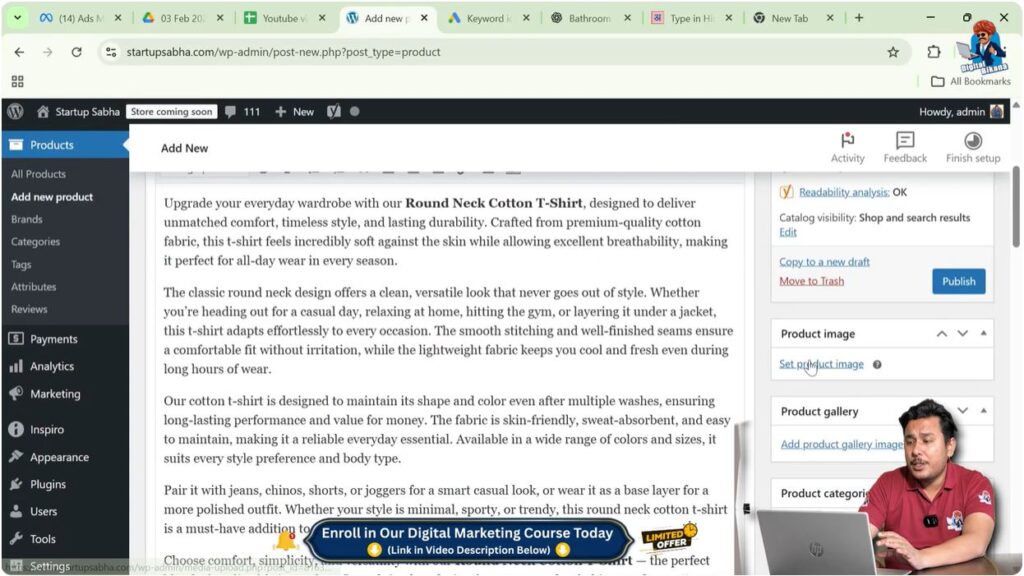
Add Product Description
Below the product title, there is a large text editor where you can add the product description.
You can:
- Write the description manually
- Generate the description using an AI tool
- Paste the content into the description box
After generating or writing the content, copy it and paste it into the product description section.
Although SEO factors such as internal linking, keyword placement, image alt text, and slug optimization are important, they are separate concepts and should be handled carefully. In this guide, we are focusing only on product creation.
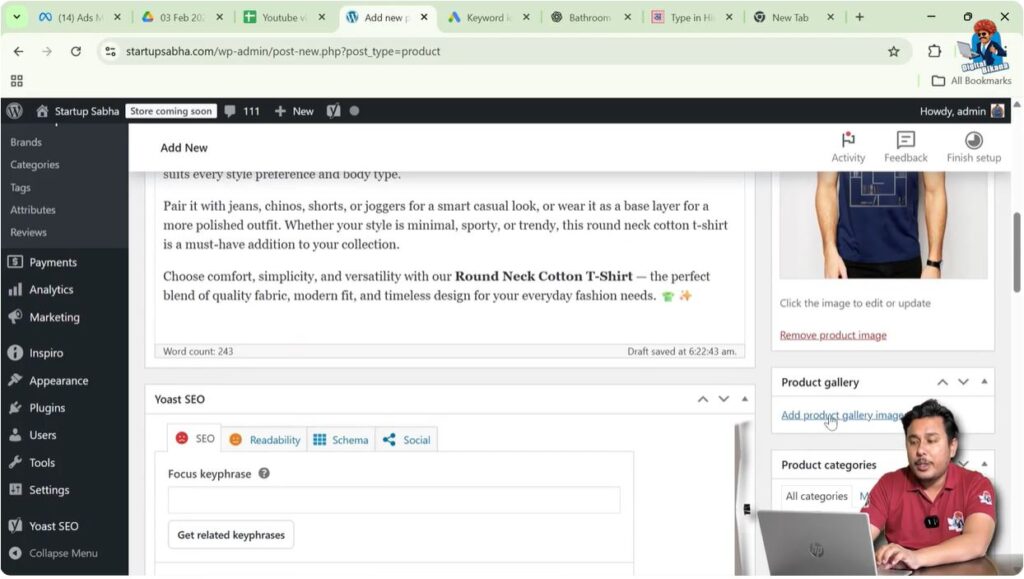
Uploading Product Images
Set Product Cover Image
On the right side of the page, you will see the Product Image section.
Click on Set Product Image.
Upload the main product image. This will be the cover image displayed on the shop page.
For example, select the front view image of the t-shirt and click Set Product Image.
Add Product Gallery Images
Below the product image section, you will see the Product Gallery option.
Click on Add Product Gallery Images.
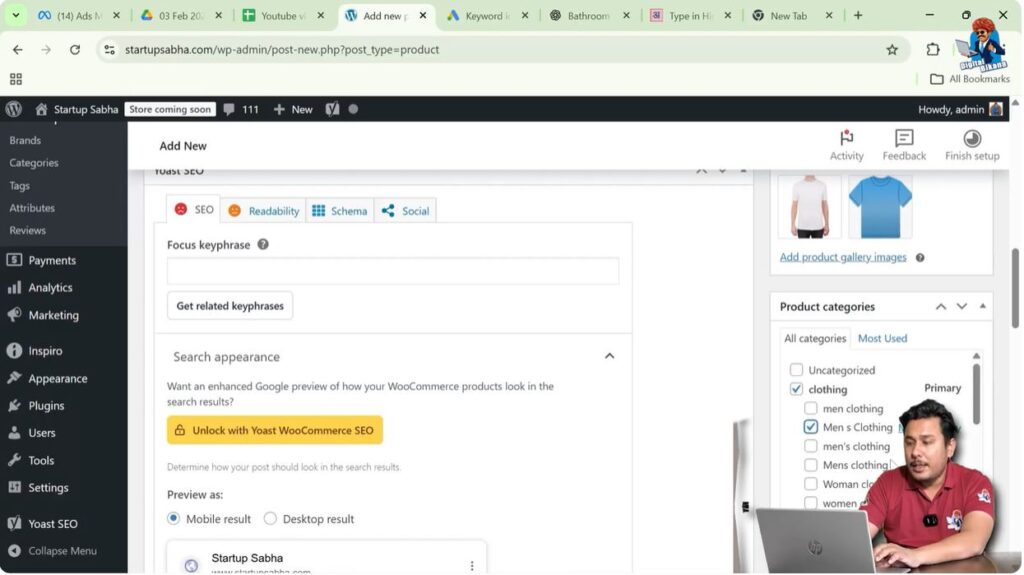
Upload additional images taken from different angles, such as:
- Front angle
- Back angle
- Side angle
- Close-up view
Select multiple images and click Add to Gallery.
These images will be visible on the product page.
Selecting Product Category and Tags
Choose Product Category
On the right side, select the appropriate product category.
If categories are not created, you can create them separately.
Add Product Tags
Add relevant product tags such as:
- Round neck t-shirt
- Cotton t-shirt
- Casual wear
Tags help in organizing products and can also generate related product listings automatically. Products sharing similar tags may appear under related products.
Tags also create separate URLs, which may generate indirect traffic.
Understanding the SEO Section
If you have installed an SEO plugin, such as Yoast SEO, you may see an additional SEO section below the content editor.
This section helps optimize the product page for search engines.
However, SEO setup is a separate process and requires detailed explanation. In this guide, we are focusing only on adding the product.
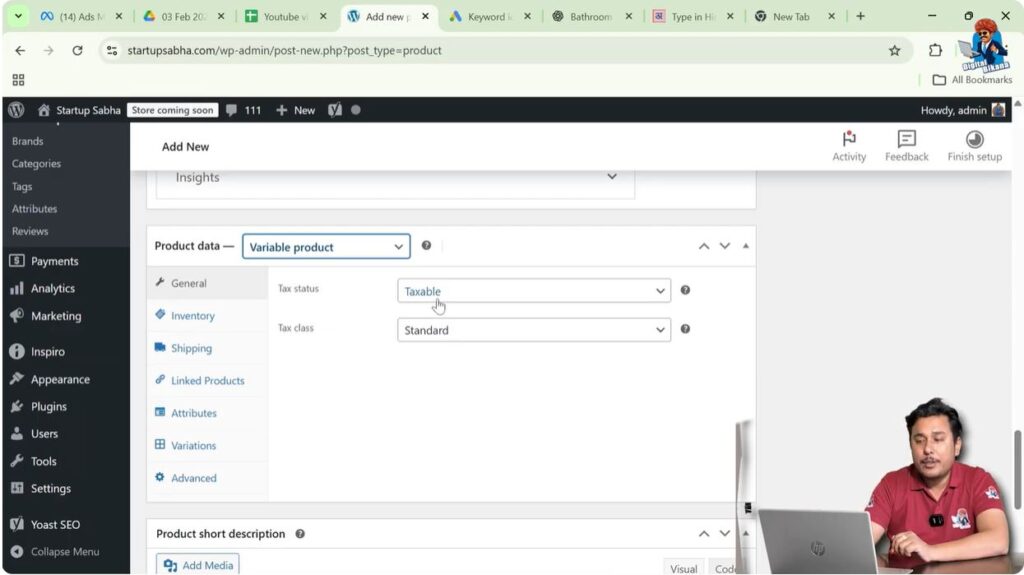
Configuring Product Data
Scroll down to the Product Data section.
Here, you will see different product type options:
- Simple Product
- Grouped Product
- External/Affiliate Product
- Variable Product
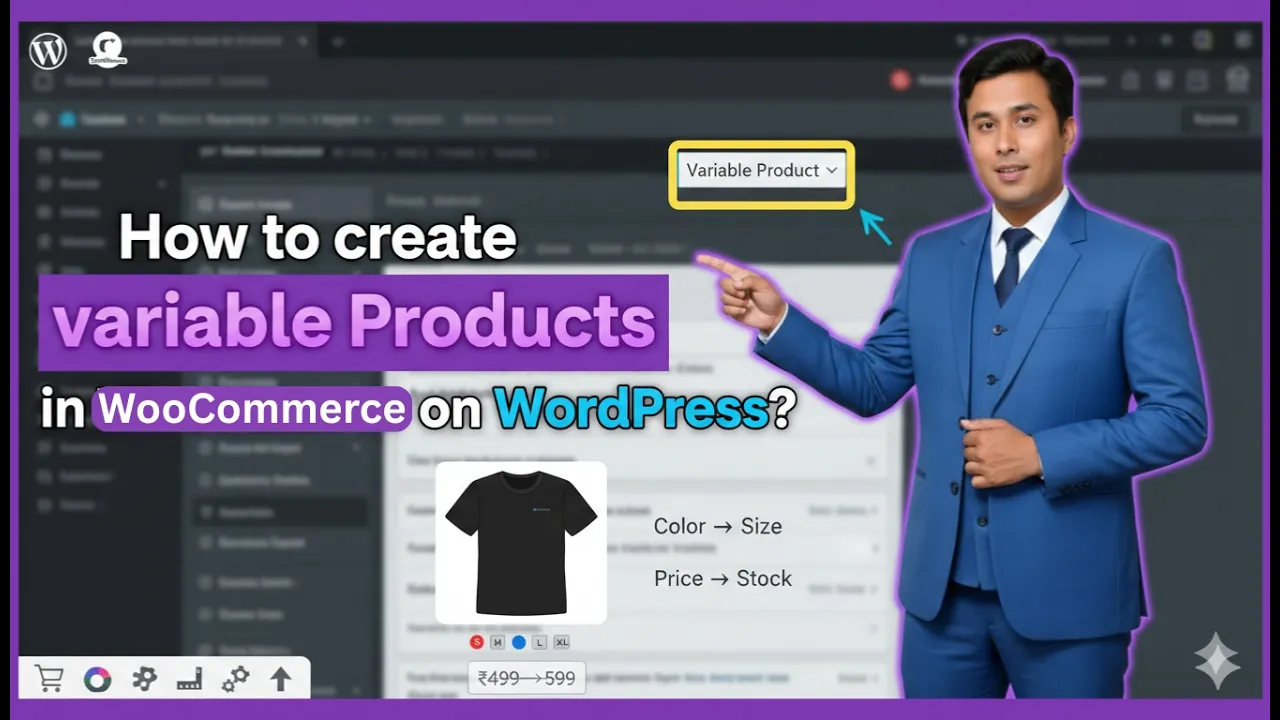
Since this t-shirt is available in different sizes and colors, select Variable Product.

Setting Tax Status and Tax Class
Under the General section:
Tax Status
Select:
Taxable
Tax Class
Choose:
Standard
This means the product belongs to the standard tax class configured in WooCommerce settings.
Managing Inventory
Click on the Inventory tab.

Enter SKU
If you have a Stock Keeping Unit number, enter it. Otherwise, leave it blank.
GTIN, UPC, or ISBN
If applicable, enter these numbers. Otherwise, skip this field.
Enable Stock Management
Check the option to allow WooCommerce to manage stock.
Enter the stock quantity.
For example:
150
Allow Backorders
If stock runs out, you can allow or disallow backorders.
Select:
Do Not Allow
This prevents customers from ordering when the product is out of stock.
Low Stock Threshold
Enter a number, for example:
15
When stock reaches 15 units, the admin will receive a notification.
Sold Individually
If you want to limit one item per order, check this option. Otherwise, leave it unchecked.
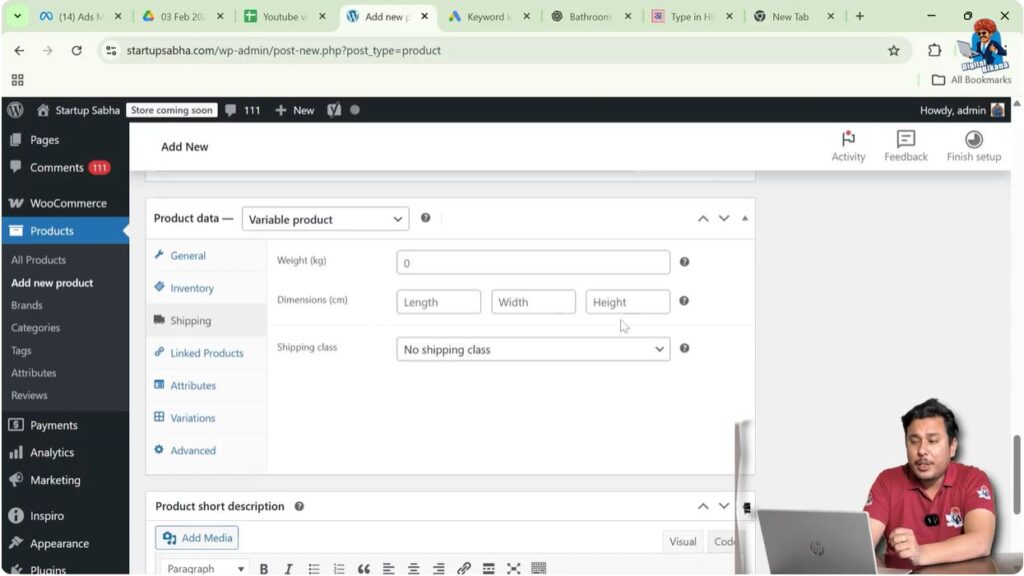
Shipping Settings
Click on the Shipping tab.
Here, you can enter:
- Weight
- Dimensions
- Shipping Class
Select the appropriate shipping class, for example:
Light
Shipping class determines shipping charges based on predefined rules.
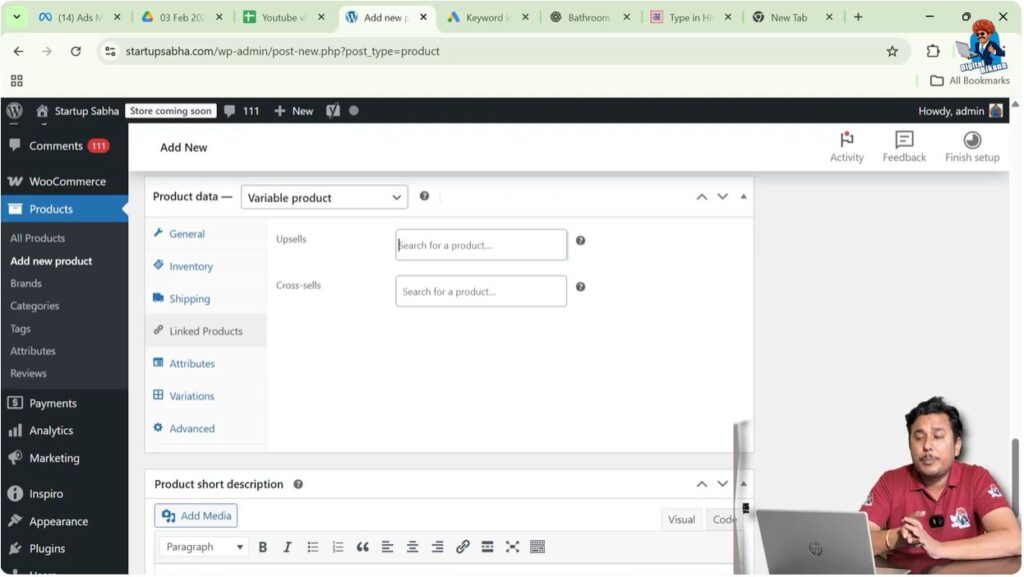
Linked Products
Click on the Linked Products tab.
Here you can add:
- Upsell products
- Cross-sell products
These products will be shown during purchase or checkout.
Make sure these products are already created before linking them.
Adding Attributes
Now go to the Attributes tab.

Add Color Attribute
Click Add New Attribute.
Enter:
Name: Color
Values:
Blue | Red | Black
Separate values using vertical lines.
Check:
- Visible on product page
- Used for variations
Click Save Attributes.
Add Size Attribute
Click Add New Attribute again.
Enter:
Name: Size
Values:
M | L | XL | XXL
Check:
- Visible on product page
- Used for variations
Click Save Attributes.
Generating Variations
Go to the Variations tab.
Click on Generate Variations.
WooCommerce will automatically create combinations of:
3 colors × 4 sizes = 12 variants
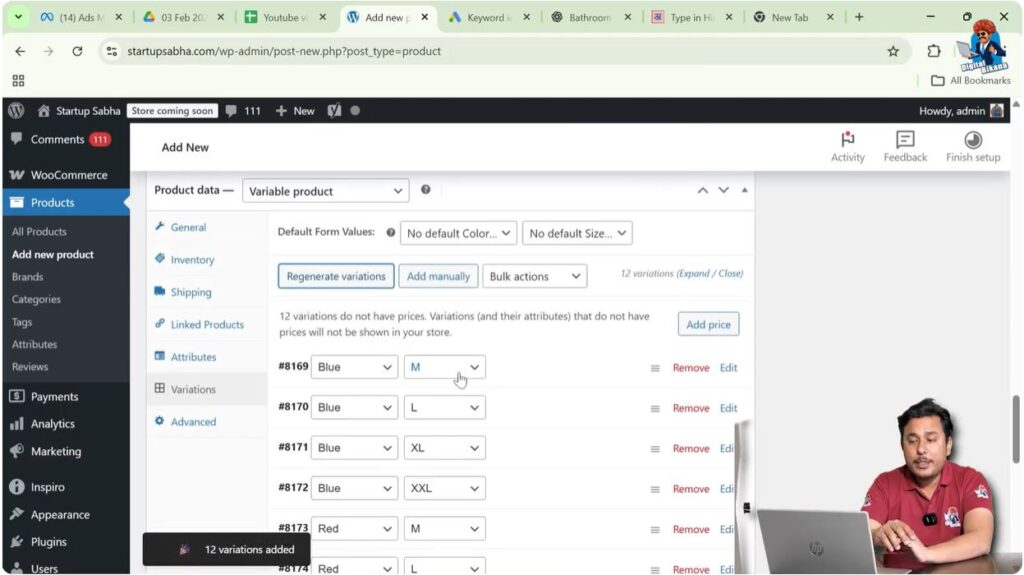
Editing Product Variations
Click on each variation to edit details.
For example:
Blue – M Size
Enter:
Regular Price: 1000
Sale Price: 980
Upload a specific image for that variation if needed.
You can also set SKU, weight, dimensions, and shipping class.
Repeat the process for all variants.
Important: If a variation does not have a price, it will not appear on the product page.
Advanced Settings
Click on the Advanced tab.
Here you can:
- Add a purchase note
- Set menu order
- Enable reviews
If you want customers to leave reviews, check Enable Reviews.

Adding Product Short Description
Below the Product Data section, add a short description.
This appears near the product title on the product page.
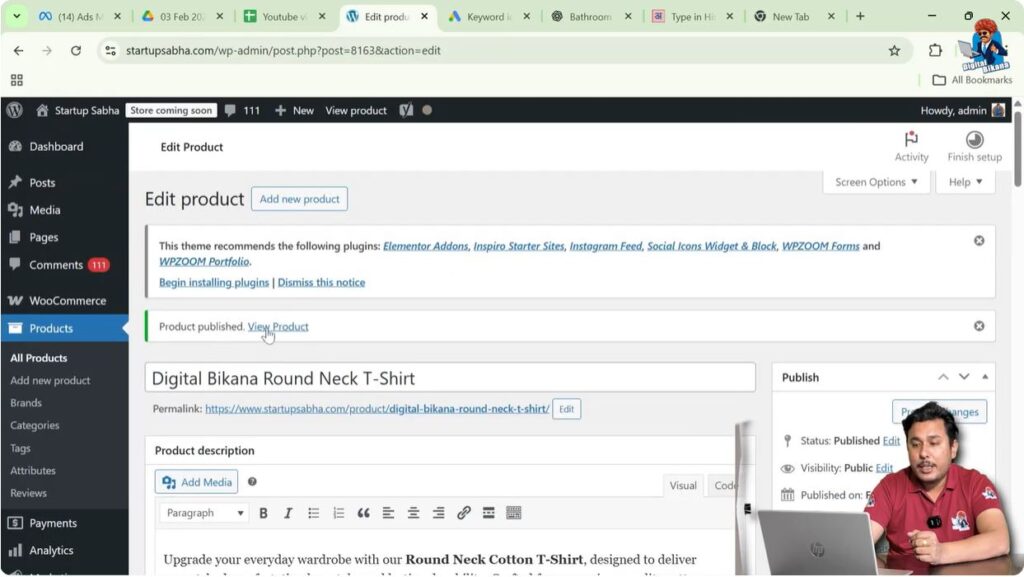
Publishing the Product
On the right side, click on Publish.
The product is now live.
Viewing the Product
Click on View Product.
You will see:
- Product name
- Price
- Product images
- Variation options (color and size)
- Description
- Categories
- Tags
- Related products
If only two variations have prices entered, only those variations will appear on the product page.
When selecting a specific color and size, the corresponding image and price will be displayed.
Understanding Related Products
Related products are displayed based on:
- Similar tags
- Similar categories
Products sharing similar tags may appear under related products.
Step-by-Step Summary
Step 1: Log in to WordPress Dashboard
Access admin panel.
Step 2: Go to Products
Click Add New Product.
Step 3: Enter Product Name
Add product title.
Step 4: Add Description
Paste or write content.
Step 5: Upload Images
Set cover image and gallery images.
Step 6: Select Category and Tags
Assign appropriate options.
Step 7: Select Variable Product
Choose product type.
Step 8: Configure Tax and Inventory
Set tax status and stock details.
Step 9: Add Attributes
Create color and size attributes.
Step 10: Generate Variations
Auto-create combinations.
Step 11: Set Prices for Variations
Enter pricing for each variant.
Step 12: Publish Product
Click Publish.
Conclusion
Adding a product in WooCommerce on a WordPress website involves multiple steps, including setting up product details, images, categories, tags, tax settings, inventory, shipping class, attributes, and variations.
Once configured correctly, WooCommerce automatically manages product display, variation selection, stock tracking, and related product suggestions. With proper setup, your product page will function smoothly and provide a seamless shopping experience for customers.
Related Posts


