Adding a separator line in a WordPress blog post helps create a clear visual gap between different sections of content. A separator line improves readability and makes the blog post look more organized. It is especially useful when you want to create spacing between headings, paragraphs, or different points inside an article.
In this article, you will learn how to add a separator line in a WordPress blog post and how to customize the separator using block settings.
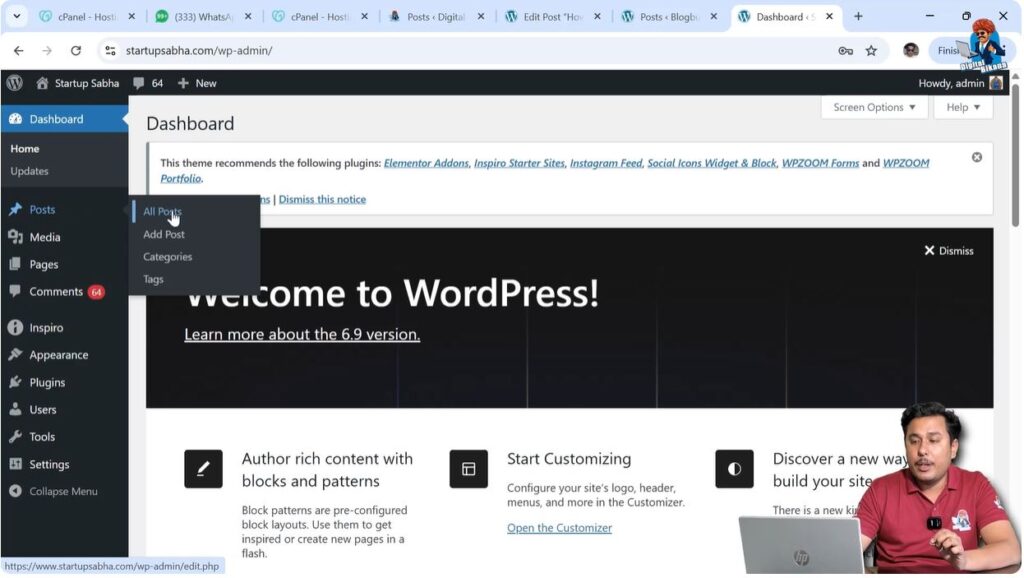
Opening the Posts Section in WordPress Dashboard
First, log in to your WordPress admin dashboard.
After logging in, look at the left-side toolbar where you will find the Posts section. Move your cursor over the Posts option and a submenu will appear automatically.
The submenu contains two main options:
- All Posts
- Add Post
If you want to create a new blog post, you can click on Add Post. However, if you want to edit an existing article, you can click on All Posts.
For demonstration purposes, editing an existing article makes it easier to understand how to add a separator line.
Click on All Posts to open the list of blog posts.
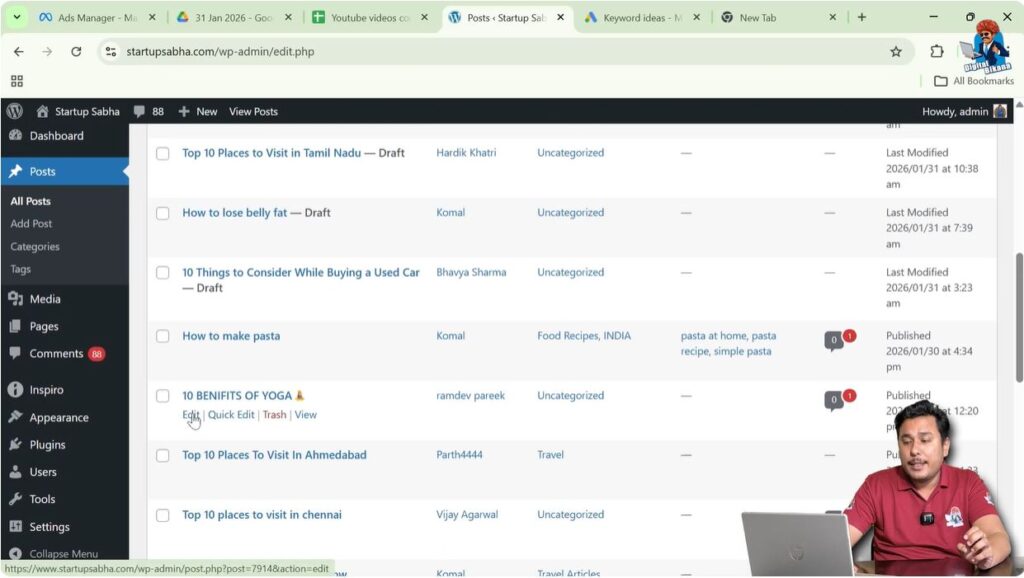
Editing an Existing Blog Post
After opening the All Posts section, you will see the list of articles written on your website.
Move your cursor over the title of the blog post you want to edit. The Edit button will appear below the blog post title.
Click on the Edit button to open the article in the WordPress editor.
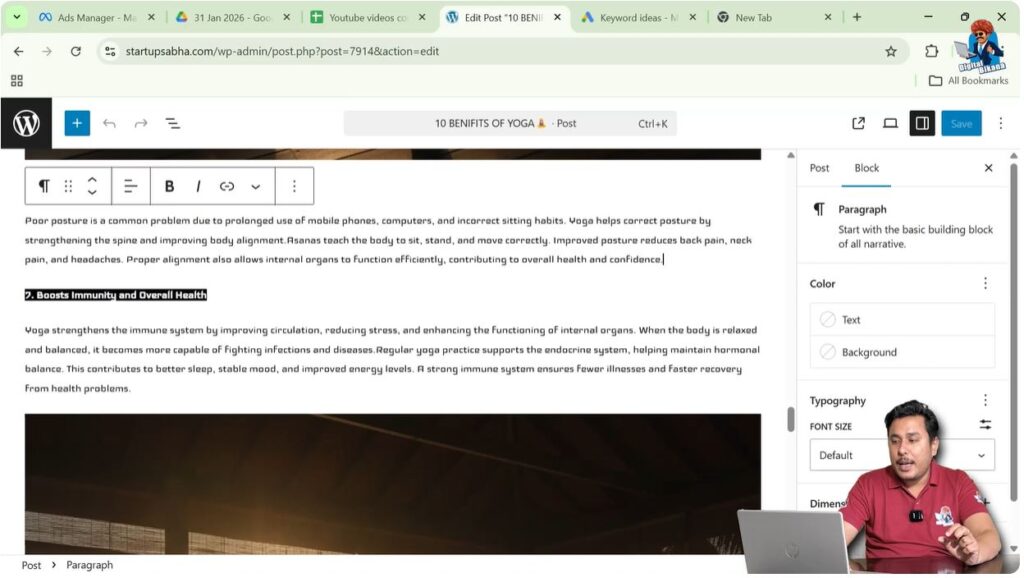
Once the editor opens, you will see the content of your blog post.
For example, your blog post may contain multiple headings and paragraphs such as different numbered points.
Sometimes you may want to create a visible gap between two sections such as between point number six and point number seven.
This can be done using a separator line.
Creating Space Between Two Sections
A separator line helps create a visual gap between two sections of content.
For example, one section may contain a heading and paragraph, and another section may contain another heading and paragraph.
If you want to create a clear separation between these sections, you can insert a separator line.
To do this, place your cursor at the end of the paragraph where you want the separator line to appear.
After placing the cursor, press Enter to create a new line.
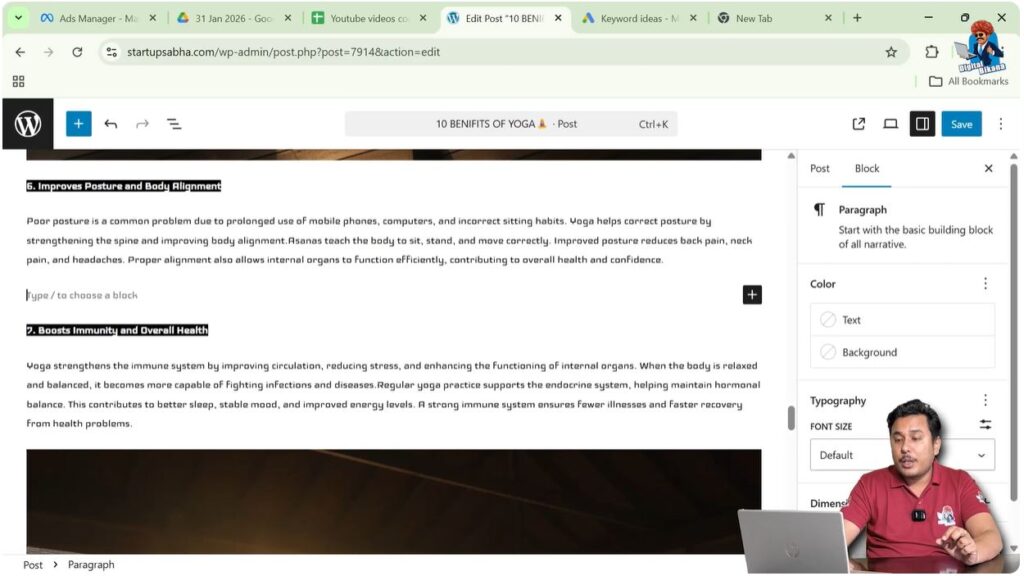
A new block will be created automatically.
You will see the option Type to choose a block.
This indicates that the new block has been created.
Step 1 – Place Cursor at the End of the Paragraph
Open the blog post in the WordPress editor.
Scroll to the paragraph where you want to insert the separator line.
Place your cursor at the end of the paragraph.
Step 2 – Create a New Block
Press Enter on your keyboard.
A new line or block will be created.
You will see the message Type to choose a block.
Step 3 – Insert Separator Block
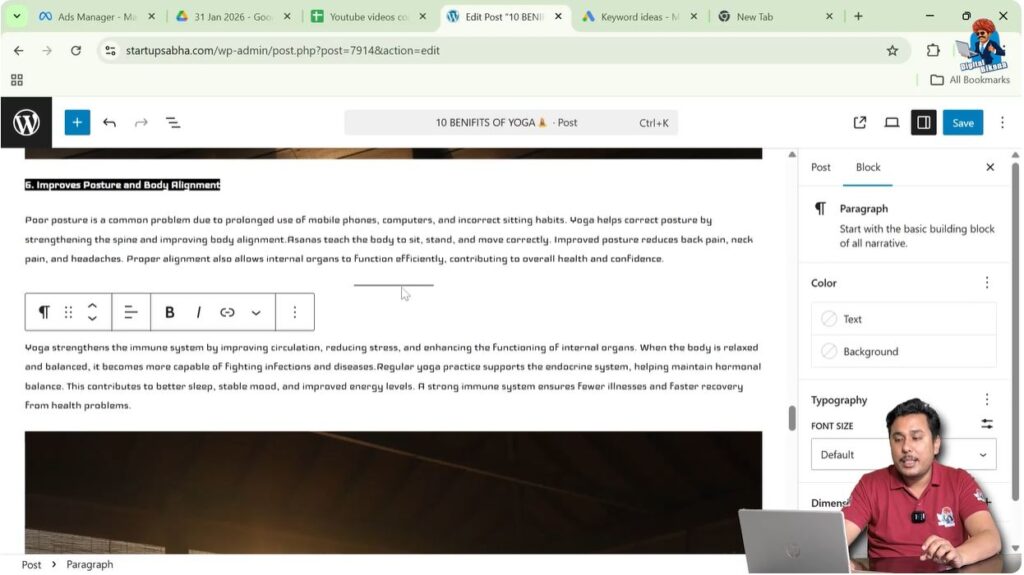
Move your cursor over the new block.
You will see a plus icon appear.
Click on the Add Block button.
Search for Separator.
Select the Separator block.
After selecting the separator block, the separator line will appear between the two sections.

Separator Line Between Paragraphs
After inserting the separator block, the two paragraphs or sections will be visually separated.
The separator line creates a clear distinction between the content above and below it.
This helps readers understand that a new section is starting.
Separator lines are useful when writing structured articles such as numbered lists or multiple topic sections.
Opening Separator Block Settings
After inserting the separator line, you can customize it using block settings.
On the right side of the WordPress editor, you will see the Settings toolbar.
If the settings toolbar is not visible, click on the Settings icon near the Save or Publish button in the top-right corner.
The settings panel will appear on the right side.
The settings panel contains two sections:
- Post
- Block
Since the separator is a block element, you need to open the Block section.
The Block section shows the settings related to the separator block.
Step 4 – Open Block Settings
Click on the separator line.
Open the settings panel on the right side.
Click on the Block section.
The separator block settings will appear.
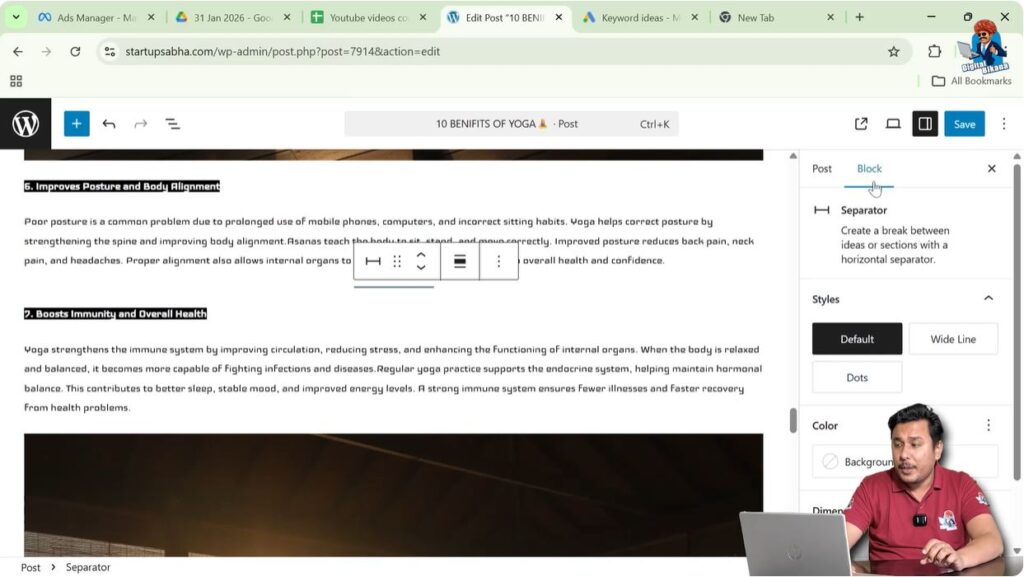
Changing Separator Style
The separator style can be changed using the block settings.
Different style options are available such as:
- Solid line
- Wide line
- Dots
You can select the style that suits your blog post design.
Changing the style helps improve the visual appearance of the content.
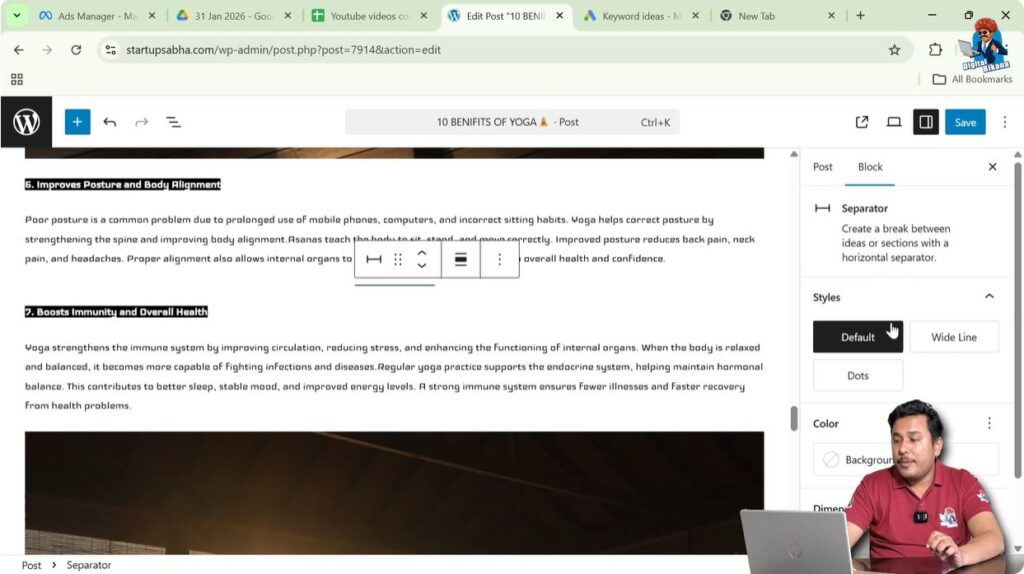
Changing Separator Color
You can also change the color of the separator line.
Inside the block settings, you will find color options.
You can select a color that matches your website design.
Changing the separator color helps maintain design consistency.
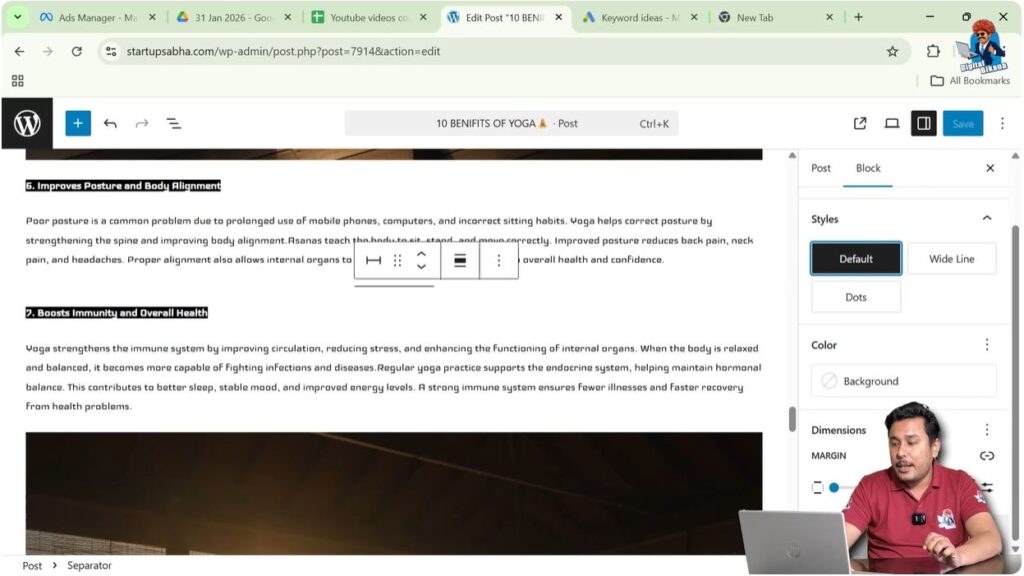
Adjusting Separator Margin
Margin settings control the spacing around the separator line.
You can adjust the margin to increase or decrease the spacing between sections.
Proper margin settings improve readability and layout.
Advanced Separator Settings
Advanced settings are also available for the separator block.
These settings allow you to apply additional CSS classes.
Additional CSS classes can be used for custom styling if required.
These settings are optional and are usually used for advanced customization.
Benefits of Using Separator Line
Separator lines help organize content into clear sections.
They improve the visual structure of a blog post.
Readers can easily distinguish between different sections.
Separator lines also improve readability.
They make long articles easier to follow.
Using separator lines properly makes blog posts look more professional.
Conclusion
Adding a separator line in a WordPress blog post is a simple process. You need to place the cursor at the end of a paragraph, create a new block, and insert the separator block.
After adding the separator line, you can customize its style, color, and margin using the block settings.
Separator lines help create visual gaps between sections and improve the overall readability and structure of your blog posts.
Related Posts