
If you have created a WordPress website and are wondering how you can write a blog post on your website, then it is super easy. In this article, you will learn step by step how to add a new blog post on your WordPress website from the admin dashboard. The process is simple and can be done directly from the WordPress dashboard without any technical knowledge.
As you can see, we are inside the WordPress website admin dashboard. From here, we can create and publish blog posts easily. WordPress provides a simple editor where you can write your content, add images, embed videos, and manage post settings.
Opening the Post Section in WordPress Dashboard
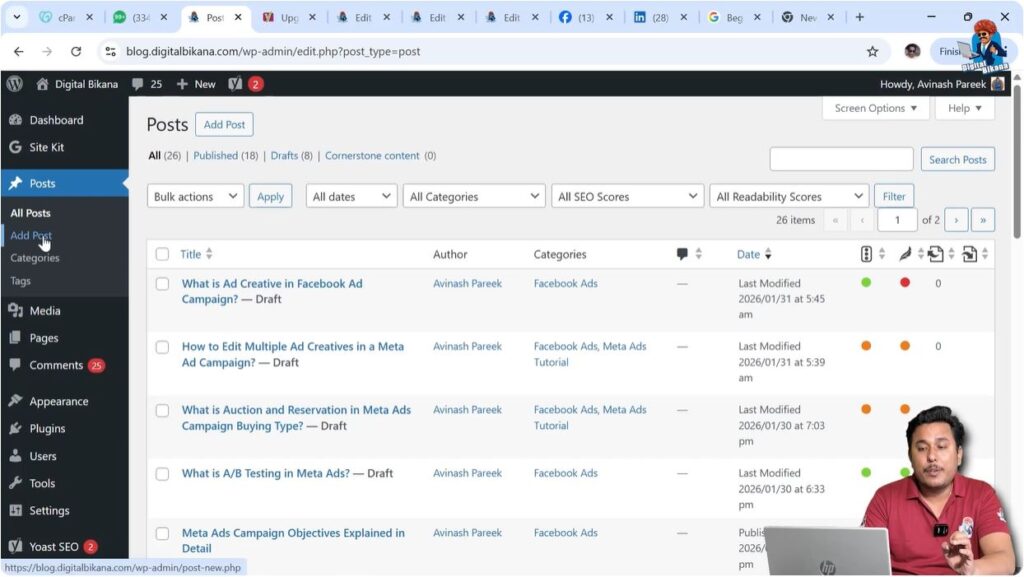
After logging into your WordPress admin dashboard, you will see the left-side toolbar where multiple options are available. One of these options is the Post section.
You simply need to click on the Post option. Once you click on it, you will see different options related to blog posts.
Creating a New Blog Post
1. Click on Add Post
After opening the Post section, you will find the Add Post button. You can click on this button to create a new blog post.
You may also find another Add Post button at the top of the page. You can click on either of these buttons to create a new blog post. Both buttons work in the same way.
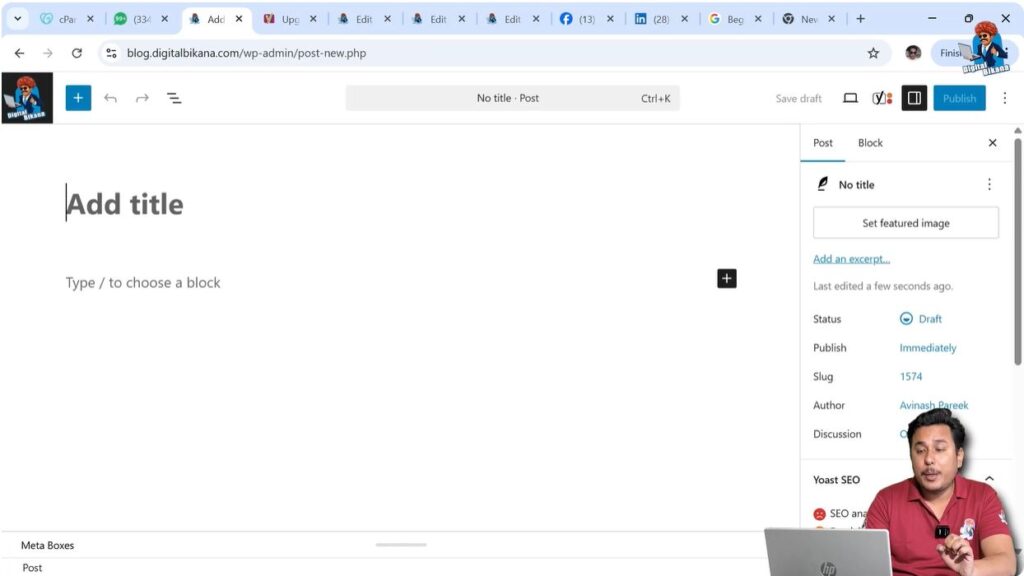
After clicking on the Add Post button, the blog post editor will open.
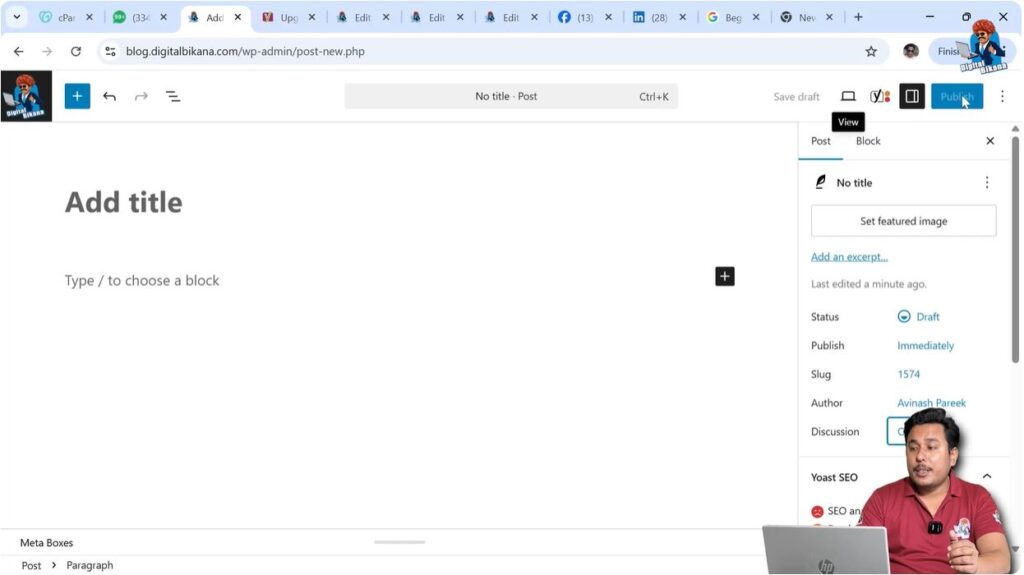
Writing Blog Post Title and Content
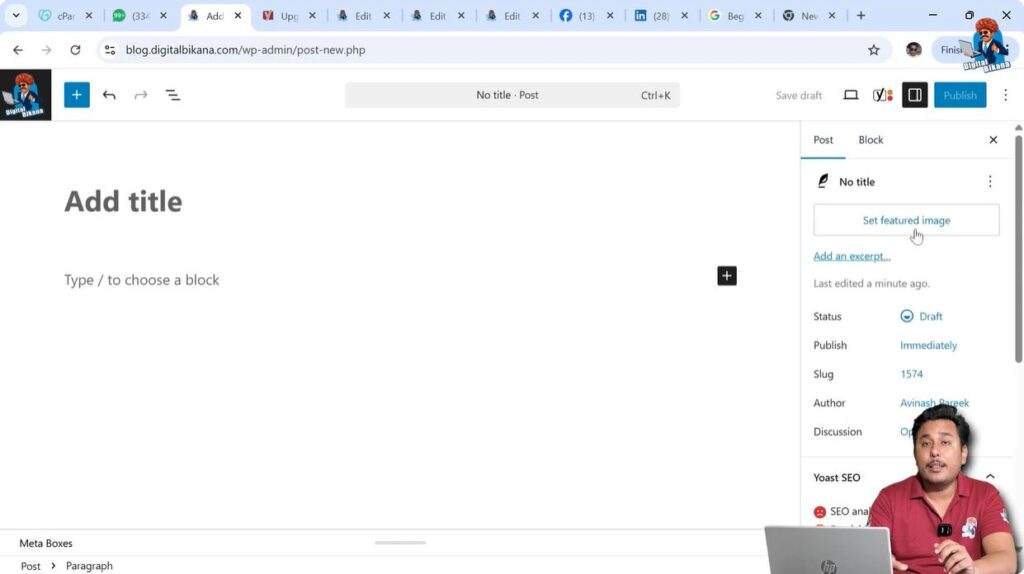
When the editor opens, it will ask you to enter the title of your blog post.
You can simply write your blog post title in the title section. After entering the title, you can start writing your content below it.
You can write your article directly inside the editor. This is where the main content of your blog post will be written.
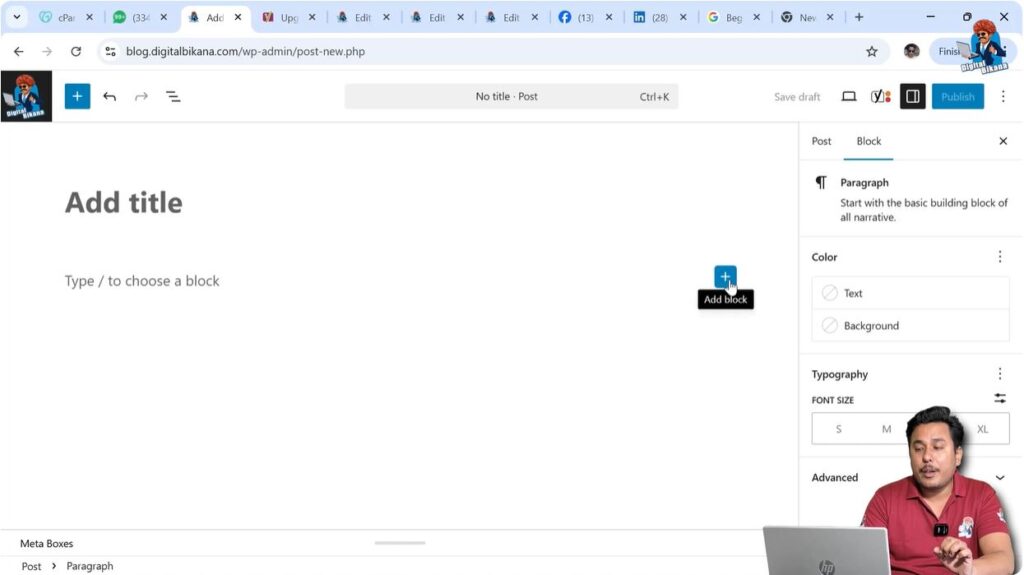
WordPress provides a block editor where you can write text and add different types of content easily.
Adding Blocks in Blog Post
If you want to add additional content such as images or videos inside your blog post, you can use the Add Block option.
You just need to move your cursor to the place where you want to insert content and click on the Add Block button.
From here you can:
- Add images
- Add galleries
- Embed YouTube videos
- Insert other blocks
Using blocks makes it easy to design and structure your article properly.
Post Settings in Right Side Toolbar
On the right side of the editor, there is a toolbar that contains two options:
- Post
- Block
When you click on the Post section, you will see different settings related to the blog post.
Setting Featured Image
Featured Image
Inside the Post settings, you will find the Featured Image option.
The featured image is the cover image of the blog post. You can upload and set a featured image from here.
The featured image usually appears at the top of the blog post or in the blog listing page.
Post Status and Visibility Settings
Status Options
When you open the Status section, you will see that the blog post is in Draft Mode by default.
You can change the post status according to your requirements.
Available options include:
- Draft
- Pending
- Published
If you have an editor who reviews blog posts and corrects mistakes before publishing, then you can set the status to Pending.
Visibility Options
You can also change the visibility settings.
Available options include:
- Public
- Private
- Password Protected
If you want only admins and editors to see the blog post, you can mark it as Private.
If you want visitors to enter a password before reading the blog post, you can set it as Password Protected.
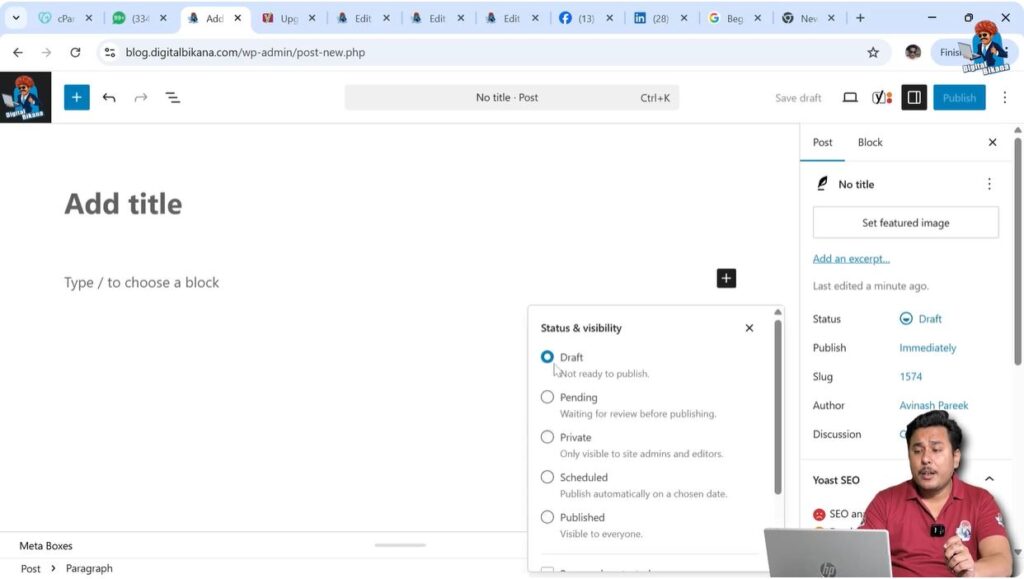
Scheduling Blog Post
Schedule Publishing
WordPress also allows you to schedule blog posts.
You can select a future date and time when the blog post should be published.
On the scheduled date and time, the blog post will automatically be published.
If you want to publish your blog post immediately after writing it, you can simply change the status to Publish and click the publish button.
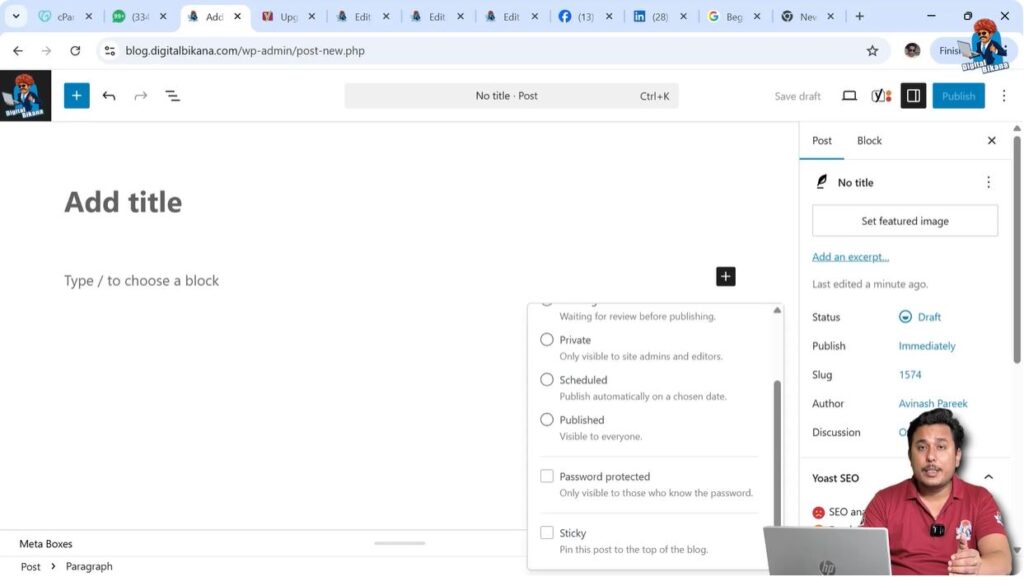
Making Blog Post Sticky
Sticky Post Option
You can also mark a blog post as Sticky.
If a blog post is marked as sticky, it will appear at the top of the blog page.
This is useful for important articles that you want visitors to see first.

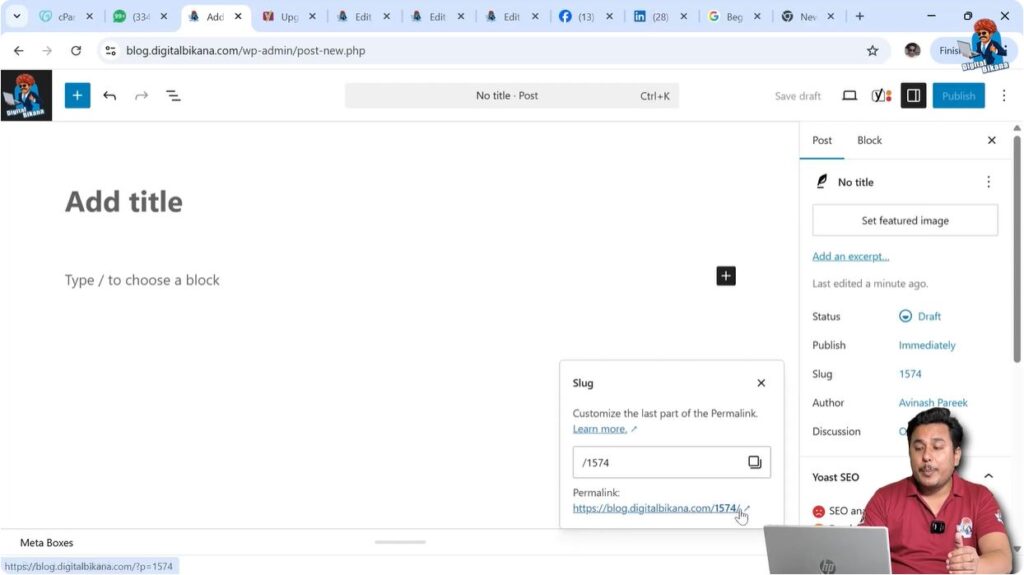
Editing Blog Post Permalink
Slug or URL Structure
Inside the Post settings, you will find the Slug section.
You can change the permalink structure of your blog post from here.
You can type the URL or slug that you want to keep for the blog post.
You can also add keywords inside the slug so that the URL becomes SEO friendly.
Author Settings
Author Selection
The author section shows who is writing and publishing the blog post.
You can select the author from this section if multiple users are working on the website.
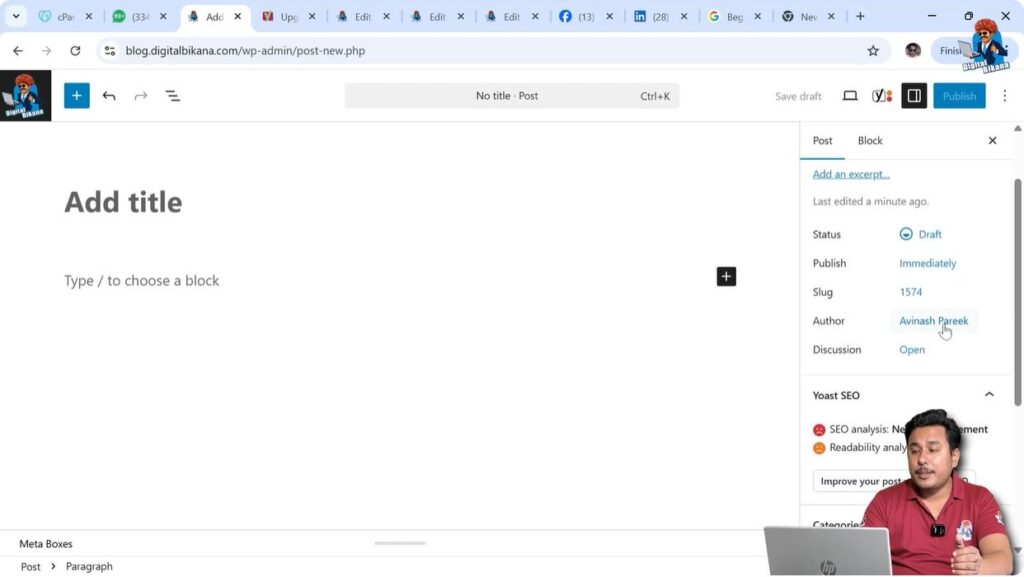
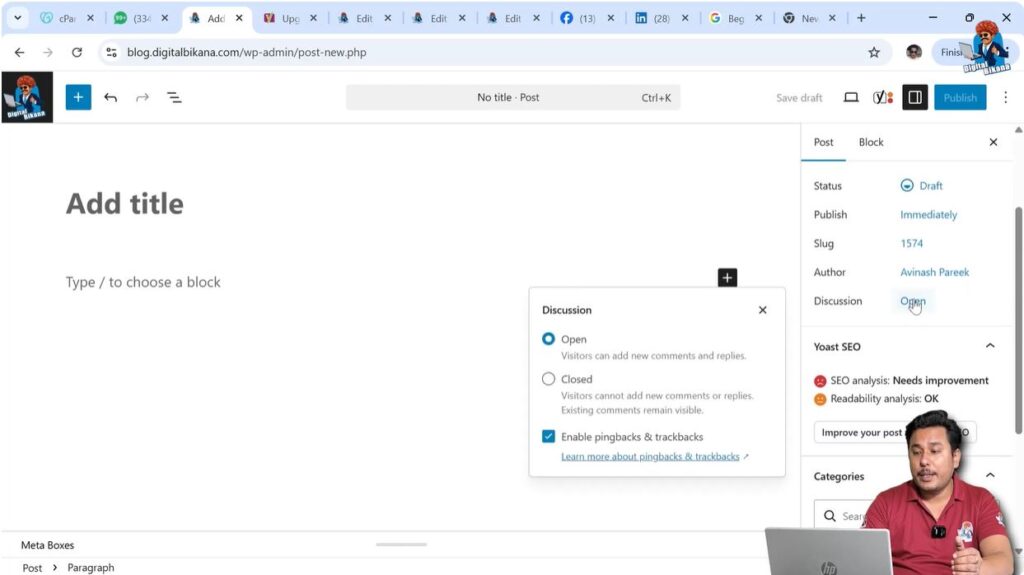
Discussion Settings
Comment Options
The discussion section controls comments on the blog post.
If discussion is open, visitors can leave comments and replies on the blog post.
If you close the discussion option, visitors will not be able to comment on the blog post.
Yoast SEO Score
SEO Score
You may also see the Yoast SEO Score section.
The SEO score improves automatically when you start writing a blog post and maintain proper SEO parameters.
If you follow good SEO practices, the SEO score will automatically improve.
There are dedicated tutorials available for Yoast SEO and blog writing that explain these topics in detail.
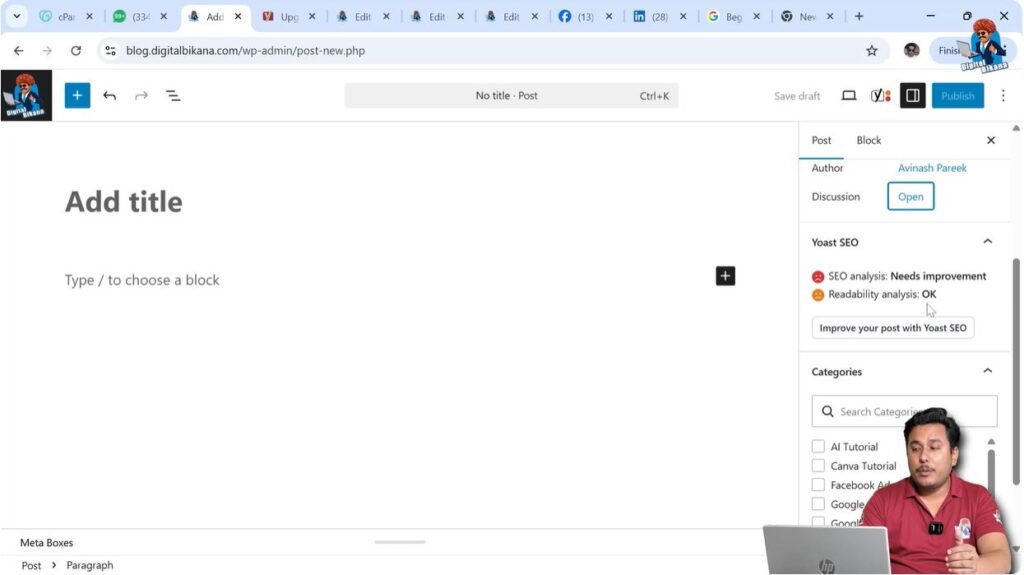
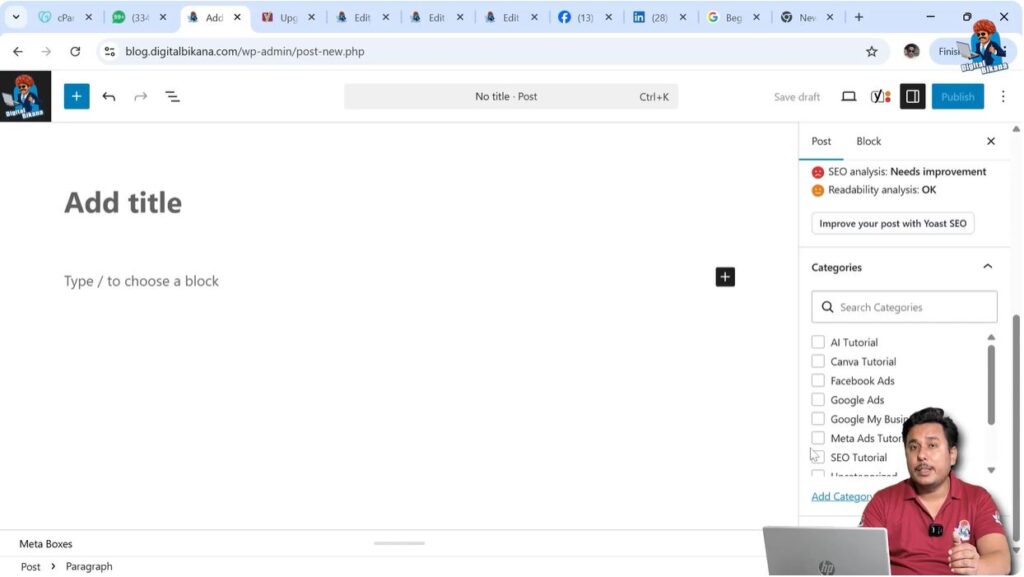
Adding Categories
Categories
You can select the category for your blog post from the category section.
Selecting a category helps organize your blog posts.
When you select a category, the blog post will automatically appear inside that category.
This makes it easier for website visitors to find blog posts related to specific topics.
Adding Tags
Tags
You can also add tags to your blog post.
Tags can help blog posts rank in search engines because tag pages can also be indexed in Google.
This means you can get traffic from tag pages as well.
It is recommended to add good tags that are based on high search volume keywords.
Tags can help increase visibility and bring additional traffic from search engines.
Publishing Blog Post
Publishing the Blog Post
After completing your blog post, you can publish it.
You simply need to click on the Publish button.
Your blog post will be published and visible to visitors.
Saving Blog Post as Draft
If you are not ready to publish the blog post, you can click on Save Draft.
This will save your blog post in draft mode so that you can continue editing later.

Conclusion
Adding a new blog post on a WordPress website is very simple. You just need to open the Post section, click on Add Post, enter the title, write the content, and configure the post settings.
WordPress provides all the necessary options such as featured image, categories, tags, scheduling, permalink editing, and visibility settings to manage blog posts easily.
By following these steps, you can easily create and publish blog posts on your WordPress website.
Related Posts


