

Product images play a very important role in an eCommerce website. Customers cannot physically touch or examine your product, so images become the primary visual element that influences buying decisions. If you are using WooCommerce on your WordPress website, uploading product images properly is essential not only for presentation but also for SEO.
In this detailed guide, you will learn step by step how to upload product images in WooCommerce, how to set a cover image, how to add gallery images, and why renaming images and adding alt text is important.
Accessing the WordPress Admin Dashboard
First, log in to your WordPress admin dashboard.
On the left side toolbar, you will see the Products option. Move your cursor over Products, and a submenu will automatically appear.
Click on Add New Product to create a new product.

This will open the product creation page.
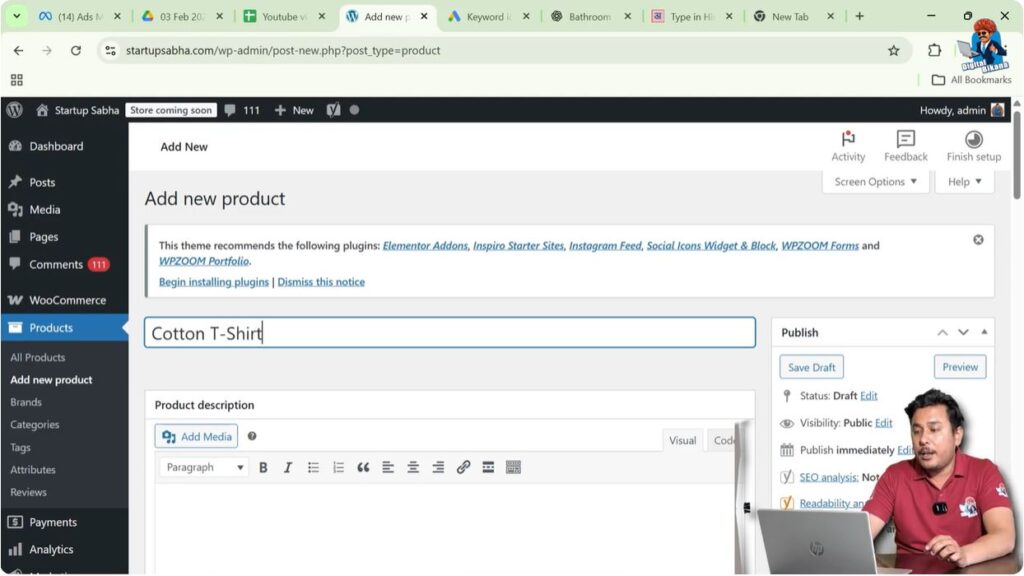
Adding a Product Name
Before uploading images, you must first create a product entry.
Enter Product Name
At the top of the page, enter the product name.
For example:
Cotton T-Shirt
Once the product name is entered, you can proceed to upload the product images.
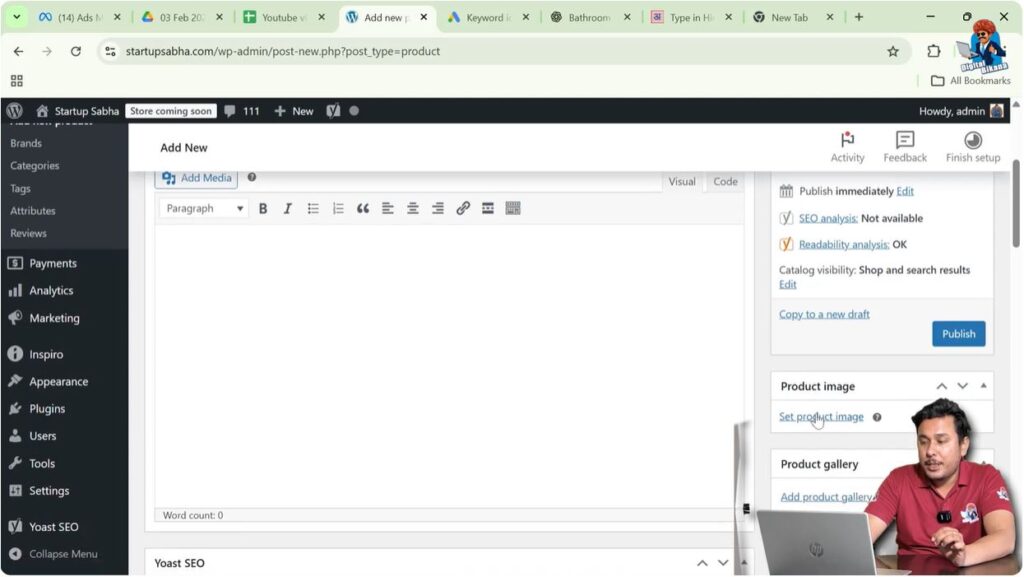
Uploading the Product Cover Image
Scroll down on the product creation page.
On the right side, you will see a section labeled Product Image.
This is where you upload the main cover image of the product.
What Is a Product Cover Image?
The product cover image is the primary image that appears:
- On the shop page
- On category pages
- In product listings
- On the product page as the main image
This image represents your product visually.
Step-by-Step Process to Upload Cover Image
Step 1: Click on Set Product Image
Click on the Set Product Image link.
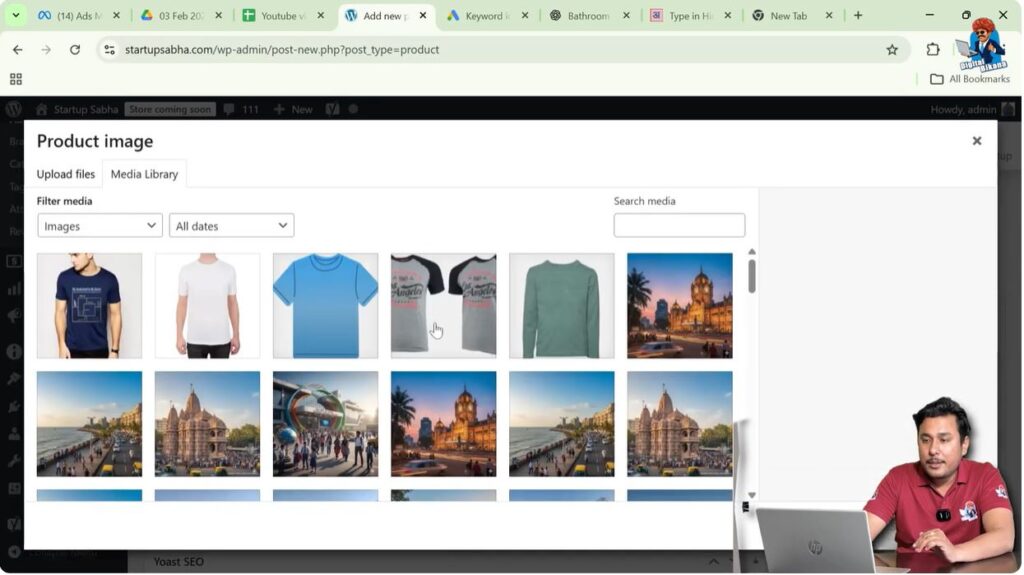
Step 2: Choose Image Source
You have two options:
- Select from Media Library
- Upload a new image from your system
If the image is already uploaded, choose it from the Media Library. Otherwise, click on Upload Files and select an image from your computer.
Renaming the Image for SEO
Before uploading the image, you should rename it properly.
For example:
Instead of:
IMG12345.jpg
Rename it as:
cotton-t-shirt.jpg
Renaming images with relevant keywords helps in SEO.
In this case, the image was renamed as:
cotton t-shirt
This helps search engines understand what the image represents.
Adding Image Title and Alt Text
After selecting the image, you will see fields such as:
- Title
- Alt Text
- Caption
- Description
For SEO purposes, you should focus on the Alt Text.
What Is Alt Text?
Alt text (Alternative Text) describes the image.
For example:
A man wearing cotton t-shirt of blue color
Alt text serves two main purposes:
- SEO benefit
- Accessibility
SEO Benefit of Alt Text
Search engines cannot see images the way humans do. They read alt text to understand what the image represents.
Adding relevant alt text increases the chances of ranking in image search results.
Accessibility Benefit
If a user has poor internet connectivity and the image fails to load, the alt text will appear instead.
This helps users understand the content of the image.
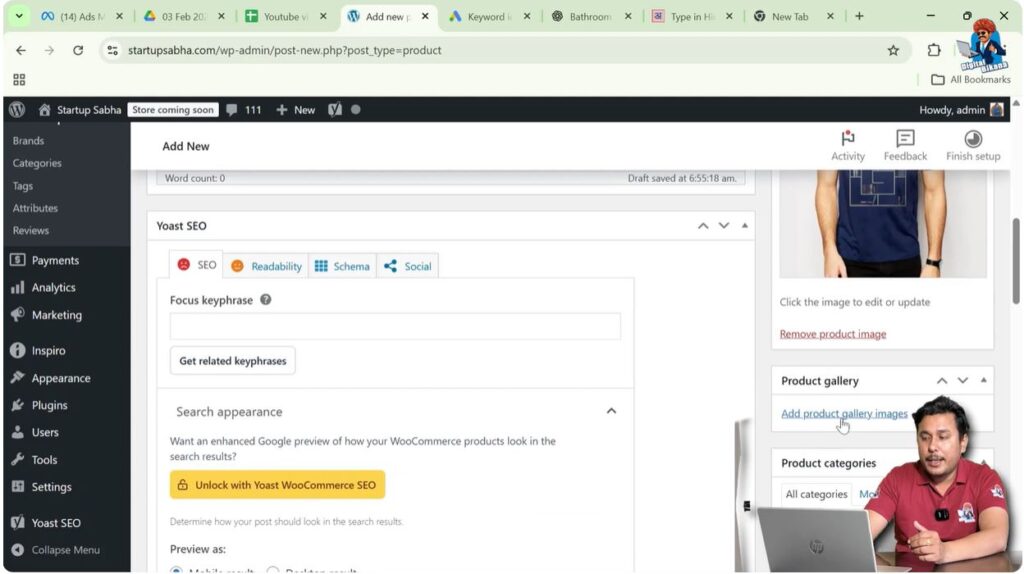
Set the Product Image
After adding the title and alt text, click on Set Product Image.
The cover image is now successfully uploaded.
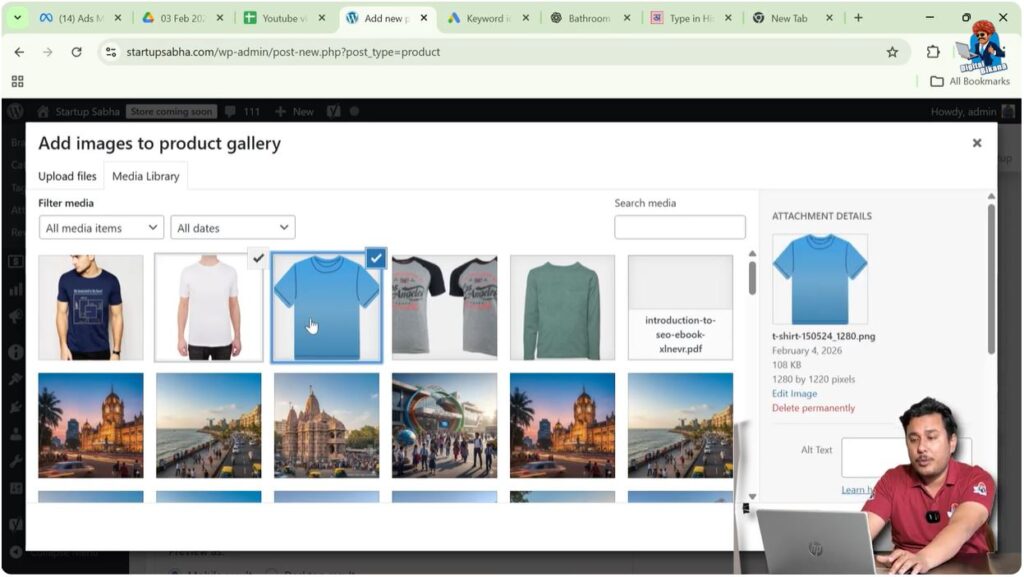
Uploading Product Gallery Images
Now scroll down slightly.
You will see the Product Gallery section.
What Is Product Gallery?
The product gallery allows you to upload additional images of the same product from different angles.
For example:
- Front view
- Back view
- Side view
- Close-up view
- Detail shots
Gallery images provide customers with better clarity about the product.
Step-by-Step Process to Add Gallery Images
Step 1: Click on Add Product Gallery Images
Click on the Add Product Gallery Images button.
Step 2: Select Images
Choose multiple images from the Media Library or upload new ones from your system.
Step 3: Rename and Add Alt Text
Just like the cover image, you must:
- Rename each image with relevant keywords
- Add proper alt text
For example:
cotton-t-shirt-back-view.jpg
Alt Text: Back view of blue cotton t-shirt
Step 4: Click Add to Gallery
After selecting images, click on Add to Gallery.
Now the gallery images are successfully uploaded.
Why Upload Images from Different Angles?
Uploading multiple images improves:
- Customer trust
- Product transparency
- Conversion rate
Customers want to see how the product looks from different perspectives before making a purchase decision.
SEO Importance of Product Images
Although this guide is not fully focused on SEO, product images play an important role in search engine ranking.
Here are important image SEO practices:
- Rename images before uploading
- Use hyphens instead of spaces in file names
- Add descriptive alt text
- Keep file size optimized
- Use relevant keywords naturally
Following these practices improves product page visibility.
Example Scenario
Let us understand with a simple example.
Product Name: Cotton T-Shirt
Cover Image:
File Name: cotton-t-shirt-blue.jpg
Alt Text: Blue cotton t-shirt front view
Gallery Images:
File Name: cotton-t-shirt-back.jpg
Alt Text: Back view of blue cotton t-shirt
File Name: cotton-t-shirt-side.jpg
Alt Text: Side view of cotton t-shirt
These small optimizations help in ranking product images in search results.
Publishing the Product
After uploading images:
- Add product description
- Set pricing
- Configure inventory
- Select categories
Then click on Publish.
Now the product will display:
- Cover image
- Gallery images
- Product details
Customers can click on thumbnails to view images from different angles.
How Images Appear on the Product Page
On the product page:
- The cover image appears as the main image
- Gallery images appear as thumbnails
- Clicking a thumbnail changes the main image
This improves user experience.
Common Mistakes to Avoid
While uploading product images, avoid these mistakes:
- Uploading large file sizes
- Using generic file names like IMG001
- Skipping alt text
- Uploading blurry images
- Not showing multiple angles
These mistakes can reduce user trust and SEO performance.
Step-by-Step Summary
Step 1: Log in to WordPress Dashboard
Access admin panel.
Step 2: Go to Products
Click Add New Product.
Step 3: Enter Product Name
For example, Cotton T-Shirt.
Step 4: Upload Cover Image
Click Set Product Image and select image.
Step 5: Rename Image and Add Alt Text
Optimize for SEO.
Step 6: Add Gallery Images
Upload images from different angles.
Step 7: Publish Product
Click Publish.
Conclusion
Uploading product images in WooCommerce on a WordPress website is a simple yet crucial process. The cover image represents your product on shop pages, while gallery images provide additional visual details from different angles.
Renaming images and adding proper alt text not only improves accessibility but also strengthens your SEO performance. By following proper image upload practices, you can create visually appealing product pages that attract customers and improve conversions.
This is how you can upload product images in WooCommerce on a WordPress website.
Related Posts


