Uploading a featured image or cover image in a blog post on a WordPress website is a simple process. A featured image represents the blog post visually and is usually displayed at the top of the article as well as on blog listing pages. Setting a proper featured image helps improve the presentation of the blog post and also supports SEO.
In this article, you will learn how to upload a featured image or cover image in a WordPress blog post and understand important SEO tips related to images.
Creating a New Blog Post
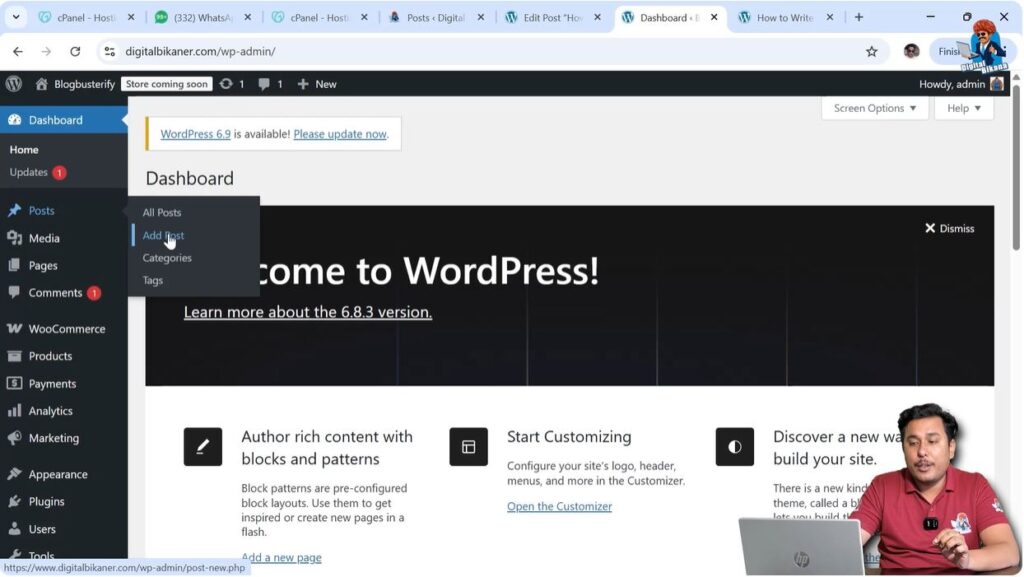
First, log in to your WordPress admin dashboard.
After logging in, look at the left-side toolbar where you will find the Posts section.
Click on Posts, and then click on Add Post to create a new blog post.
After clicking Add Post, the WordPress editor will open.
You can start writing your blog post content here. If you are creating a new post and want to upload a cover image, you can do it from the post settings panel.
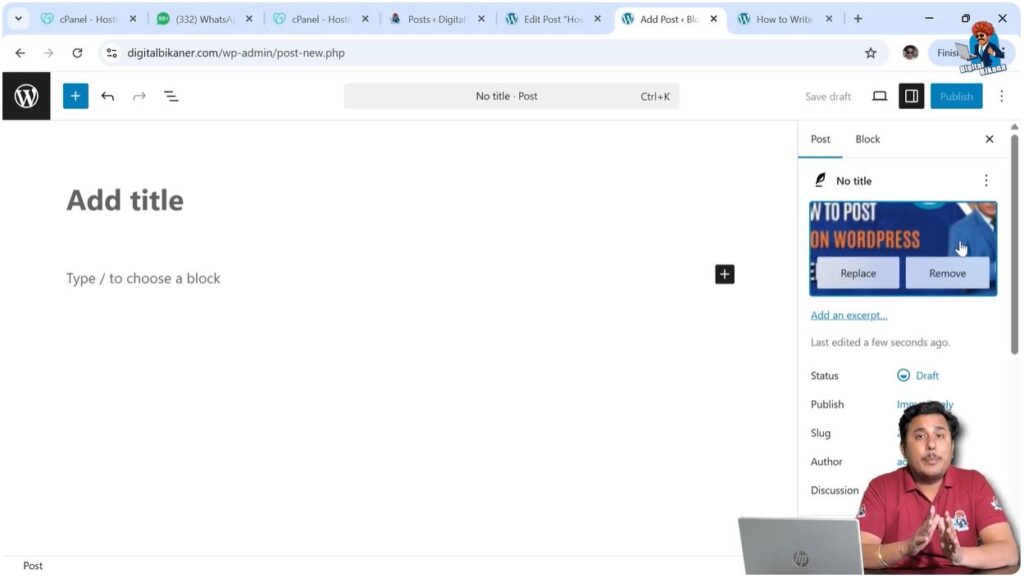
Opening Featured Image Settings
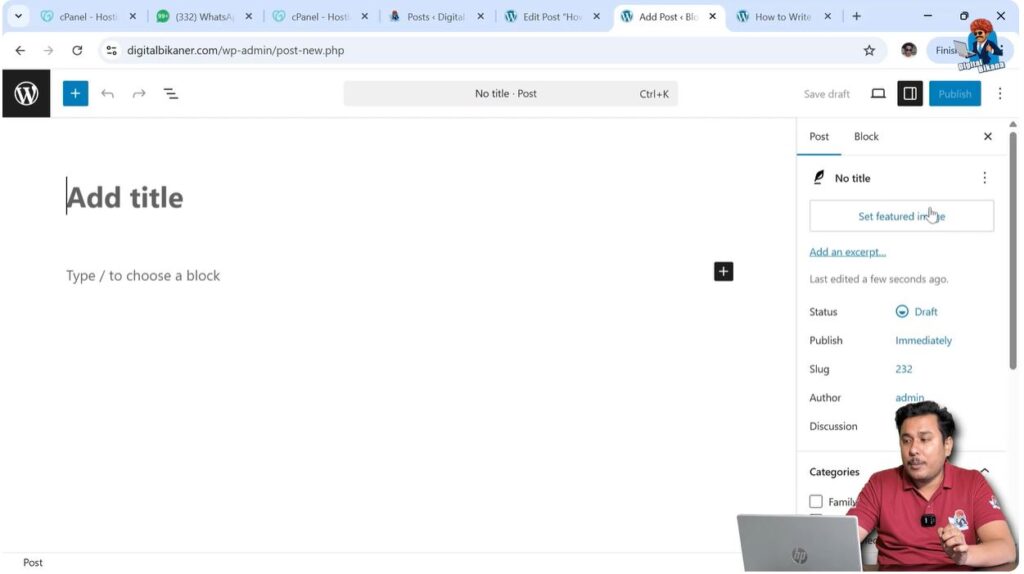
After opening the post editor, look at the right side of the screen where you will see the settings panel.
The settings panel contains two sections:
- Post
- Block
If the settings panel is not visible, click on the Settings icon located in the top-right corner near the Publish button.
After clicking the settings icon, the settings panel will appear.
Open the Post section.
Inside the Post section, you will see the option called Set Featured Image.
Step 1 – Open Featured Image Option
Open the WordPress post editor.
Go to the right-side settings panel.
Click on the Post section.
Locate the Set Featured Image button.
Click on Set Featured Image.
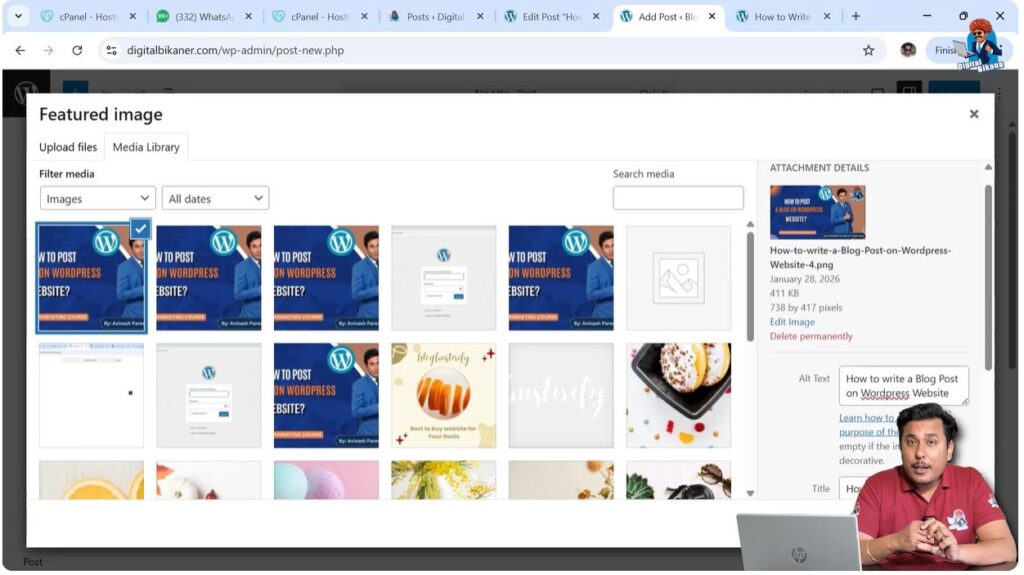
Uploading Featured Image
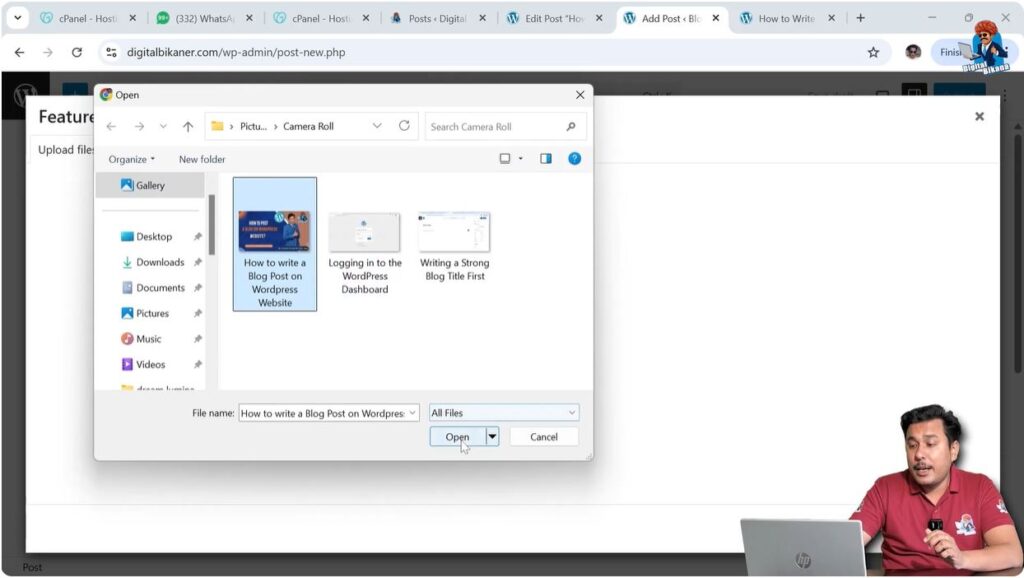
After clicking on Set Featured Image, the Media Library window will open.
From here you can upload an image from your computer.
Click on Upload Files.
Click on Select Files.
Choose the image file from your computer.
Click Open.
The image will be uploaded to the media library.
After uploading, select the image.
Click on Set Featured Image.
The featured image will be added to the blog post.
Step 2 – Upload Image from Computer
Click on Upload Files.
Click on Select Files.
Choose the image from your computer.
Click Open.
The image will be uploaded.
Step 3 – Set Featured Image
Select the uploaded image.
Click on Set Featured Image.
The featured image will be added to the blog post.

Renaming Image Before Uploading
Before uploading a featured image, it is recommended to rename the image file in your computer.
Open the file explorer in your system.
Locate the image file.
Rename the image file using relevant keywords.
After renaming the image file, upload it to WordPress.
When the image is uploaded, the image title automatically becomes the same as the file name.
Renaming the image helps maintain proper image titles.
SEO Benefits of Renaming Images
Renaming images before uploading helps search engines understand the content of the image.
Search engines such as Google, Yahoo, Bing, and DuckDuckGo use image information to understand web pages.
If the image file name contains relevant keywords, search engines can identify the topic more easily.
Images with proper titles help search engines find your web page for related search queries.
This can help improve ranking in search engine results.
Using relevant keywords in image titles helps search engines associate images with the content.
This can help your page rank better for related searches.
Adding Alt Text to Featured Image
After uploading the image, you should add alt text to the image.
Alt text describes what the image is about.
You can enter the alt text in the Alt Text field in the media library.
The alt text should be related to the image.
You can use the same keywords as the image title if required.
After entering the alt text, click on Set Featured Image.
Step 4 – Add Alt Text
Select the uploaded image.
Locate the Alt Text field.
Enter the alt text.
Click on Set Featured Image.
Importance of Alt Text
Alt text is important for accessibility and SEO.
Alt text helps screen readers describe images to users who cannot see them.
Screen readers read the alt text and explain what the image represents.
This helps visually impaired users understand the content.
Alt text is also useful when images do not load properly.
If an image fails to load due to slow internet connection, the alt text will be displayed instead.
This helps users understand the context of the image.
Alt text also helps search engines understand images better.
Proper alt text improves SEO and accessibility.
Featured Image Display
After setting the featured image, it will be associated with the blog post.
The featured image will appear at the top of the article on the front end.
It may also appear on blog listing pages and homepage sections.
The featured image visually represents the blog post.
Conclusion
Uploading a featured image or cover image in a WordPress blog post is a simple process. You need to open the post editor, go to the Post settings, click on Set Featured Image, upload the image, and select it.
Before uploading, it is recommended to rename the image file using relevant keywords. After uploading, you should add alt text to the image.
Properly optimized featured images help improve SEO, accessibility, and user experience on your WordPress website.
Related Posts