Installing the WooCommerce plugin on your WordPress website allows you to convert a normal website into an eCommerce website. WooCommerce is required if you want to create a shop page and sell products or services through your WordPress website. With WooCommerce, you can list products, manage orders, accept payments, and run an online store directly from your website.
In this article, you will learn how to install the WooCommerce plugin on your WordPress website and understand the basic features available after installation.
Why You Need WooCommerce Plugin
WooCommerce is required when you want to sell products or services through your WordPress website. If you want to create a shop page and list products or services, you need WooCommerce.
WooCommerce helps you turn your WordPress website into a complete eCommerce website. It allows you to display products and services and manage customers and orders.
With WooCommerce, you can sell both physical and digital products.
WooCommerce also allows you to configure payment methods and shipping options.
After installing WooCommerce, you can start building your online store and generate revenue by selling products and services through your website.
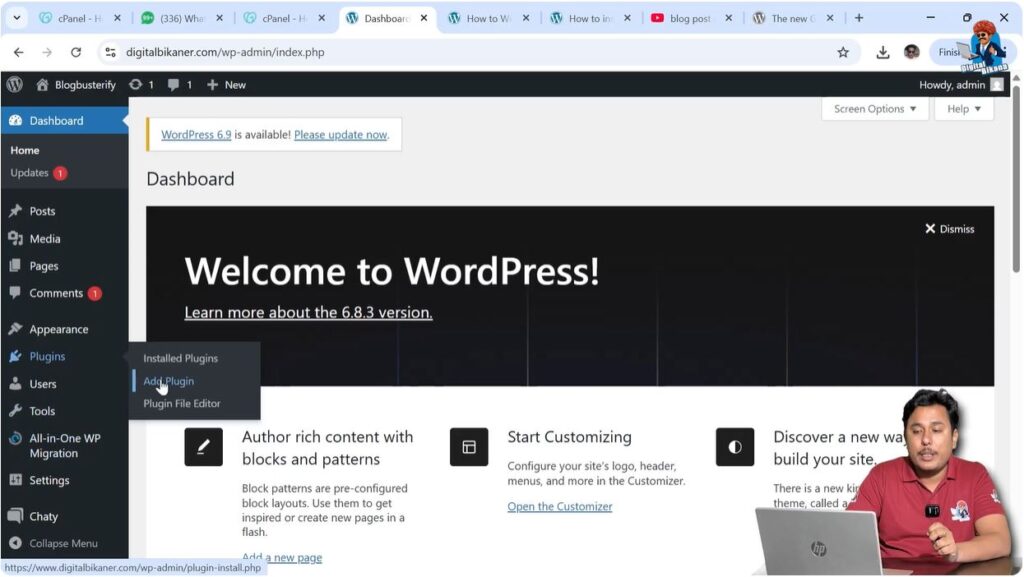
Opening Plugin Section in WordPress Dashboard
First, log in to your WordPress admin dashboard.
After logging in, go to the left-side toolbar and find the Plugins section.
Click on Plugins and then click on Add New Plugin.
This will open the plugin installation screen where you can search and install plugins.
Step 1 – Open Add Plugin Section
Log in to WordPress admin dashboard.
Go to the left-side toolbar.
Click on Plugins.
Click on Add New Plugin.
The plugin installation screen will open.
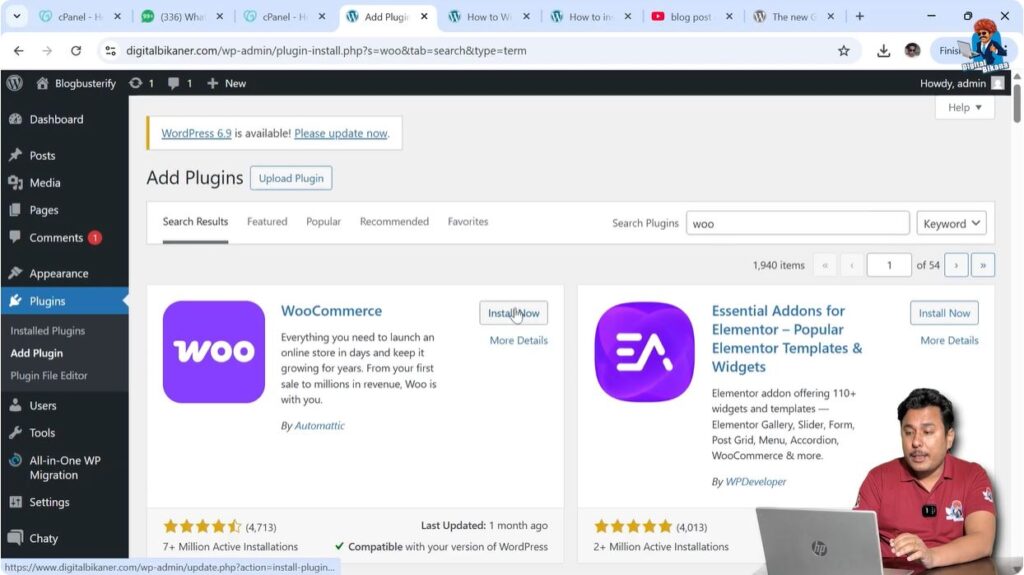
Searching WooCommerce Plugin
After opening the plugin installation screen, you need to search for WooCommerce.
In the plugin search box, type WooCommerce.
The WooCommerce plugin will appear in the search results.
WooCommerce is the plugin required to create an eCommerce store on your WordPress website.
WooCommerce allows you to add products, create coupons, configure shipping zones, and add payment methods.
WooCommerce provides all the features required to build an online store.
Step 2 – Search WooCommerce Plugin
Go to the plugin search box.
Type WooCommerce.
Locate the WooCommerce plugin in the search results.

Installing WooCommerce Plugin
After finding the WooCommerce plugin, you need to install it.
Click on the Install Now button.
WordPress will start installing the plugin.
Wait until the installation is completed.
After installation, the Activate button will appear.
Step 3 – Install Plugin
Click on Install Now.
Wait for the installation to complete.
The Activate button will appear.
Activating WooCommerce Plugin
After installing WooCommerce, you need to activate it.
Click on the Activate button.
After activation, WooCommerce will be installed on your website.
WooCommerce setup options will appear.
You may see the guided setup screen.
You can skip the guided setup and go directly to your store.
WooCommerce basic settings will be applied automatically.
Later, you can configure WooCommerce according to your requirements.
Step 4 – Activate Plugin
Click on Activate.
WooCommerce will be activated.
You can skip the guided setup.
Go to your store dashboard.

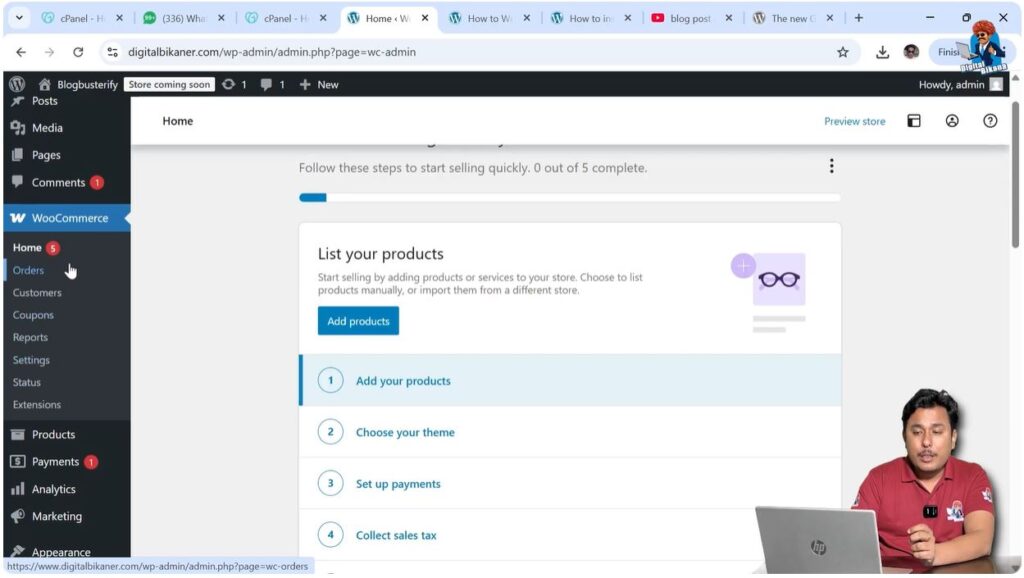
WooCommerce Options After Installation
After installing WooCommerce, several new options appear in the WordPress dashboard.
These options help you manage your eCommerce store.
You will see the WooCommerce section in the left-side toolbar.
You will also see additional sections such as:
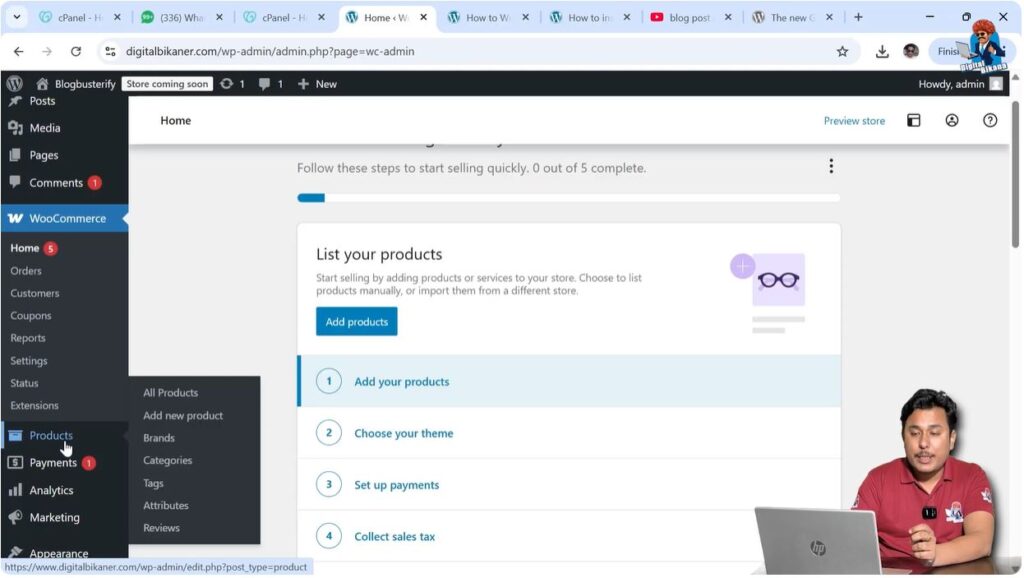
- Products
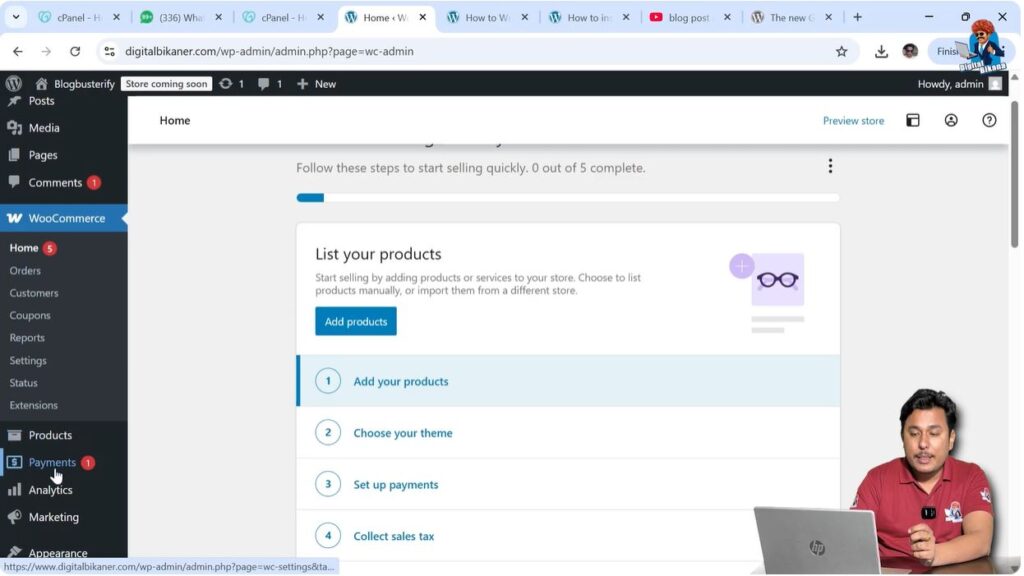
- Payments
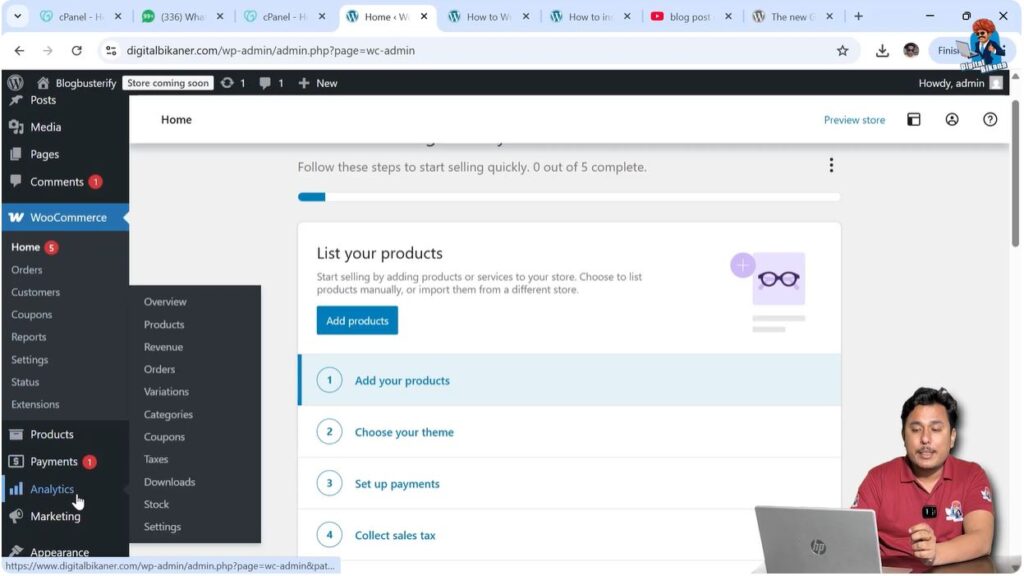
- Analytics
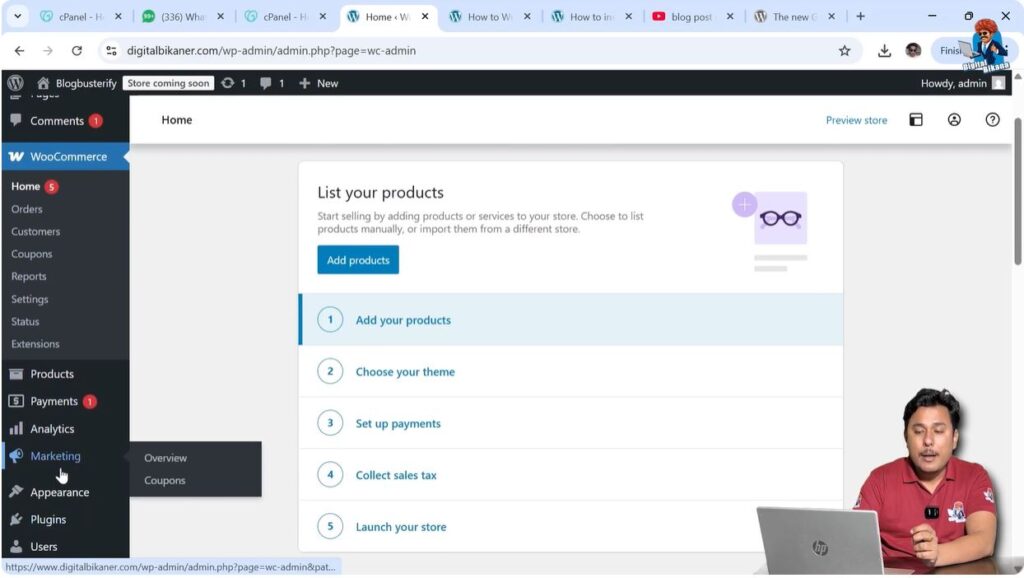
- Marketing
These sections help you manage different parts of your online store.

Product Section
The Products section allows you to add new products.
You can create product listings from this section.
Products can include both physical and digital items.
You can manage all your products from the Products section.
You can edit and update products whenever required.
Payment Section
The Payments section allows you to manage payments.
You can configure payment methods from this section.
Customers can pay through the available payment methods on your website.
You can manage received payments using this section.
Analytics Section
The Analytics section helps you track the performance of your store.
You can view store data and reports.
Analytics helps you understand customer behavior.
You can monitor product performance using analytics.
This section provides useful store insights.
Marketing Section
The Marketing section allows you to manage promotions.
You can create discount coupons using this section.
Coupons help attract customers.
Marketing tools help promote your products and services.
Managing Customers and Orders
WooCommerce allows you to manage customers and orders.
You can view customer details.
You can see which customers have purchased products or services.
You can track orders placed on your website.
WooCommerce provides order reports.
You can monitor order history.
This helps manage your online store effectively.
WooCommerce Setup in Future Steps
WooCommerce includes many features that need to be configured after installation.
You need to configure:
- Products
- Payment methods
- Shipping zones
- Coupons
These settings help complete the setup of your online store.
After configuring WooCommerce properly, your website will function as a complete eCommerce store.
Conclusion
Installing the WooCommerce plugin is the first step in creating an eCommerce website on WordPress. WooCommerce allows you to sell products and services through your website and manage customers and orders.
You can install WooCommerce by going to Plugins and clicking Add New Plugin, searching for WooCommerce, installing it, and activating it.
After installation, WooCommerce adds several options such as Products, Payments, Analytics, and Marketing, which help manage your online store. Proper WooCommerce setup allows you to build a fully functional eCommerce website.
Related Posts