If you are using WordPress and want to connect your website with Google Search Console, one of the most important steps is submitting your sitemap. Many beginners think that they need to manually generate a sitemap file before submitting it. However, in WordPress, the sitemap is automatically generated.
In this article, you will learn how to generate the sitemap of your WordPress website for Google Search Console. The explanation is simple and detailed so that you can clearly understand the process.
Understanding Sitemap in WordPress
A sitemap is a file that contains a list of important URLs of your website. It helps search engines like Google understand your website structure and crawl your pages efficiently.
In WordPress, you do not need to create a sitemap manually. WordPress automatically generates an XML sitemap for your website.
This means:
- You do not need to install a separate tool to create a sitemap.
- You do not need to manually write any XML file.
- WordPress handles the sitemap creation automatically.
Your only task is to find the sitemap URL and submit it in Google Search Console.
Do You Need to Generate a Sitemap Manually?
Many website owners ask whether they need to generate a sitemap file before submitting it.
The answer is no.
In WordPress:
- The sitemap is automatically created.
- It is available by default.
- You only need to access it using the correct URL format.
There is no need to generate or create a sitemap manually.
Finding the Sitemap URL of Your WordPress Website
Now let us understand how to find the sitemap URL of your WordPress website.
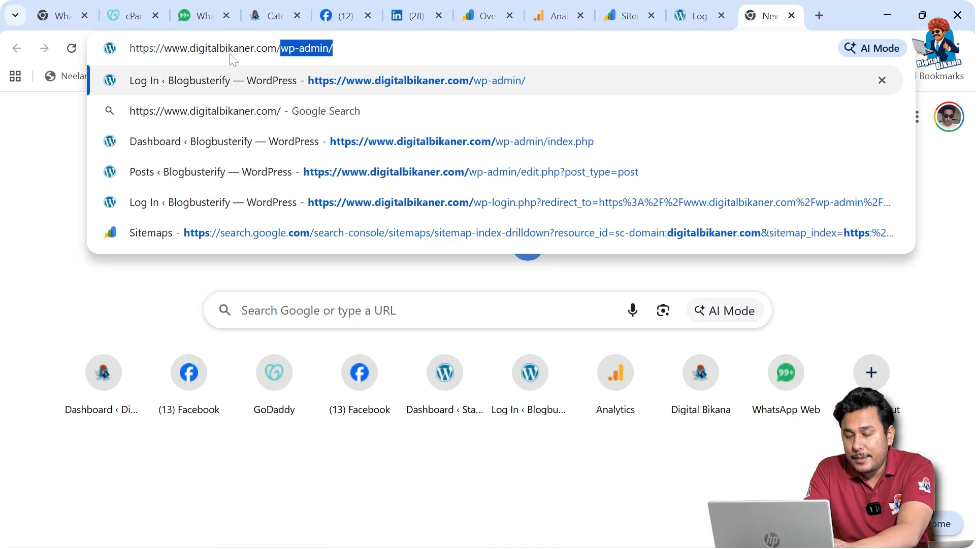
Step 1: Open Your Browser
Go to your browser and click on the address bar.
Step 2: Enter Your Domain Name
Type your domain name.
For example:
https://www.example.com
Replace “example.com” with your actual domain name.
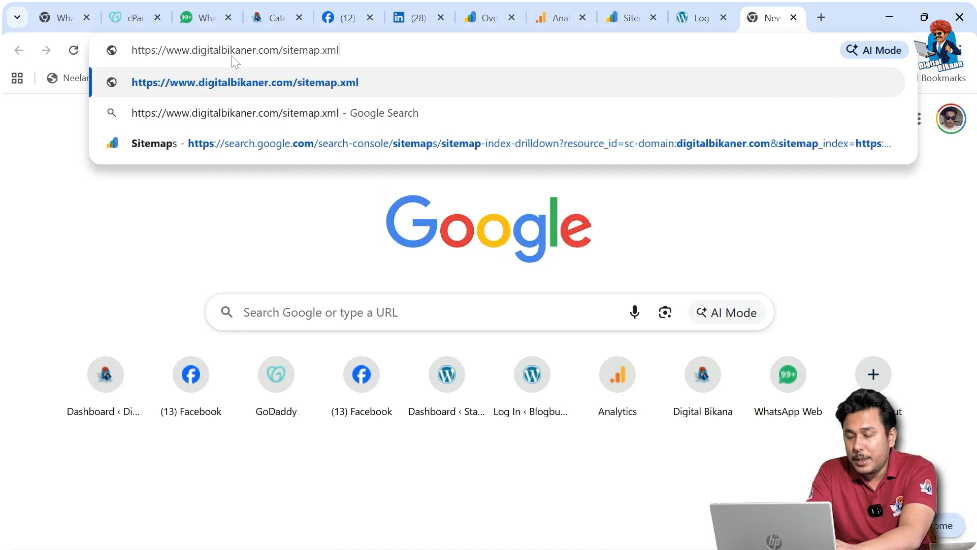
Step 3: Add /sitemap.xml
After your domain name, add:
/sitemap.xml
So the complete URL will look like:
https://www.example.com/sitemap.xml
This is the default sitemap location in WordPress.
Opening the Sitemap URL
Step 4: Press Enter
After typing:
https://yourdomain.com/sitemap.xml
Press Enter.
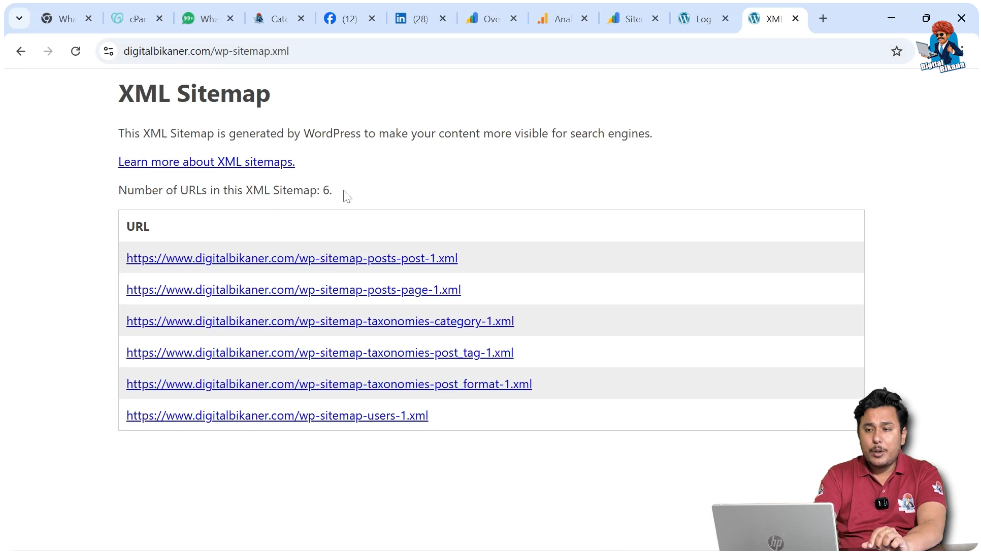
If your website is working properly, the XML sitemap page will load.
You will see structured XML content that lists different sections of your website.
This confirms that your sitemap is already generated.

What You Will See in the Sitemap
Once the sitemap loads, you will notice:
- XML formatted content
- Links to different pages
- Categories or post URLs
- Possibly multiple sitemap files
This sitemap is automatically created by WordPress to make your content more visible to search engines.
You do not need to edit or generate it manually.
Why WordPress Automatically Generates Sitemap
WordPress includes built-in sitemap functionality so that:
- Search engines can crawl your site easily.
- New content can be discovered quickly.
- Website indexing becomes faster.
This automatic system ensures that every time you publish new content, it gets added to the sitemap automatically.
Connecting Sitemap with Google Search Console
Once you have confirmed that your sitemap URL works, the next step is to submit it in Google Search Console.
Step 5: Open Google Search Console
Log in to your Google Search Console account.
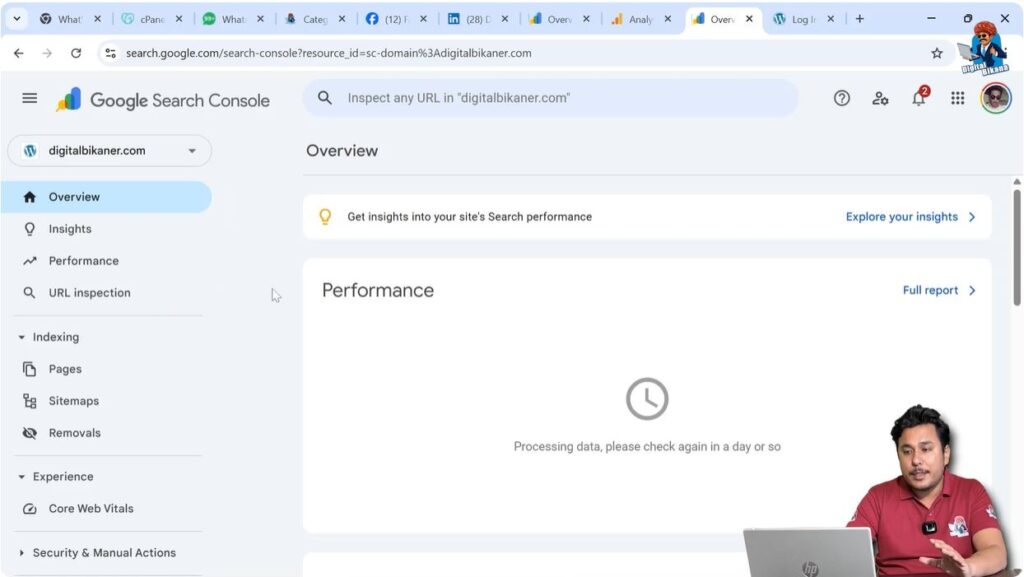
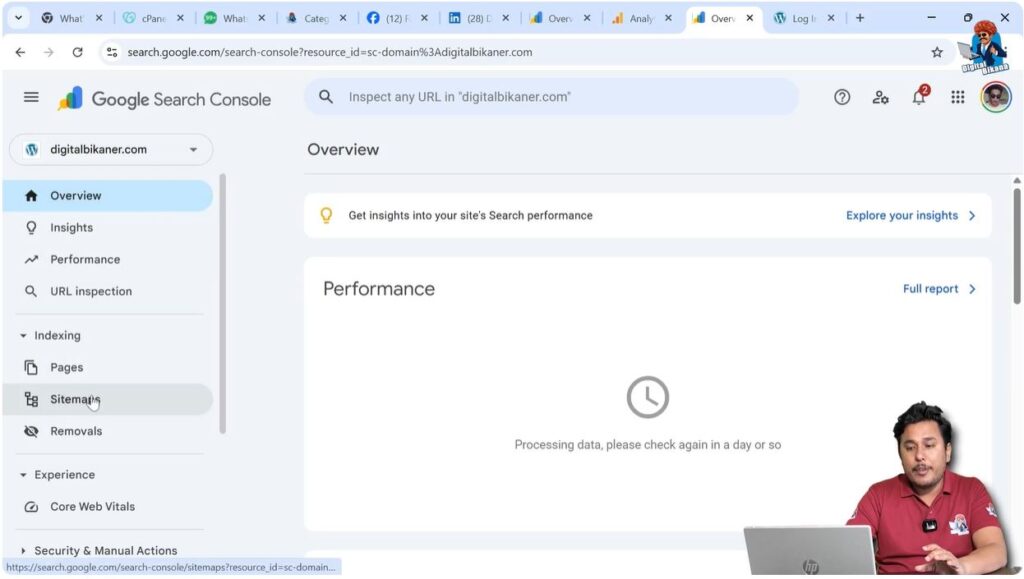
Step 6: Go to the Sitemaps Section
From the left side toolbar, click on Sitemaps.
Step 7: Enter Sitemap URL
In the sitemap submission field, enter:
yourdomain.com/sitemap.xml
Make sure:
- You enter the correct domain name.
- The format is accurate.
- There are no typing mistakes.
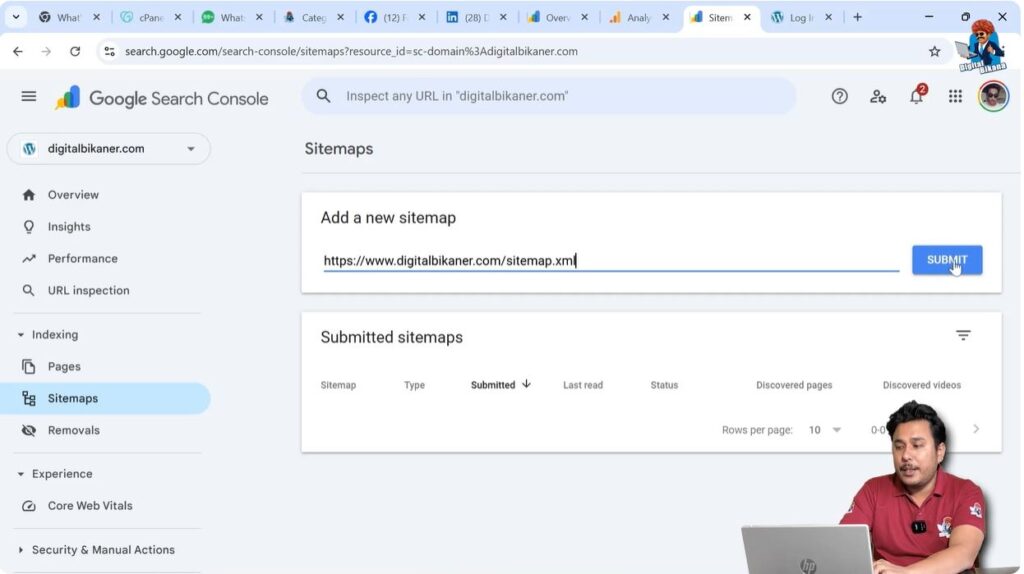
Step 8: Click Submit
Click on the Submit button.
Your sitemap will now be submitted to Google.
What Happens After Submission?
After submitting the sitemap:
- Google reads the XML file.
- It identifies all important URLs.
- It starts crawling those pages.
- It indexes relevant content.
This process connects your website properly with Google Search Console.
Do You Need to Regenerate Sitemap Every Time?
No.
WordPress automatically updates the sitemap whenever:
- You publish a new blog post.
- You create a new page.
- You update content.
You do not need to regenerate or recreate the sitemap manually.
Importance of Sitemap for SEO
Submitting your sitemap helps in:
- Faster indexing of new content.
- Better website visibility.
- Improved crawling efficiency.
- Organized website structure for search engines.
Without a sitemap, Google may still find your pages, but submitting it ensures better and faster discovery.
Common Mistakes to Avoid
While accessing your sitemap, avoid these mistakes:
- Forgetting to add /sitemap.xml
- Adding extra spaces
- Typing incorrect domain name
- Using HTTP instead of HTTPS (if your site uses HTTPS)
Always double-check your URL before submitting.
How to Confirm Sitemap Is Working
Before submitting to Google Search Console:
- Open a new browser tab.
- Type yourdomain.com/sitemap.xml
- Press Enter.
If the XML content loads, your sitemap is working properly.
If it shows an error, you may need to check your WordPress configuration.
Summary of the Entire Process
To generate sitemap for WordPress:
- You do not need to generate anything manually.
- WordPress automatically creates the sitemap.
- You simply need to access it using: yourdomain.com/sitemap.xml
- Then submit it in Google Search Console.
That is all.
Conclusion
Generating a sitemap for your WordPress website is extremely simple because WordPress does it automatically for you. You do not need to create or generate any sitemap manually.
All you need to do is:
- Type your domain name followed by /sitemap.xml in the browser.
- Confirm that the XML sitemap loads.
- Submit the same URL in Google Search Console.
By following these steps, your website will be properly connected with Google Search Console, and your content will become more visible to search engines.
WordPress handles the technical part for you. You just need to use the correct sitemap URL and submit it.
Related Posts