In this article, we are going to learn how to create a custom audience of website visitors in Facebook Ads Manager. Creating a website visitor custom audience is one of the most important steps for running effective retargeting ads.
When users visit your website after clicking on your ads, not everyone makes a purchase immediately. Some users explore your website, some check specific product pages, and some even add products to the cart but leave without buying. These users are already interested in your product or service, and targeting them again with relevant ads can significantly improve your conversions.
This article explains, step by step, how to create a custom audience of website visitors, how to refine it using specific page URLs, how to include and exclude users, and how to create a high-quality retargeting audience.
Why Website Visitor Custom Audience is Important
A website visitor custom audience allows you to:
- Retarget users who already visited your website
- Show relevant ads based on user interest
- Avoid wasting money on cold audiences
- Increase conversion chances
Instead of showing ads to everyone, you can show ads only to those users who have already interacted with your website.
Prerequisite: Meta Pixel Must Be Installed
Before creating a website visitor custom audience, Meta Pixel must be correctly installed on your website header section.
If the Meta Pixel is installed correctly:
- Facebook Ads Manager shows a green signal
- Website tracking is active
If you see a green signal, it means Meta Pixel is working correctly and you can proceed with custom audience creation.
Opening Facebook Ads Manager and Audiences Section
First, log in to your Facebook Ads Manager.
Inside Ads Manager:
- Go to the Audiences section
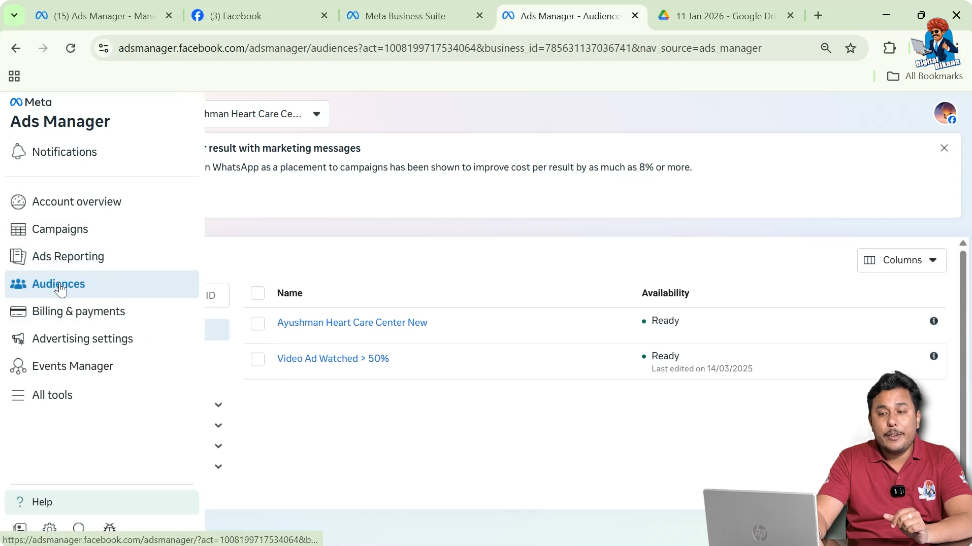
- This is where all saved, custom, and lookalike audiences are managed
How to Create Custom Audience of Website Visitors in Facebook Ads?
Step 1: Click on Create Audience
Start Audience Creation
In the Audiences section:
- Click on Create Audience
- Select Custom Audience
This allows you to create an audience based on user activity.

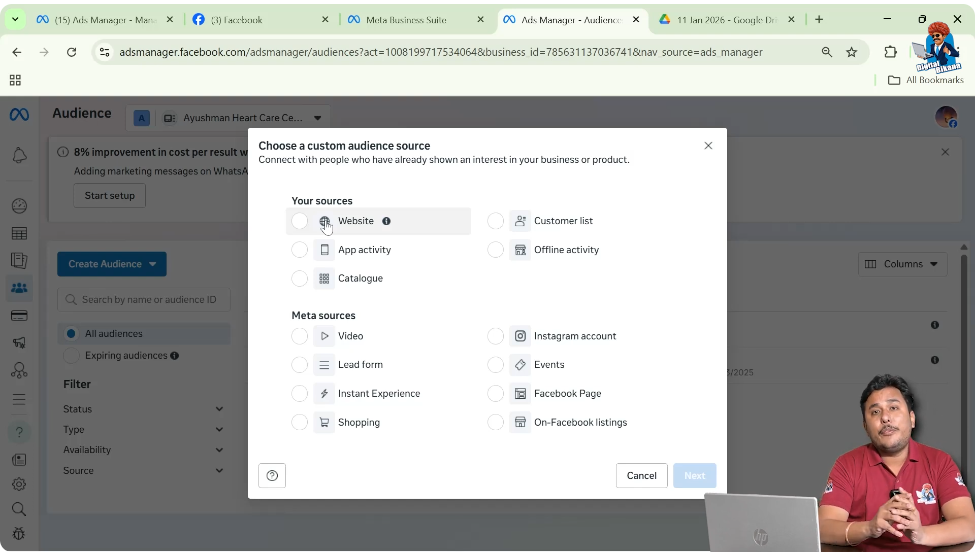
Step 2: Select Website as the Source
Choose Website Traffic
From the list of sources:
- Select Website
- Click on Next
This tells Meta that the audience will be created using website visitor data.
Confirming Meta Pixel Status
After selecting Website:
- Facebook Ads Manager displays pixel status
- If the pixel is installed correctly, a green signal appears
This confirms that Meta Pixel is active and tracking website visitors.
Understanding Website Visitor Behavior (Example Explained)
To understand why specific page targeting is important, consider this example:
- You ran a traffic campaign on a saved audience
- 5,000 users visited your website homepage
- 3,000 users bounced from the homepage
- 2,000 users clicked on different links
Not all users behave the same. Some explore product pages, some visit category pages, and some exit immediately.
Targeting all website visitors includes both interested and uninterested users, which can waste ad budget.
Choosing the Right Audience Type
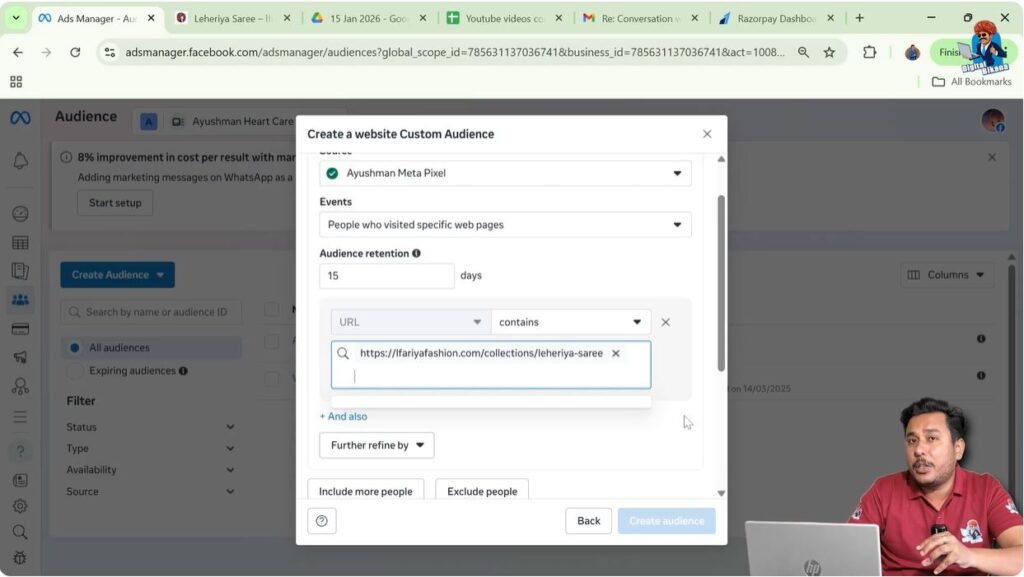
Step 3: Select “People Who Visited Specific Web Pages”
Avoid Targeting All Visitors
Instead of selecting All Website Visitors, choose:
- People who visited specific web pages
This allows you to target users who showed interest in specific products or categories.

Setting Audience Retention Duration
Step 4: Choose Audience Retention Days
Define How Long Users Stay in Audience
Set how long users should remain in the custom audience.
For example:
- Enter 15 days
This means:
- Users who visited the website in the last 15 days will be included
- New users will be added automatically
- Users older than 15 days will be removed
This keeps the audience fresh and relevant.

Adding URL Conditions for Specific Pages
Step 5: Enter Specific Page URL
Define Page Matching Rule
Now choose how Meta should match URLs:
- URL contains
- URL equals
- URL does not contain
You can:
- Enter only the page slug
- Or enter the complete URL
Both methods work.
Why Target Specific Page URLs
For example:
- A user visits a sari category page
- That user is interested in saris, not dupattas
So it makes sense to retarget them with sari ads only.
Creating Product-Specific Retargeting Audience
By entering the product or category page URL:
- Meta creates an audience of users who visited that page
- These users already showed interest
This allows you to show highly relevant ads.
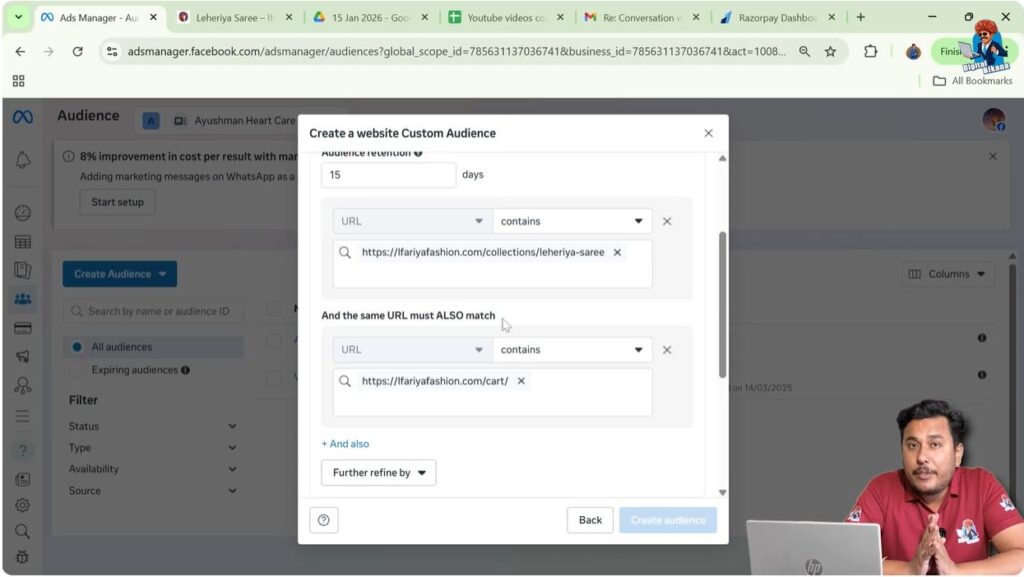
Refining Audience Using “AND Also” Condition
Step 6: Add Cart Page URL Using AND Condition
Narrow Down Interested Users
You can further refine the audience by adding another condition:
- Use AND also
- Enter the cart page URL
This creates an audience of users who:
- Visited the product page
- Added the product to the cart
This is a warm audience.
Why Cart Page Users Are Valuable
For example:
- 500 users visited the product page
- 200 users added the product to the cart
These 200 users are more likely to convert compared to casual visitors.
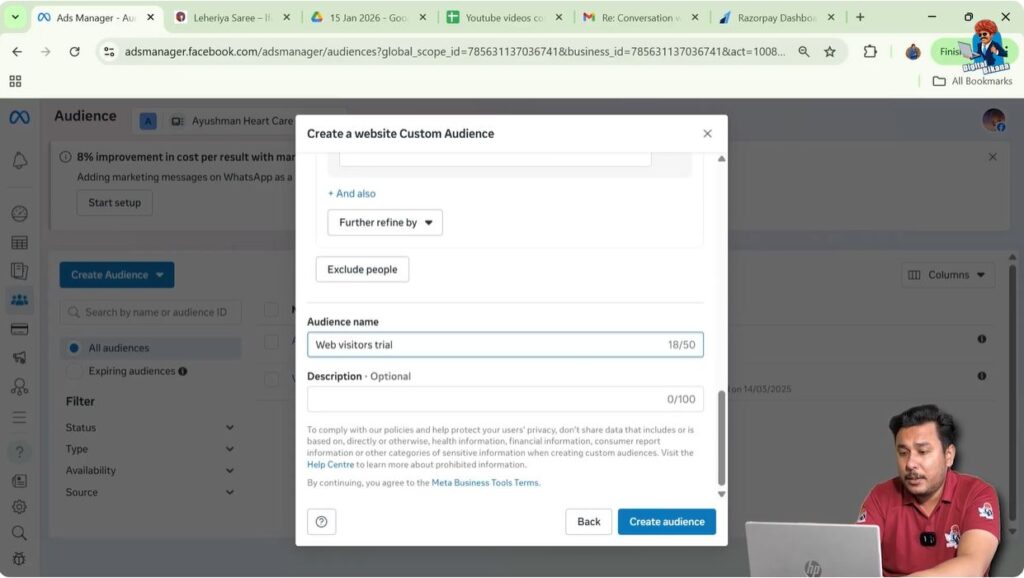
Excluding Users Who Already Purchased
Step 7: Exclude Order Confirmation Page
Remove Converted Users
Now exclude users who already completed the purchase.
- Select Exclude People
- Choose People who visited specific web pages
- Enter the order confirmation page URL
This removes users who already purchased the product.

Why Excluding Buyers Is Important
If you don’t exclude buyers:
- Ads are shown to users who already purchased
- Budget is wasted
- User experience becomes poor
Excluding buyers ensures ads are shown only to potential customers.
Audience Size Optimization Explained
For example:
- 200 users added product to cart
- 10 users completed purchase
After exclusion:
- You are left with 190 users
These users:
- Showed interest
- Did not complete payment
This is an ideal retargeting audience.
Optional: Checkout Page Condition (Not Recommended)
You can add:
- Checkout page URL
But this reduces audience size further.
Many users:
- Add products to cart
- Decide to buy later
So excluding checkout users may reduce potential conversions. That’s why this step is optional.
Naming and Creating the Custom Audience
Step 8: Enter Audience Name and Create
Finalize Audience
Now:
- Enter a clear audience name
- Add description (optional)
- Click on Create Audience
Time-Spent Targeting (Why Not Recommended)
Facebook also allows:
- Targeting visitors based on time spent
But this is not always accurate because:
- Users may leave screen idle
- Time spent does not always mean interest
That’s why URL-based targeting is more reliable.
Audience Status: Populating and Ready
After creating the audience:
- Status shows Populating
- It usually takes 24 to 48 hours
- After processing, status becomes Ready
Once ready, you can use it in ad campaigns.
How This Audience Is Used in Retargeting Ads
After audience creation:
- Create a new ad campaign
- Select this custom audience
- Show product-specific ads
This increases relevance and conversion rate.
Benefits of This Custom Audience Strategy
This strategy helps you:
- Avoid cold traffic
- Show relevant ads
- Reduce ad waste
- Improve ROI
You target users based on their actual behavior.
Simple Explanation of the Full Process
In simple words:
- Install Meta Pixel
- Track website visitors
- Create audience using page URLs
- Include interested users
- Exclude buyers
- Run retargeting ads
Final Conclusion
Creating a custom audience of website visitors in Facebook Ads Manager is a powerful retargeting strategy. Instead of targeting all website visitors, you can create a highly refined audience based on specific page visits, cart actions, and purchase behavior.
By targeting users who visited specific product pages, added items to the cart, and excluding those who already purchased, you create a high-quality audience that is more likely to convert. Although it takes 24 to 48 hours for the audience to populate, this waiting time is worth it because it allows Meta to accurately process user behavior.
This method ensures better ad performance, reduced waste, and higher conversion potential when running Facebook retargeting ads.
Related Posts