In this article, we are going to understand in detail how to create a call ad using Meta Ads Manager. A call ad is designed to encourage users to directly call your business instead of visiting a website or sending a message. This type of ad is especially useful for service-based businesses where direct communication with customers is important. The complete process is explained step by step, starting from campaign creation to publishing the ad. Every setting is explained in detail so that even beginners can easily understand how to run Facebook and Instagram call ads.
Understanding Where Call Ads Are Created in Meta Ads Manager
Before starting, it is important to understand that Meta Ads Manager follows a three-level structure:
Call ads are created by selecting the correct objective at the campaign level and configuring calls as the conversion action at the ad set and ad creative levels.
How to Create a Call Ad Campaign in Meta Ads Manager?
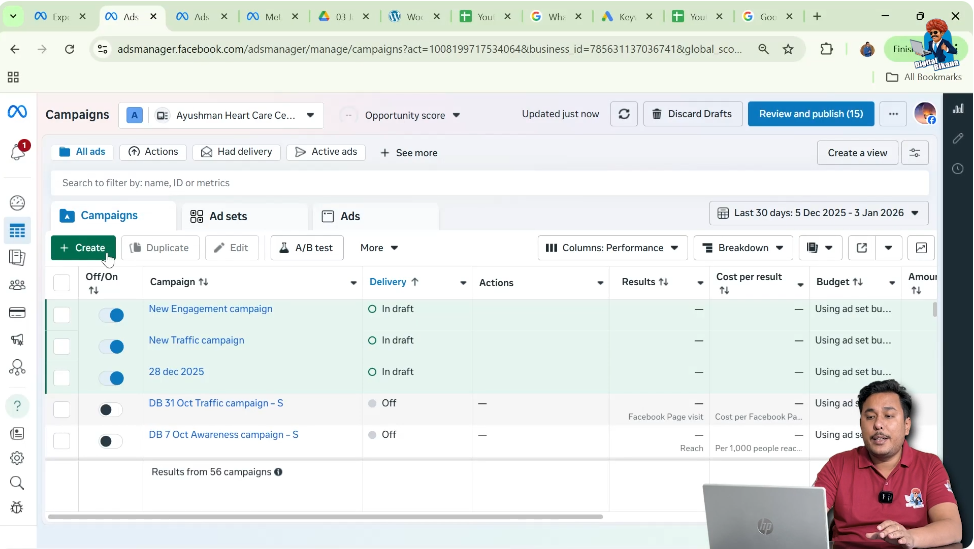
Step 1: Opening Meta Ads Manager and Creating a New Campaign
First of all, log in to your Meta Ads Manager account. Once you are inside the dashboard, you will see an option to create a new campaign. Click on the create button to begin setting up your call ad campaign.
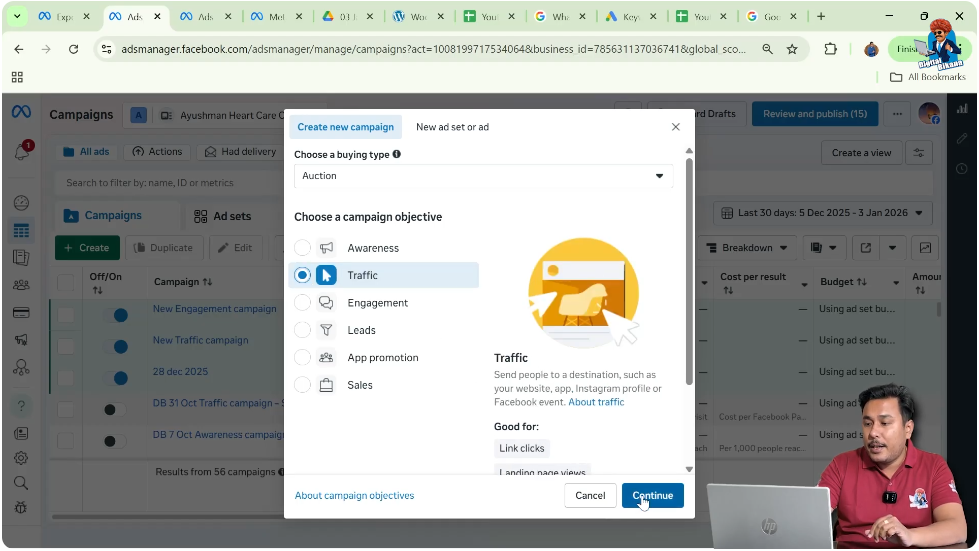
Step 2: Selecting the Traffic Objective
After clicking on create, Meta Ads Manager asks you to select an objective.
Here, you need to select Traffic.
Traffic is selected because it works well for:
- Call ads
- Website traffic
Once Traffic is selected, click on Continue to move forward.
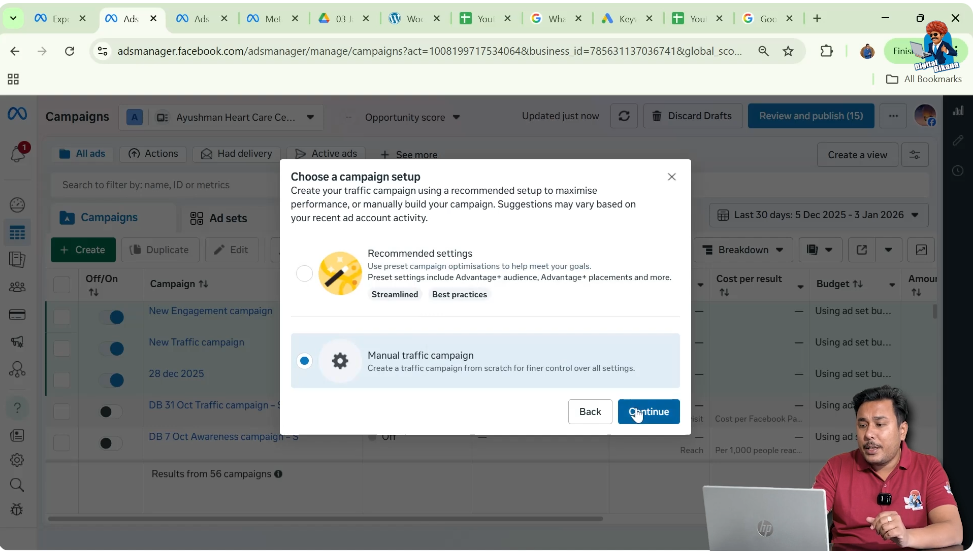
Step 3: Choosing Manual Traffic Campaign
Meta now asks whether you want to create:
- A manual traffic campaign, or
- An Advantage Plus campaign
For call ads, select Manual Traffic Campaign. This gives you full control over targeting, budget, placements, and creatives.
After selecting manual traffic, click on Continue.
Campaign-Level Settings
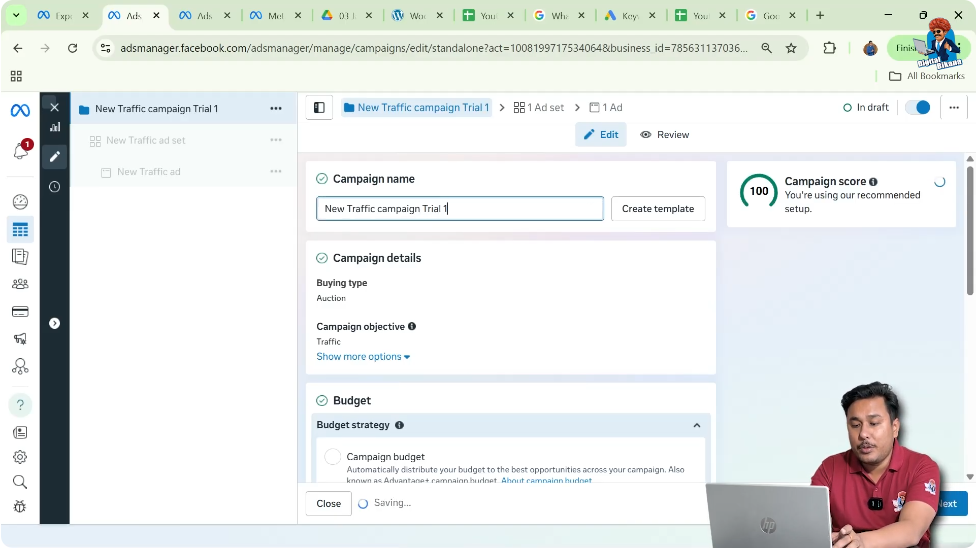
Renaming the Campaign
At this stage, you can rename your campaign.
This campaign name:
- Is only for your internal reference
- Is not visible to users
You can name it anything that helps you identify the campaign later.
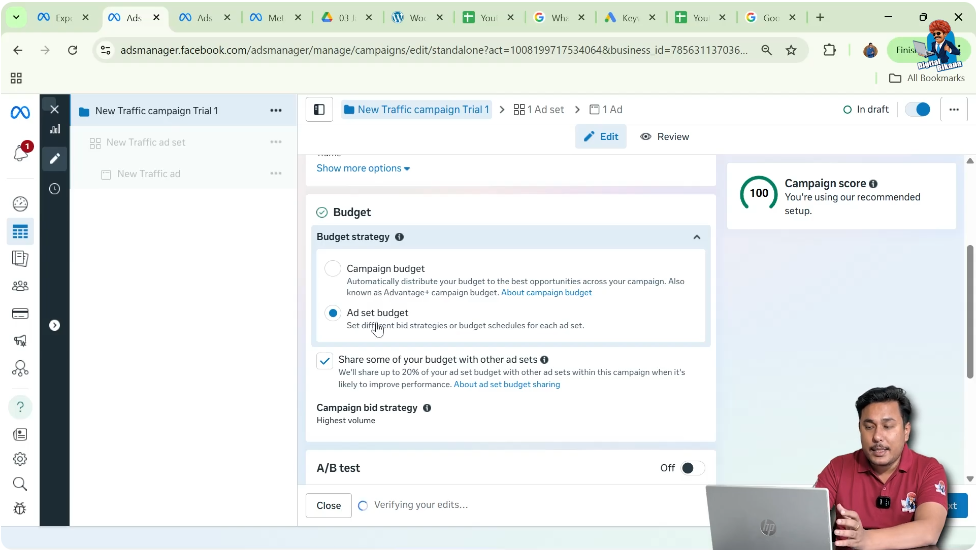
Budget Configuration at Campaign Level
Now scroll down to the budget section.
Meta asks whether you want to:
- Set the budget at campaign level, or
- Set the budget at ad set level
You should select Ad Set Level Budget.
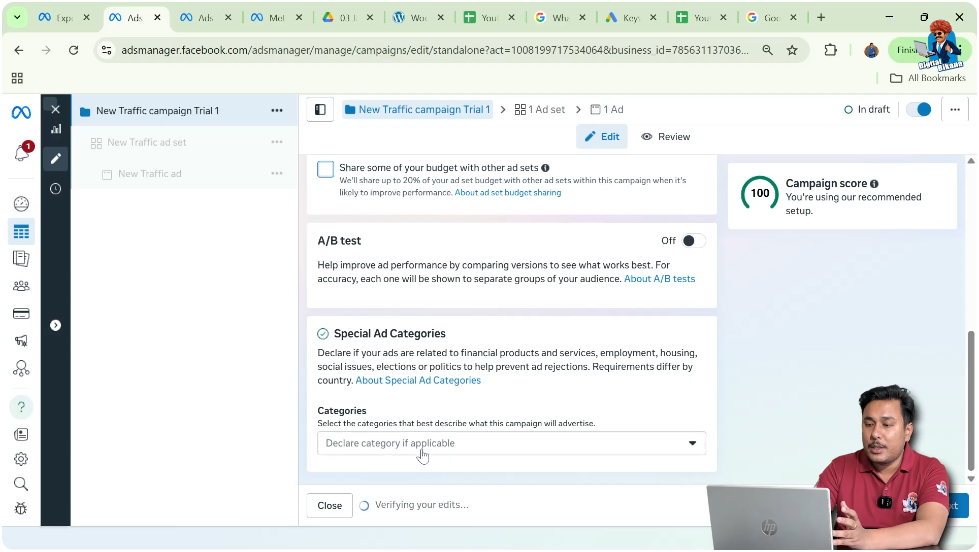
- Uncheck “Share some of your budget with other ad sets”
- Keep A/B testing turned off
Special Ad Category
If your ad belongs to a special ad category (such as housing, employment, or credit), you must select it.
Since this call ad does not belong to any special category, do not select anything and click Next.
Step 4: Naming the Ad Set
Now you enter the ad set level.
Here, you can give a name to your ad set.
Just like the campaign name:
- This name is only for reference
- It will not be visible to users

Step 5: Selecting Calls as Conversion Location
Next, Meta asks for the conversion location.
Since the goal of this campaign is to receive phone calls, select Calls as the conversion location. This ensures that users who see the ad are encouraged to directly call your business.

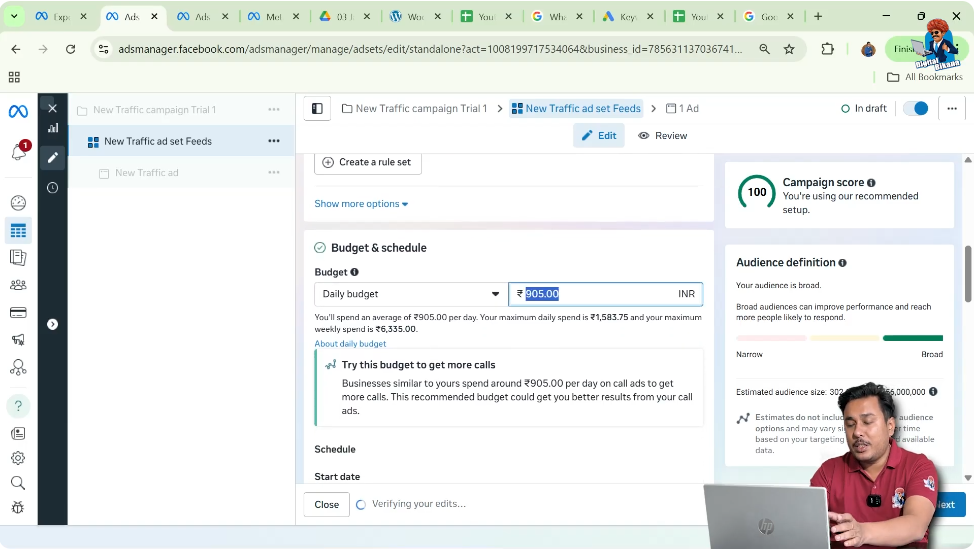
Step 6: Setting the Daily Budget
Now you can set the daily budget for your call ad.
In this example:
- The daily budget is set to ₹200 per day
You can choose any budget according to your business needs.
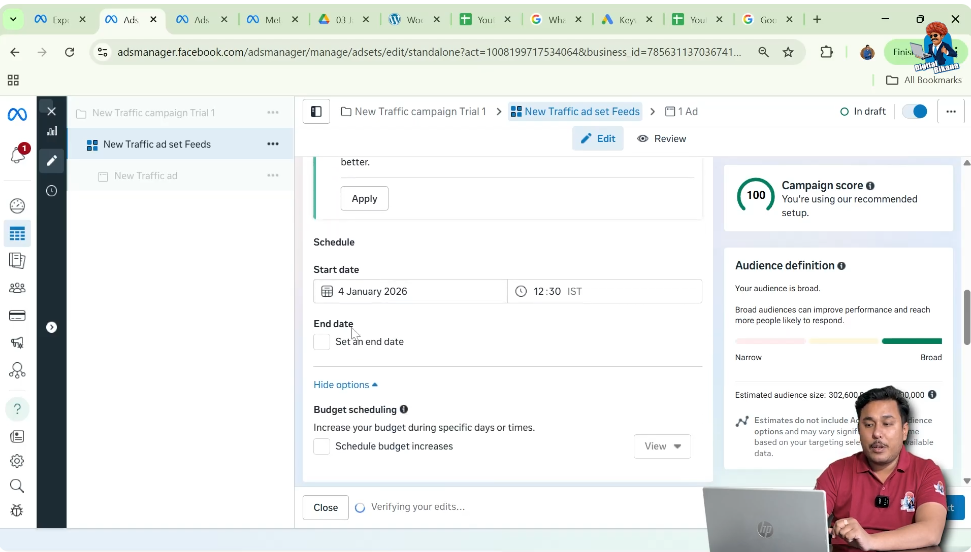
Step 7: Setting the Ad Schedule
Next, you need to define how long the ad will run.
- Select the start date
- Select the end date
In this case, the ad is scheduled to run for 10 days.
Budget scheduling is not required here, so this section is skipped.
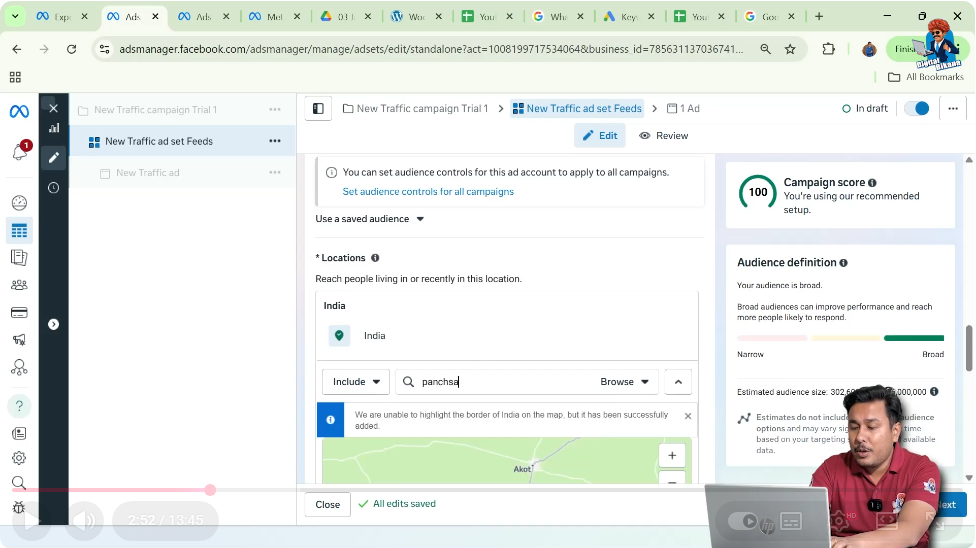
Step 8: Selecting Location Targeting
Now you need to choose where your ad will be shown.
- Enter your office or business location
- Set the radius around that location
In this example:
- A radius of 5 kilometers is selected
This ensures your ad is shown only to people nearby.
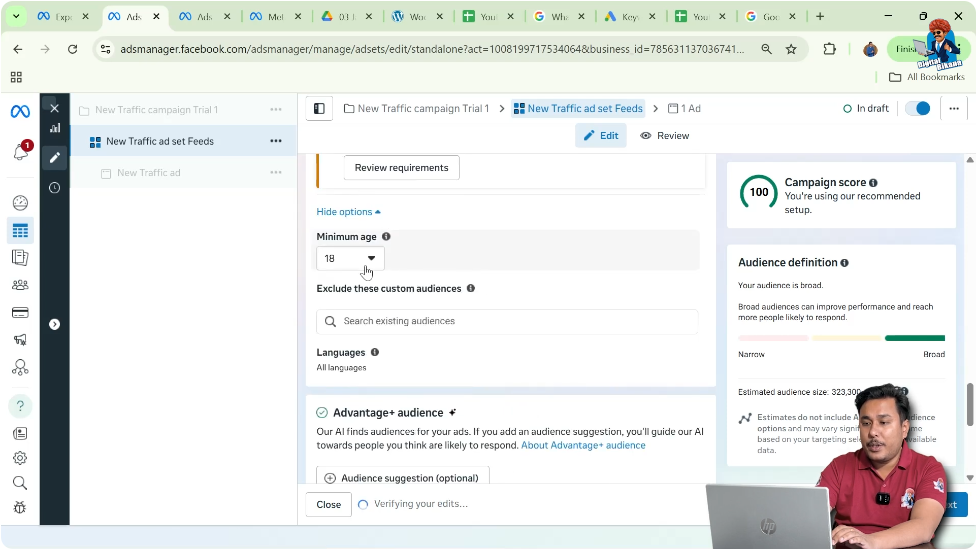
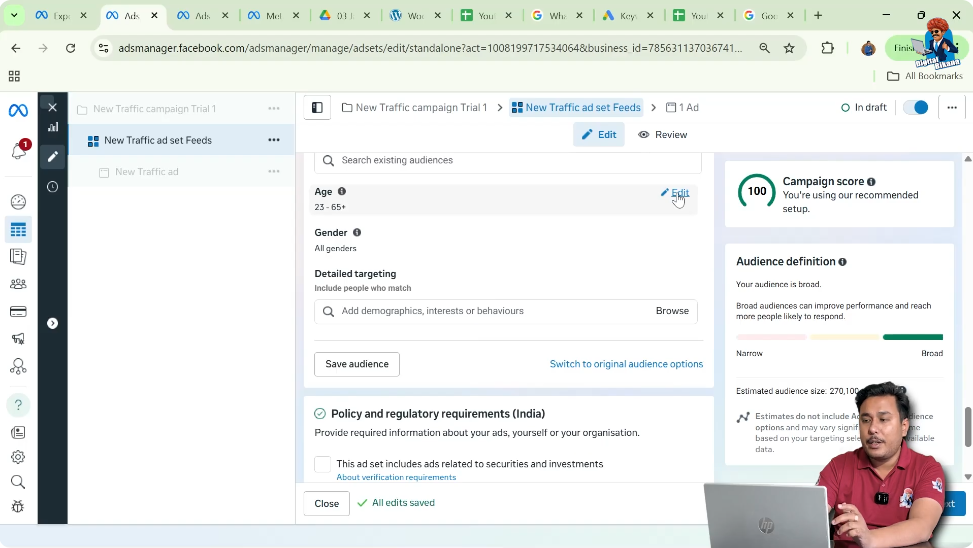
Step 9: Age and Audience Controls
Under the “Show More” option:
- You can select a minimum age if required
- If not needed, you can leave it unchanged
At this stage:
- No custom audience is excluded
Step 10: Using Advantage Plus Audience Suggestions
In the Advantage Plus audience section, you can suggest the type of audience you want Meta to target.
Here you can:
- Select the age group
- Select gender if required
In this case:
- Gender selection is skipped
- The ad is intended for small business owners, so that is entered as an audience suggestion
Step 11: Detailed Targeting
In the detailed targeting section:
- You can add filters for interest, behavior, or demographics
Here:
- “Small business owners” is selected
Detailed targeting helps Meta show your ad to people who are more likely to be interested in your services.

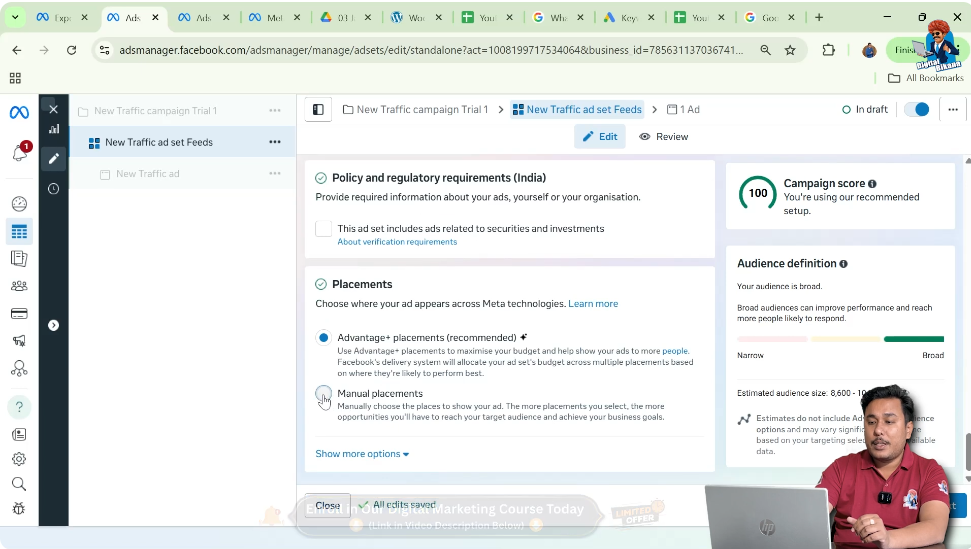
Step 12: Selecting Manual Placements
Now you move to the placement section.
Because the ad creative is a 1:1 square banner, manual placement is selected.
Feed Placements
- Facebook Feed is selected
- Instagram Feed is selected
These placements support square banners properly.
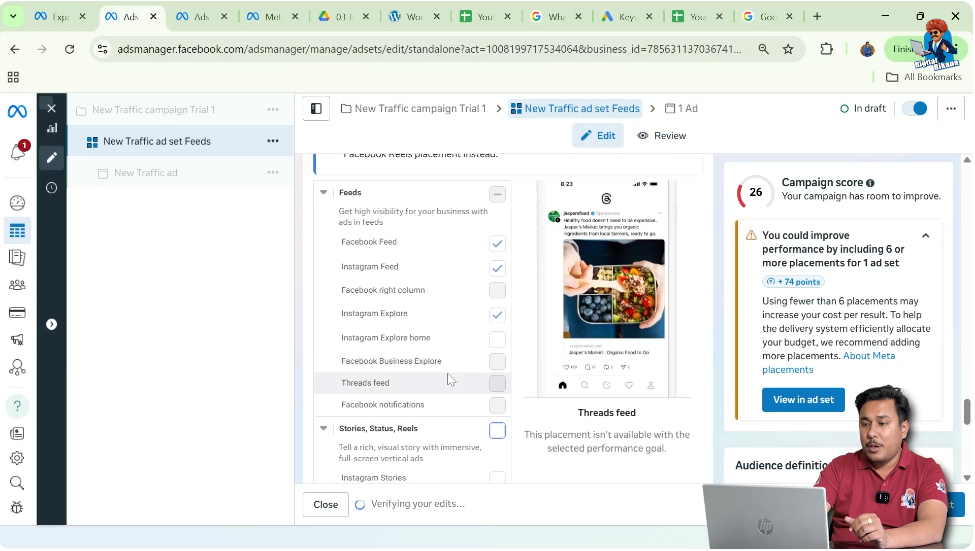
Excluding Stories, Reels, and Other Placements
Stories and Reels are not selected because:
- They support 9:16 banners
- A square banner will appear with black bars
The following placements are also excluded:
- Search results
- In-stream ads
Instagram Explore Home is excluded because the ad appears too small there.
Instagram Explore (non-home) is acceptable because the ad appears clearly.
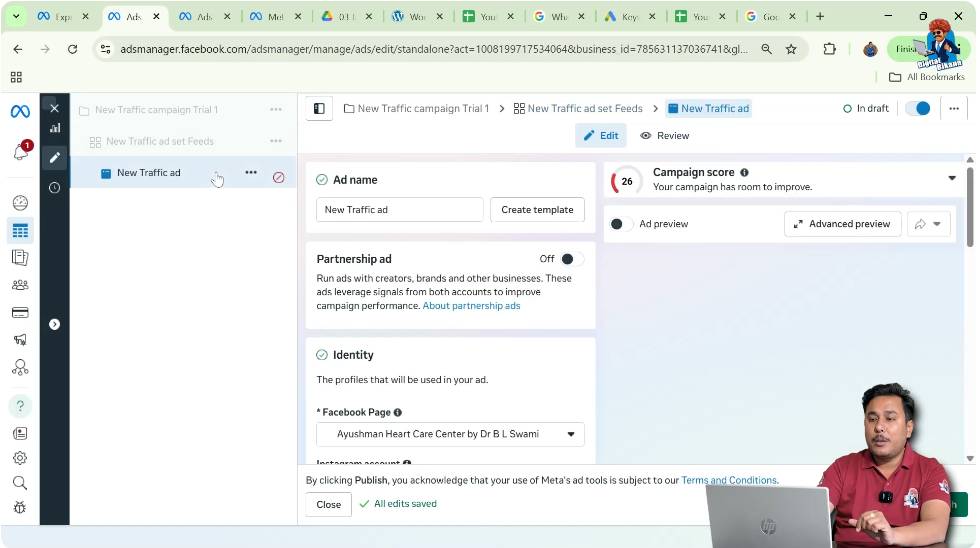
Step 13: Moving to the Ad Creative Level
Now you enter the ad creative level.
Here:
- Enter a creative name
- Facebook page is already selected
- Instagram account is already selected
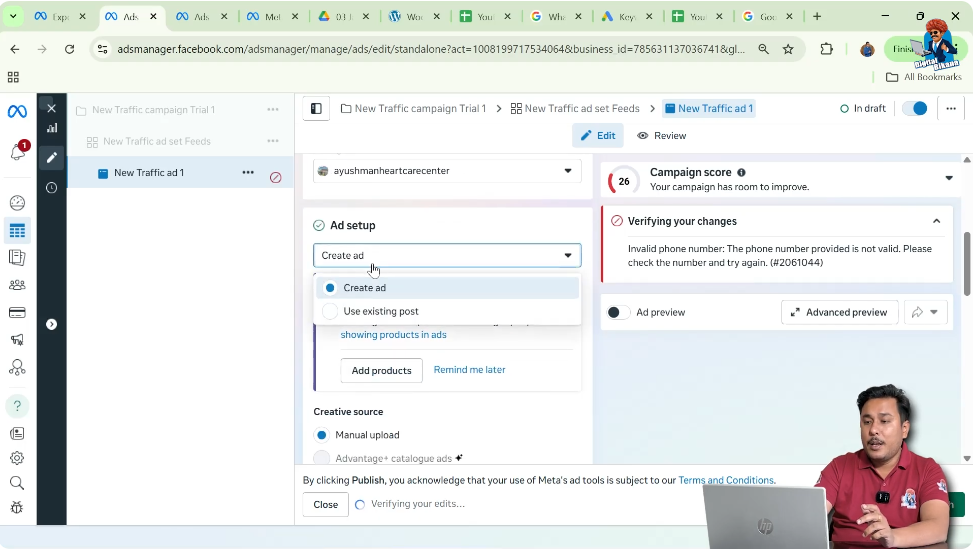
Step 14: Choosing Create Ad Option
Select Create Ad because:
- The banner is not being posted organically
- It will be uploaded directly into the ad campaign
Choose:
- Manual upload
- Single image ad
- Uncheck multi-advertiser ads
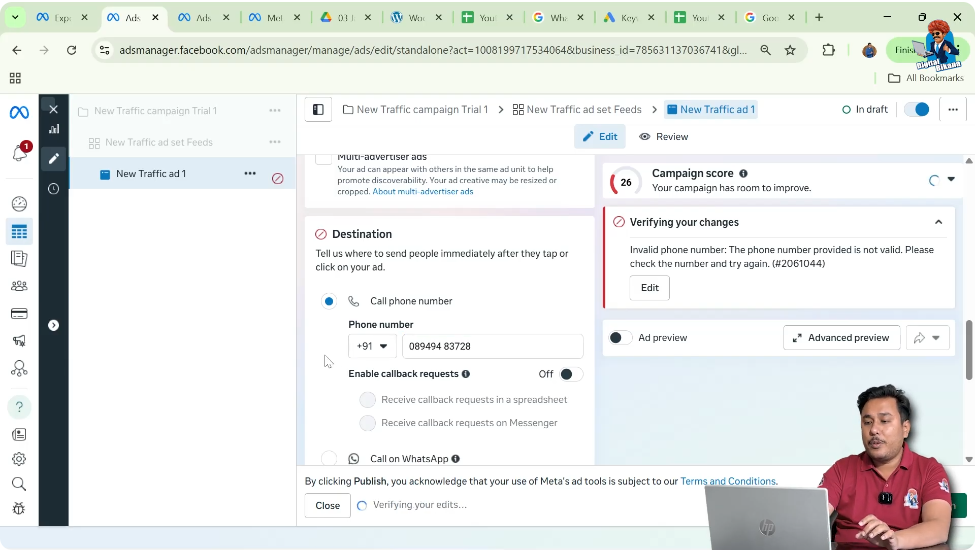
Step 15: Entering the Call Phone Number
Since this is a call ad:
- Select Call Phone Number
- Enter your business phone number
This number will be shown to users when they click the call button.
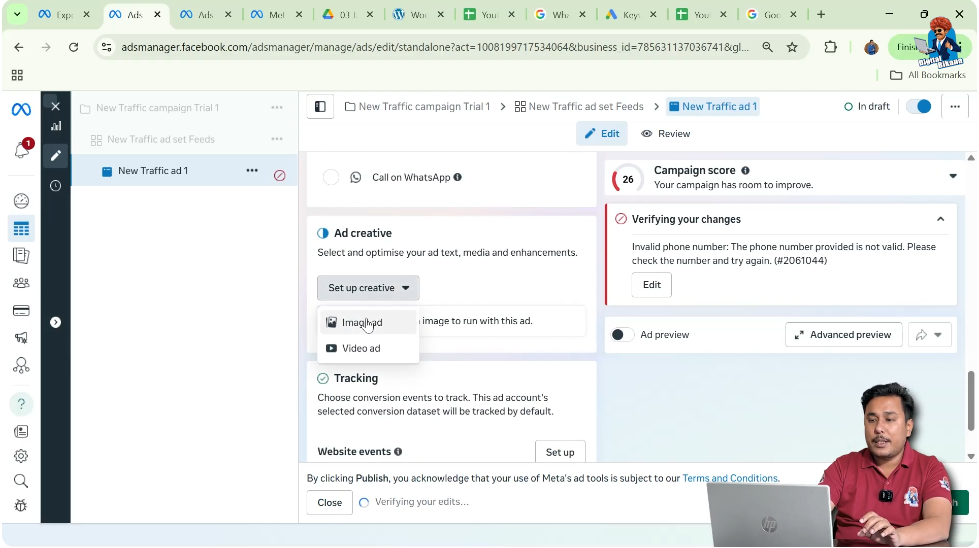
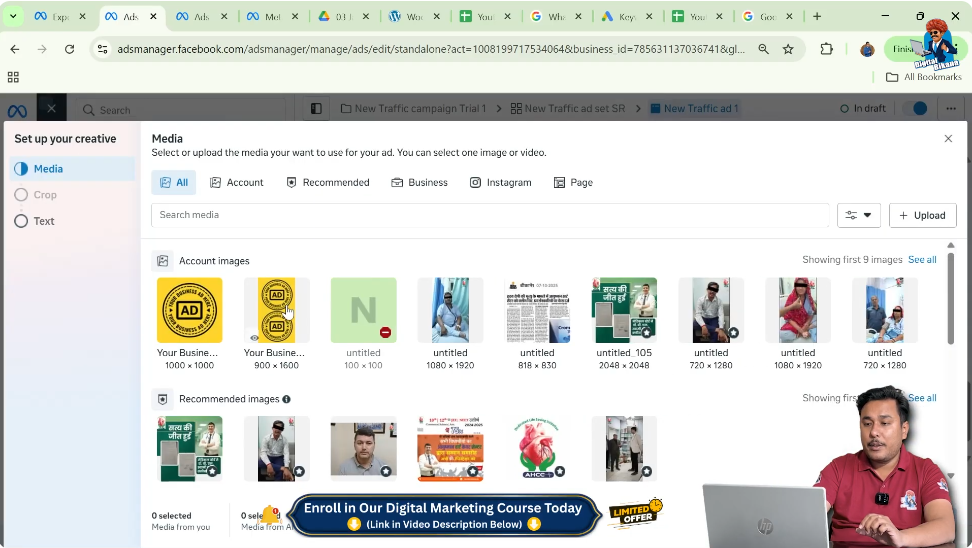
Step 16: Uploading the Ad Creative
Now select the banner you want to advertise.
- You can upload a new banner
- Or select one already uploaded
After selecting the banner:
- Click Next
- Click Next again
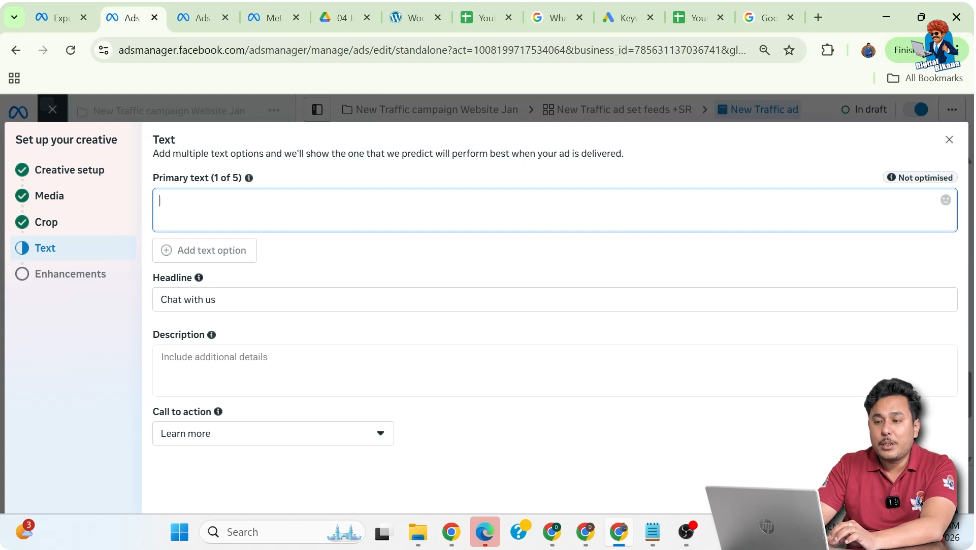
Step 17: Writing Primary Text and Headline
Here you can:
- Enter the primary text (caption)
- Use AI if needed
- Add business address and details
You can also:
- Add call description
- Write a catchy headline
Once done, click Done.
Step 18: Publishing the Campaign
Now the ad campaign is ready.
Since only feed placements are selected:
- The ad will not appear in stories and reels
If you do not have a 9:16 banner:
- You can publish the campaign directly
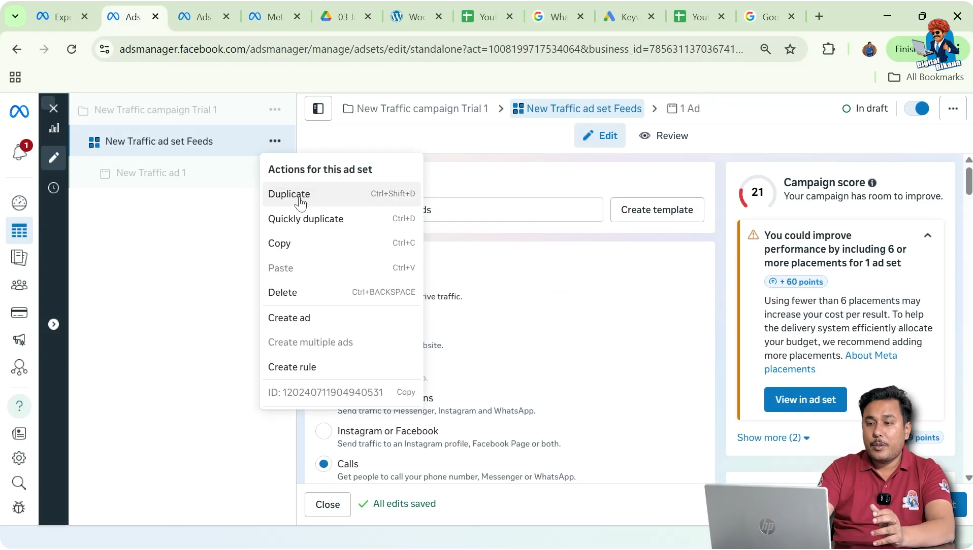
Step 19: Running Call Ads on Stories and Reels Using Duplication
If you have a 9:16 banner, you can:
- Duplicate the ad set
- Rename it (for example, “SR”)
In the duplicated ad set:
- Uncheck feed placements
- Select stories and reels
Step 20: Changing Creative for Stories and Reels
Inside the duplicated ad set:
- Delete the square banner
- Upload a 9:16 portrait banner
Add the caption again and click Done.
Step 21: Publishing Multiple Ad Sets Correctly
If you publish from the ad creative level:
- Only that ad set will be published
To publish all ad sets:
- Go to the campaign level
- Click Publish
Advanced Method: Single Ad Set with Multiple Creatives
Another method is to:
- Select both feed and stories placements in one ad set
At the ad creative level:
- Edit the ad group
- Change the banner for stories and reels to portrait format
This way:
- Square banner shows in feeds
- Portrait banner shows in stories and reels
Final Publishing
After verifying everything:
- Click Publish
The ad campaign, ad set, and ad creative will go live together.
Conclusion
In this way, you can create and run call ads on Facebook and Instagram using Meta Ads Manager. By carefully selecting objectives, placements, and creatives, you can ensure that your call ads are shown to the right audience in the right format.
Related Posts