Adding a button inside a WordPress post is a simple process that helps make your content more interactive and user-friendly. Buttons are useful for call-to-action purposes such as directing visitors to another page, encouraging them to read more content, or guiding them toward important sections of your website.
In this article, you will learn how to add a button inside your WordPress blog post and customize it using the available block settings. This method works both for new posts and existing posts.
Opening the Posts Section in WordPress Dashboard
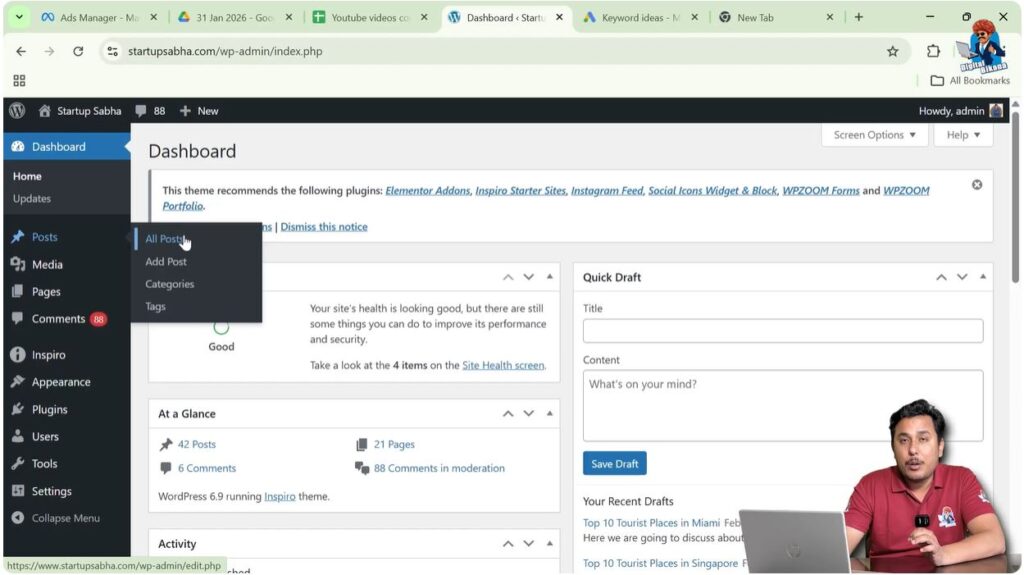
First, log in to your WordPress admin dashboard.
After logging in, look at the left-side toolbar where you will find the Posts section. When you move your cursor over the Posts option, a submenu will appear.
This submenu includes options such as:
- All Posts
- Add Post
All blog posts written on your website are available inside the All Posts section.
If you want to create a new post, you can click on Add Post. For demonstration purposes, you can open an existing blog post.
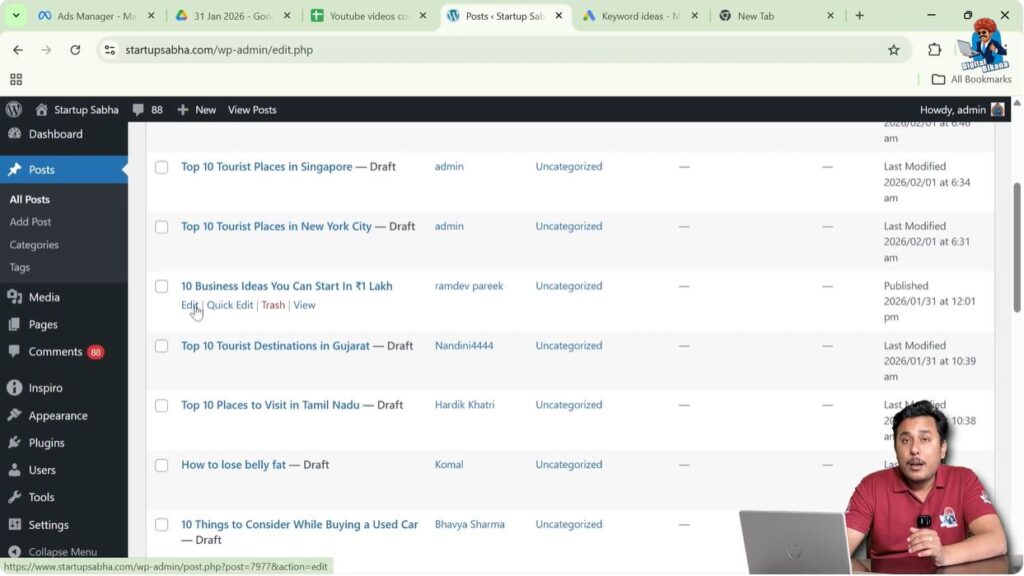
Click on All Posts to see the list of blog posts.
When the list appears, move your cursor over the title of any blog post. The Edit option will appear below the title.
Click on Edit to open the WordPress editor.
Editing the Blog Post
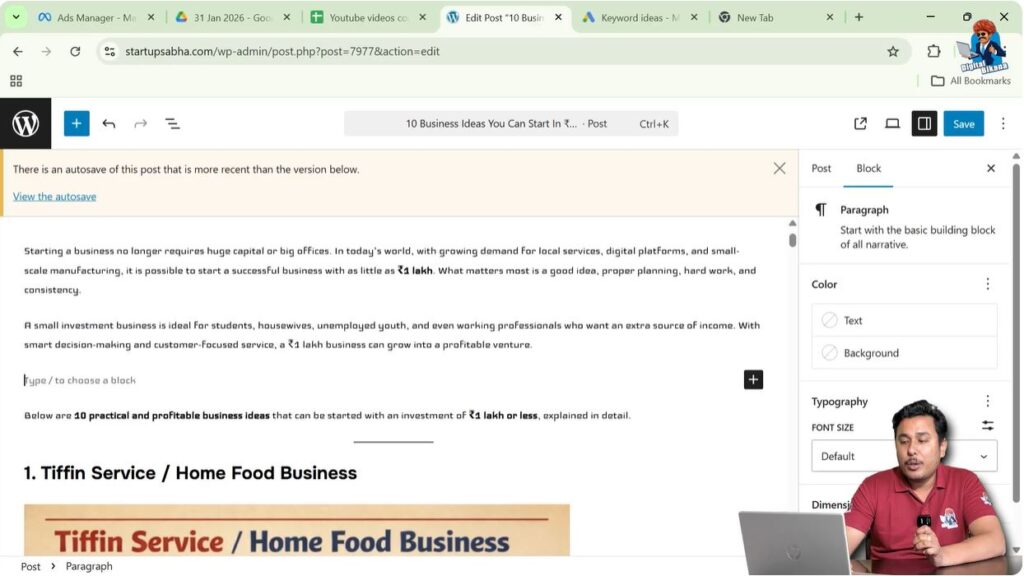
After clicking on Edit, the WordPress block editor will open.
Inside the editor, your content will be divided into different blocks such as paragraphs and headings.
If you want to insert a button after a paragraph, you need to create a new block at the desired location.
Move your cursor to the end of the paragraph where you want to add the button.
Click at the end of the paragraph to place the cursor.
Press Enter to create a new line or a new block.
Once the new block is created, you can insert the button block.
Step 1 – Create a New Block
Move your cursor to the end of the paragraph where you want to add the button.
Click at the end of the paragraph.
Press Enter to create a new block.
After pressing Enter, a new block will appear.
Step 2 – Add the Button Block
Move your cursor to the new block.
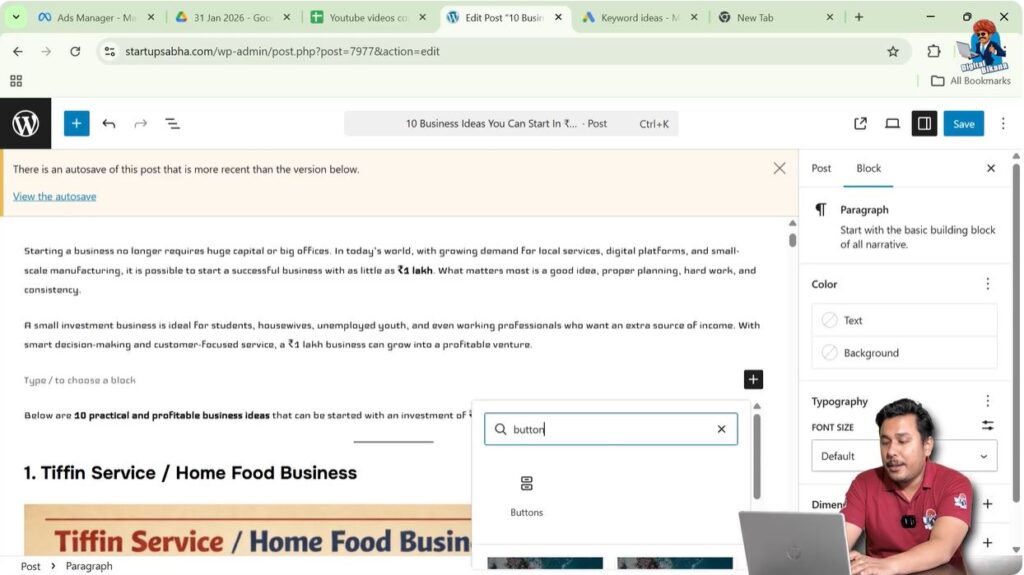
You will see a plus icon displayed on the screen.
Click on the Add Block button.
Search for Button in the block search field.
Select the Button block.
After selecting the Button block, the button will be inserted into your blog post.
Adding Text Inside the Button
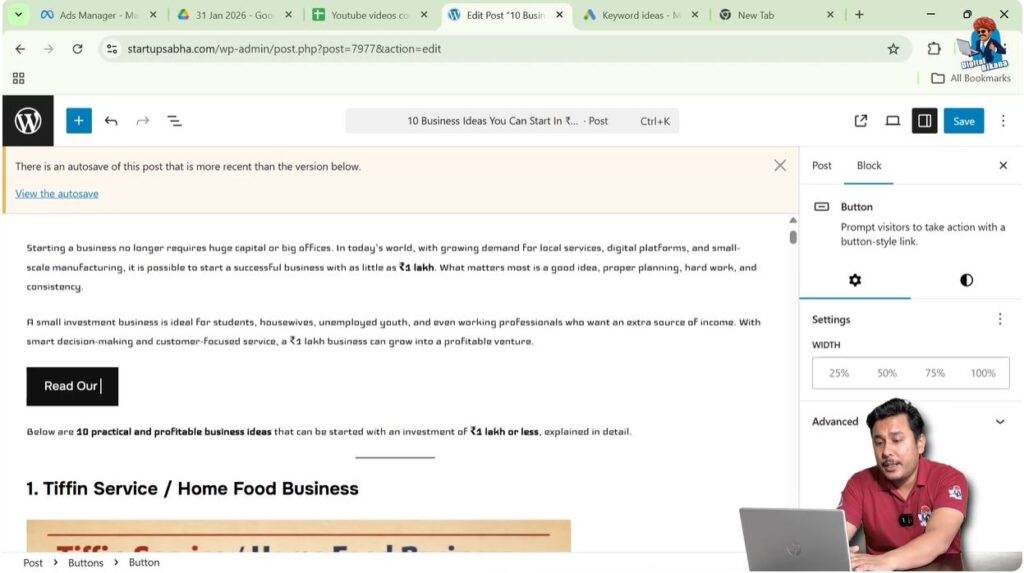
After inserting the button block, you need to add text inside the button.
The text inside the button is called the Call-to-Action (CTA) text.
You can enter any CTA text depending on your requirement.
For example, you can enter text such as:
Read Our Blog
After typing the text, the button will display the entered content.
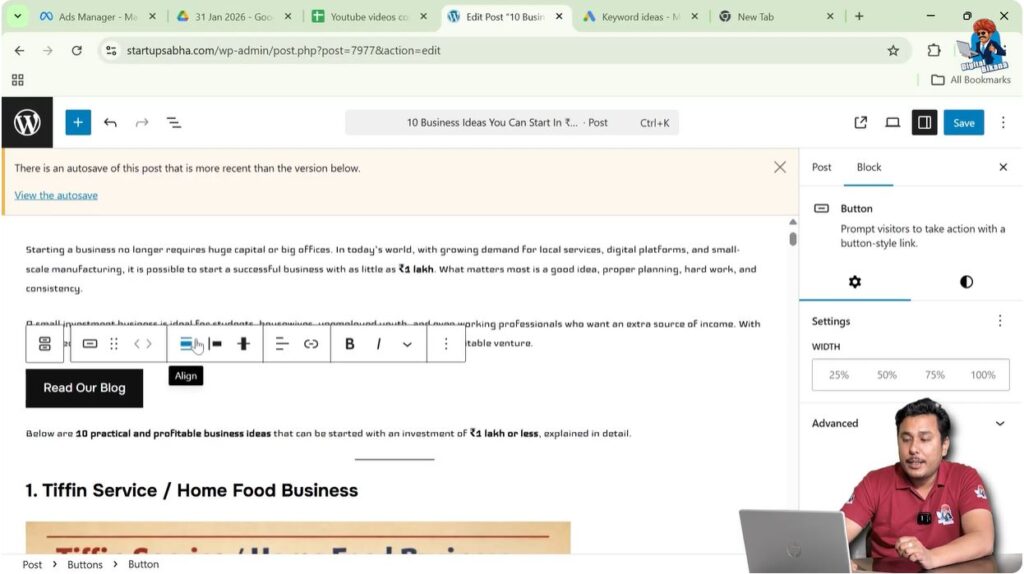
Changing Button Alignment
After adding the button and entering the text, you can change the alignment of the button.
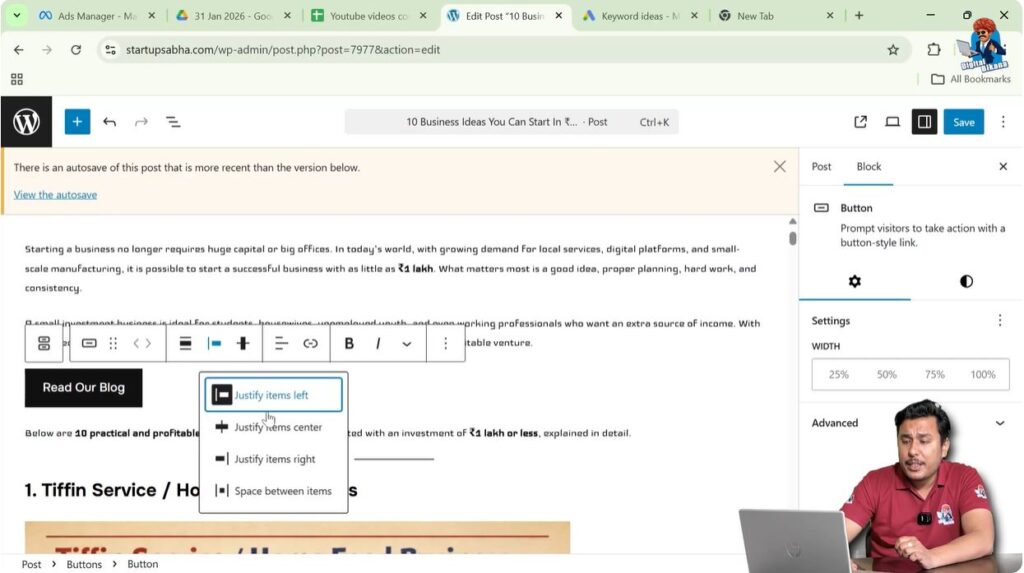
When you click on the button block, a toolbar appears above the button.
This toolbar contains different options for editing the button.
One of the options is Change Item Justification.
Click on the Change Item Justification option.
You will see alignment options such as:
- Justify left
- Justify center
- Justify right
- Space between items
Selecting any of these options will change the alignment of the button.
If you select Justify center, the button will move to the center.
If you select Justify right, the button will move to the right side.
Step 3 – Change Button Alignment
Click on the button block.
A toolbar will appear above the button.
Click on Change Item Justification.
Select the desired alignment option:
- Left alignment
- Center alignment
- Right alignment
The button alignment will change according to the selected option.
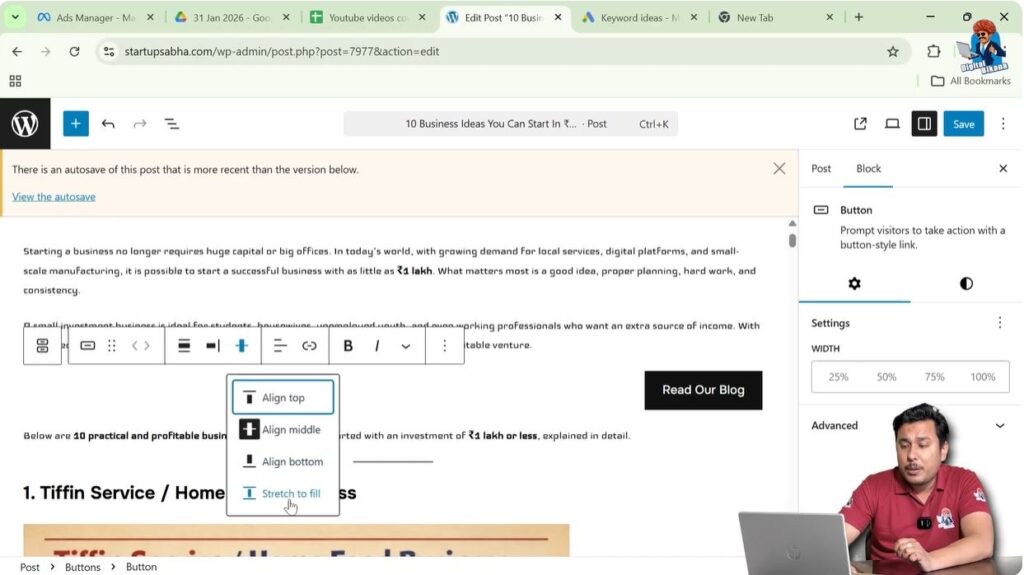
Changing Vertical Alignment
You can also change the vertical alignment of the button.
Vertical alignment options include:
- Align top
- Align middle
- Align bottom
- Stretch to fill
These options help control the vertical placement of the button inside the block.
Opening Button Block Settings
You can customize the button further using the block settings panel.
On the right side of the editor, you will see a settings toolbar.
If the settings toolbar is not visible, click on the Settings icon located near the Save or Publish button in the top-right corner.
After clicking the settings icon, the settings panel will appear.
This panel has two sections:
- Post
- Block
Since the button is a block element, you need to open the Block section.
Inside the Block section, you will see different customization options for the button.
Step 4 – Open Block Settings
Click on the button block.
Click on the Settings icon if the settings panel is not visible.
Open the Block tab in the settings panel.
The block settings will appear.

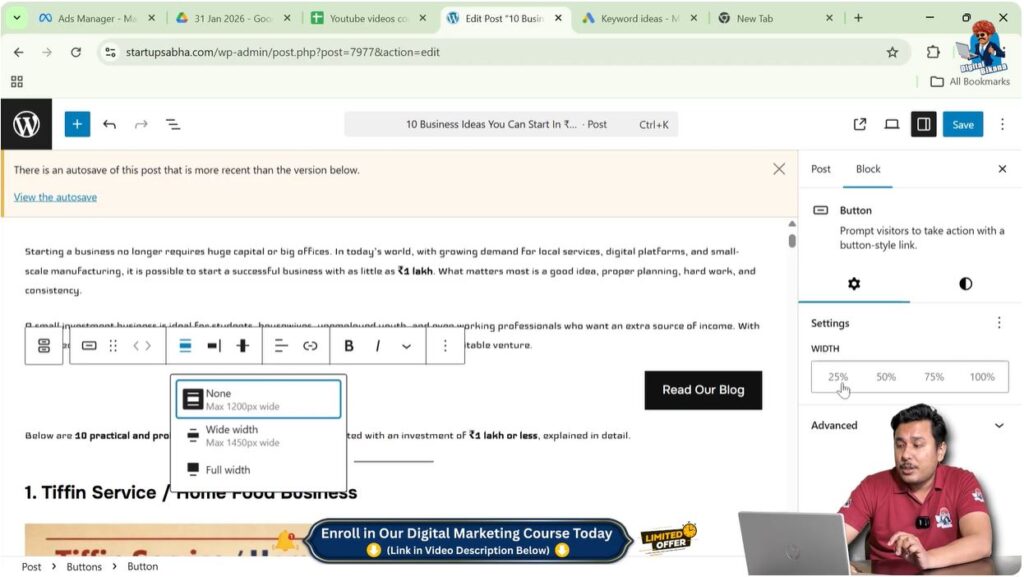
Changing Button Width
Inside the Block settings panel, you will find the Width Settings option.
You can change the width of the button using percentage values.
Available width options include:
- 25%
- 50%
- 75%
- 100%
Selecting any of these values will adjust the width of the button.
Step 5 – Adjust Button Width
Open the Block settings panel.
Locate the Width Settings option.
Select the desired width such as:
- 25%
- 50%
- 75%
- 100%
The width of the button will be updated accordingly.

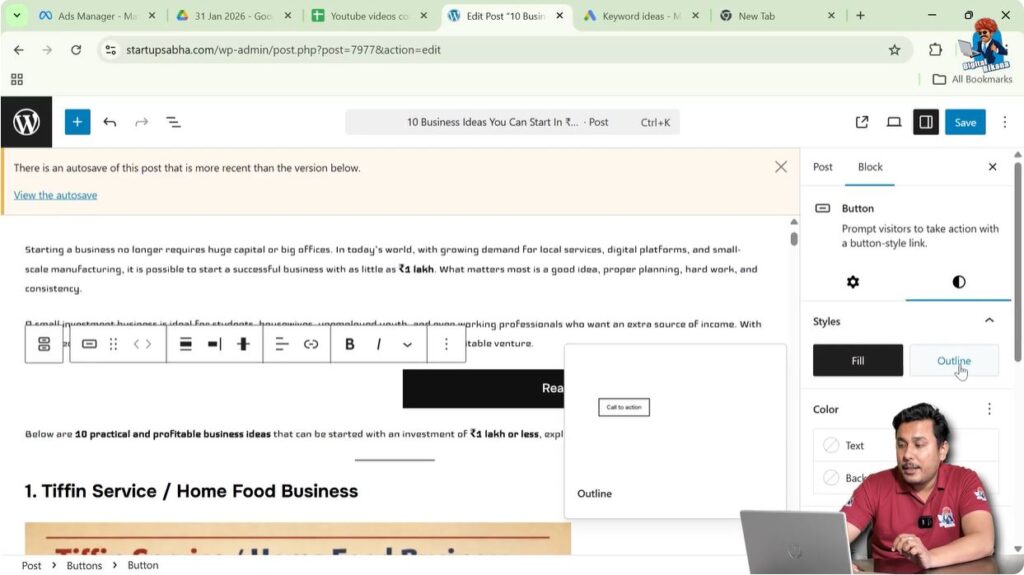
Changing Button Style
You can also change the style of the button.
One available style option is Outline.
When you select the Outline style, the button border becomes visible and the background changes.
This allows you to create a different visual appearance for the button.
Customizing Button Design
The button design can be customized further using the available options.
You can change:
- Text color
- Background color
- Font size
- Padding
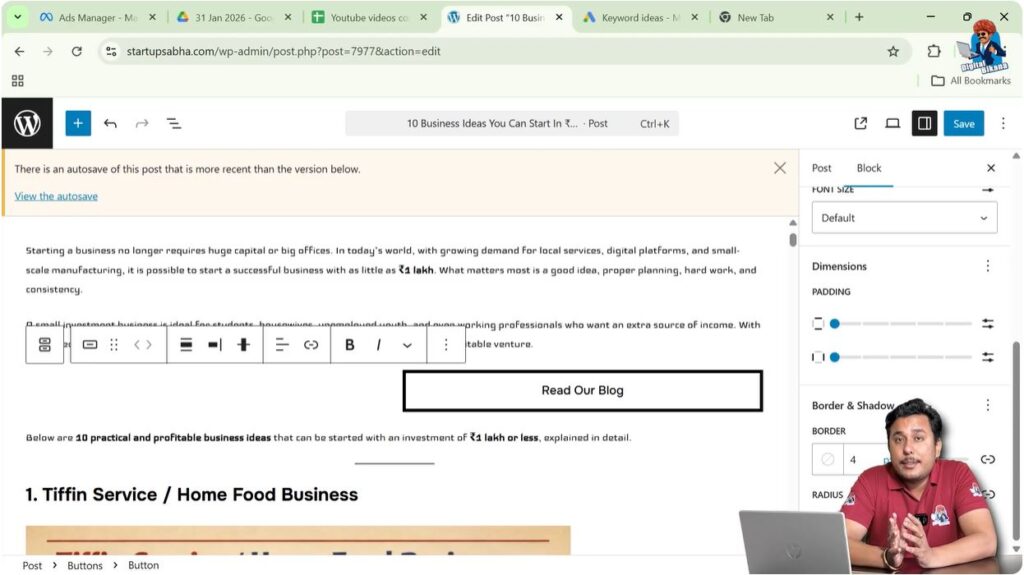
- Border settings
These options allow you to design the button according to your requirements.

Changing Button Border Radius
The border radius setting allows you to make the button edges curved.
By increasing the border radius value, the button becomes more rounded.
By decreasing the value, the button becomes sharper.
This helps improve the visual appearance of the button.
Conclusion
Adding a button inside a WordPress post is a simple process. You need to open a blog post, create a new block, and insert the Button block.
After inserting the button, you can enter the call-to-action text and customize the button using alignment and block settings.
You can adjust the width, style, colors, font size, padding, border, and border radius to design the button according to your requirements.
By following these steps, you can easily add a button inside your WordPress blog post.
Related Posts