
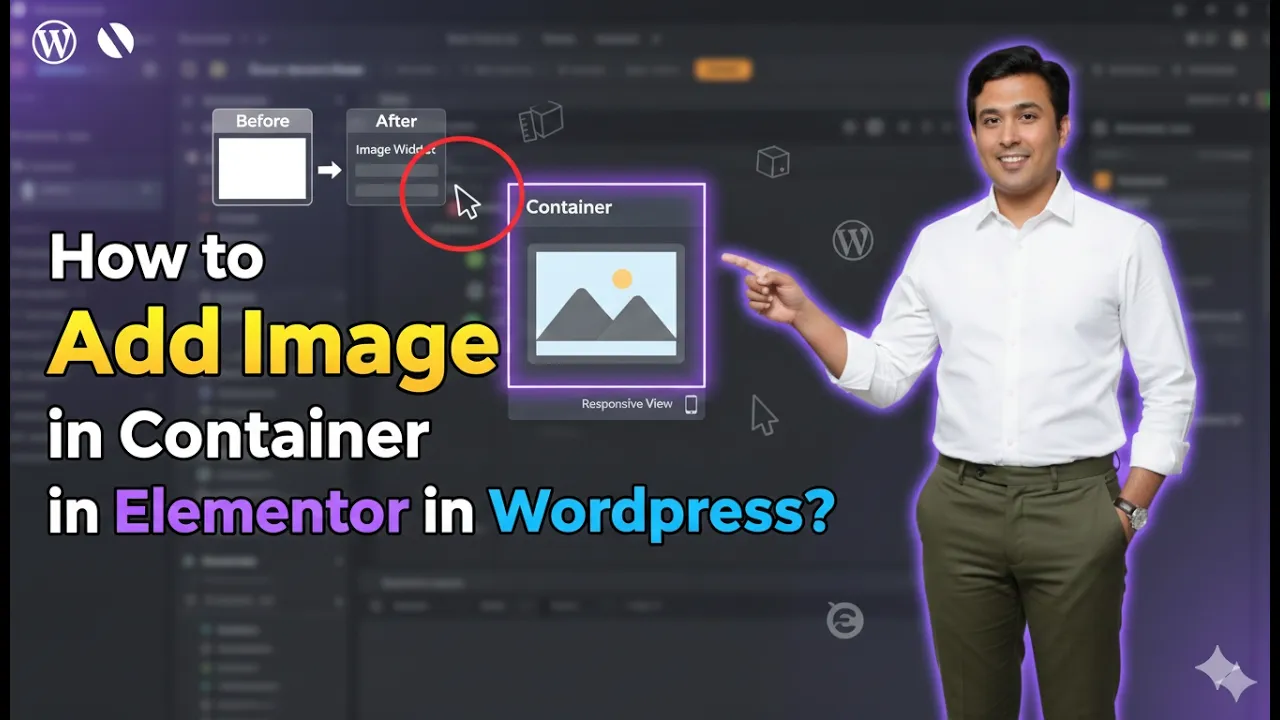
In this article, we will learn how to add an image in a container in Elementor in WordPress. Elementor is a powerful page builder that allows users to design web pages using a simple drag-and-drop interface. Adding images inside containers is an essential part of designing visually appealing layouts.
In Elementor, you can add images either as a background to a container or by using the image widget. This guide explains the complete process step by step, including creating a section, adding a container, inserting an image, and customizing it.
Creating a New Section in Elementor
Before adding an image, you need to create a section where the container will be placed.
Understanding Section Creation
A section acts as the main layout block in Elementor. It can contain columns, containers, and widgets.
Steps to Create a Section
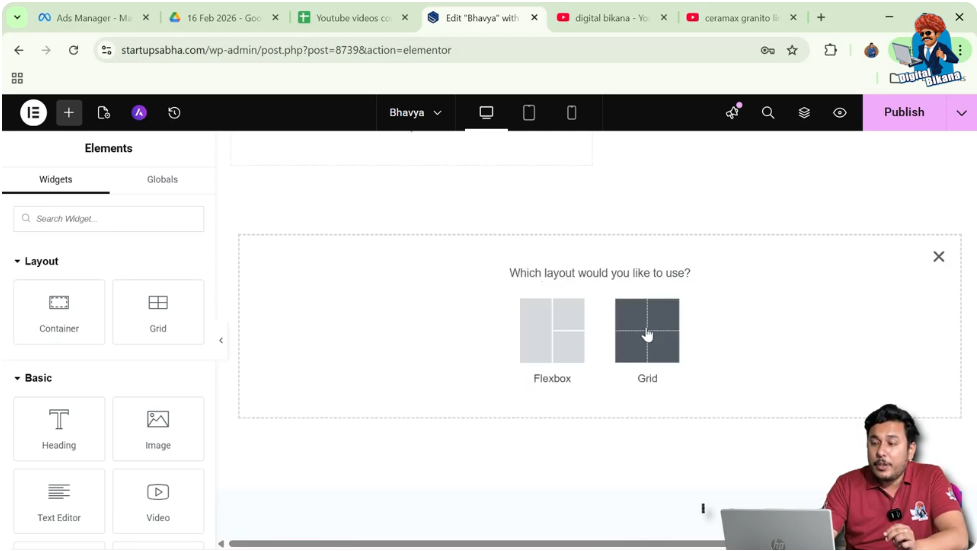
Step 1: Click on the Plus Icon
In the Elementor editor, click on the plus (+) icon in the middle of the screen.
Step 2: Select Layout Type
Choose the layout type. In this case, select Grid.
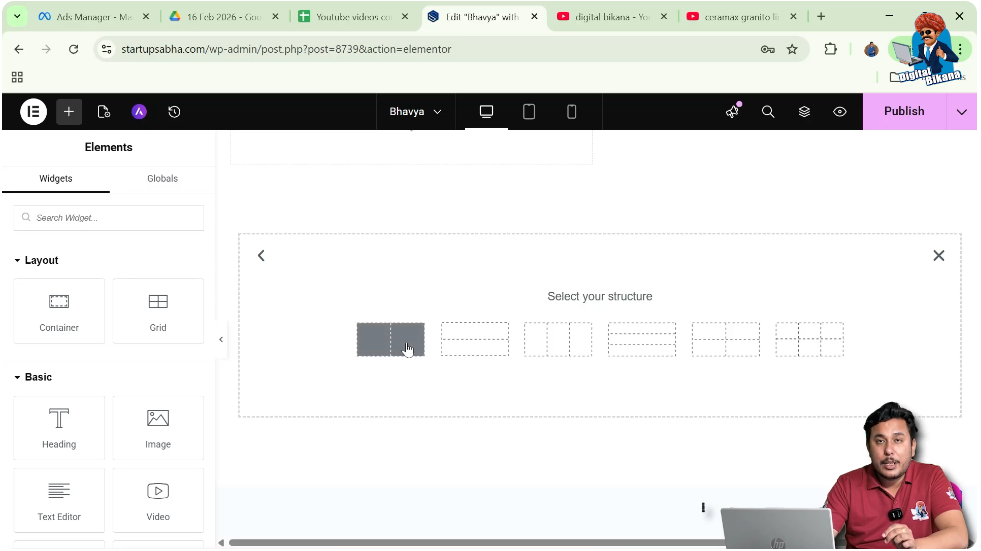
Step 3: Choose Structure
Select the structure as two columns and one row.
After completing these steps, your section will be ready.
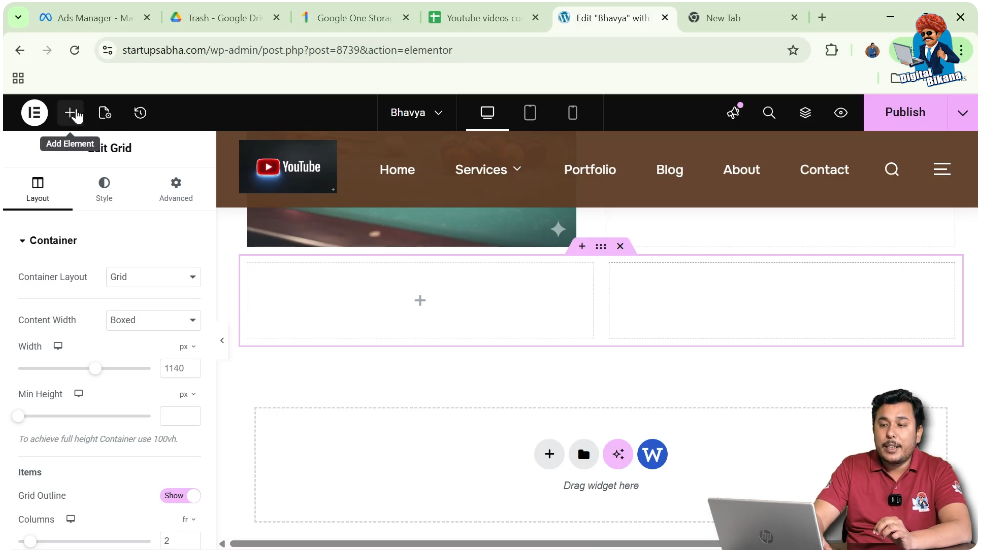
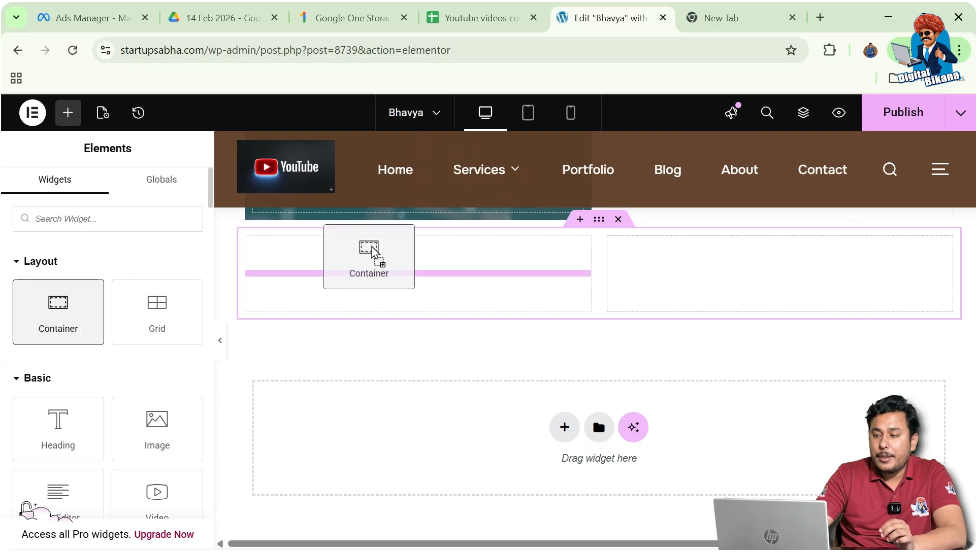
Adding a Container in Elementor
Once the section is created, the next step is to add a container.
Understanding Container
A container is used to hold widgets like images, text, and other elements.
Steps to Add Container
Step 1: Choose Structure
Move your cursor to the top black header line and click on the plus icon.
Step 2: Search for Container
In the widget search bar, type “Container.”
Step 3: Drag and Drop Container
Drag the container widget and drop it into the first column of the section.
Now your container is successfully added.
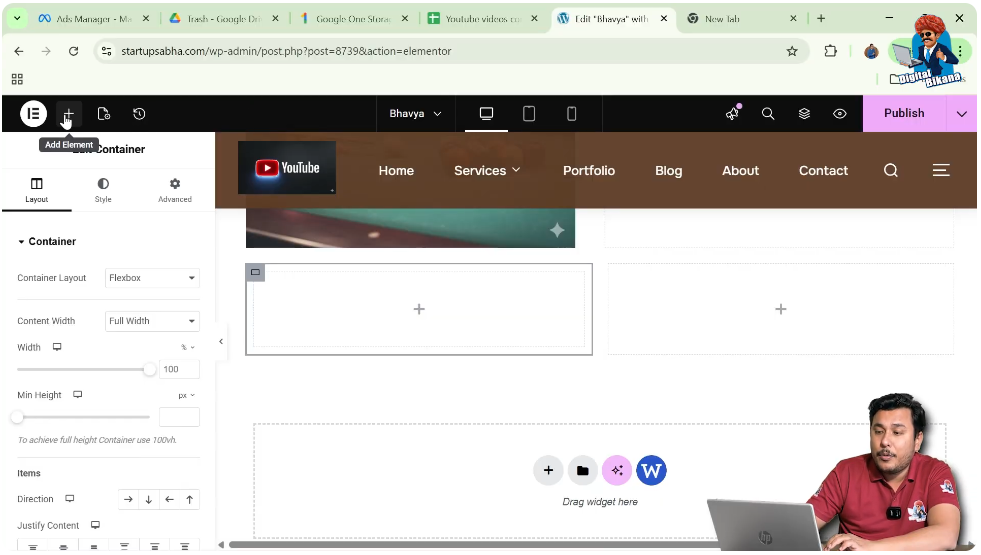
Adding an Image Using Image Widget
Now comes the main step—adding an image inside the container.
Understanding Image Widget
The image widget allows you to insert images directly into your layout.
Steps to Add Image
Step 1: Open Widget Panel
Click on the plus icon in the top black header line.
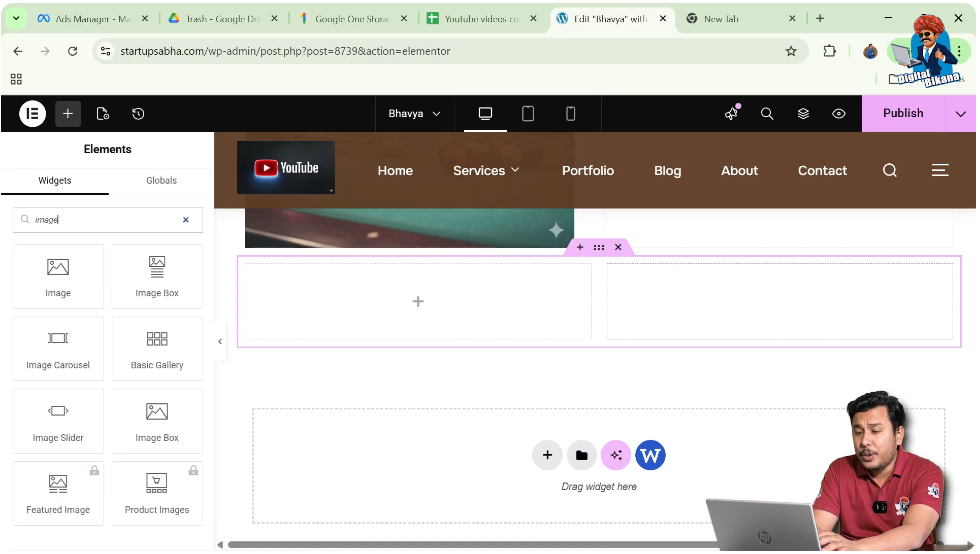
Step 2: Search for Image Widget
Search for “Image” in the widget panel.
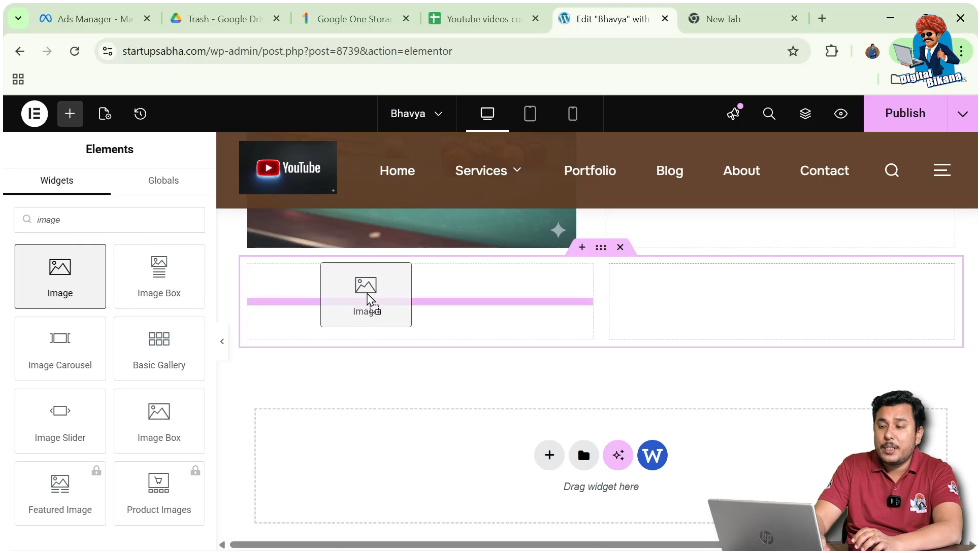
Step 3: Drag and Drop Image Widget
Drag the image widget and drop it inside the container.
Step 4: Choose Image
In the left toolbar, click on “Choose Image” and select an image from the media library.
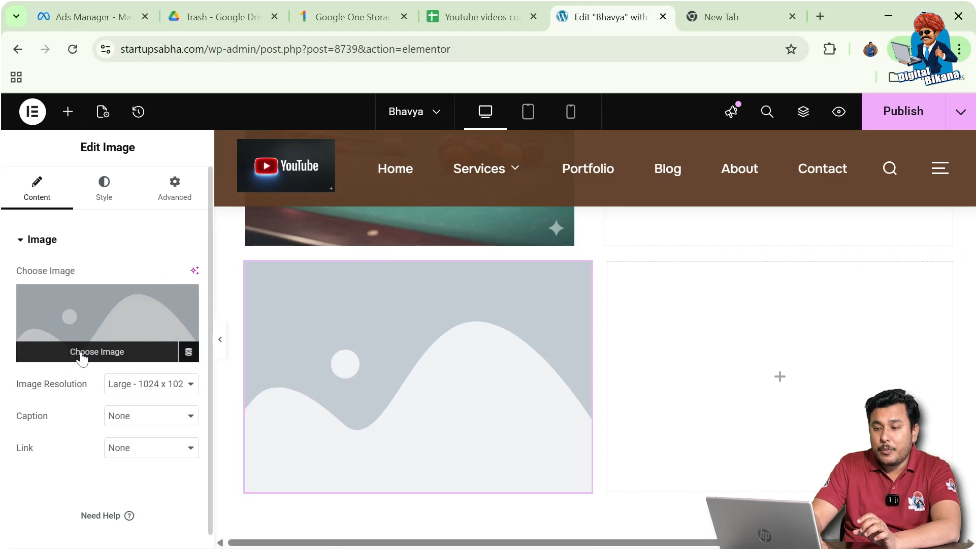
Step 5: Apply Image
Click on “Select” to display the image in the container.

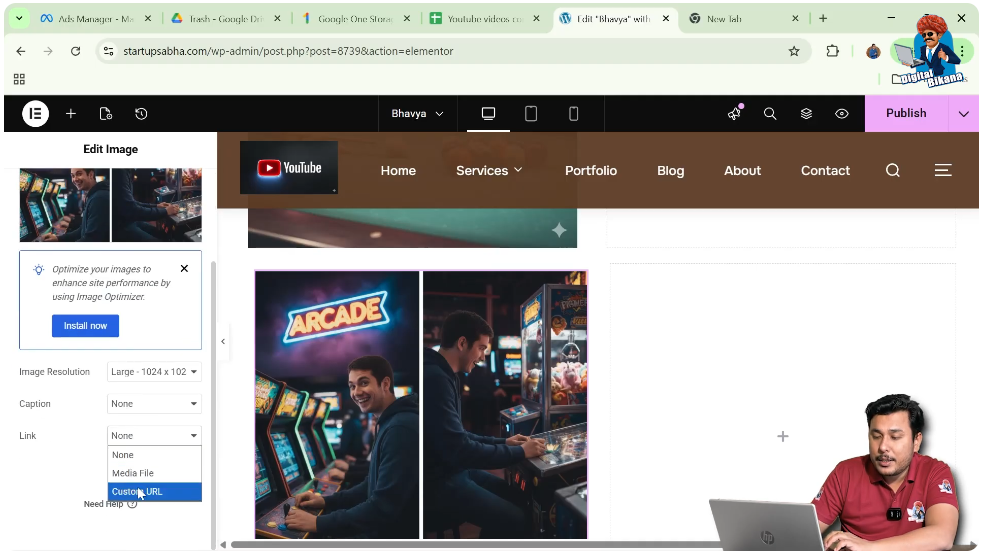
Adding Link to the Image
Elementor allows you to make images clickable by adding links.
Understanding Image Linking
You can link an image to another page or URL so that users are redirected when they click on it.
Steps to Add Link
Step 1: Select Image Widget
Click on the image.
Step 2: Add URL
In the left toolbar, enter a custom URL in the link field.
Now the image will act as a clickable element.
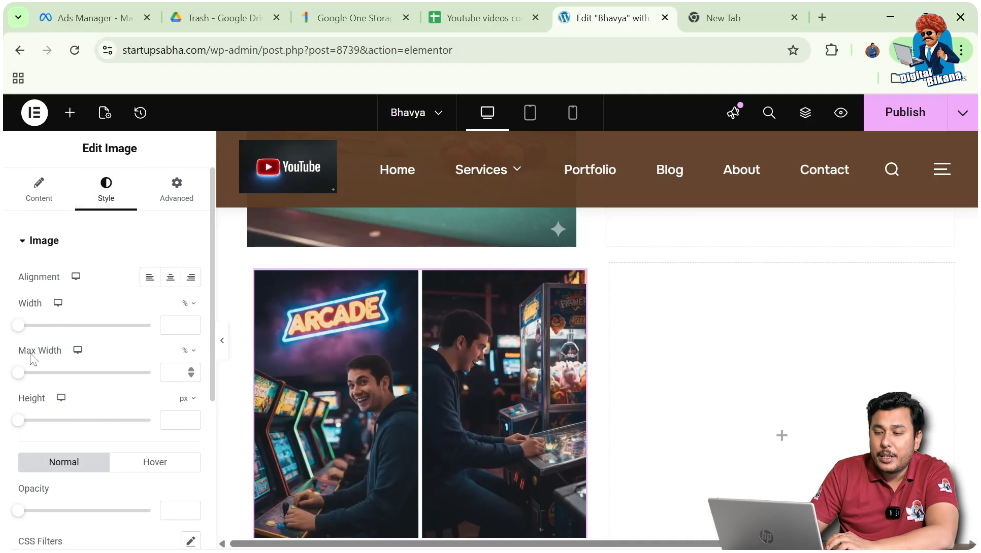
Customizing Image in Style Settings
After adding the image, you can customize its appearance using style options.
Adjusting Image Size
You can increase or decrease the width, height, or maximum width of the image.
Adding Hover Effects
Elementor allows you to apply hover effects to make the image interactive.
Changing Opacity
You can adjust the opacity to control the transparency of the image.
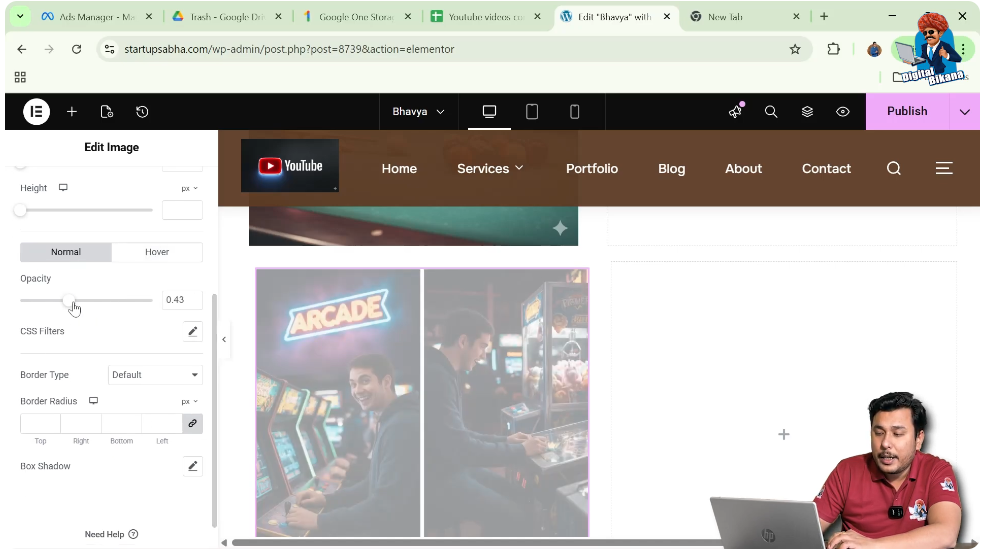
Adding Border and Border Radius
You can enhance the design by adding borders and rounded corners.
Border Options
Elementor provides options such as:
- Solid border
- Double border
- Dotted border
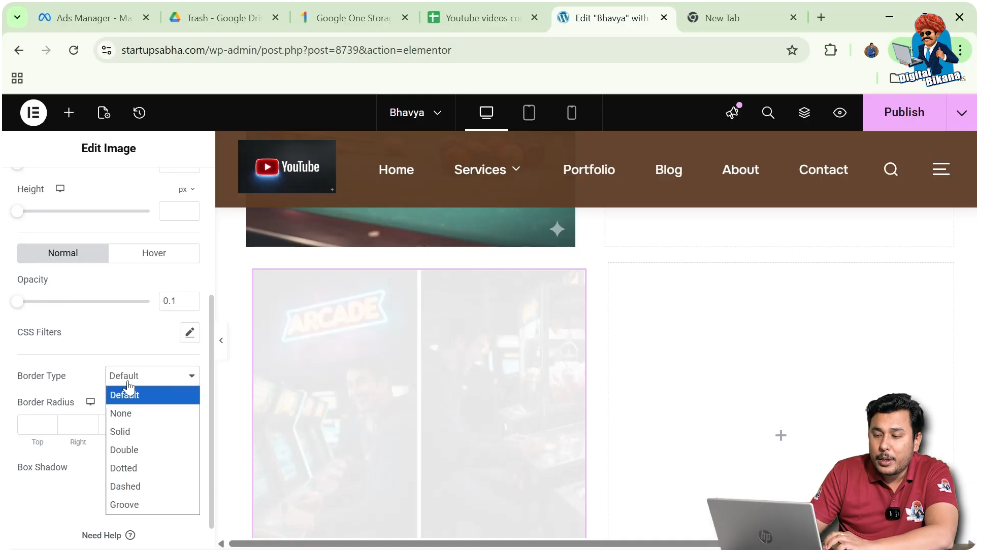
Border Radius
You can increase or decrease the border radius to create rounded edges.
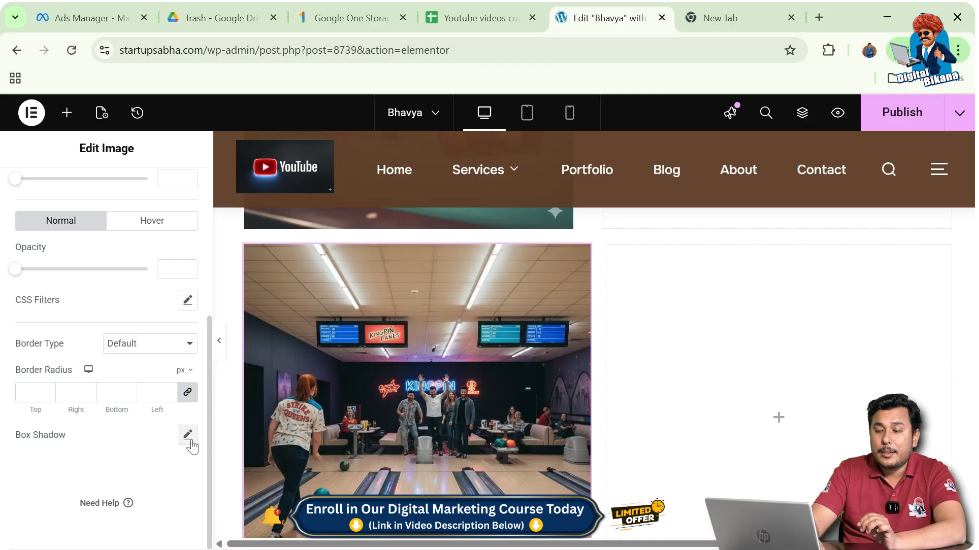
Adding Box Shadow
Box shadow helps create depth and makes the image stand out.
Understanding Box Shadow
It adds a shadow effect around the image, improving visual appeal.
Steps to Add Shadow
Step 1: Go to Style Settings
Open the Style tab.
Step 2: Apply Box Shadow
Enable and customize the shadow settings.
Advanced Settings for Image
Elementor provides additional customization options in the Advanced tab.

Margin and Padding
You can adjust spacing around the image using margin and padding.
Motion Effects
Add animations or motion effects to enhance interactivity.
Transform Options
You can scale, rotate, or move the image using transform settings.
Background and Mask
Advanced styling options like background overlays and masks are also available.
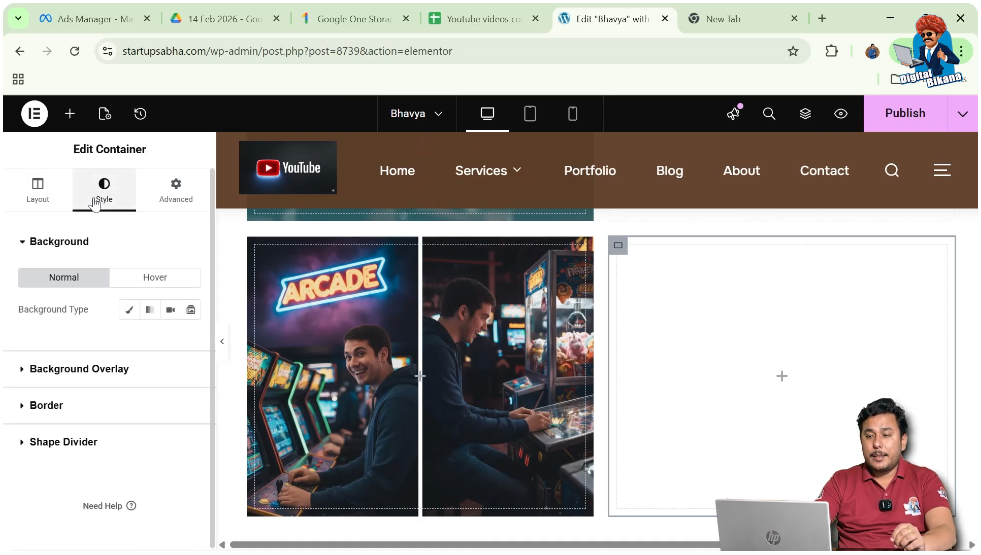
Alternative Method: Adding Background Image to Container
Instead of using the image widget, you can also add an image as a background.
Steps to Add Background Image
Step 1: Select Container
Click on the container.
Step 2: Go to Style Settings
Open the Style tab.
Step 3: Select Background Type
Choose “Classic” under Background.
Step 4: Add Image
Select an image from the media library.
This method applies the image as a background to the entire container.
Final Output and Result
After completing all the steps, your layout will have:
- A structured section with grid layout
- A container inside the section
- An image placed inside the container
- Custom styling such as size, border, and shadow
- Optional link and advanced effects
This creates a visually appealing and functional design.
Conclusion
Adding an image in a container in Elementor is a simple yet powerful way to enhance your website design. By creating a section, adding a container, inserting an image widget, and customizing its appearance, you can build attractive layouts easily.
Elementor provides flexibility with both image widgets and background images, allowing you to choose the method that best fits your design needs. By following the steps explained in this article, you can effectively add and style images in your WordPress website.
Related Posts


