

Resizing images in a WordPress blog post is an important task while creating or editing content. Properly sized images improve the appearance of a blog post and help maintain a clean layout. WordPress provides simple tools that allow you to resize images directly from the editor without using any external software.
In this article, you will learn how to resize the images in a WordPress blog post step by step. The process is very simple and can be done whether you are creating a new blog post or editing an existing one.
Accessing the WordPress Admin Dashboard
Before resizing images, you need to log in to your WordPress website admin dashboard. The WordPress dashboard is the control panel where you can manage your website content, posts, pages, images, and settings.
After logging into your WordPress dashboard, you will see the left-side toolbar where different options are available.
From here, you need to go to the Post section.
Opening the Post Section
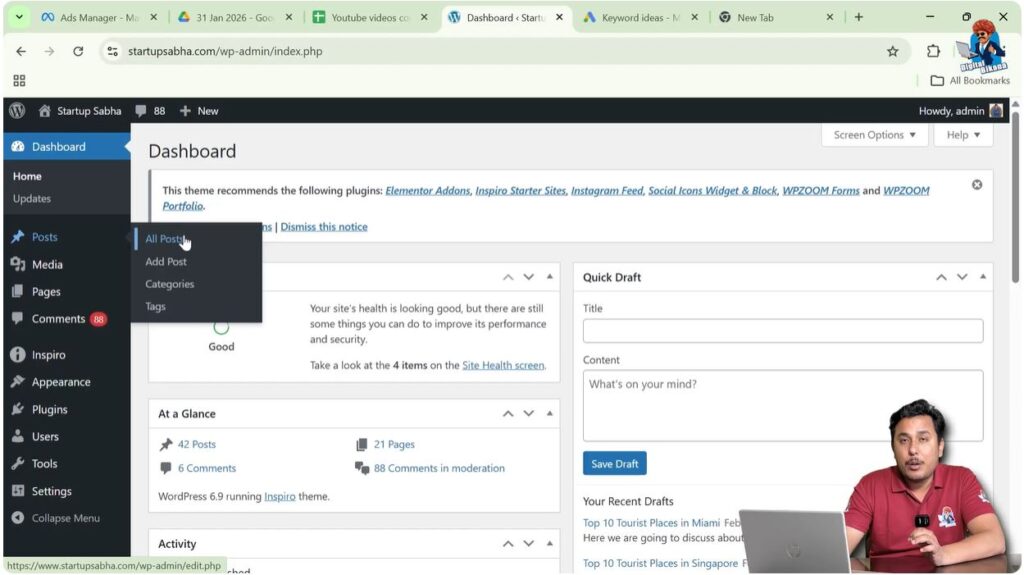
On the left-side toolbar, you will find the Post option. When you move your cursor over the Post option, a submenu will appear.
The submenu contains options such as:
- All Posts
- Add Post
- Categories
- Tags
To resize images in an existing blog post, you need to click on All Posts.
After clicking on All Posts, you will see the list of blog posts that you have created.
Opening the All Posts Section
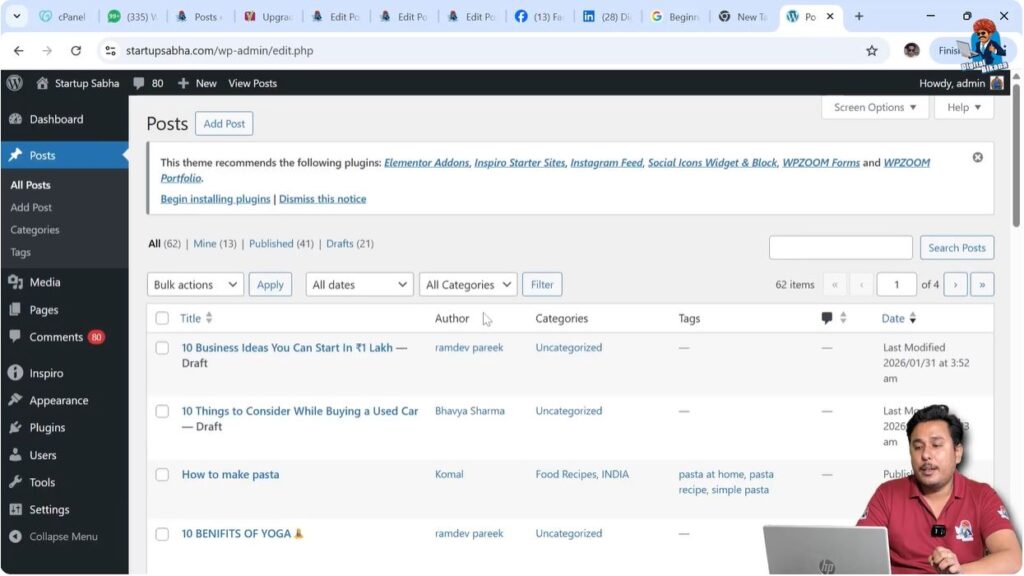
In the All Posts section, all your blog posts will be displayed. From this list, you can choose any blog post that you want to edit.
You can resize images in both:
- Newly created blog posts
- Previously published blog posts
To continue, click on the Edit button available under the blog post title.
After clicking on Edit, the WordPress editor will open.
Editing an Existing Blog Post
Once the editor mode is opened, you will see the complete blog post including text, headings, and images.
In the editor, you can make different types of changes such as:
- Editing text
- Adding images
- Deleting content
- Resizing images
Now you can resize any image available in the blog post.

Resizing Images in WordPress Blog Post
WordPress allows you to resize images directly inside the editor. You do not need any external software to adjust the size of images.
You can resize images while:
- Creating a new blog post
- Editing an existing blog post
To resize an image, you first need to select the image.
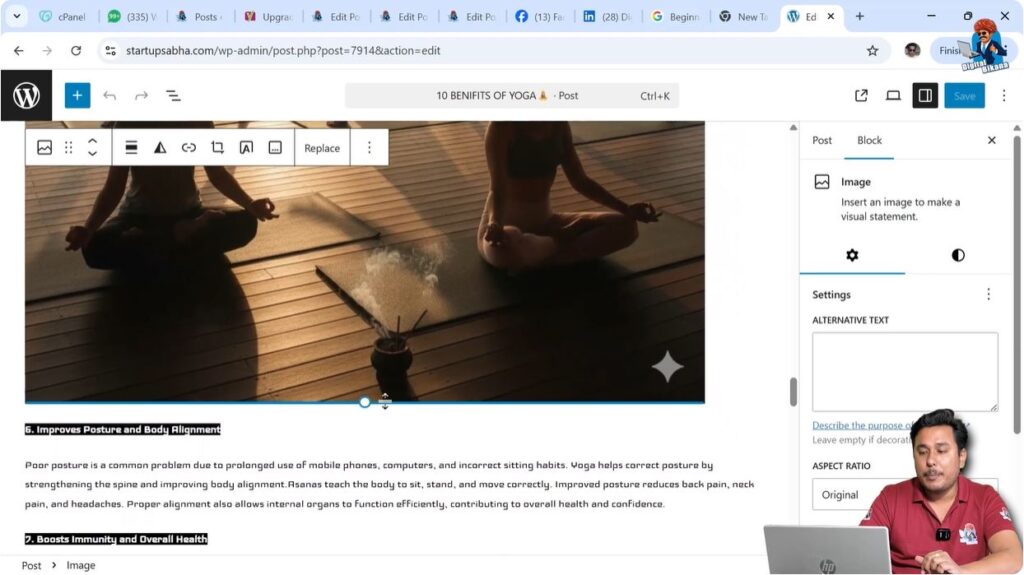
Selecting the Image
To resize an image, click on the image inside the editor.
Once you click on the image, the image block will be selected.
After selecting the image, small circular handles will appear around the edges of the image.
These handles are used for resizing the image.
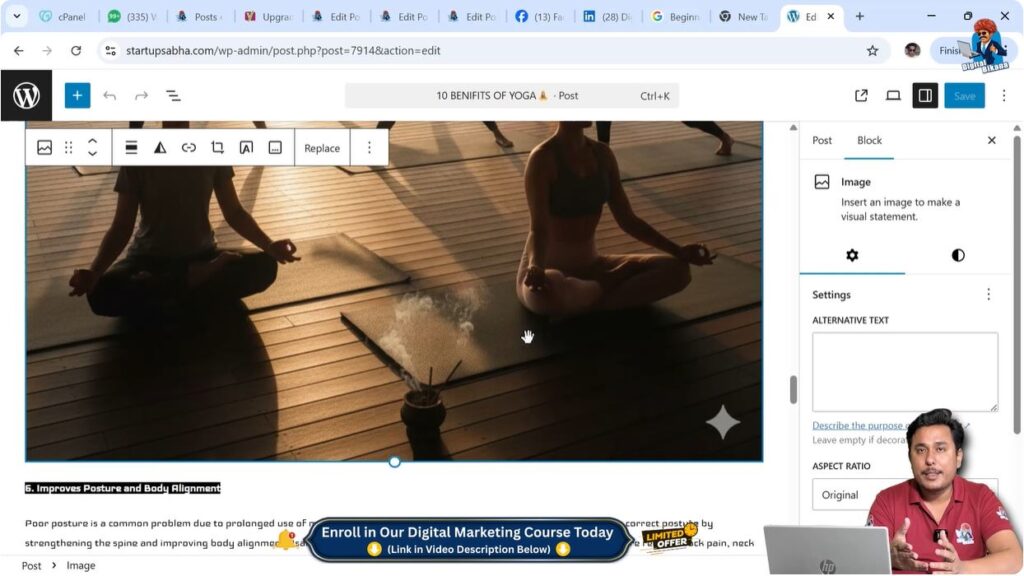
Using Resize Handles
When the image is selected, you will notice blue circular handles at the corners and edges of the image.
These blue circles allow you to increase or decrease the size of the image.
You just need to click and drag these handles.
You can move the cursor:
- Inside to decrease the size
- Outside to increase the size
This allows you to easily control the image size.
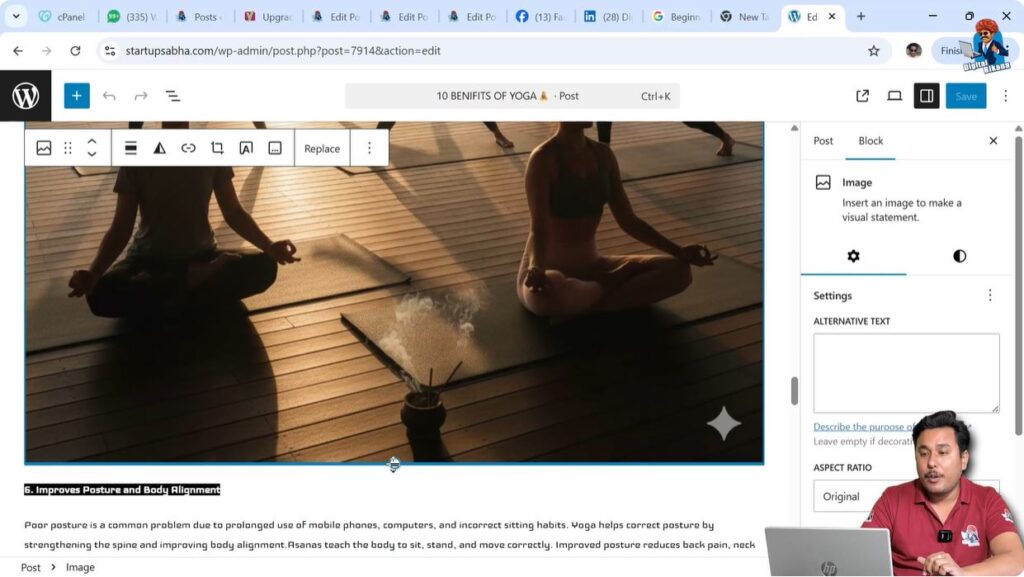
Resizing from the Bottom Edge
You can resize the image by dragging the bottom edge.
Click on the bottom resize handle and move your cursor upward to reduce the image size.
You can also move the cursor downward to increase the image size.
After resizing, the image size will change immediately inside the editor.
Resizing from the Side Edges
You can also resize images from the side edges.
Click on the right-side handle and move your cursor left to reduce the size.
Move the cursor right to increase the size.
Similarly, you can resize the image from the left edge.
This method allows you to adjust the image size according to your layout.

Understanding Image Resize Controls
When an image is selected, WordPress automatically shows resize handles in the form of blue circles.
These resize handles appear on:
- Corners
- Left side
- Right side
- Bottom side
These handles help you resize the image manually.
This method is the easiest way to resize images in WordPress.
Image Size Reduction Example
When you drag the resize handles inward, the size of the image becomes smaller.
After reducing the size, the image occupies less space inside the blog post.
This is useful when you want to align images with text or improve the layout of the article.
Once resized, the image will remain in the new size after saving the post.
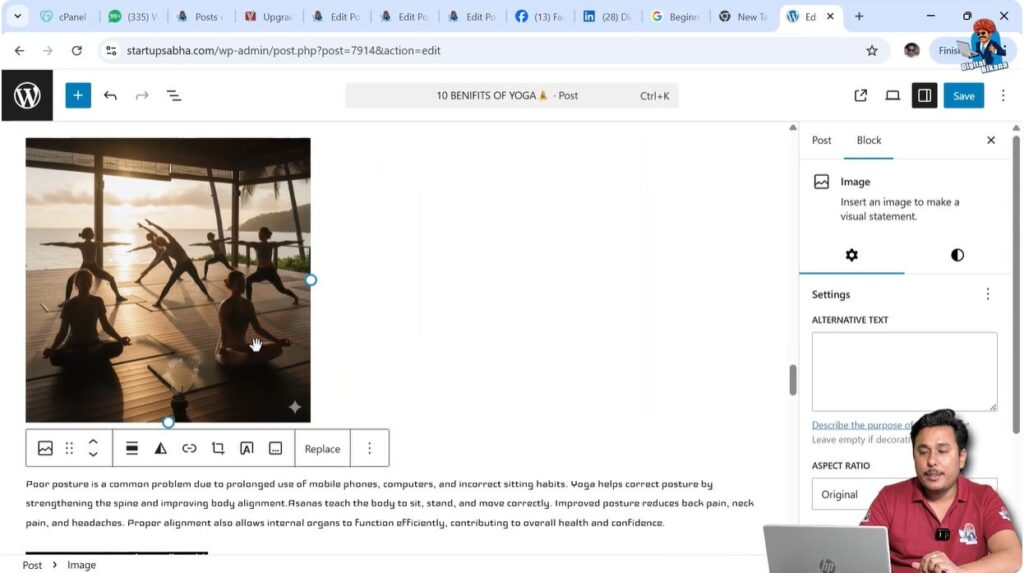
Adjusting Image Alignment After Resizing
After resizing the image, you can also change the alignment of the image.
Click on the resized image.
A toolbar will automatically appear above the image.
This toolbar contains several options including the alignment option.
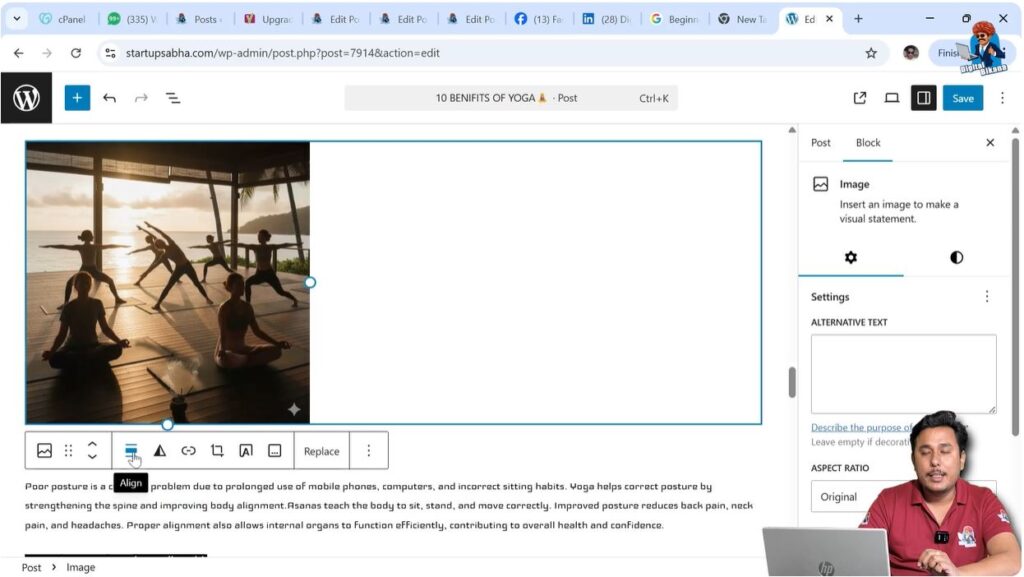
Using Image Alignment Options
When you select the image, a popup toolbar appears on the top of the image.
In this toolbar, you will find the alignment option.
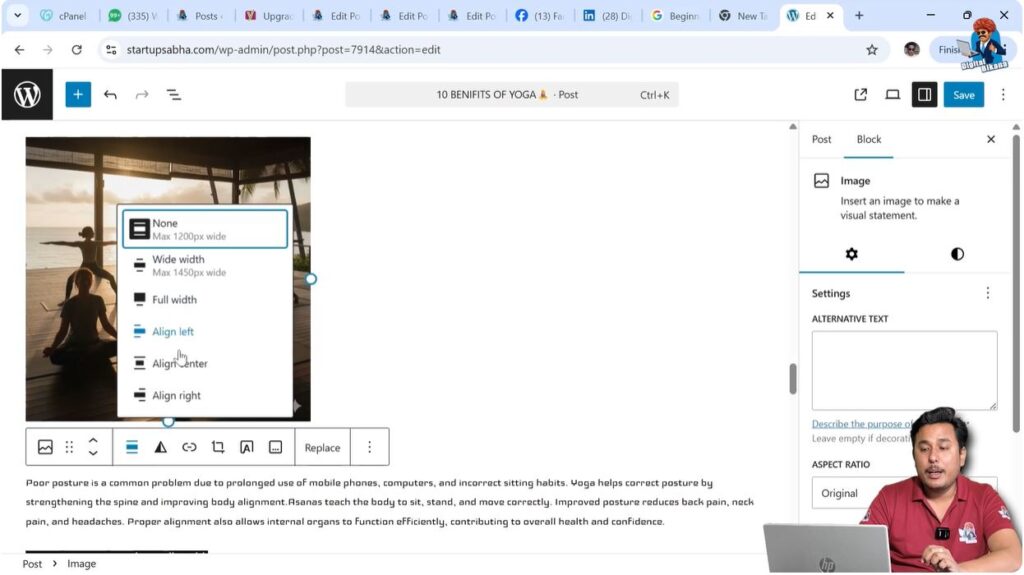
You can align the image in different ways:
- Align Left
- Align Center
- Align Right
- Wide Width
- Full Width
You just need to click on the alignment button and choose the alignment option.
After selecting the alignment option, the image position will change accordingly.
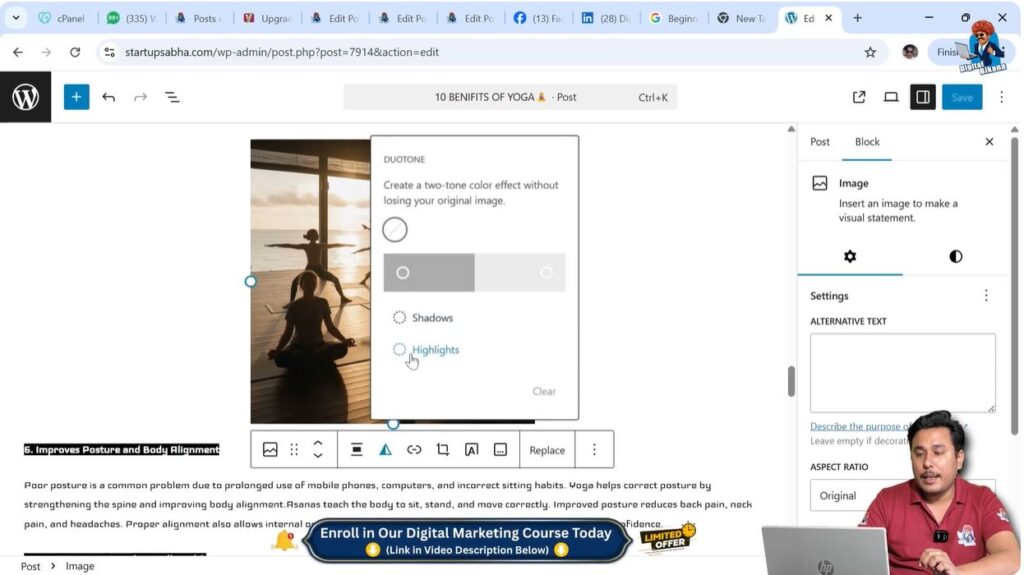
Applying Image Effects
Apart from resizing and alignment, WordPress also provides additional image options.
You can apply image effects such as:
- Shadows
- Highlights
- Duotone filters
These options are available in the image toolbar.
You can apply different highlight colors and visual effects to improve the appearance of the image.
Resizing Images While Creating a New Blog Post
You can resize images while creating a new blog post as well.
After inserting the image in a new blog post:
- Click on the image
- Resize using blue handles
- Adjust alignment if needed
- Save or publish the post
This process is exactly the same as editing an existing blog post.
Saving the Changes
After resizing the image, you need to save the changes.
Click on the Update button if you are editing an existing post.
Click on the Publish button if you are creating a new post.
After saving, the resized image will appear on the live website.
Conclusion
Resizing images in a WordPress blog post is a simple and useful feature that helps improve the layout of your content. You can easily resize images while creating a new blog post or editing an existing one.
You just need to select the image and drag the resize handles to increase or decrease the size. After resizing, you can also adjust the alignment and apply visual effects if required.
This is how you can resize the images in a WordPress blog post easily using the WordPress editor.
Related Posts


