
Aligning images properly in a WordPress blog post helps improve the overall appearance and readability of your content. Proper image alignment makes your blog posts look professional and well-structured. In WordPress, you can easily align images to the left, center, or right using the built-in editor tools.
In this article, you will learn how to align images in a WordPress blog post step by step using the WordPress block editor. The process is simple and can be applied to both new and existing blog posts.
Accessing the WordPress Dashboard
To align images in a WordPress blog post, you first need to log in to your WordPress admin dashboard. The dashboard is the main control panel where you can manage posts, pages, images, plugins, and settings of your website.
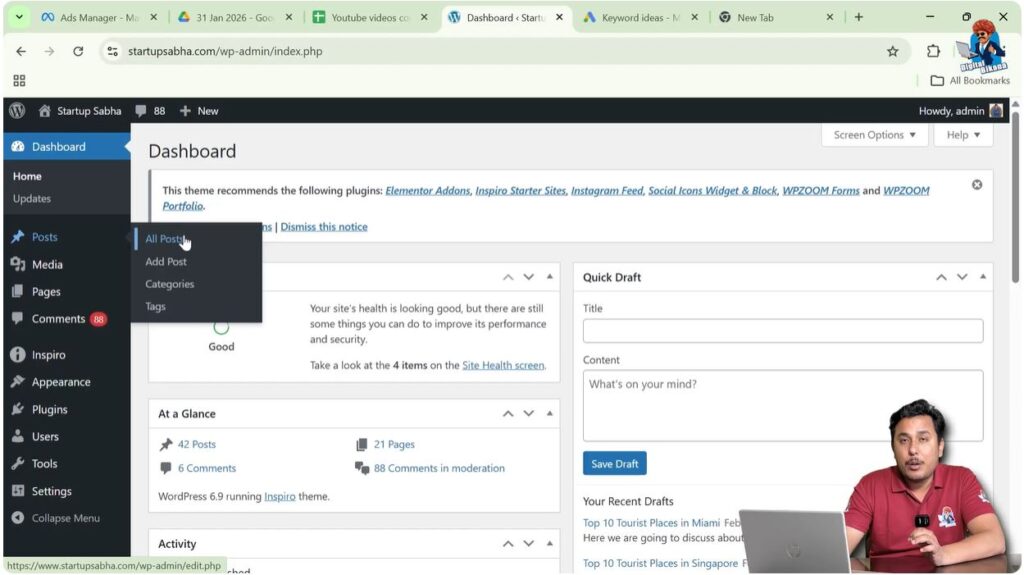
Once you log in to your WordPress website, you will see the admin dashboard. On the left side of the dashboard, there is a toolbar that contains different sections such as Posts, Pages, Media, Plugins, and Settings.
From here, you can access the post section where your blog articles are stored.
Opening the Post Section
On the left side toolbar of the WordPress dashboard, you will find the Post section. When you move your cursor over the Post option, a submenu appears.
The submenu contains options such as:
- All Posts
- Add New Post
- Categories
- Tags
To edit an existing blog post, you need to click on All Posts.
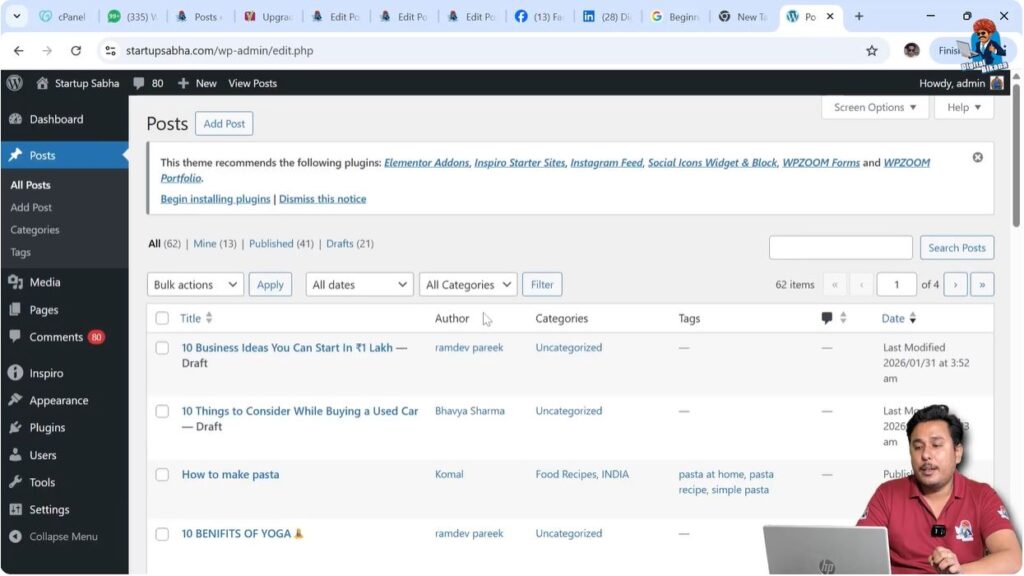
After clicking on All Posts, you will be taken to a screen where all your blog posts are displayed. This section shows both published and draft posts.
Opening the All Posts Section
When you click on the All Posts option, a list of all blog posts appears on the screen. This section allows you to manage and edit your existing articles.
You can select any blog post that you have already published. Editing an existing blog post makes it easier to understand how image alignment works.
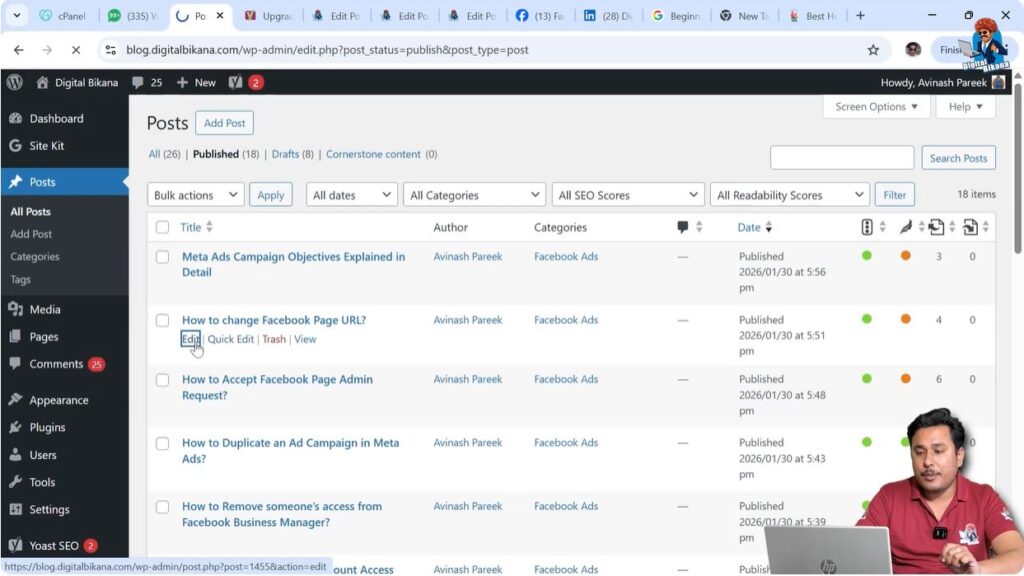
To edit a blog post, move your cursor over the blog post title. When you hover over the title, several options appear below it.
These options include:
- Edit
- Quick Edit
- Trash
- View
To proceed further, click on the Edit option.
Editing an Existing Blog Post
After clicking on the Edit button, the WordPress block editor opens. This editor allows you to modify the content of your blog post.
Inside the editor, you will see the full content of your blog post including headings, paragraphs, and images.
You can scroll through the content and find the image that you want to align.
Working with an existing post makes it easier to understand how alignment works because images are already present inside the content.
Selecting the Image for Alignment
To align an image in a WordPress blog post, you first need to select the image.
Simply click on the image that you want to align.
When you click on the image, WordPress automatically displays a popup toolbar above the image. This toolbar contains several editing options for the image.
These options allow you to:
- Align the image
- Resize the image
- Replace the image
- Add links
- Edit image settings
Among these options, you will find the alignment option, which is used to change the position of the image.
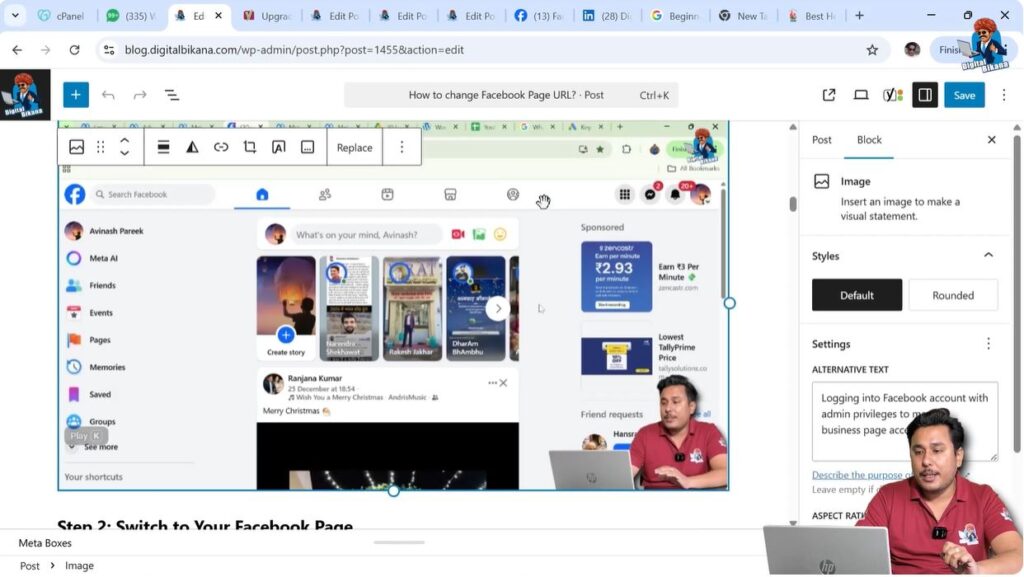
Image Alignment Options in WordPress
When you select an image, a popup toolbar appears above the image automatically.
This toolbar contains an alignment option.
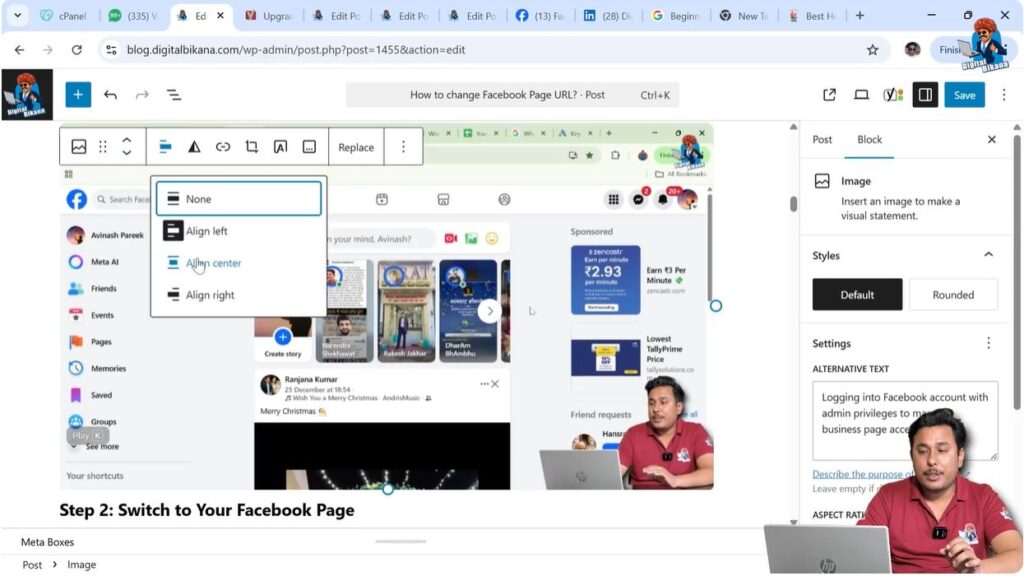
Click on the alignment option to see the available alignment settings.
WordPress provides three main alignment options:
- Align Left
- Align Center
- Align Right
Each alignment option changes the position of the image inside the blog post.

Align Left
When you select the Align Left option, the image moves to the left side of the content area.
This option is useful when you want text to appear on the right side of the image or when you want the image positioned on the left side of the page.
The left alignment is commonly used in blog posts where images are placed beside text content.

Align Center
When you select the Align Center option, the image is positioned in the center of the content area.
This is the most commonly used alignment because it keeps the layout clean and balanced.
Centered images look professional and are easy to view on both desktop and mobile devices.
This alignment works best for featured images and important visuals inside blog posts.
Align Right
When you select the Align Right option, the image moves to the right side of the content area.
Right alignment is useful when you want text to appear on the left side of the image.
This layout style is sometimes used to create visually appealing content sections.

Understanding Image Size and Alignment
Sometimes alignment changes may not be visible if the image is displayed in full size.
If your image occupies the full width of the content area, then left alignment, center alignment, and right alignment may appear the same.
This happens because the image already fills the entire space.
In such cases, alignment settings do not make a visible difference.
To properly see alignment changes, you need to reduce the image size.
Resizing the Image to See Alignment Changes
If the image size is large, you can reduce its size to observe the alignment effects clearly.
After selecting the image, you can resize it by dragging the image corners.
Once the image becomes smaller, alignment changes become visible.
You will be able to see the image moving:
- To the left side
- To the center
- To the right side
This makes it easier to understand how alignment works in WordPress.
Alignment for Smaller Images
Alignment works best when the image size is smaller than the content width.
When an image is smaller, you can clearly see the difference between:
- Left alignment
- Center alignment
- Right alignment
Smaller images allow you to design better layouts inside blog posts.
You can place images beside text or create visually appealing sections using alignment options.
Using the Alignment Toolbar
The alignment toolbar appears automatically whenever you select an image.
This toolbar is located above the selected image.
To align an image, follow these steps:
Step 1: Open the Blog Post
Go to:
Dashboard → Posts → All Posts → Edit
Open the blog post where you want to align the image.
Step 2: Select the Image
Click on the image inside the blog post.
Once selected, the popup toolbar will appear automatically above the image.
Step 3: Click the Alignment Option
Click on the alignment icon in the popup toolbar.
This will display the alignment options.
Step 4: Choose Alignment
Select one of the following options:
- Align Left
- Align Center
- Align Right
The image alignment will be updated instantly.
How Alignment Works in WordPress Editor
WordPress block editor automatically provides alignment options whenever an image is selected.
You do not need any plugin to align images in WordPress.
The alignment feature is built into the WordPress editor.
You only need to:
- Select the image
- Open alignment options
- Choose alignment
This makes the process simple and beginner-friendly.
Important Points About Image Alignment
There are some important points to remember when aligning images in WordPress.
If the image size is full width, alignment changes may not be visible.
Alignment becomes visible when the image width is smaller than the content area.
Always select the image first before trying to align it.
The popup toolbar only appears when the image is selected.
Alignment settings can be changed anytime by selecting the image again.
Conclusion
Aligning images in a WordPress blog post is a simple process that helps improve the visual structure of your content. WordPress provides built-in alignment options that allow you to position images to the left, center, or right.
You only need to select the image and use the alignment option from the popup toolbar. If the image is full width, you may need to reduce its size to see alignment changes clearly.
By properly aligning images, you can create clean and professional blog posts that are easy to read and visually appealing.
Related Posts


