
In this article, we are going to learn how to add WhatsApp chat button on WordPress website. If you want visitors to contact you directly through WhatsApp from your website, then adding a WhatsApp chat button is a very useful feature. It allows users to send messages instantly and makes communication easier.
As you can see, we are inside the WordPress admin dashboard. This is the backend area from where all settings of the website are managed. On the frontend of the website, we want to display a WhatsApp chat button so that visitors can easily contact us.
If you want to add a WhatsApp chat button on your WordPress website, then it can be done easily by using a plugin. In this tutorial, we will install a plugin and configure it step by step so that the WhatsApp chat button appears on the website.
WordPress Admin Dashboard
As you can see, we are inside the WordPress admin dashboard. From here we can control all features of the website. The WordPress dashboard contains many options in the left side toolbar such as posts, pages, plugins, appearance, and settings.
To add a WhatsApp chat button on the website, we need to install a plugin. Plugins are small software programs that add extra features to a WordPress website. In this case, we will install a plugin that allows us to display a WhatsApp chat button on the website.
Website Frontend
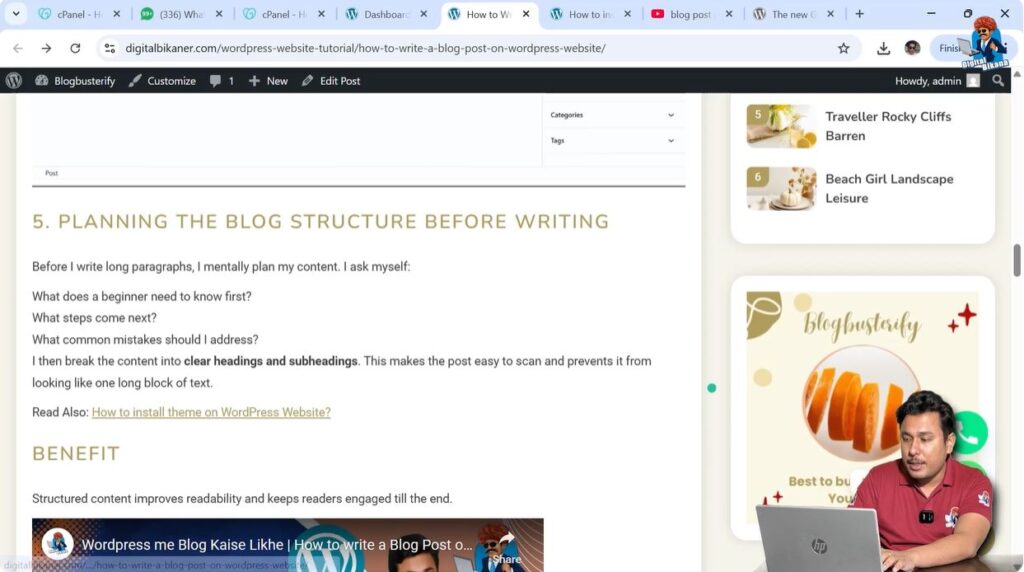
On the frontend of the website, we want to display a WhatsApp chat button. The WhatsApp button usually appears on the bottom corner of the website so that visitors can easily notice it and click on it.
Right now, the website does not have a WhatsApp chat button. We will install and configure a plugin so that the WhatsApp button appears on this website.
Installing WhatsApp Chat Plugin
To add a WhatsApp chat button, we need to install a plugin.
Step 1 – Go to Plugins Section
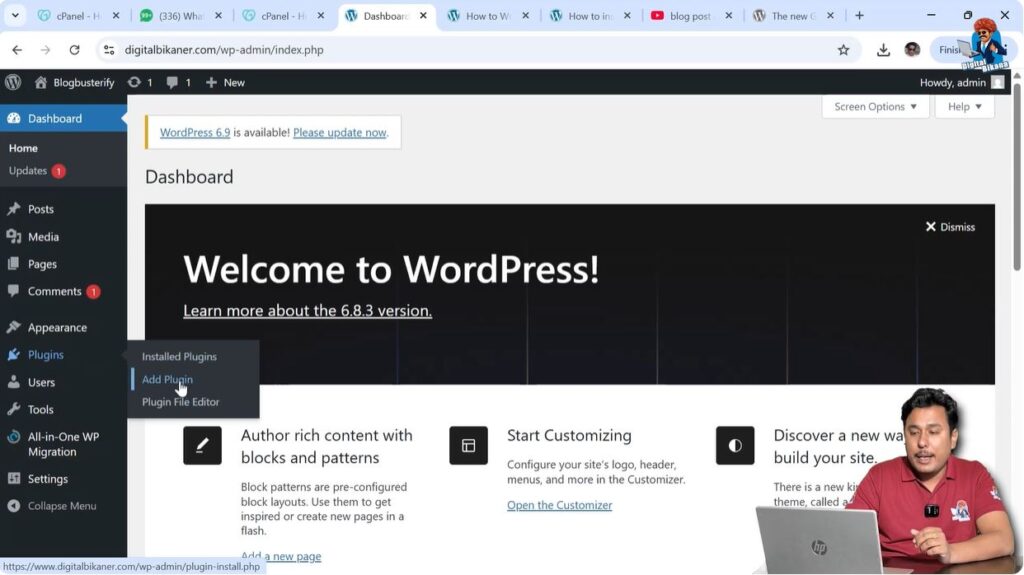
First of all, go to the WordPress dashboard and look at the left side toolbar. Here you will find the Plugins section.
Click on the Plugins section and then click on Add Plugin.
After clicking on Add Plugin, you will reach the plugin directory where thousands of WordPress plugins are available.
Step 2 – Search for Chaty Plugin
In the plugin search box, type:
Chaty
Spell it as:
C H A T Y
After searching, you will see the plugin named Floating Chat Widget.
This plugin allows you to add WhatsApp chat button on your WordPress website.

Step 3 – Install Plugin
Click on the Install Now button.
After clicking Install Now, the plugin will start installing.
Once the installation is completed, the Install Now button will change into the Activate button.

Step 4 – Activate Plugin
Click on the Activate button.
After activation, the plugin will be enabled on your website.
Now you will see the plugin option appearing in the left side toolbar.
This means the plugin has been successfully installed and activated.

Creating WhatsApp Chat Widget
After installing the plugin, we need to create a WhatsApp chat widget.
Step 1 – Click on Create Widget
Go to the Chaty plugin settings and click on Create Widget.
This will allow you to configure the WhatsApp chat button.

Step 2 – Select WhatsApp Option
Now you need to select WhatsApp.
In this case, WhatsApp is already selected.
If it is not selected, you can manually select WhatsApp from the available options.
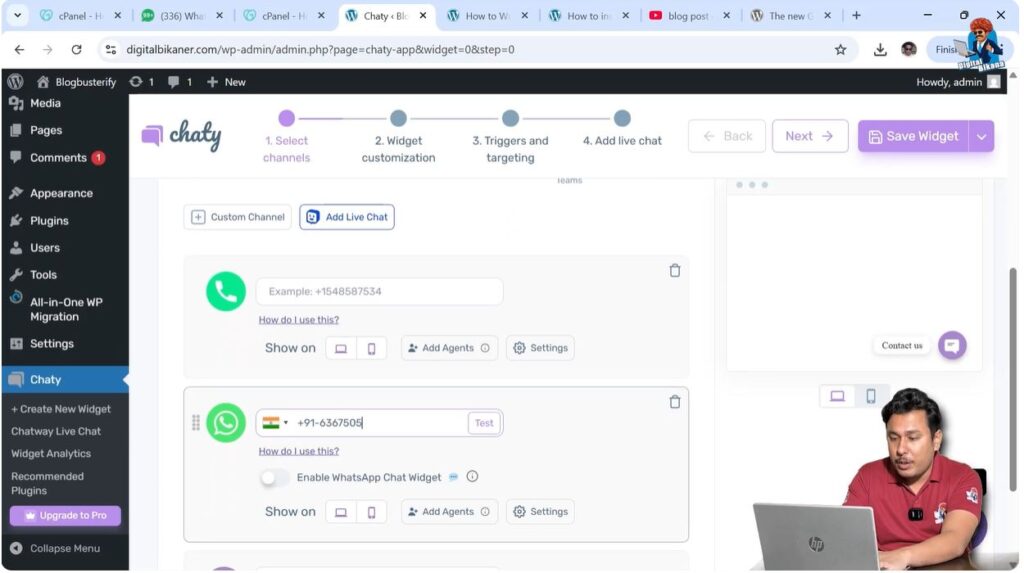
Adding Phone Number
After selecting WhatsApp, you need to add your phone number.
You can enter the phone number that you want to display on the website.
If you do not want to display the phone number, you can turn off the phone number option.
If you want the call button, then you can enter your calling number as well.
After entering the phone number, the WhatsApp chat will work properly.
Enabling WhatsApp Chat
Make sure that the WhatsApp chat widget is enabled.
The WhatsApp chat option should be turned on so that the button appears on the website.
If this option is turned off, the WhatsApp chat button will not appear.
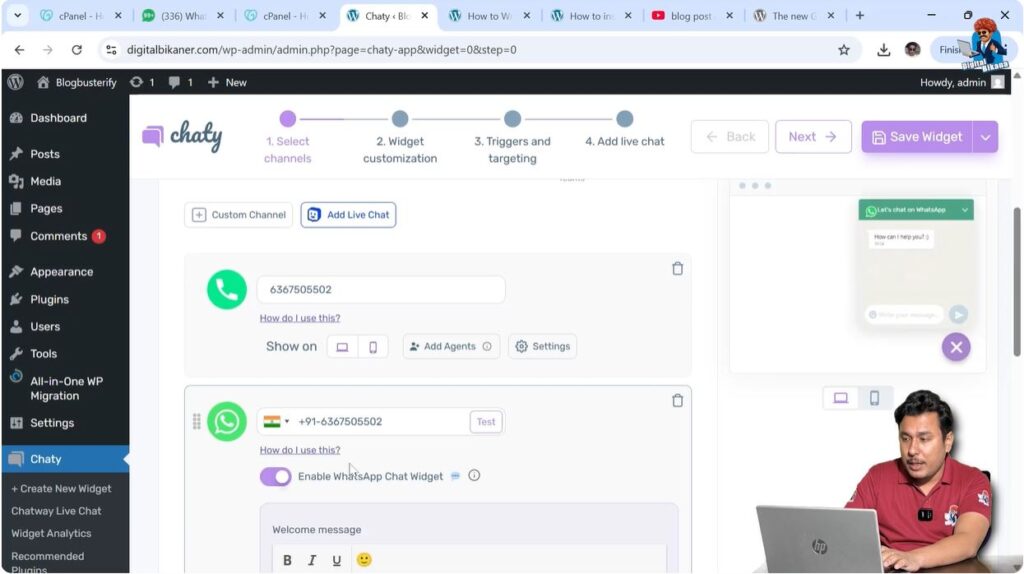
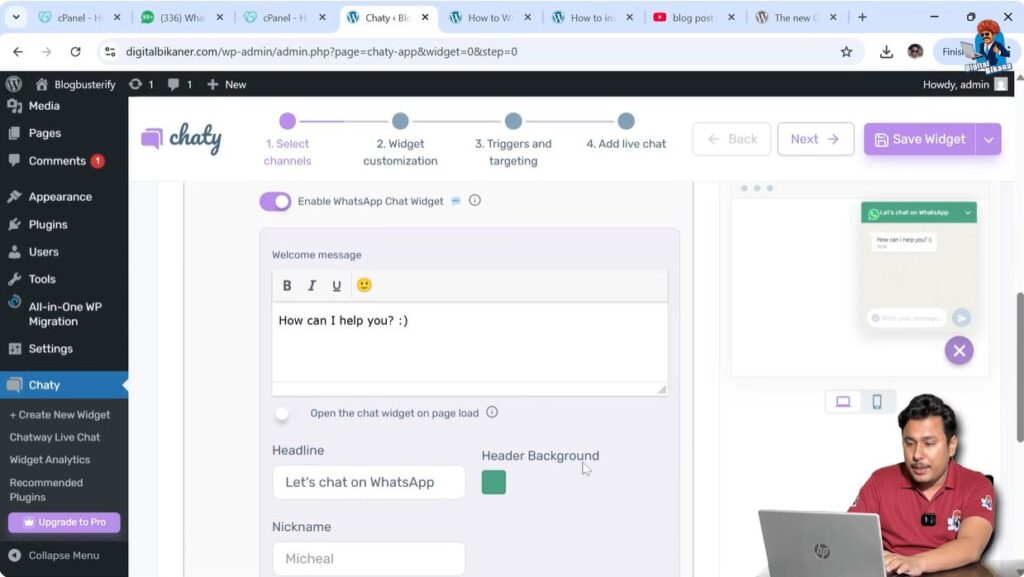
Setting Welcome Message
You can also set a welcome message for visitors.
The welcome message will be displayed when visitors open the WhatsApp chat widget.
You can also add:
- Nickname
- Profile image
- Message text
- Input placeholder
You can also enable emoji picker if you want visitors to use emojis while chatting.
After completing these settings, click on Next.
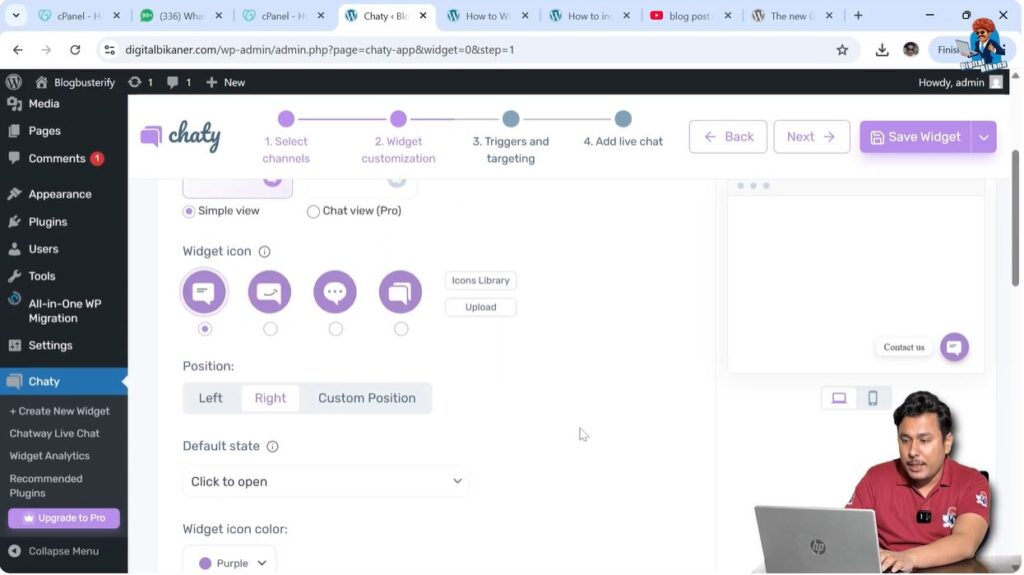
Selecting Widget Design
After clicking Next, the widget design options will appear.
Here you can select the design of the WhatsApp chat button.
You can choose the widget icon according to your preference.
You can also upload a custom icon, but that option is available only in the upgraded version.
There is no need to use the upgraded version if the default design is sufficient.
After selecting the design, click on Next.
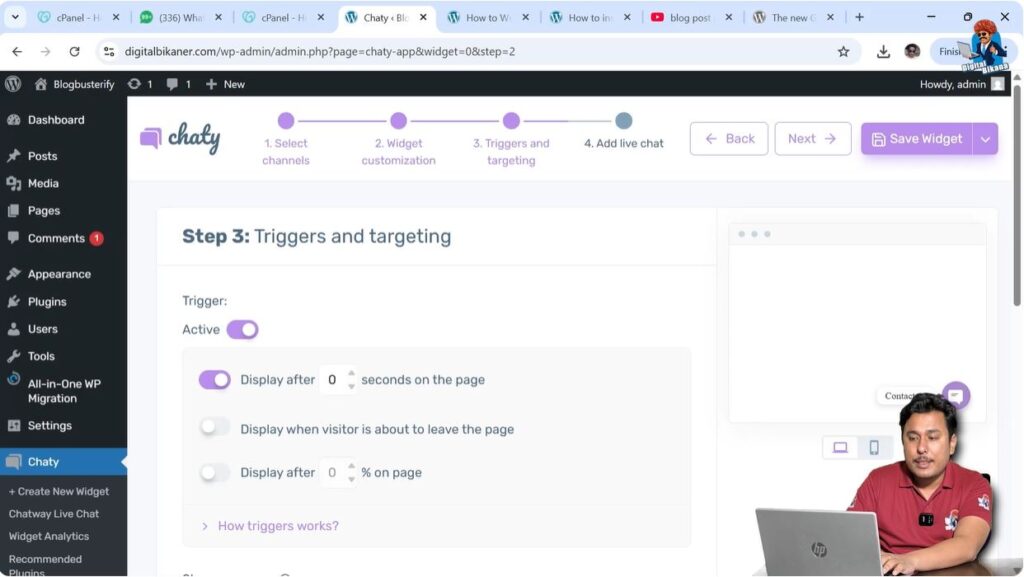
Widget Display Settings
After clicking Next, you will see display settings.
Here you can control when the chat widget should appear on the visitor’s screen.
You can control:
- After how many seconds the widget should appear
- Display when visitor is about to leave the page
- Display after certain percentage of page scroll
You can adjust these settings according to your preference.
After configuring the settings, click on Next.
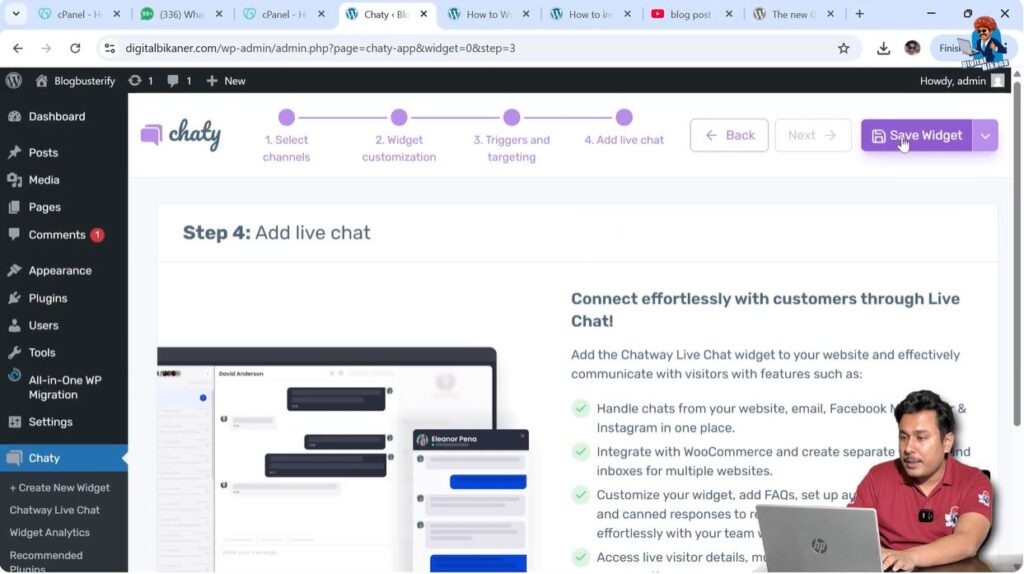
Saving WhatsApp Chat Widget
After completing all settings, click on Save Widget.
The widget will be saved successfully.
This means the WhatsApp chat button is now configured on your WordPress website.
Checking WhatsApp Chat Button on Website
Now go to the frontend of your website.
Refresh the page.
After refreshing the page, you will see the WhatsApp chat button.
The button will appear on the website.
When a user clicks on the WhatsApp button, the chat window will open.
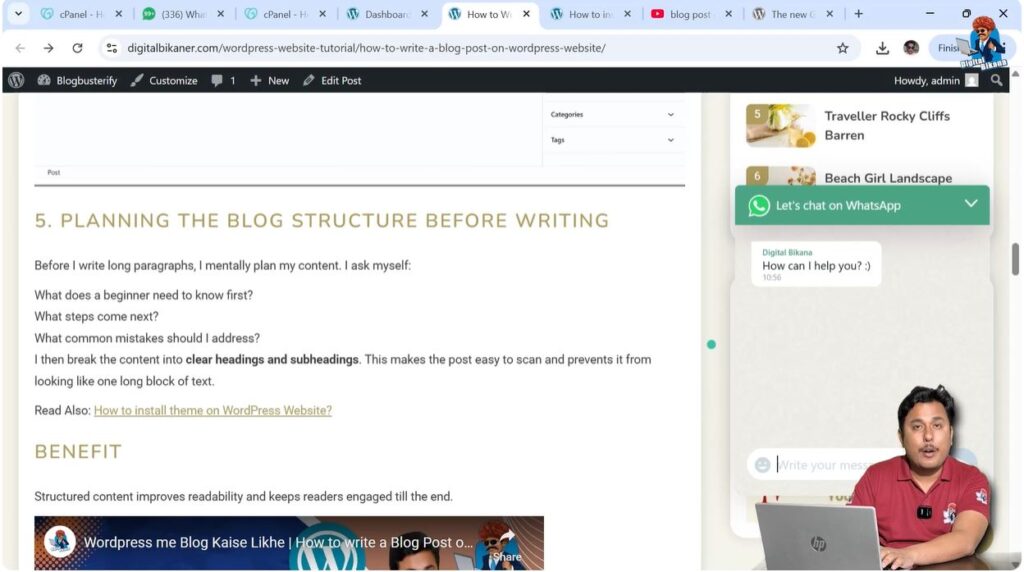
WhatsApp Chat Window
When a visitor clicks on the WhatsApp chat button, the chat popup will appear.
The visitor can type a message and send it.
After sending the message, the user will be automatically redirected to WhatsApp.
From there the conversation can continue.
This makes it easy for visitors to contact you directly through WhatsApp.
Customizing WhatsApp Chat Button
After installing the WhatsApp chat button, you can customize it in many ways.
You can change:
- Logo
- Phone number
- Welcome message
- Profile image
- Chat text
- Widget design
- Display timing
Everything is customizable according to your requirements.
Conclusion
In this tutorial, we learned how to add WhatsApp chat button on WordPress website step by step.
First, we installed the Chaty plugin. Then we activated the plugin and created a WhatsApp widget. After that, we added the phone number and enabled WhatsApp chat. Then we configured the design and display settings and saved the widget.
Finally, we refreshed the website and saw the WhatsApp chat button on the frontend.
When visitors click on the WhatsApp button, the chat window appears and they can send messages directly. The messages are redirected to WhatsApp automatically.
This is how you can easily add WhatsApp chat button on your WordPress website.
Related Posts


