Managing multiple ad sets inside a single campaign is a common practice when running ads on Meta Ads Manager. Advertisers often create multiple ad sets to test different audiences, locations, age groups, or targeting strategies. Editing each ad set one by one can be time-consuming, especially when changes are required across all ad sets. In this detailed article, we will explain how to edit multiple ad sets together in a single Meta ad campaign, step by step and explain each step in detail for better understanding.
Understanding Why Multiple Ad Sets Are Created
Before learning how to edit multiple ad sets together, it is important to understand why advertisers create multiple ad sets in a single campaign.
Multiple ad sets are usually created to:
- Test different audience locations
- Test different age groups
- Test different targeting options
- Control budget and schedule separately
In one campaign, each ad set may have its own audience settings, while still promoting the same product or service using a similar ad creative.
How to Edit Multiple Ad Sets Together in Meta Ads Manager?
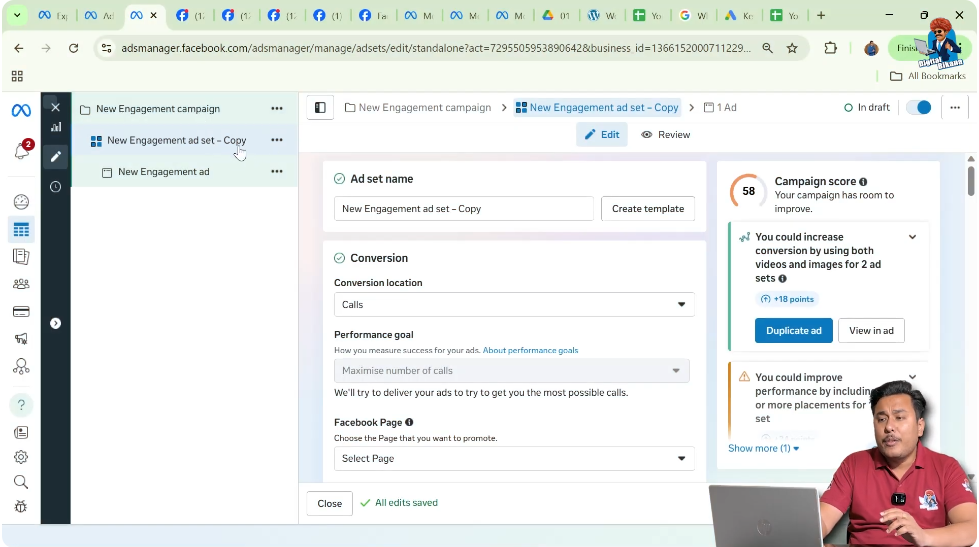
Step 1: Opening Meta Ads Manager and Creating a Campaign
The first step is to open Meta Ads Manager and start creating a new ad campaign.
After selecting the campaign objective, you move to the Ad Set level. At this stage, you may need to create multiple ad sets for testing or scaling purposes.
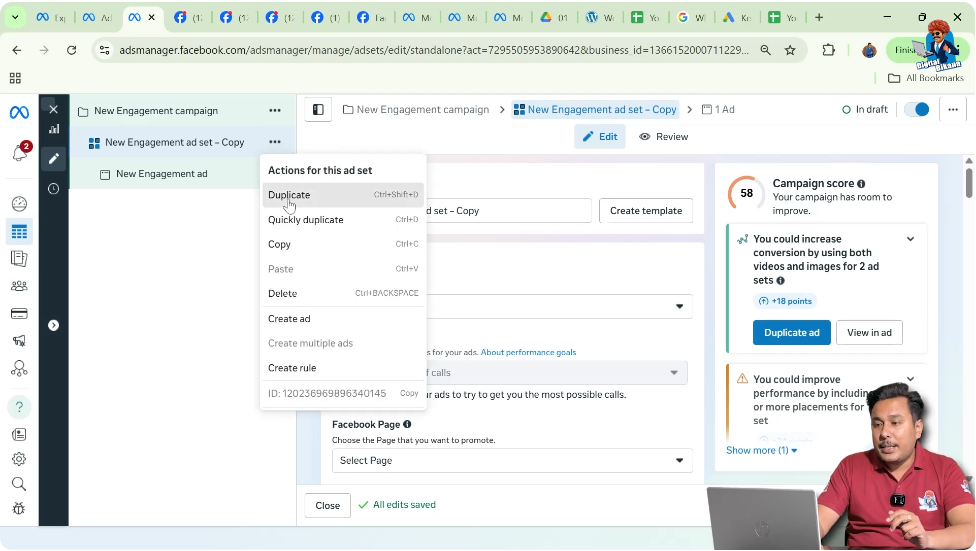
Step 2: Creating Multiple Ad Sets Using Duplication
To create multiple ad sets quickly, the duplication option is used.
For example:
- One ad set is created initially
- That ad set is duplicated four times
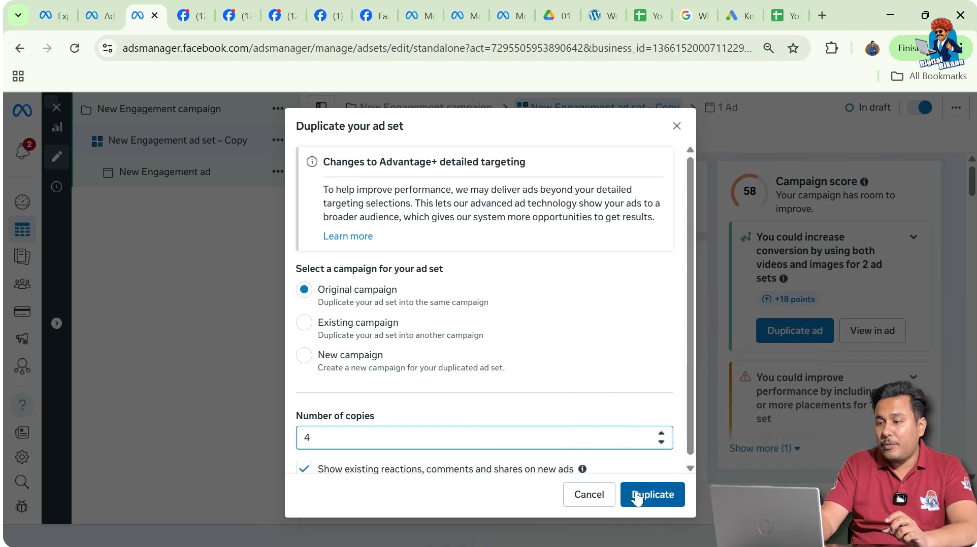
After duplication, a single campaign contains five ad sets:
- First ad set
- Second ad set
- Third ad set
- Fourth ad set
- Fifth ad set
Each ad set contains a single ad creative, but the targeting and settings may differ.

Step 3: The Need to Edit Multiple Ad Sets Together
Once multiple ad sets are created, there may be a requirement to:
- Rename all ad sets
- Change start or end dates
- Modify locations
- Adjust age or gender
- Update detailed targeting
Editing each ad set individually would take a lot of time. To solve this, Meta Ads Manager allows advertisers to edit multiple ad sets together in one go.
Step 4: Selecting Multiple Ad Sets at the Same Time
To edit multiple ad sets together, the first action is selecting all the required ad sets.
The process is as follows:
- Click on any one ad set
- Press and hold the Control (Ctrl) key on the keyboard
- While holding the Ctrl key, click on the second, third, fourth, and fifth ad sets
- All selected ad sets will now be highlighted
- Release the Ctrl key
Once selected, Meta Ads Manager shows an Edit option.
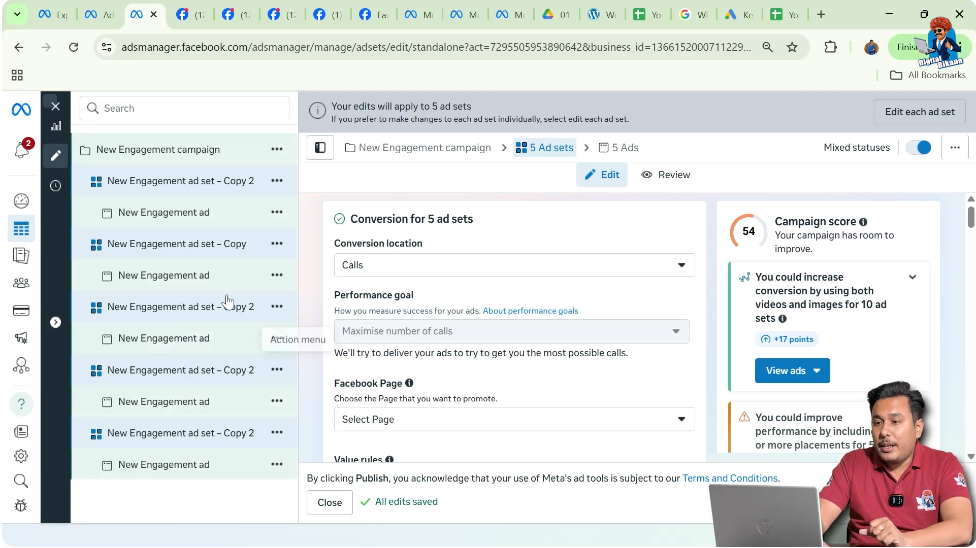
Step 5: Clicking the Edit Option
After selecting all the ad sets, click on the Edit button.
This opens a combined editing panel where changes can be applied to all selected ad sets together, while still allowing individual adjustments where required.

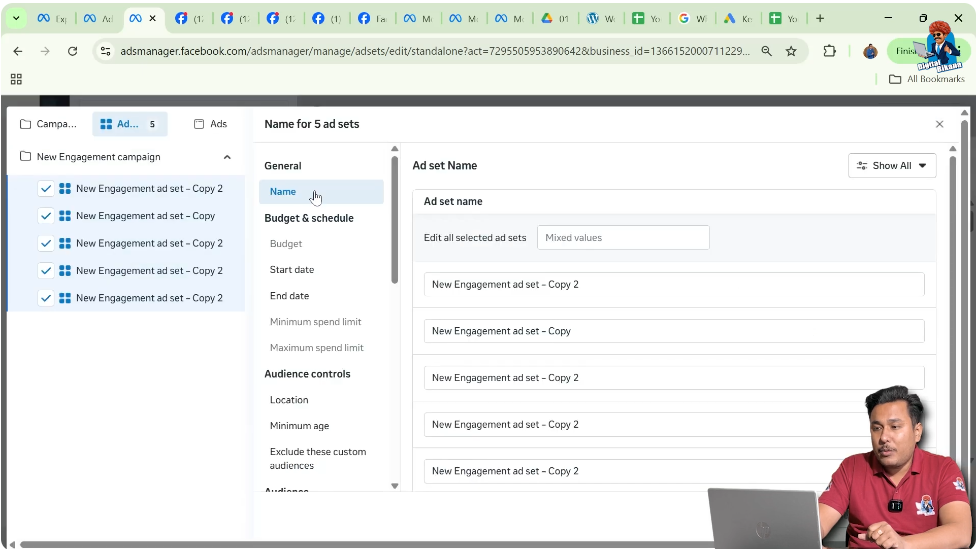
Step 6: Renaming Multiple Ad Sets Together
The first section available inside the edit panel is the Name section.
Here, you can rename all ad sets at once.
For example:
- Ad Set 1
- Ad Set 2
- Ad Set 3
- Ad Set 4
- Ad Set 5
This helps maintain clarity and organization, especially when managing a large number of ad sets inside one campaign.
Step 7: Editing Start Dates for All Ad Sets
After renaming, the next option is Start Date and Start Time.
You can assign different start dates to different ad sets even while editing them together.
For example:
- First ad set starts on 2nd January
- Second ad set starts on 6th January
- Third ad set starts on 10th January
- Fourth ad set starts on 14th January
- Fifth ad set starts on 18th January
You can also adjust the start time for each ad set as needed. This is useful when you want ad sets to run on different days or in a phased manner.

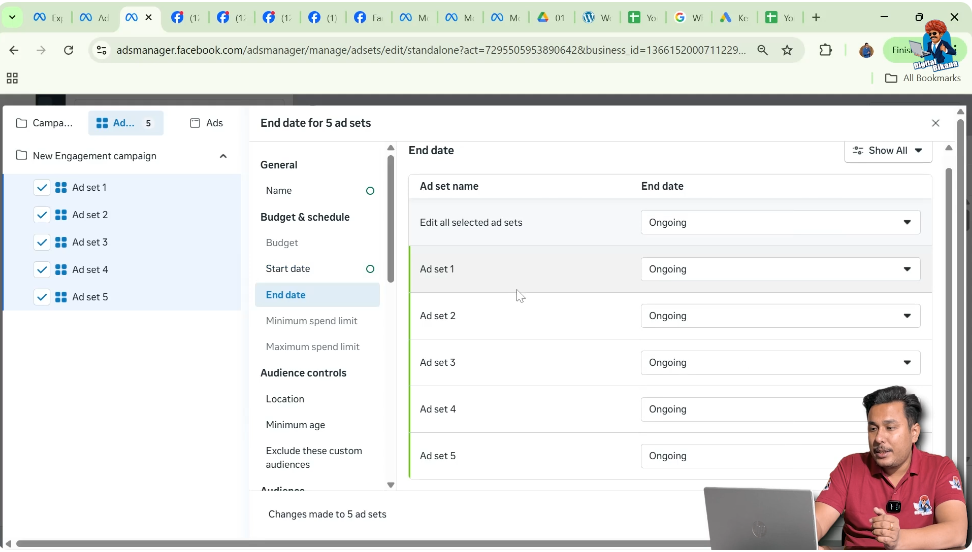
Step 8: Editing End Dates for Multiple Ad Sets
After setting the start dates, you can move to the End Date section.
Each ad set can have a separate end date, such as:
- First ad set ends on 5th January
- Second ad set ends on 9th January
- Third ad set ends on 13th January
- Fourth ad set ends on 17th January
- Fifth ad set ends on 19th January
This allows better budget control and helps in performance comparison across different time periods.
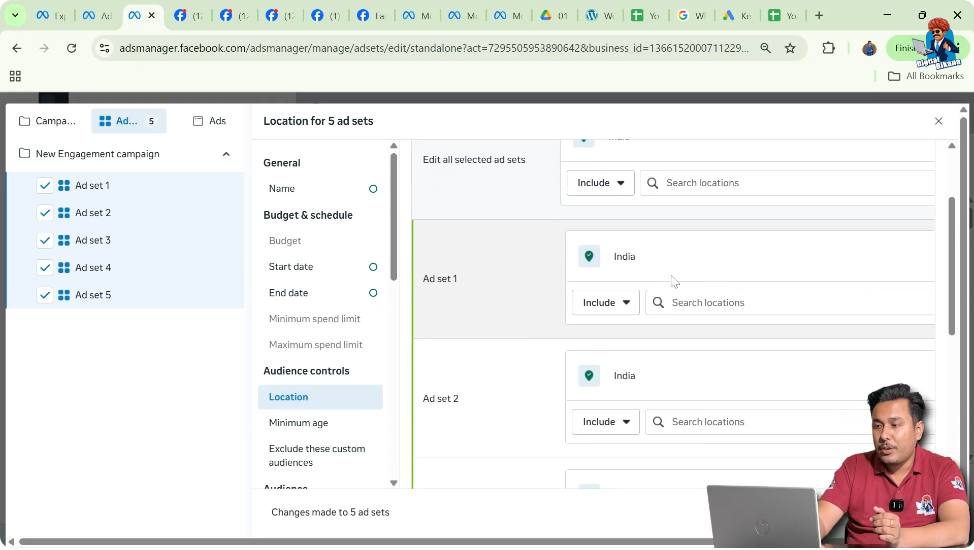
Step 9: Editing Location Targeting for Each Ad Set
Next comes the Location section.
Here, you can:
- Assign different cities to different ad sets
- Select different districts or states
- Target separate geographic regions within one campaign
Additionally, you can modify the radius or distance around a city. This means you can decide how far from a selected location your ads should be shown.
This is especially useful when running ads in multiple locations and testing performance city-wise or region-wise.
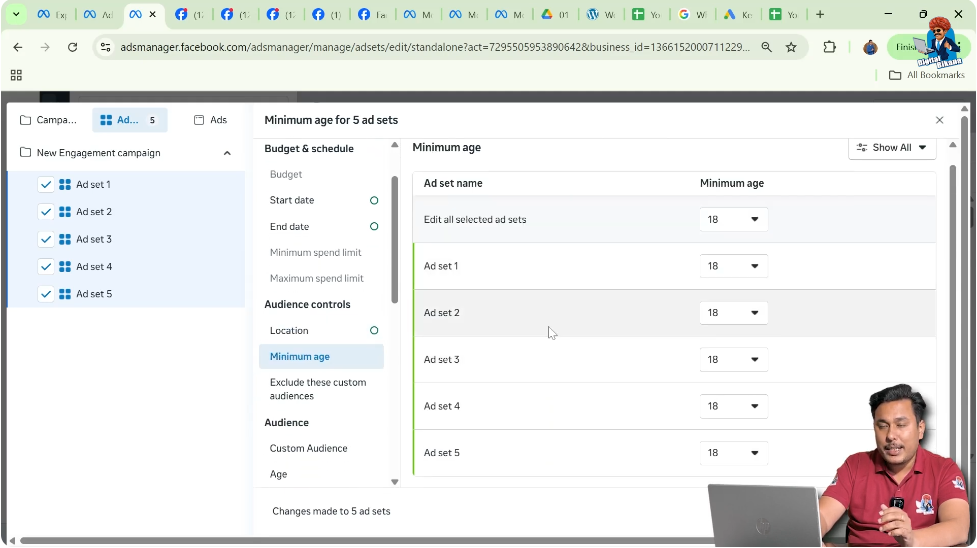
Step 10: Adjusting Age Criteria for Multiple Ad Sets
After location settings, you can edit the Age targeting.
From this section:
- Minimum age can be changed
- Maximum age can be adjusted
- Each ad set can have a different age range
This helps advertisers test which age group responds better to the ads.
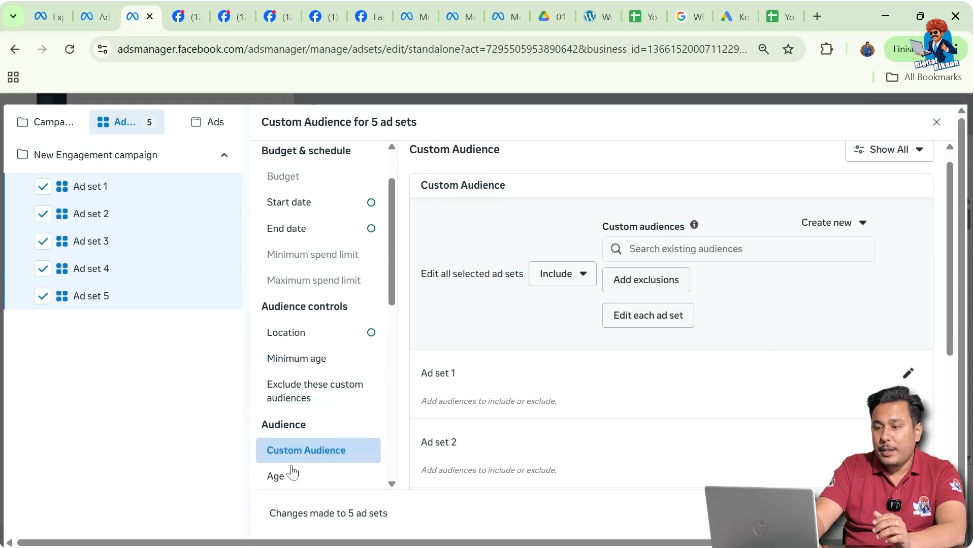
Step 11: Choosing Saved or Custom Audiences
In the Audience section, you can select a saved audience for all ad sets.
If you want to use different custom audiences for different ad sets, those custom audiences must be created beforehand. Once created, they can be applied individually within the same editing panel.
At this stage, saved audiences are commonly used for simplicity.
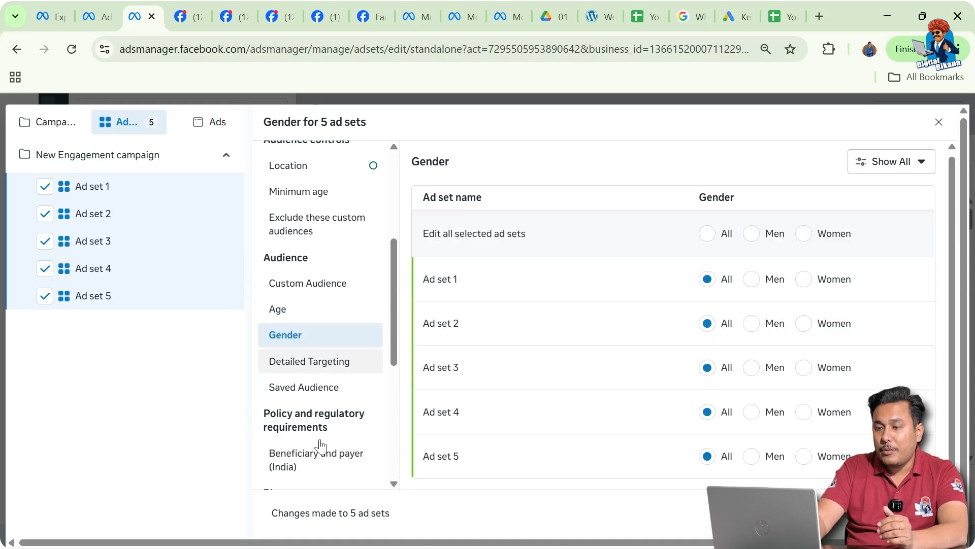
Step 12: Editing Gender Targeting
You can also change the gender targeting for each ad set.
Options include:
- All genders
- Male
- Female
Gender settings can be adjusted separately for each ad set even when editing them together, making audience testing more efficient.
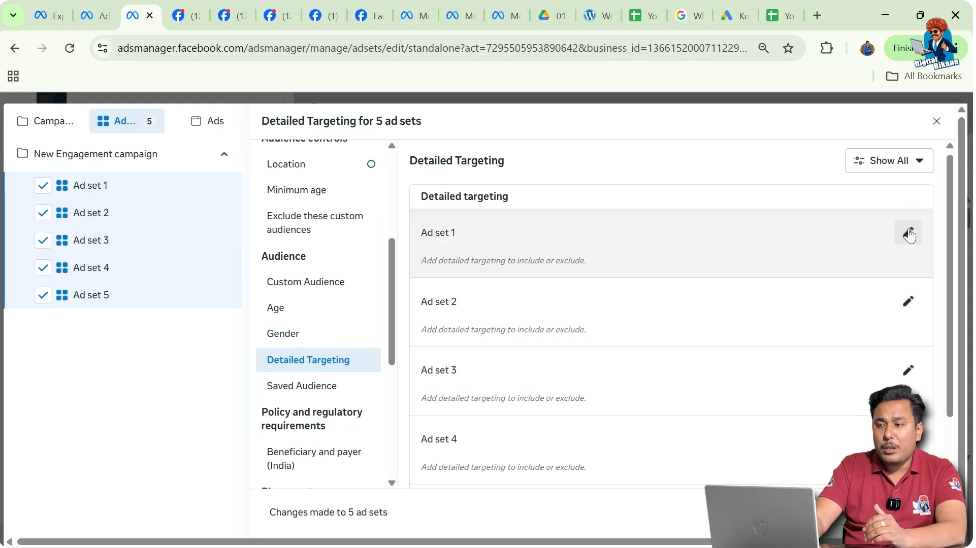
Step 13: Editing Detailed Targeting Filters
One of the most important sections is Detailed Targeting.
Here, you can apply or modify:
- Interest targeting
- Behavior targeting
- Demographic targeting
Each ad set can have different combinations of interests, behaviors, or demographic filters. This allows advertisers to test multiple audience segments within a single campaign.
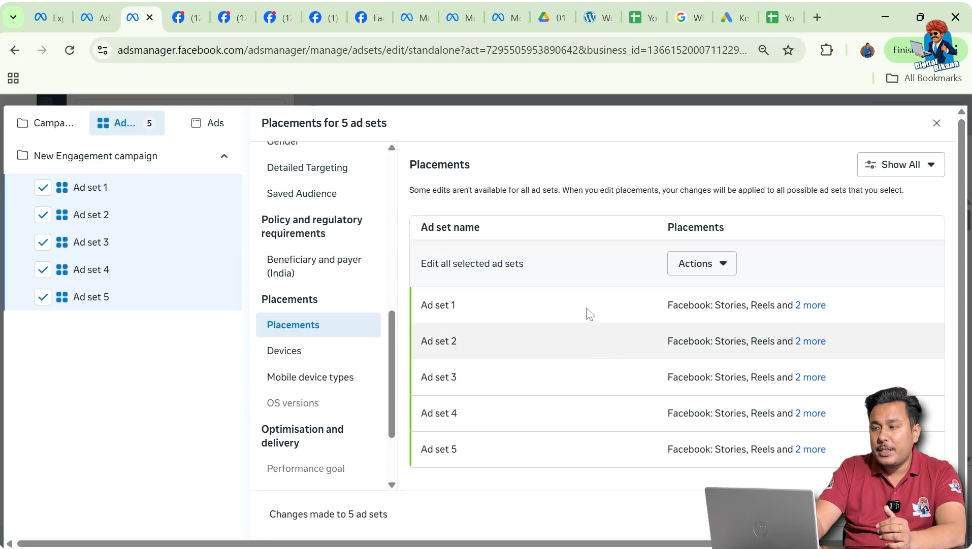
Step 14: Editing Placements for Each Ad Set
Next is the Placements section.
Placements determine where ads appear, such as different platforms or formats. While editing multiple ad sets together, placements can still be adjusted individually for each ad set if required.
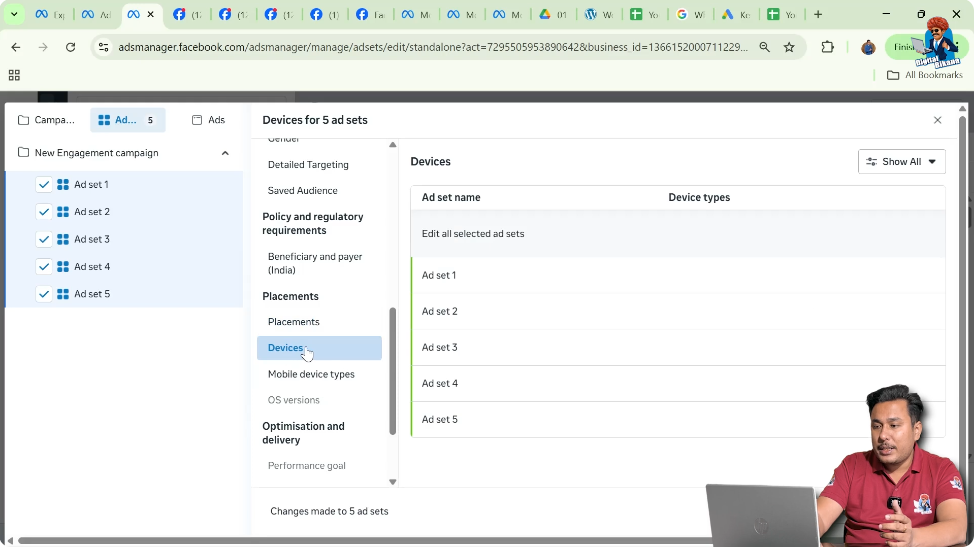
Step 15: Reviewing Device Targeting Settings
In the Devices section, you can decide whether ads should be shown on:
- All devices
- Specific devices
In this case, ads are set to show on all devices, so no changes are required. However, this section can also be customized if device-specific targeting is needed.
Step 16: Final Review and Understanding
After making all the required changes, you can review the settings and save the edits.
By using this method, advertisers can:
- Edit multiple ad sets at once
- Save time and effort
- Maintain consistency across ad sets
- Still keep flexibility for individual ad set settings
Final Conclusion
Editing multiple ad sets together in Meta Ads Manager is a powerful feature that helps advertisers manage campaigns more efficiently. By selecting multiple ad sets and using the edit option, you can rename ad sets, adjust schedules, change locations, modify audience settings, update detailed targeting, and manage placements—all in one place.
This step-by-step process makes campaign optimization faster, more organized, and easier to manage, especially when working with multiple ad sets inside a single Meta ad campaign.
Related Posts