Your Facebook Page URL plays an important role in branding, visibility, and ease of sharing. A clean and professional page URL makes it easier for people to find your business on Facebook and helps you promote your page confidently across websites, WhatsApp, Instagram, and other platforms. In this article, we will explain in detail how to change a Facebook Page URL.
What Is a Facebook Page URL?
A Facebook Page URL is the web address that people use to visit your Facebook Page directly. It usually looks like this:
facebook.com/yourpagename
This URL is created using your Facebook Page username. When you change the username, the page URL also changes automatically.
Why Changing Your Facebook Page URL Is Important
Changing your Facebook Page URL is useful in many situations, such as:
- When your business name changes
- When you want a shorter and cleaner URL
- When your page URL contains random numbers
- When you want a more professional brand identity
A customized URL looks more trustworthy and is easier to remember.
Before You Start: Things to Know
Before changing your Facebook Page URL, keep these points in mind:
- You must be an admin of the Facebook Page
- The username must be unique
- Spaces are not allowed in the username
- The URL will change once you save the new username
Understanding these points helps avoid errors while updating the page URL.
How to Change Facebook Page URL?
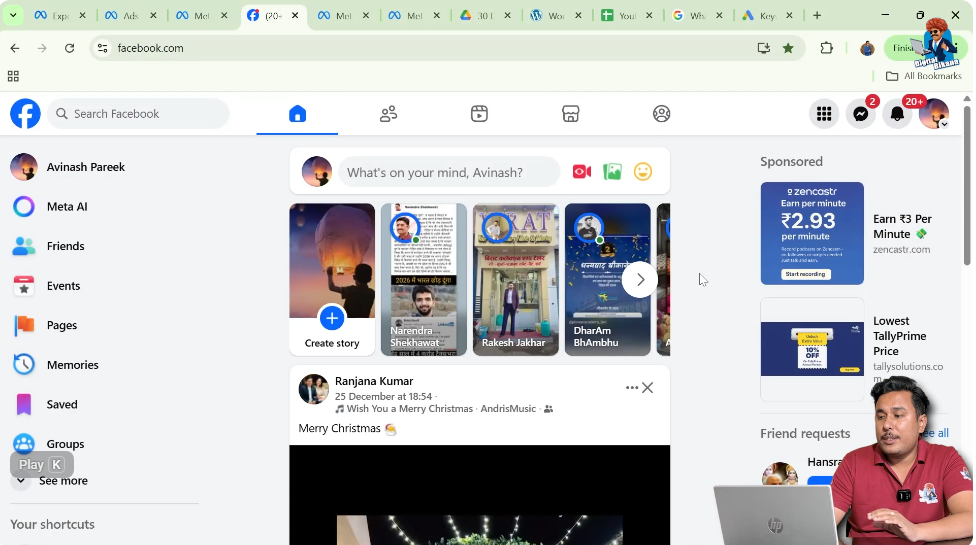
Step 1: Log in to Your Facebook Account
The first step is to log in to your Facebook account.
Make sure you are using the Facebook account that has admin access to the Facebook Page. Without admin rights, you will not be able to change the page URL.
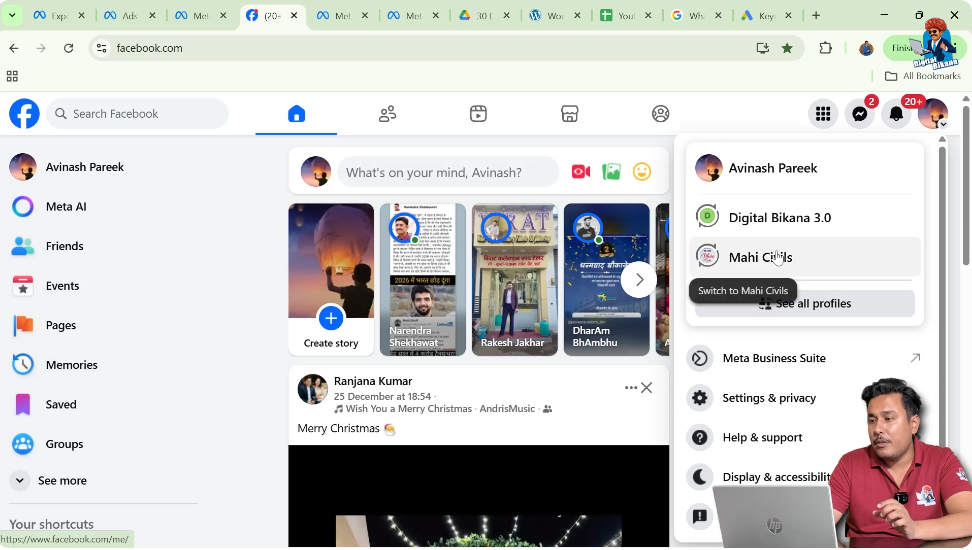
Step 2: Switch to Your Facebook Page
After logging in, check whether you are operating as your personal profile or as your Facebook Page.
If you are not already switched to your Facebook Page, switch to it. Once switched, you should be on the homepage of your Facebook Page.
This step is important because page settings can only be accessed while using the page profile.
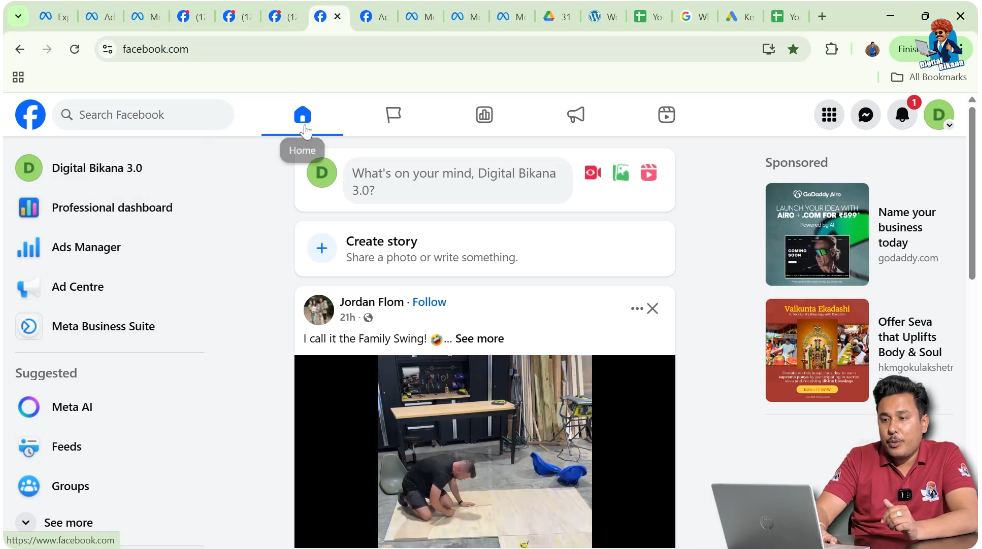
Step 3: Go to the Facebook Page Homepage
After switching, you will be on the Facebook Page homepage.
This is the main page where posts, updates, and page information are visible. From here, you can access your page profile and settings.
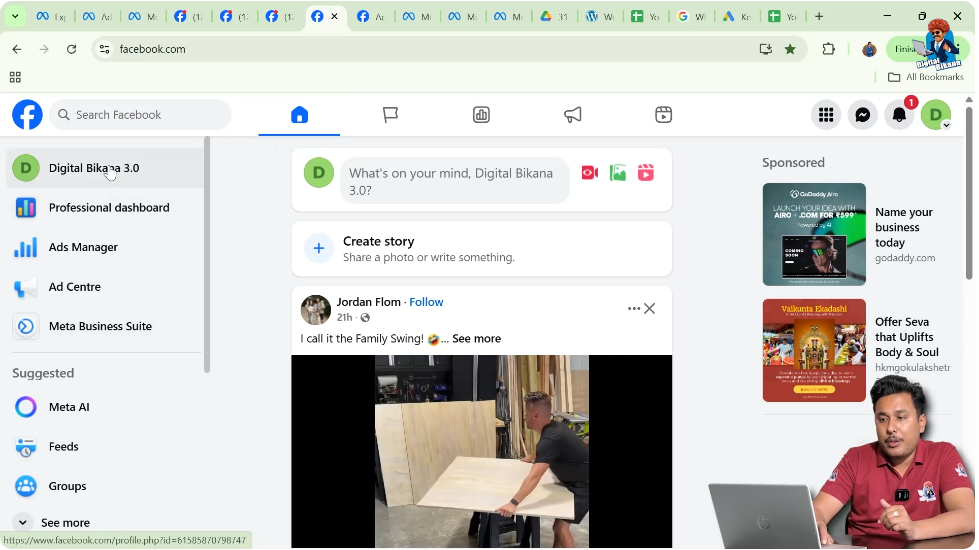
Step 4: Click on the Facebook Page Name
Now, click on the Facebook Page name.
This will take you to the profile page of your Facebook Page. The profile page is where all page-related controls and options are available.
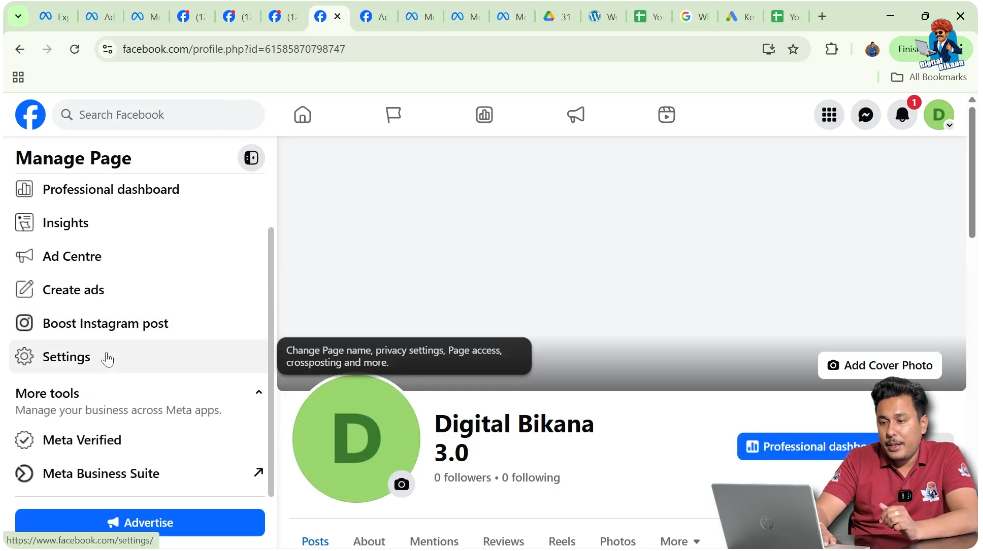
Step 5: Open the Settings Section
On the Facebook Page profile, look for the Settings option.
Click on Settings to open the page settings panel. This section contains all configuration options related to your Facebook Page.
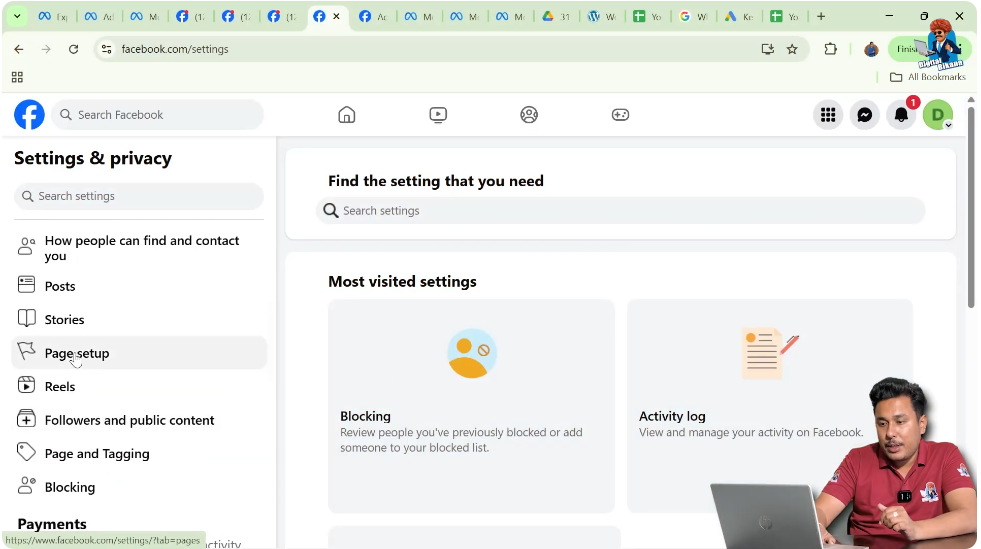
Step 6: Open Page Setup
Inside the Settings section, you will see multiple options on the left side.
From these options, click on Page Setup. Page Setup contains basic configuration settings related to your page identity and access.
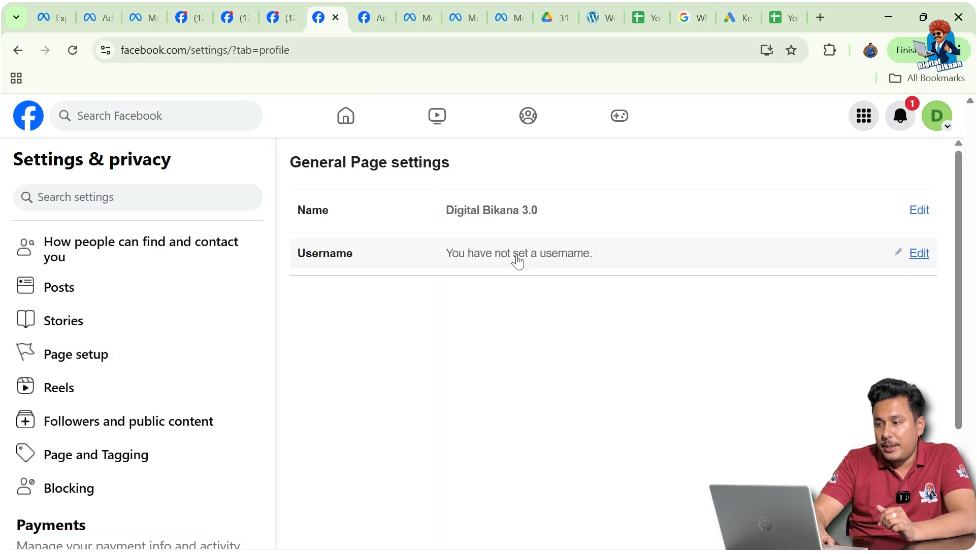
Step 7: Click on Name Option
Under Page Setup, click on the Name option.
This section controls the name and username of your Facebook Page.

Step 8: Locate the Username Option
Inside the Name section, you will find the Username option.
The username directly affects your Facebook Page URL. This is the field you need to edit to change your page URL.
Step 9: Edit the Username
Next to the username, click on the Edit option.
Now you can type the username you want for your Facebook Page. This username will become part of your new Facebook Page URL.

Step 10: Enter Your Desired Username
Enter the username carefully.
You can use:
- Your business name
- Your brand name
- A simplified version of your page name
Make sure the username represents your business clearly.

Step 11: Understand Username Rules
While entering the username, keep these rules in mind:
- Spaces are not allowed
- You can use a dot (.)
- You can use a dash (-)
- You can use an underscore (_)
Choose a format that looks clean and professional.
Step 12: Preview the New Facebook Page URL
As you type the username, Facebook automatically shows how your new page URL will look.
This helps you confirm whether the URL appears correct and readable before saving.
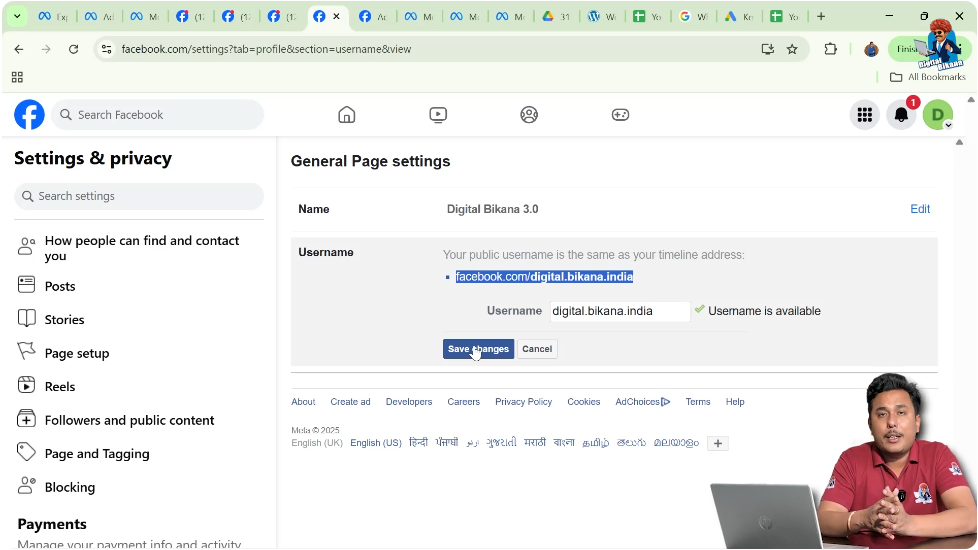
Step 13: Save the Changes
Once you are satisfied with the username, click on Save Changes.
After saving, your Facebook Page URL will be updated immediately.

Step 14: Facebook Page URL Successfully Changed
After saving the changes:
- Your new Facebook Page URL becomes active
- The old URL is replaced
- You can now share the new URL
This completes the process of changing your Facebook Page URL.
What Happens After Changing the Page URL?
Once the page URL is changed:
- The page opens with the new URL
- You should start using the new link everywhere
- Your page identity becomes more professional
Always update your website, WhatsApp, Instagram bio, and business cards with the new URL.
Common Mistakes to Avoid
While changing your Facebook Page URL, avoid these mistakes:
- Using spaces in the username
- Choosing a complicated or long username
- Making spelling errors
- Changing the username frequently
A stable and clean URL helps maintain brand consistency.
Tips for Choosing a Good Facebook Page Username
Here are a few helpful tips:
- Keep it short and simple
- Match it with your brand name
- Avoid numbers unless necessary
- Make it easy to remember
A good username improves credibility and reach.
Why Facebook Does Not Allow Spaces
Facebook does not allow spaces in usernames because URLs cannot contain spaces. Instead, dots, dashes, and underscores are used to separate words and keep URLs readable.
Final Thoughts
Changing your Facebook Page URL is a simple but important step for building a strong online presence. By following the steps explained in this article, you can easily update your page URL to match your business or brand identity.
A clean Facebook Page URL looks professional, improves visibility, and makes it easier for people to find and remember your page.
Related Posts