
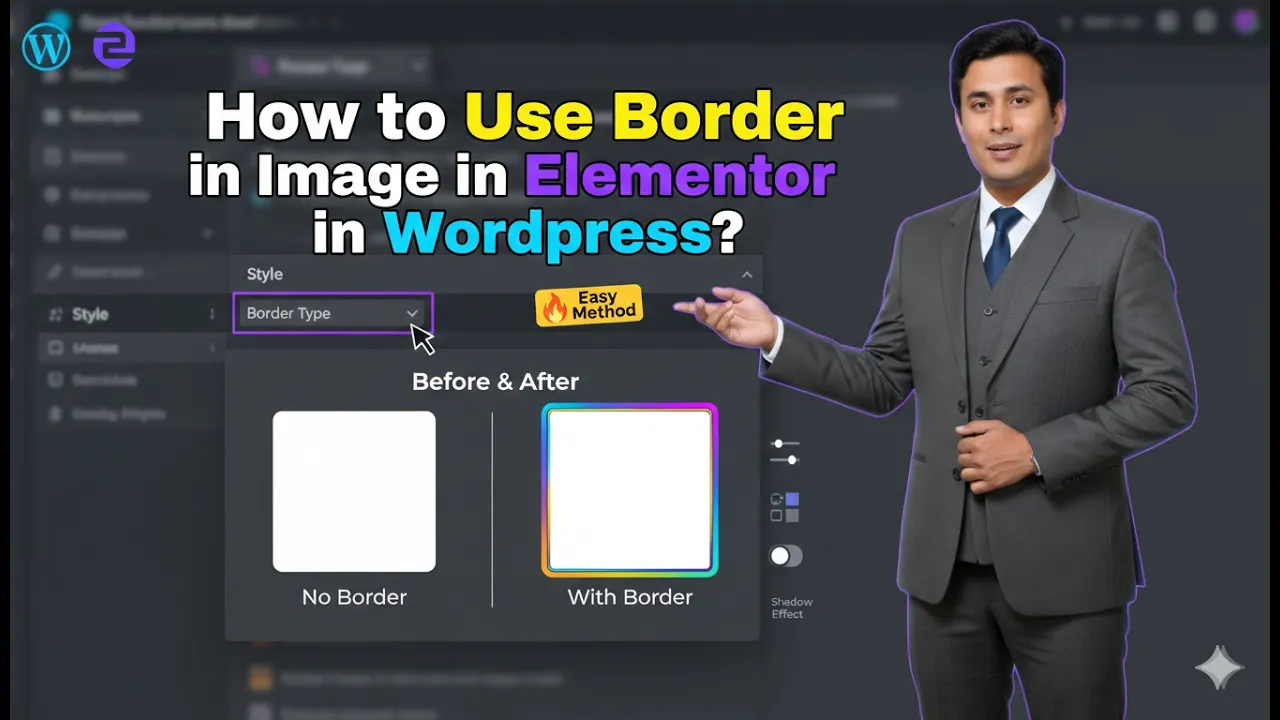
In this article, we will learn how to use border in an image in Elementor in WordPress. Elementor provides various styling options that allow you to enhance the visual appearance of your images. One of the most useful design features is the ability to add borders to images.
Adding borders helps highlight images, improve layout structure, and create a more professional design. This guide explains the complete process step by step, from creating a section to adding an image and applying different border styles.
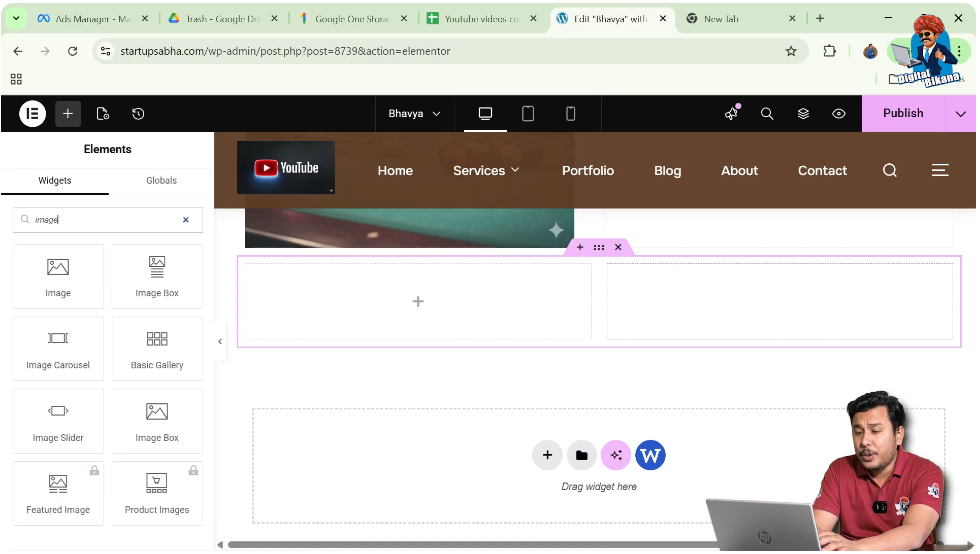
Creating a New Section in Elementor
Before adding an image and applying a border, you need to create a section.
Understanding Section Creation
A section is the base layout element in Elementor where you can add columns, containers, and widgets.
Steps to Create a Section
Step 1: Click on the Plus Icon
In the Elementor editor, click on the plus (+) icon in the middle of the screen.
Step 2: Select Layout Type
Choose the layout type. In this case, select Grid.
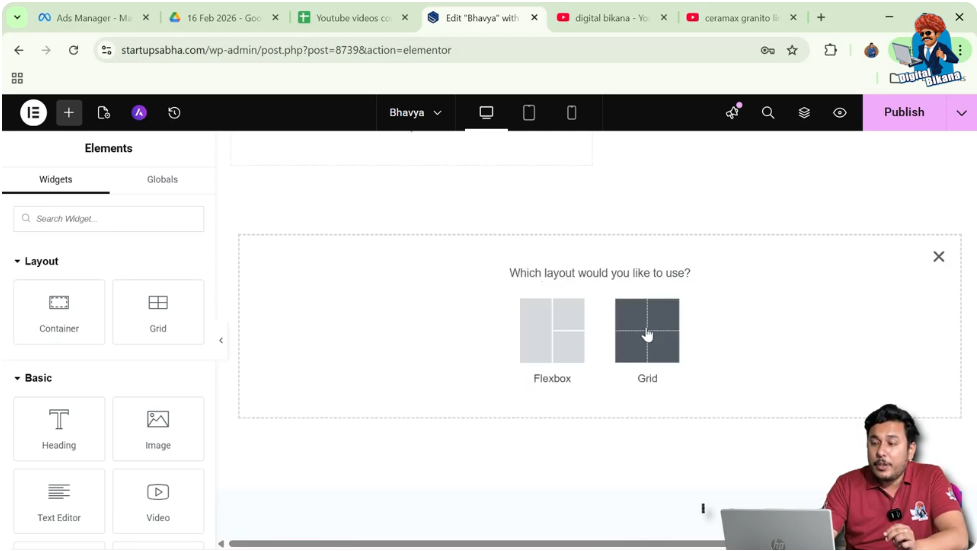
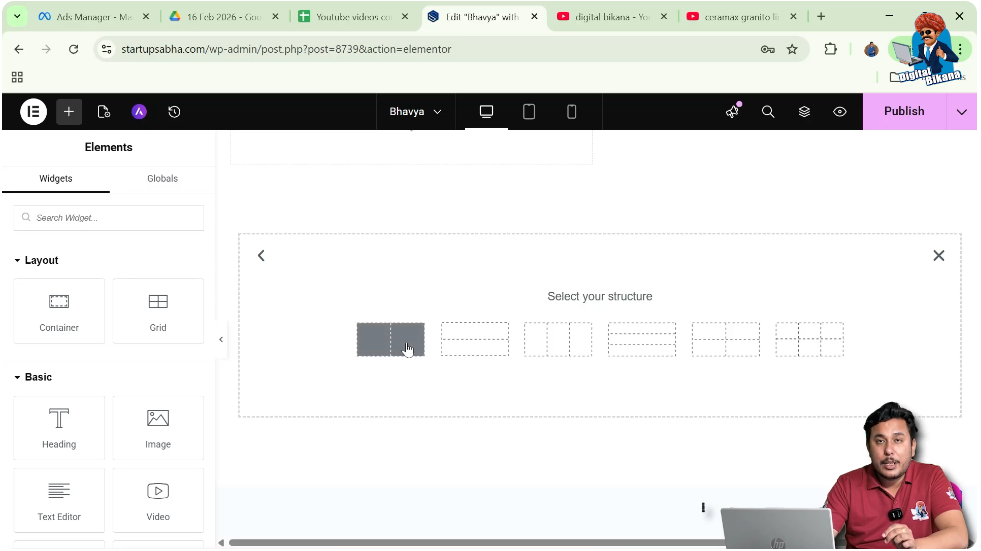
Step 3: Choose Structure
Select a structure with one row and two columns.
After completing these steps, your section will be ready for adding elements.
Adding an Image Widget in Elementor
Now the next step is to add an image widget to the section.
Understanding Image Widget
The image widget allows you to insert images directly into your layout and customize them.
Steps to Add Image
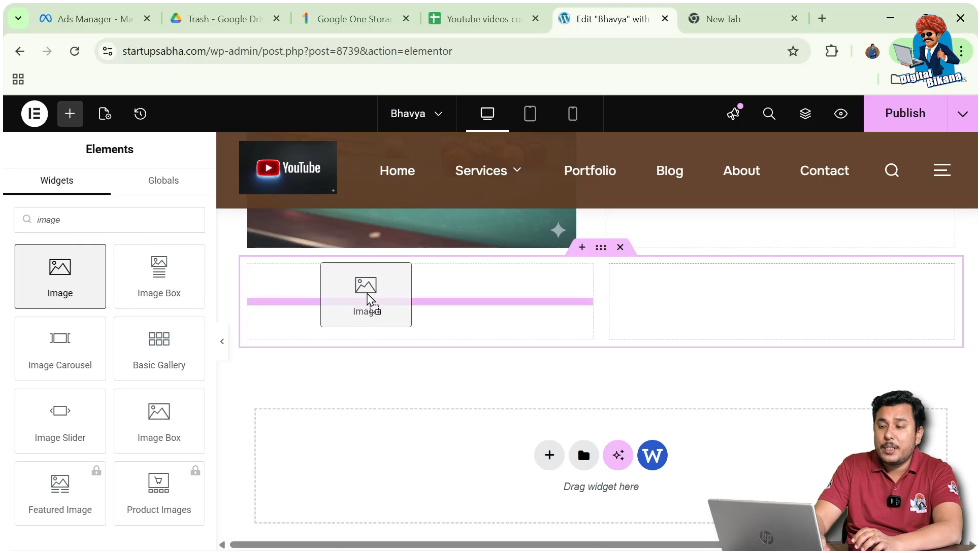
Step 1: Open Add Element Panel
Move your cursor to the black header line and click on the plus icon.
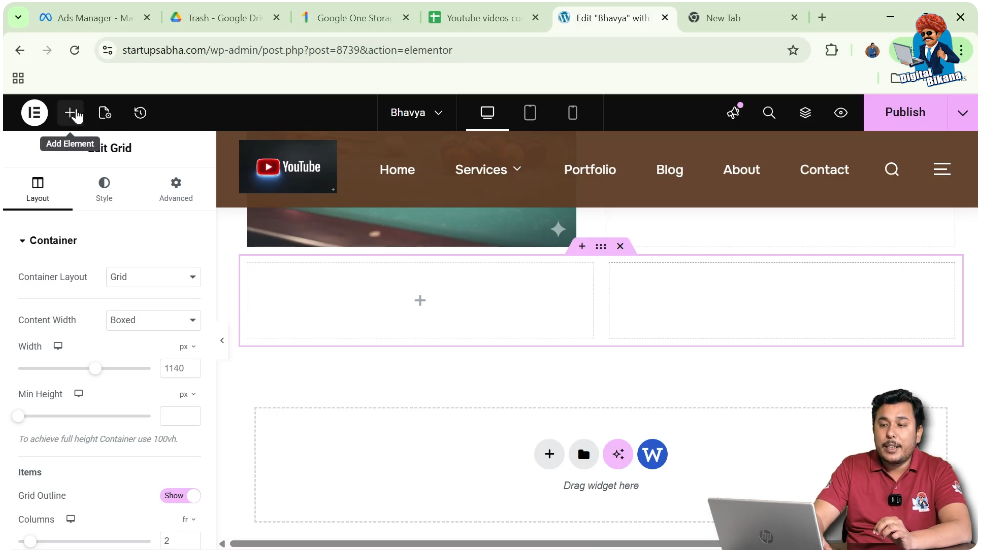
Step 2: Search for Image Widget
Search for “Image” in the widget panel.
Step 3: Drag and Drop Widget
Drag the image widget and drop it into one of the columns in your section.
Once added, the image widget will appear in the selected column.
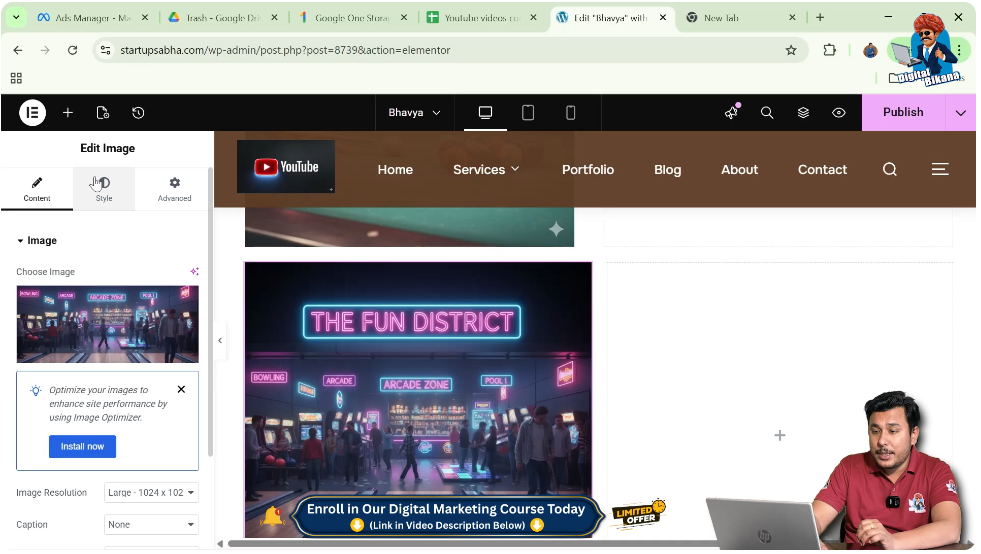
Selecting and Adding Image
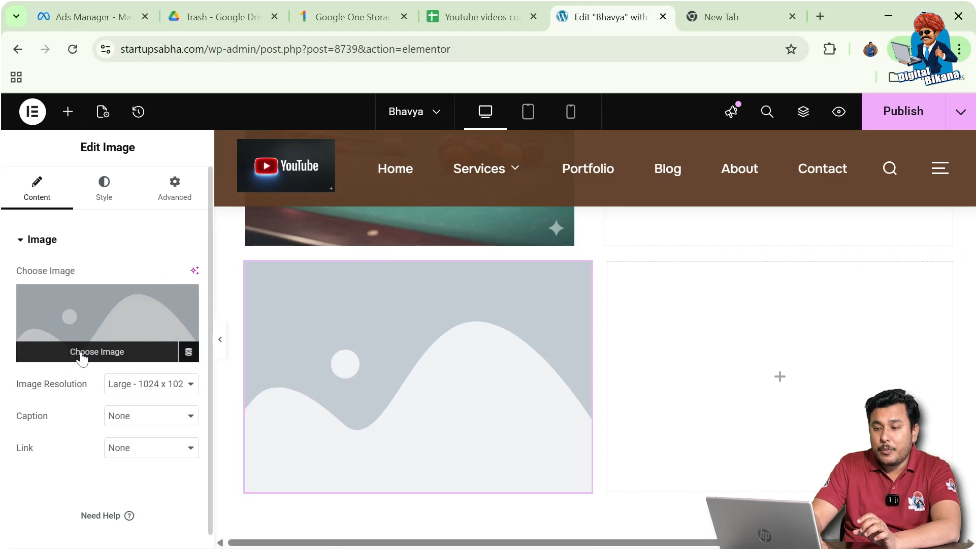
After placing the image widget, you need to add an image.
Understanding Image Selection
You can either select an image from the media library or upload a new one.
Steps to Add Image
Step 1: Click on Choose Image
In the Content settings, click on “Choose Image.”
Step 2: Select Image
Select an image from the media library or upload a new file.
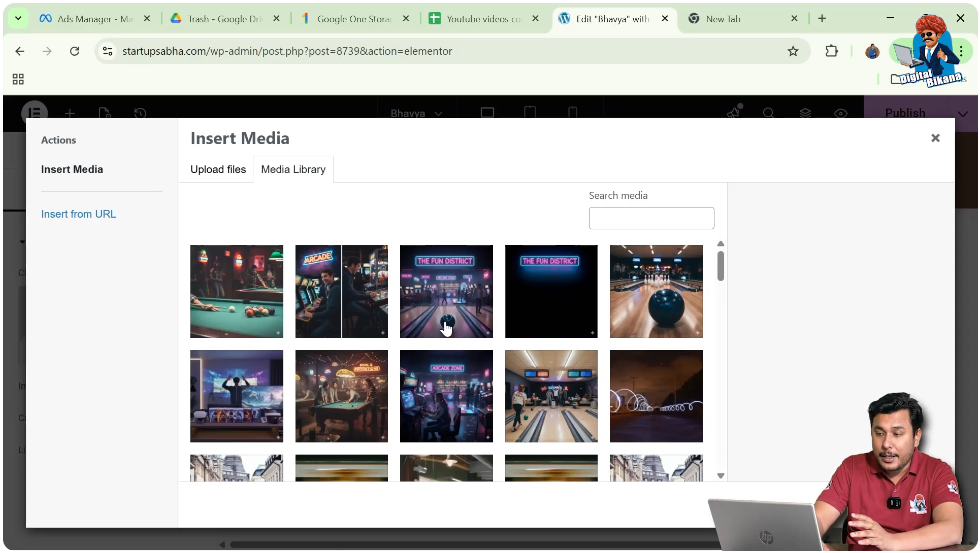
Step 3: Apply Image
Click on “Select” to add the image to your layout.
Now the image will be visible in your section.

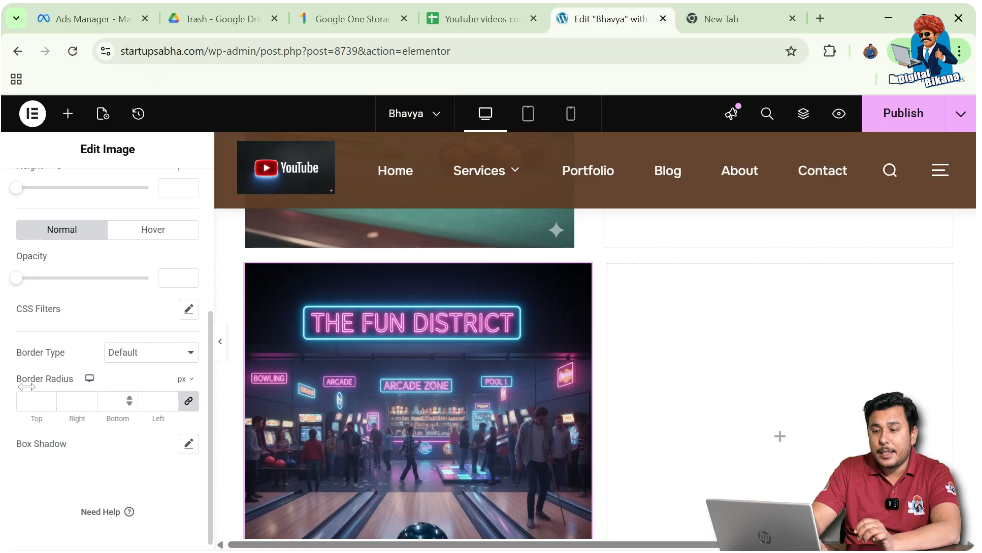
Navigating to Style Settings
To apply border styles, you need to move to the Style tab.
Understanding Style Settings
The Style tab allows you to customize the appearance of the image, including borders, colors, and effects.
Steps to Open Style Settings
Step 1: Click on Style Tab
In the left-side toolbar, click on the Style option.
Step 2: Locate Border Options
Scroll down to find the Border settings.
Applying Border to Image
Now comes the main step—adding a border to the image.
Understanding Border Types
Elementor provides multiple border styles to choose from, depending on your design needs.
Steps to Add Border
Step 1: Select Border Type
Choose a border type such as:
- Solid
- Double
- Dotted
- Dashed
- Groove
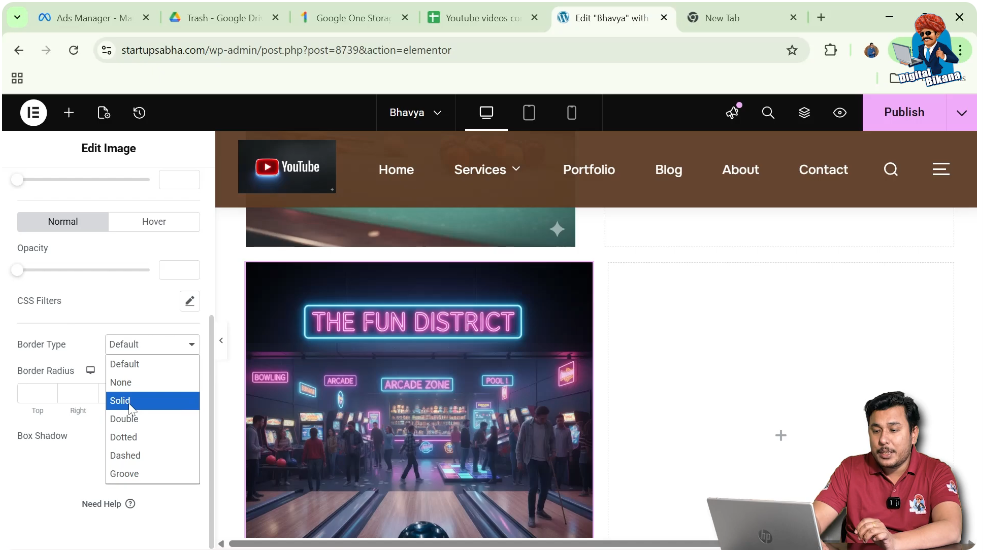
Step 2: Observe Border Appearance
Once selected, the border will appear around the image.
Customizing Border Color
After selecting a border type, you can customize its color.
Importance of Border Color
Choosing the right color ensures that the border is clearly visible and matches your design.
Steps to Change Border Color
Step 1: Select Color Option
Click on the color picker in the border settings.
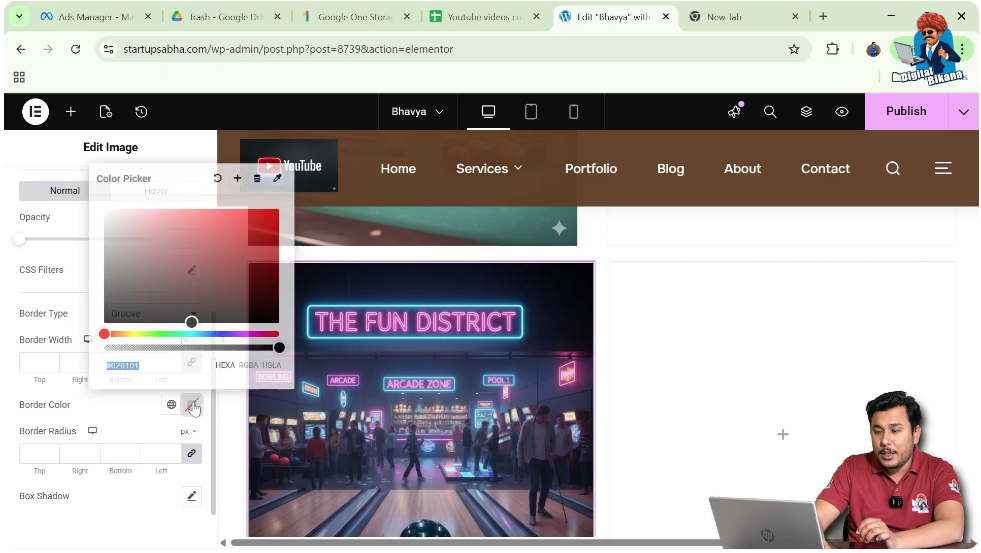
Step 2: Choose Color
Select a color such as yellow or any color of your choice.
Now the border color will be applied to the image.

Adjusting Border Width
You can also control the thickness of the border.
Understanding Border Width
Border width determines how thick or thin the border appears around the image.
Steps to Adjust Border Width
Step 1: Increase Width
Increase the border width value to make the border thicker.

Step 2: Decrease Width
Reduce the value to make the border thinner.
As you adjust the width, the changes will be visible instantly.
Exploring Different Border Styles
Elementor provides multiple border styles, each giving a unique look.
Solid Border
A continuous line around the image for a clean appearance.
Double Border
Two parallel lines that create a bold effect.
Dotted Border
A border made of dots, giving a decorative look.
Dashed Border
A border made of small line segments.
Groove Border
A 3D-like effect that adds depth to the border.
Enhancing Image Design with Borders
Borders can significantly improve the design of your images.
Highlighting Images
Borders make images stand out from other elements.
Creating Visual Balance
Proper border styling improves the overall layout.
Adding Professional Touch
Well-designed borders give a polished look to your webpage.
Final Output and Result
After completing all the steps, your image will have:
- A selected border type
- Customized border color
- Adjusted border width
- Enhanced visual appearance
This creates a more attractive and structured design.
Conclusion
Adding a border to an image in Elementor is a simple yet effective way to enhance your website design. By creating a section, adding an image widget, and applying border styles through the Style settings, you can easily customize the appearance of your images.
Elementor provides multiple border types and customization options, allowing you to create unique and professional designs. By following the steps explained in this article, you can successfully apply borders to images and improve your webpage layout.
Related Posts


