Keeping your sitemap updated in Google Search Console is an important part of maintaining your website’s SEO health. Sometimes you may need to update your existing sitemap because you have changed your domain structure, installed a new SEO plugin, modified your sitemap URL, or recreated your website structure.
In this article, you will learn how to update a sitemap in Google Search Console step by step. The explanation is simple, clear, and detailed so that you can easily follow the process whether you are updating it for the first time or replacing an old sitemap with a new one.
Understanding the Importance of Sitemap Updates
A sitemap helps Google understand your website structure and crawl your pages efficiently. When your sitemap changes due to website modifications, it is necessary to update it inside Google Search Console.
If you continue using an outdated sitemap:
- Google may crawl old URLs.
- New pages may not get indexed quickly.
- Removed pages may still appear in crawl data.
That is why updating your sitemap properly is important.
Accessing Google Search Console Dashboard
Before updating your sitemap, you must log in to Google Search Console.
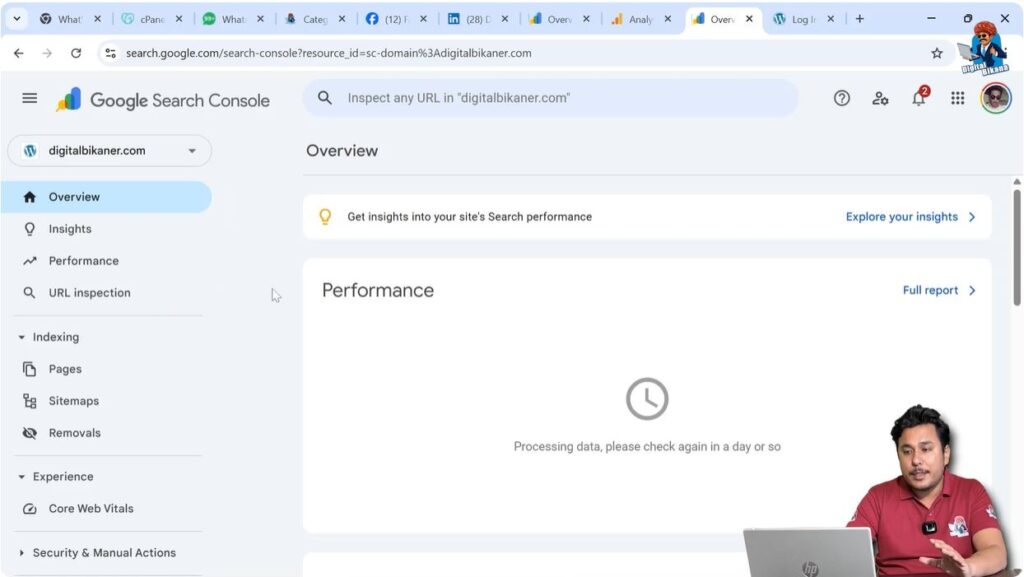
Open Google Search Console and log in using your Google account. Once logged in, you will reach the dashboard of your selected property.
On the left side toolbar, you will see several options related to your website’s performance and indexing.
Opening the Sitemap Section
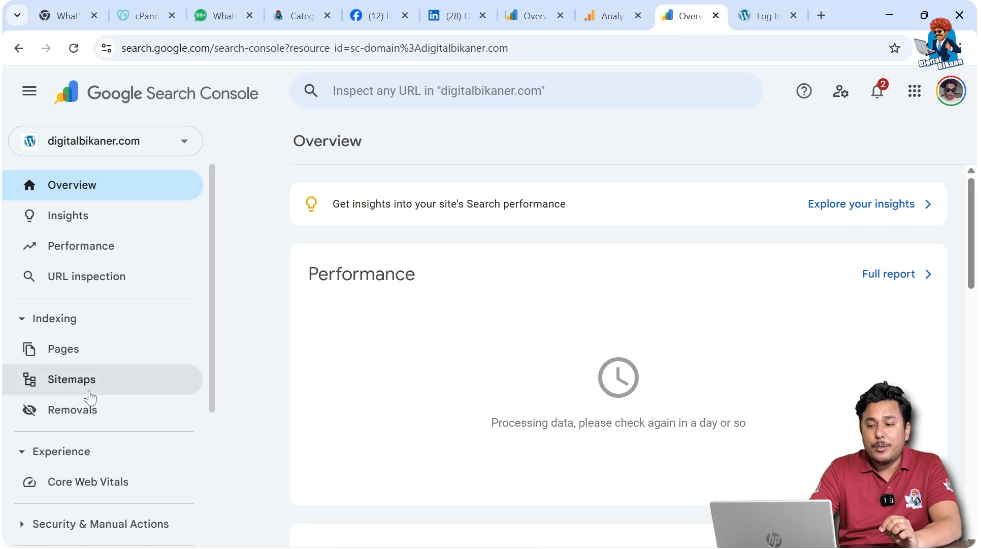
Step 1: Click on the Sitemaps Option
In the left side toolbar, find and click on the Sitemaps option.
Once you click on it, you will see the list of sitemaps that you have already submitted. If you have previously submitted a sitemap, it will be displayed there along with its status.
In some cases, you might be submitting a sitemap for the first time. In other cases, you may already have an old sitemap and want to replace it with a new one.
Identifying the Existing Sitemap
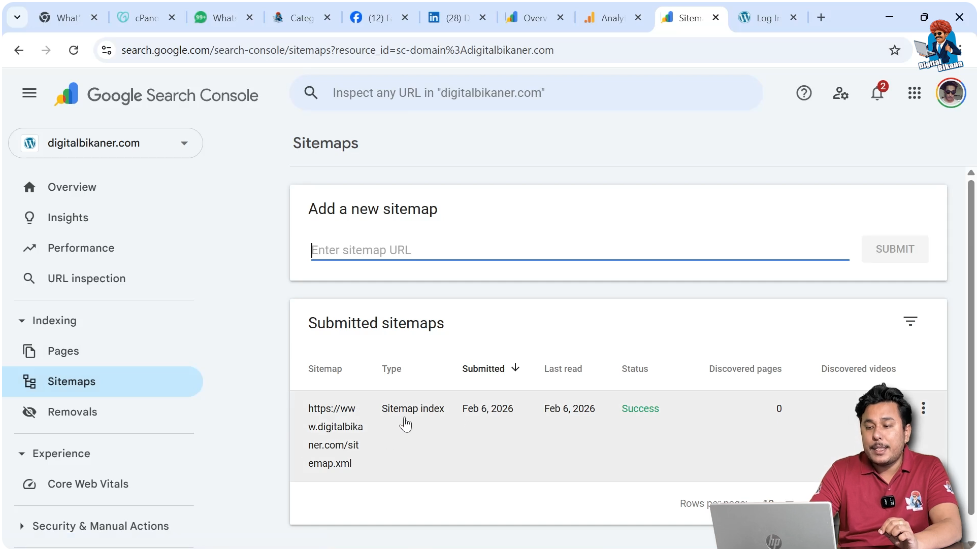
If you have already submitted a sitemap earlier, it will appear in the submitted sitemap section.
You may see details like:
- Sitemap URL
- Submission date
- Status
If you want to update your sitemap, you must first remove the existing one before adding the new URL.
Removing the Existing Sitemap
Step 2: Click on the Existing Sitemap
Click on the sitemap that is already submitted.
After clicking it, you will enter the detailed view of that sitemap.
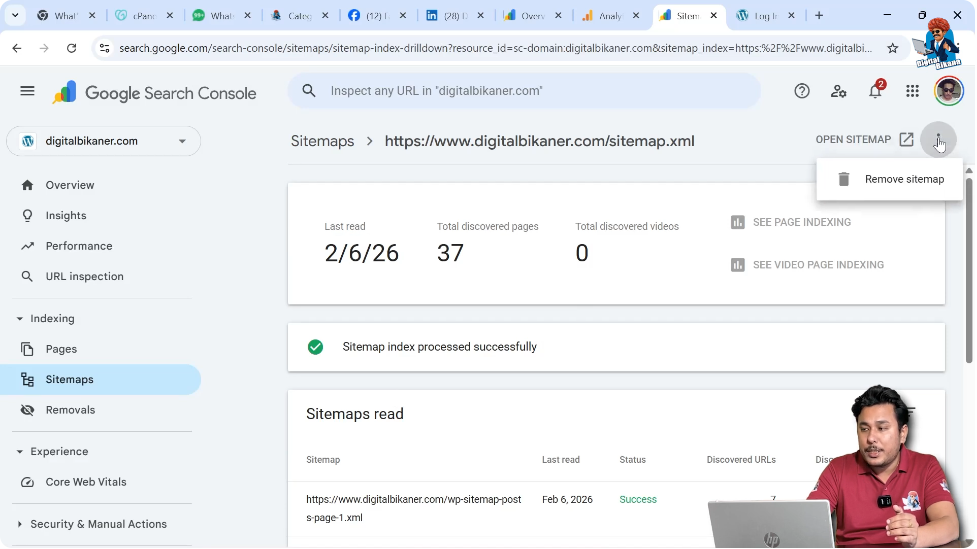
In the top right corner of this page, you will see a triple dot (three dots) menu.

Step 3: Click on the Triple Dot Menu
Click on the three dots.
You will see an option called Remove Sitemap.
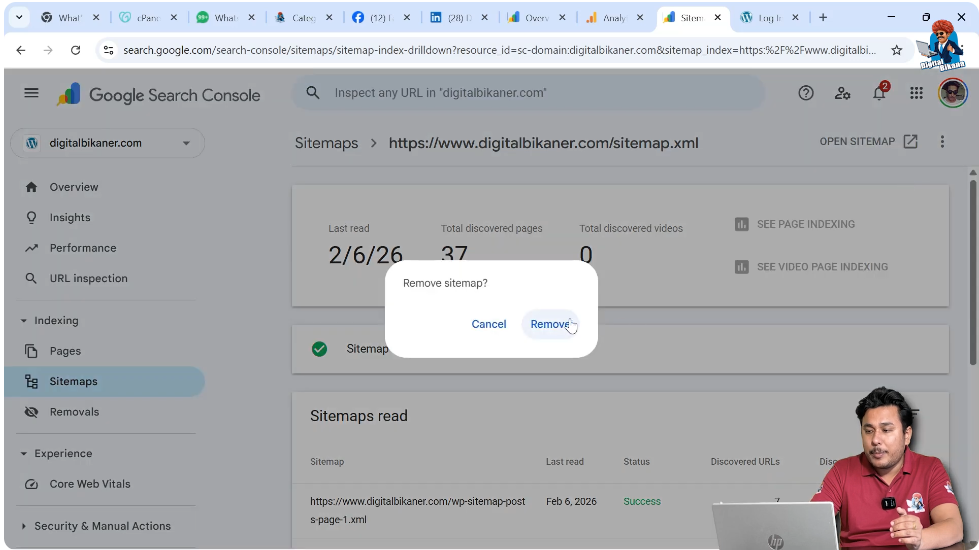
Step 4: Remove the Sitemap
Click on Remove Sitemap, then confirm by clicking Remove.
Once you confirm, the existing sitemap will be deleted from Google Search Console.
Now your old sitemap has been successfully removed.
Entering the New Sitemap URL
After removing the old sitemap, you need to submit the updated sitemap.
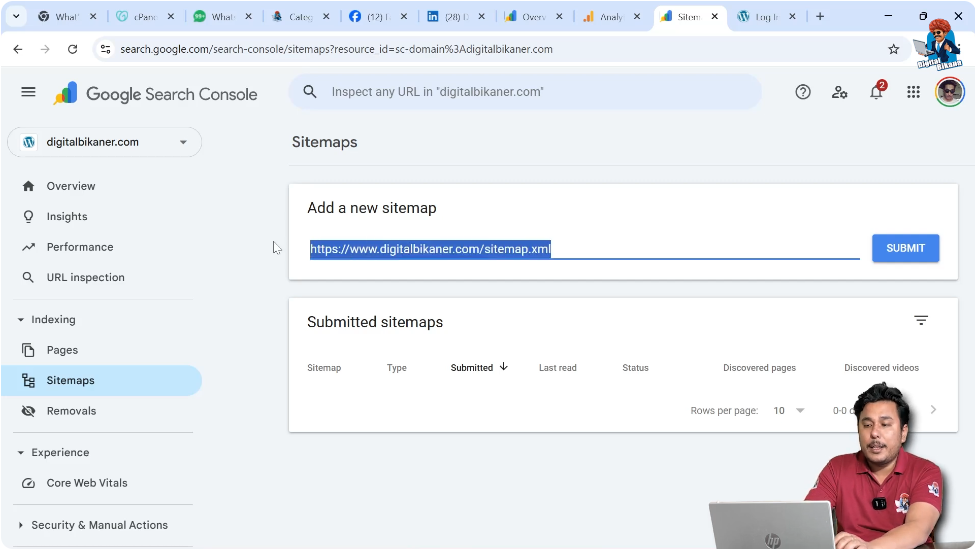
Step 5: Enter the New Sitemap URL
In the sitemap submission field, type your sitemap URL.
In WordPress, the default sitemap format is:
https://yourdomain.com/sitemap.xml
For example:
If your domain name is:
example.com
Then your sitemap URL will be:
example.com/sitemap.xml
You only need to replace the domain name with your own domain. The rest part, /sitemap.xml, remains the same in most WordPress websites.
Understanding the Standard WordPress Sitemap Format
In WordPress, sitemap is automatically generated.
The standard format is:
yourdomain.com/sitemap.xml
You must:
- Enter your domain name
- Add a slash (/)
- Type sitemap.xml
Make sure there are no spelling mistakes.
Submitting the Updated Sitemap
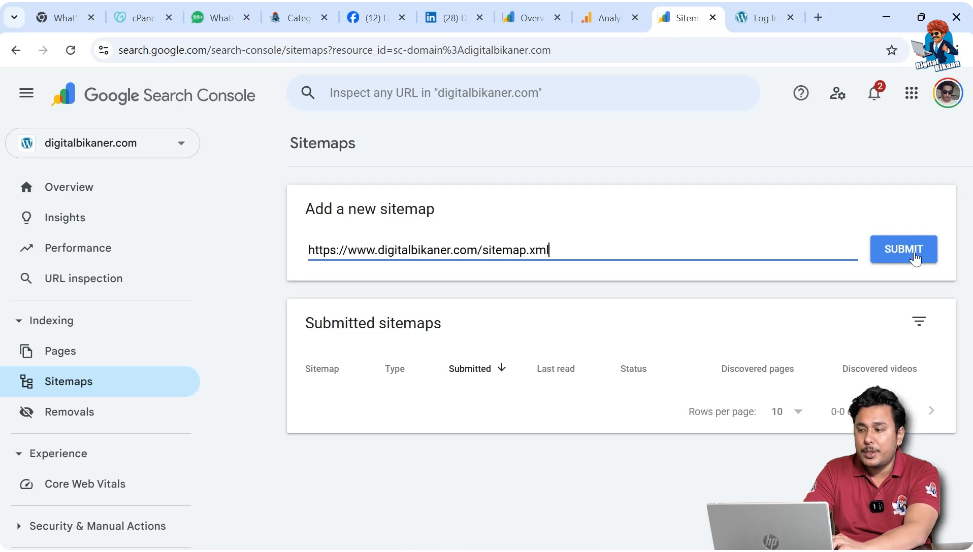
Step 6: Click on Submit
After entering the correct sitemap URL, click on the Submit button.
Google Search Console will now attempt to fetch your new sitemap.
In some cases, it may take a few seconds to process.
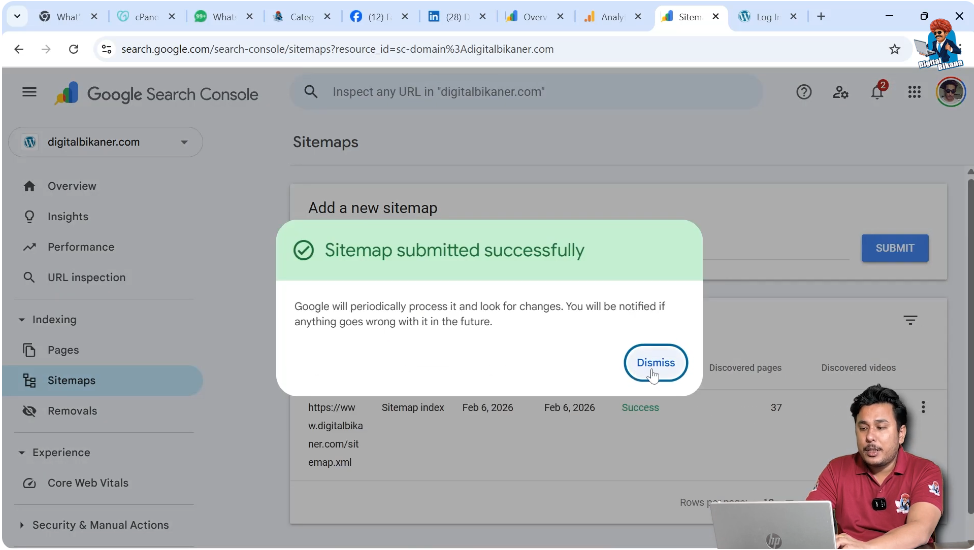
Once successfully processed, your updated sitemap will appear in the submitted list.
What Happens After Submission?
After you submit the updated sitemap:
- Google reads the sitemap file.
- It checks all listed URLs.
- It updates crawling data.
- It starts indexing new pages if available.
If your website structure has changed, this helps Google recognize the new URLs quickly.
Possible Status Messages
After submission, you may see different status messages such as:
- Success
- Could not fetch
- Has errors
If it shows “Could not fetch,” wait for a few minutes and refresh the page.
Most of the time, the status automatically changes to Success.
When Should You Update Sitemap?
You should update your sitemap when:
- You change your domain.
- You migrate your website.
- You install a new SEO plugin.
- Your sitemap URL changes.
- Your previous sitemap had errors.
If your sitemap URL remains the same, you do not need to update it frequently.
Best Practices While Updating Sitemap
To ensure smooth sitemap updates:
- Always verify that your sitemap URL works in a browser.
- Open your sitemap manually before submitting.
- Check for XML formatting errors.
- Ensure your website is publicly accessible.
If your sitemap opens correctly in the browser, it will most likely be fetched successfully by Google.
Verifying Sitemap Before Submission
Before submitting the new sitemap:
Open a new browser tab.
Type:
https://yourdomain.com/sitemap.xml
If it opens and shows XML data listing your URLs, it means the sitemap is active.
Then you can confidently submit it in Google Search Console.
How Updating Sitemap Helps SEO
Updating your sitemap improves:
- Faster indexing
- Better crawling efficiency
- Accurate URL discovery
- Removal of outdated URLs
If your website has recently added new pages or blog posts, submitting an updated sitemap helps Google discover them faster.
Common Mistakes to Avoid
While updating sitemap, avoid these mistakes:
- Entering incorrect domain name
- Adding extra spaces in the URL
- Forgetting “sitemap.xml”
- Not removing old sitemap before updating
Always double-check the URL before clicking submit.
Final Confirmation
Once you click submit and the status appears in the list, your updated sitemap is successfully added.
Now Google will use this new sitemap to crawl and index your website properly.
This ensures that your website remains optimized and connected with Google Search Console.
Conclusion
Updating your sitemap in Google Search Console is a simple but important process. First, open the Sitemaps section from the left side toolbar. If an old sitemap exists, click on it, use the triple dot menu, and remove it. Then enter your updated sitemap URL in the standard WordPress format:
yourdomain.com/sitemap.xml
Click submit, and your new sitemap will be added successfully.
By following these steps carefully, you ensure that Google always has the correct and updated sitemap of your website, helping maintain proper indexing and search visibility.
Related Posts