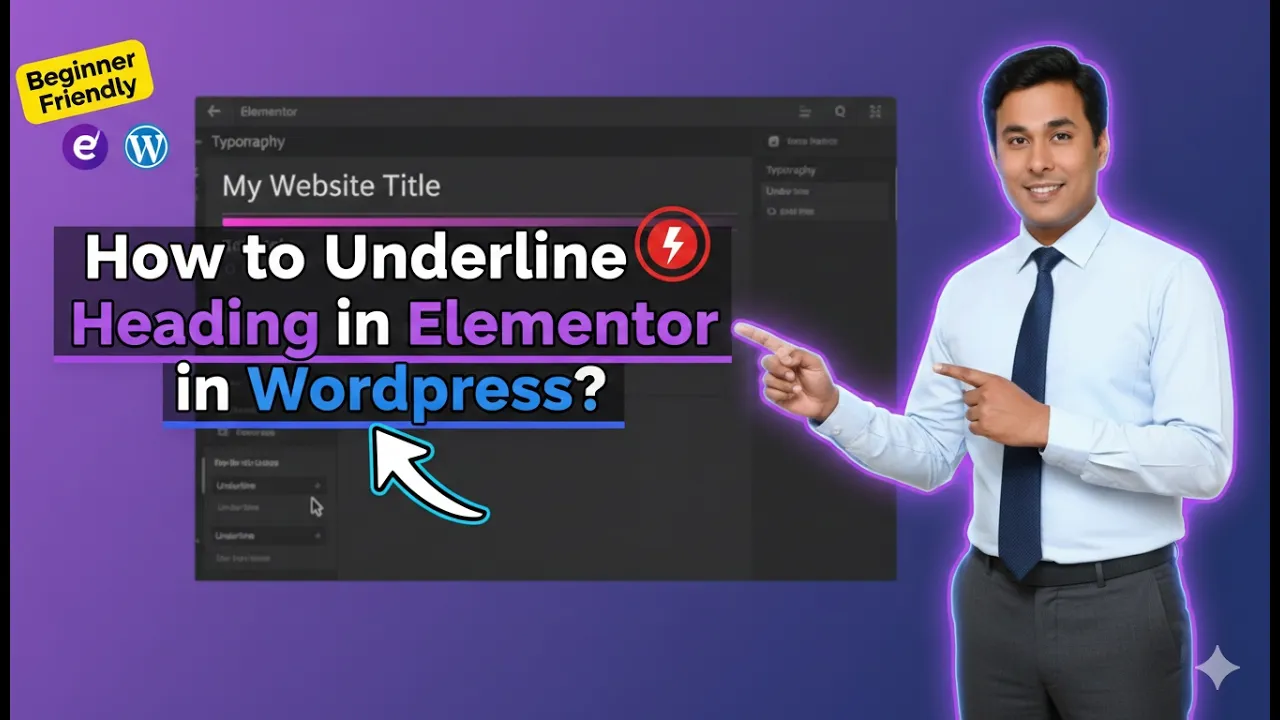
In this article, we will learn how to underline a heading in Elementor in WordPress. Elementor is a powerful page builder that allows users to design web pages easily without coding. One of the important styling features available in Elementor is typography customization, which includes options like font size, font style, and text decoration.
Underlining a heading is a simple yet effective way to highlight important text and improve visual hierarchy. This guide explains the complete process step by step, from selecting the heading widget to applying the underline effect using typography settings.
Adding a Heading Widget in Elementor
Before applying an underline effect, you need to add a heading widget to your section.
Understanding Heading Widget
The heading widget is used to display titles and important text on your webpage. It helps structure content and improves readability.
Steps to Add Heading
Step 1: Create a Section
Start by creating a new section in Elementor.
Step 2: Add Heading Widget
Drag and drop the heading widget into the section.
Once added, the heading will appear on your page.
Selecting the Heading for Editing
After adding the heading, the next step is to select it for editing.
Identifying the Editable Area
When you hover over the heading, a highlighted pink box appears around it, indicating that it can be edited.
Steps to Select Heading
Step 1: Hover Over the Heading
Move your cursor over the heading text.
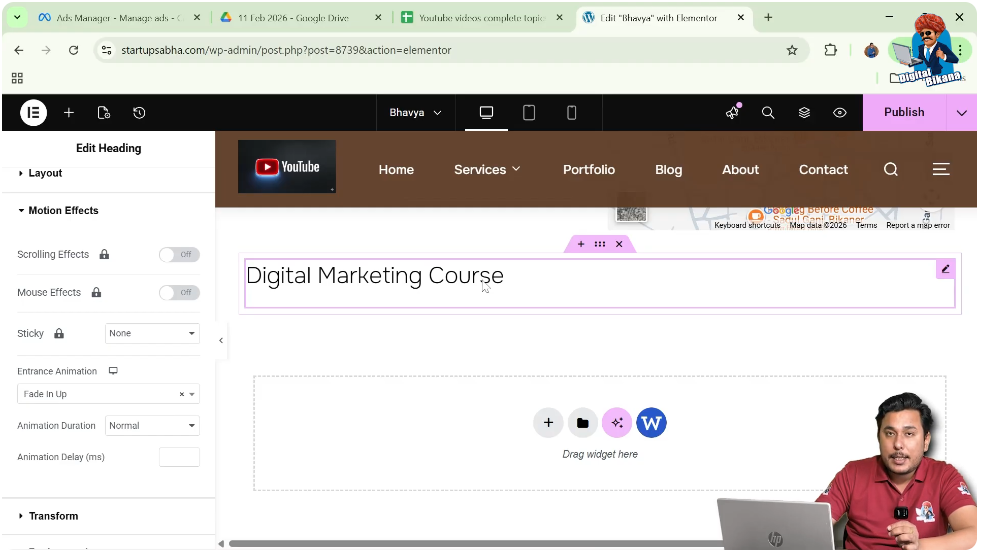
Step 2: Click on the Pen Icon
Click on the pen icon located in the top-right corner of the heading box.
Once selected, the editing panel will open on the left side.
Understanding Elementor Editing Panel
After selecting the heading, you will see the editing panel on the left side.
Available Settings
The panel includes three main options:
- Content Settings
- Style Settings
- Advanced Settings
Each option allows you to customize different aspects of the heading.
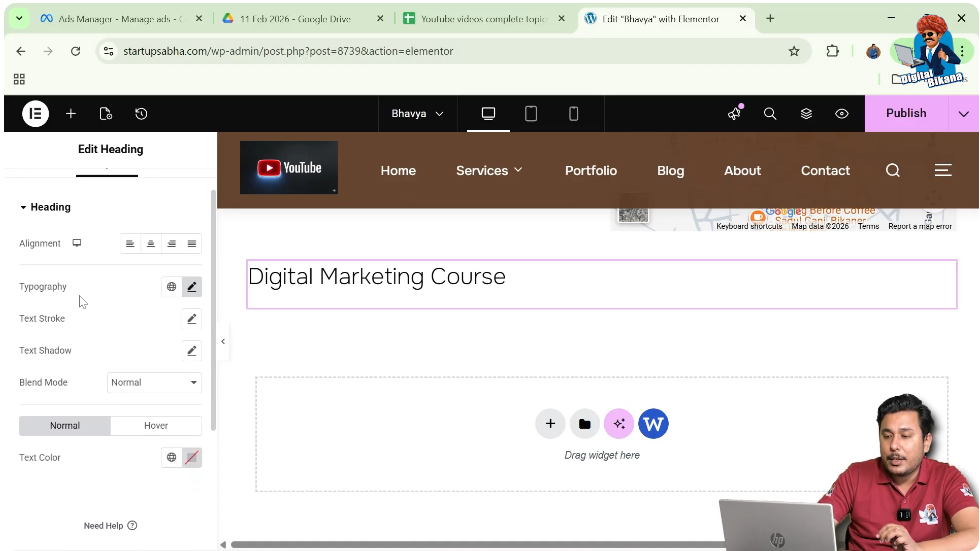
Navigating to Style Settings
To apply the underline effect, you need to access the Style settings.
Importance of Style Settings
The Style tab controls the appearance of the heading, including typography and decoration.
Steps to Open Style Settings
Step 1: Click on Style Tab
In the left toolbar, click on the Style option.

Step 2: Locate Typography Section
Scroll to find the Typography option under heading settings.
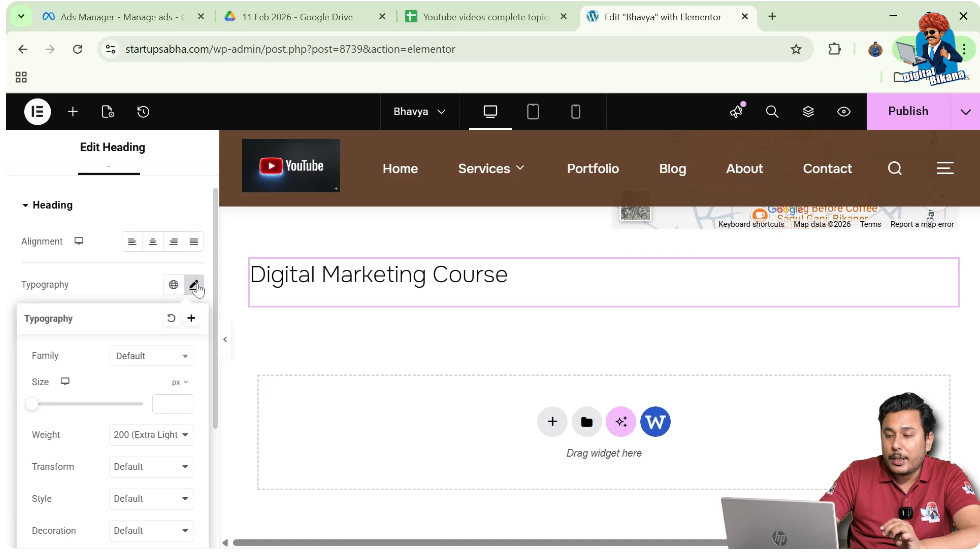
Accessing Typography Settings
Typography settings allow you to modify the text appearance.
Understanding Typography
Typography includes font size, weight, spacing, and text decoration.
Steps to Access Typography
Step 1: Click on Typography Pen Icon
Click on the pen icon next to the Typography option.
Step 2: Enable Typography Controls
Once clicked, additional typography options will appear.
Applying Underline to Heading
Now comes the main step—adding the underline effect.
Understanding Text Decoration
Text decoration allows you to add styles like underline, overline, or line-through to your text.
Steps to Underline Heading
Step 1: Locate Decoration Option
In the Typography settings, find the Decoration option.
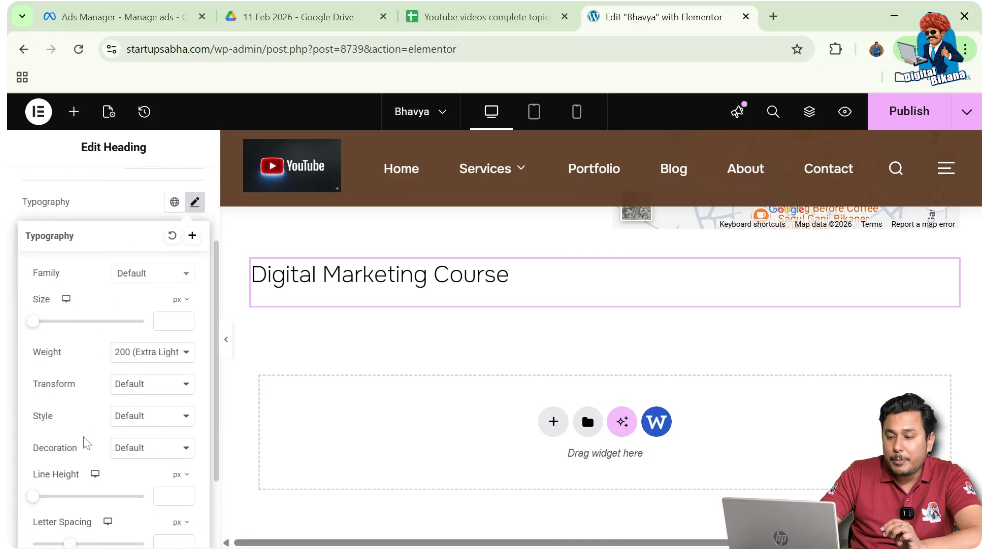
Step 2: Select Underline
Click on the dropdown and choose “Underline.”
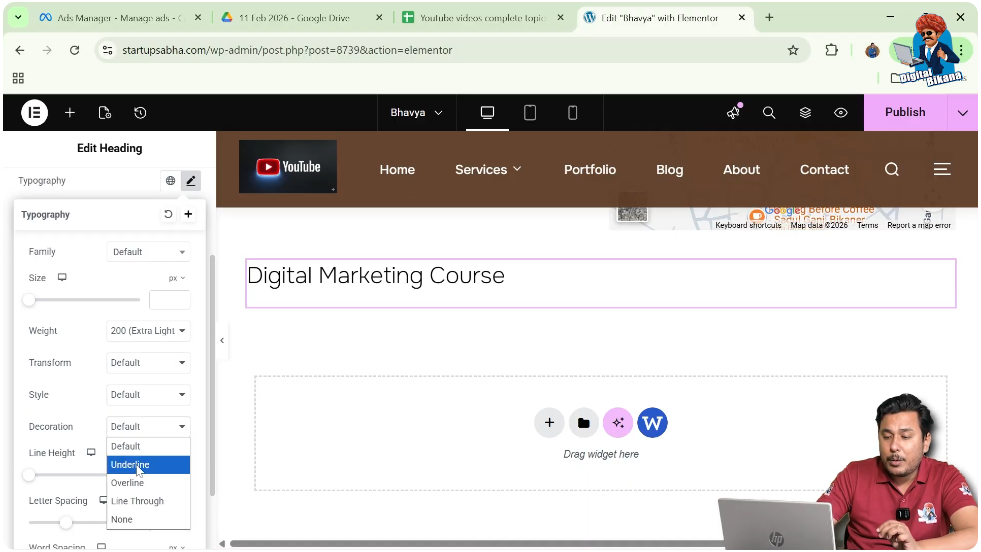
Step 3: Observe Changes
As soon as you select underline, the heading will be underlined instantly.
Exploring Other Decoration Options
Elementor also provides additional text decoration styles.
Available Options
- Underline
- Overline
- Line Through
- None
- Default
Usage of Different Options
Each option provides a different styling effect. However, underline is commonly used for emphasis.
Importance of Underlined Headings
Using underline in headings can improve the design and readability of your webpage.
Highlighting Important Text
Underlining draws attention to key headings.
Improving Visual Hierarchy
It helps differentiate headings from other content.
Enhancing User Experience
Proper styling makes the content more engaging and easier to read.
Best Practices for Using Underline
To maintain a professional design, follow these best practices.
Avoid Overuse
Do not underline too many headings, as it can clutter the design.
Maintain Consistency
Use underline consistently across similar sections.
Combine with Proper Colors
Ensure that the underline is visible and complements the text color.
Final Output and Result
After completing all the steps, your heading will have:
- An underline effect applied
- Improved visibility
- Better visual structure
- Enhanced design appearance
This makes your heading more prominent and visually appealing.
Conclusion
Underlining a heading in Elementor is a simple and effective way to enhance your website design. By selecting the heading, navigating to Style settings, accessing Typography, and choosing the underline decoration, you can quickly apply this effect.
Elementor provides flexibility to customize text styles easily, allowing you to create professional and attractive layouts. By following the steps explained in this article, you can successfully underline headings and improve your webpage design.
Related Posts