In this article, we learn how to set up a Google My Business listing profile after creating it. In the previous step, the business profile was created, and now the focus is on setting it up properly so that it becomes more relevant, informative, and useful for users.
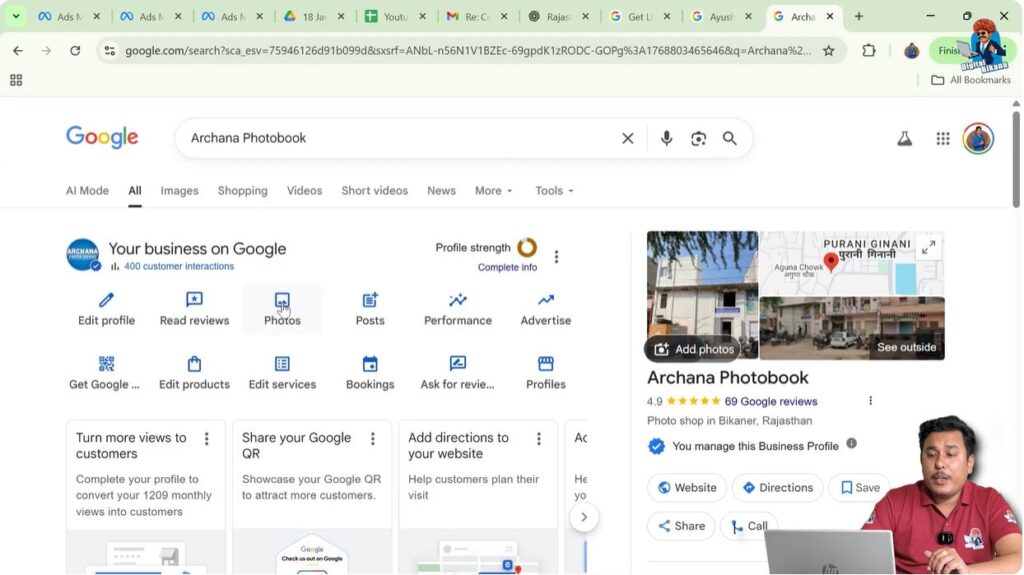
Once a Google My Business profile is created, it can be accessed by searching for the business name on Google using the same Gmail ID that was used during profile creation. The business profile appears directly in Google search results, and from there, all profile settings can be edited and managed.
Accessing Your Google My Business Profile
To set up the Google My Business profile, you first need to search for your business name on Google while logged in with the same Gmail ID used during creation. Once the business appears, you can click on the “Edit profile” option.
The edit profile section allows you to manage and update all important business information. This includes the business name, category, description, contact details, address, service areas, and many other settings.
How to setup Google My Business Profile Listing?
Editing Business Name and Categories
Step 1: Edit Business Name
Correcting or Updating the Business Name
If the business name was entered incorrectly while creating the profile, it can be edited from the edit profile section. By clicking on the pen icon, the name can be changed and saved.
This option ensures that any mistakes made during profile creation can be corrected easily.

Step 2: Add or Edit Business Categories
Adding Multiple Business Categories
The business category defines what type of business you run. A Google My Business profile allows adding more than one category if the business belongs to multiple categories.
You can click on the edit option and add additional categories that accurately describe your business. This helps Google understand the nature of the business better and improves relevance.

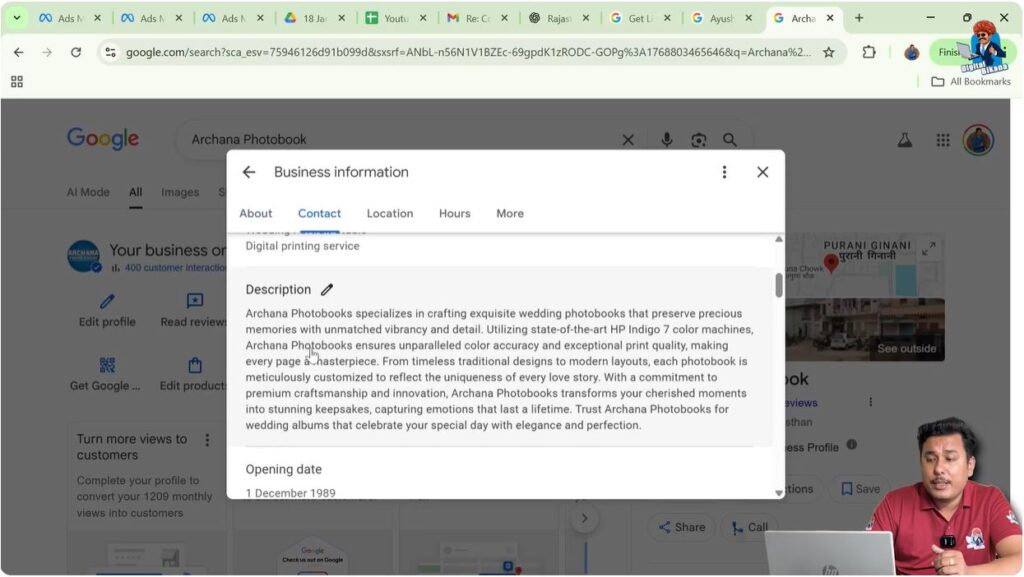
Writing an Effective Business Description
Step 3: Add Business Description
Including Relevant Keywords
The business description section allows you to explain what your business does. While writing the description, it is important to include keywords that users in your locality search for.
For example, if the business is related to photography, users may search for keywords such as photo studio, photographer, videographer, wedding photographer, printing press, or photo marks. Including such keywords improves relevance.
Impact on SEO and Visibility
Using locally searched keywords increases the relevancy of the business profile. This helps Google display the business profile in front of users searching for those keywords. It also helps the profile rank higher in Google search results.
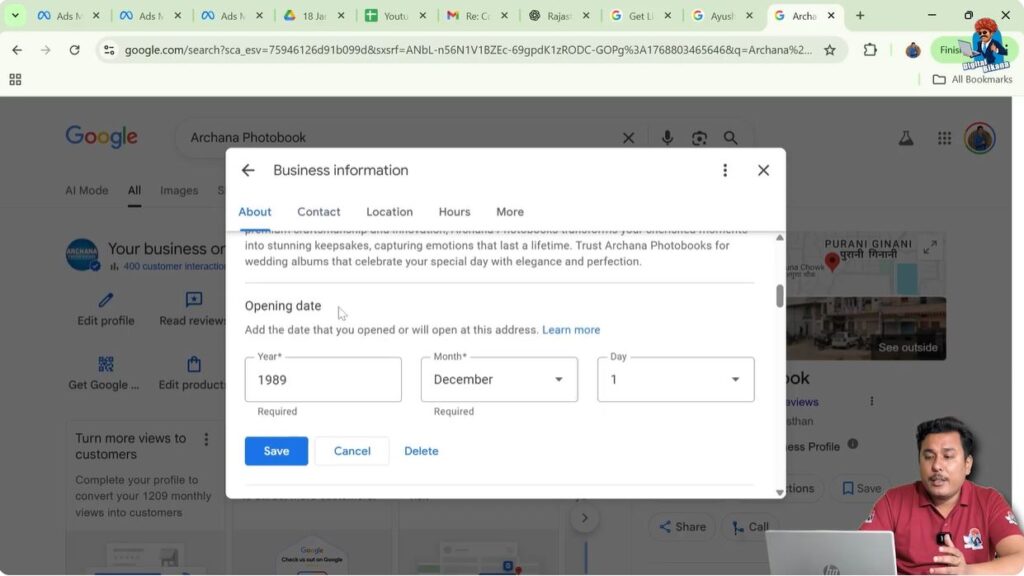
Adding Opening Date and Contact Information
Step 4: Add Business Opening Date
Optional Business Information
If you know the opening date of your business, you can add it in the profile. This is not mandatory, and if the information is not available, it can be skipped.
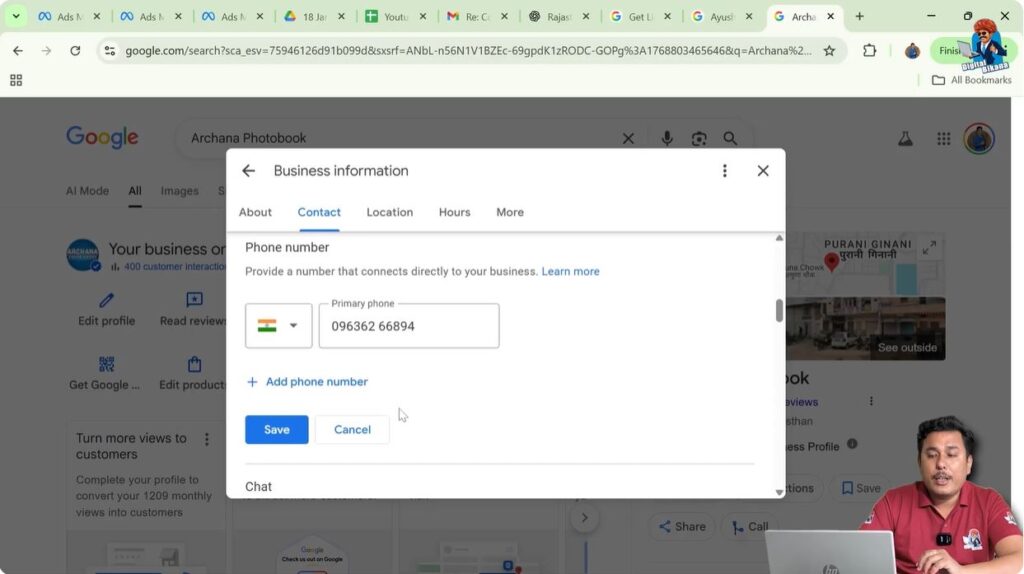
Step 5: Add Phone Numbers and Website
Adding Multiple Phone Numbers
You can add one or more phone numbers to your Google My Business profile. This allows customers to contact your business directly.
Adding Website URL
If your business has a website, you can add the website URL. If there is no website, this field can be left empty, as it is not mandatory.
Adding WhatsApp Chat and Location Details
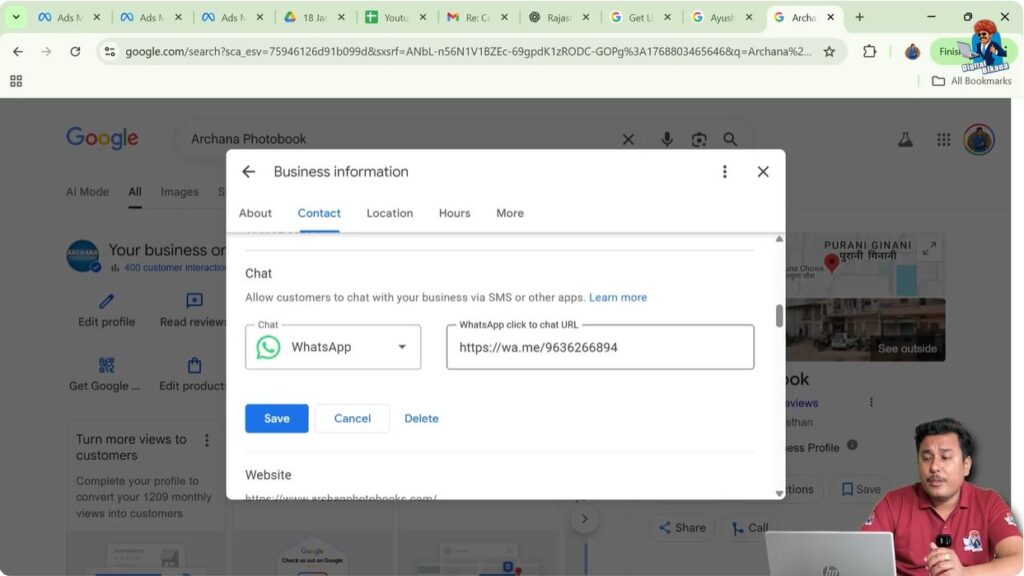
Step 6: Add WhatsApp Chat Button
WhatsApp Chat URL Format
The Google My Business profile allows adding a WhatsApp chat button. The WhatsApp chat URL follows this format:
https://wa.me/yourmobilenumber
By entering this URL, customers can directly start a chat with your business through WhatsApp.
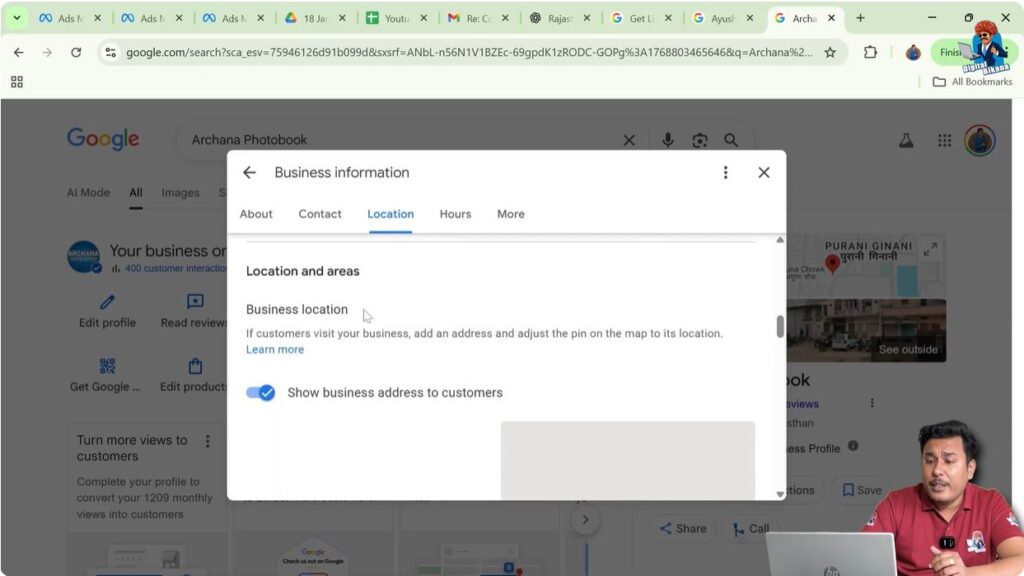
Step 7: Edit Business Address and Map Location
Address Display on Google
Sometimes, the address entered in the profile may not be displayed exactly as written. Google may adjust the address based on Google Maps for better accuracy.
This is normal, and there is no need to worry if the displayed address is slightly different.
Adjusting Map Pin Location
You can adjust the map pin location by clicking on the adjust option and saving the correct location. This ensures that users get accurate directions to your business.
Setting Service Areas Correctly
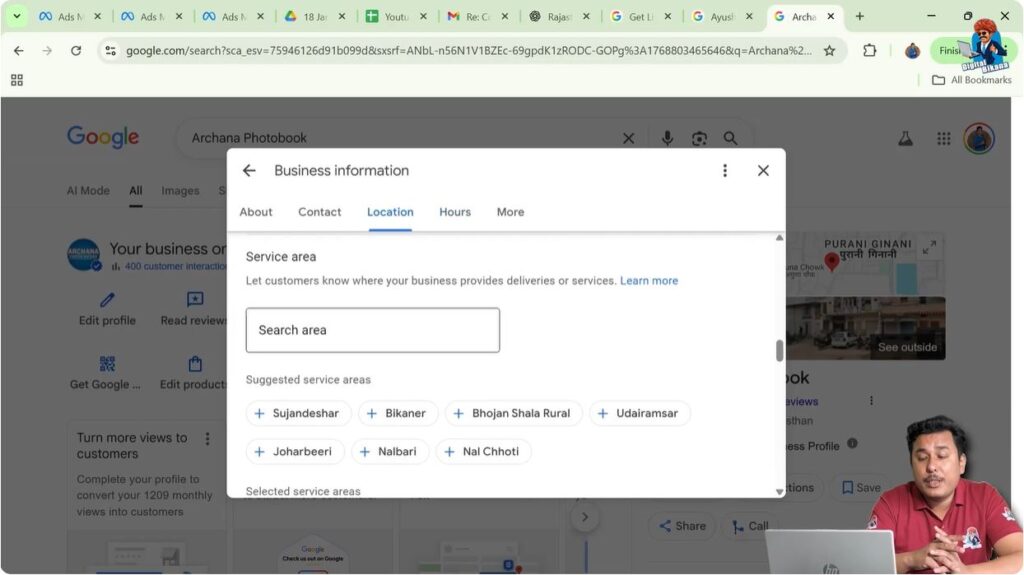
Step 8: Add Service Area
Adding Relevant Service Areas
You can add service areas where your business operates. Multiple service areas can be added, but only relevant ones should be selected.
Adding irrelevant or too many areas can weaken SEO performance, as Google understands that it is not practical for a business to serve very large or unrelated locations.
Managing Business Hours and Special Timings
Step 9: Edit Business Hours
Setting Regular Working Hours
You can set opening and closing times for different working days and weekends. The profile allows marking the business as open, temporarily closed, permanently closed, or open with no main hours.
This flexibility helps keep customers informed about availability.
Adding Special Hours
Special hours can be added for festivals or holidays. This helps users know whether the business is open during special occasions.
Adding Additional Hours
Additional hours such as breakfast hours or lunch hours can also be added. This helps customers decide the best time to visit the business.

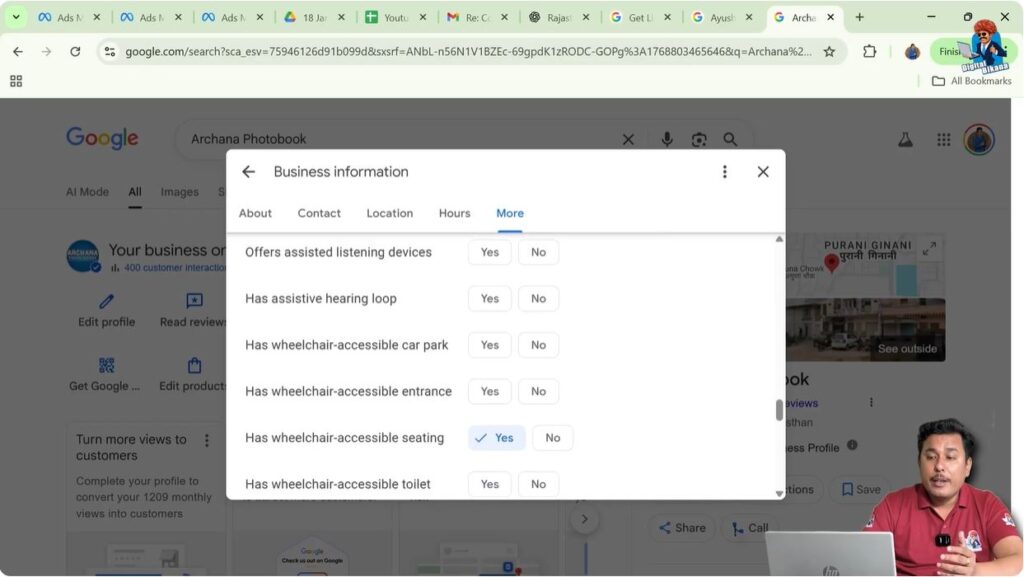
Business Attributes and Accessibility Options
Step 10: Add Business Attributes
Business Ownership Information
If the business is run by a woman, this information can be selected. Otherwise, it can be left blank.
Accessibility Features
Accessibility options such as wheelchair access, hearing loops, and wheelchair-accessible toilets can be added if available.
Amenities and Environment Details
Amenities like gender-neutral toilets and Wi-Fi availability can be selected. Wi-Fi can be marked as free or paid.
Details such as LGBTQ-friendly environment can also be added to help users feel comfortable.
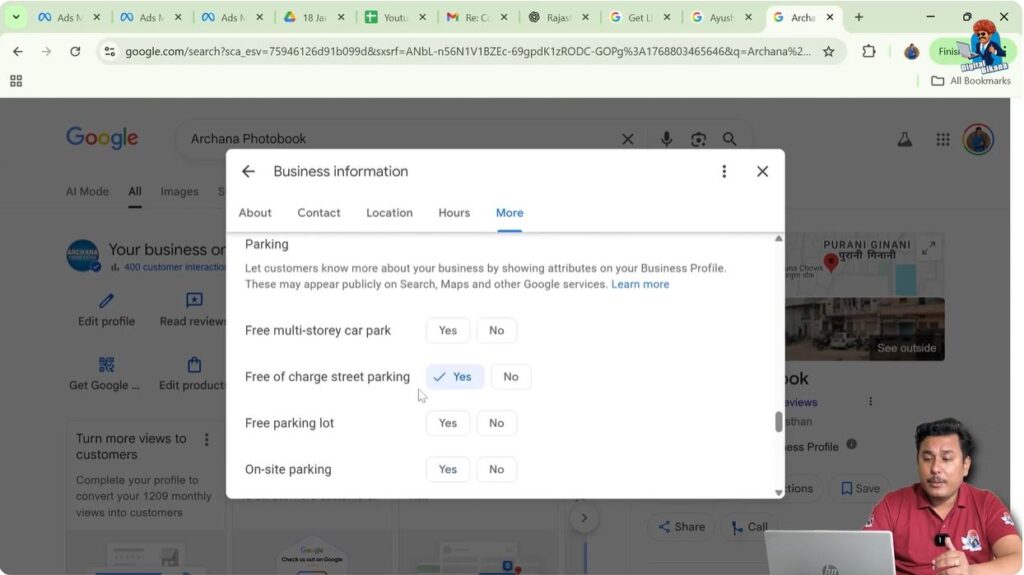
Parking, Payments, and Service Options
Step 11: Add Parking Information
Parking Availability Details
Parking options such as free street parking, free parking lot, on-site parking, or paid street parking can be added based on availability.
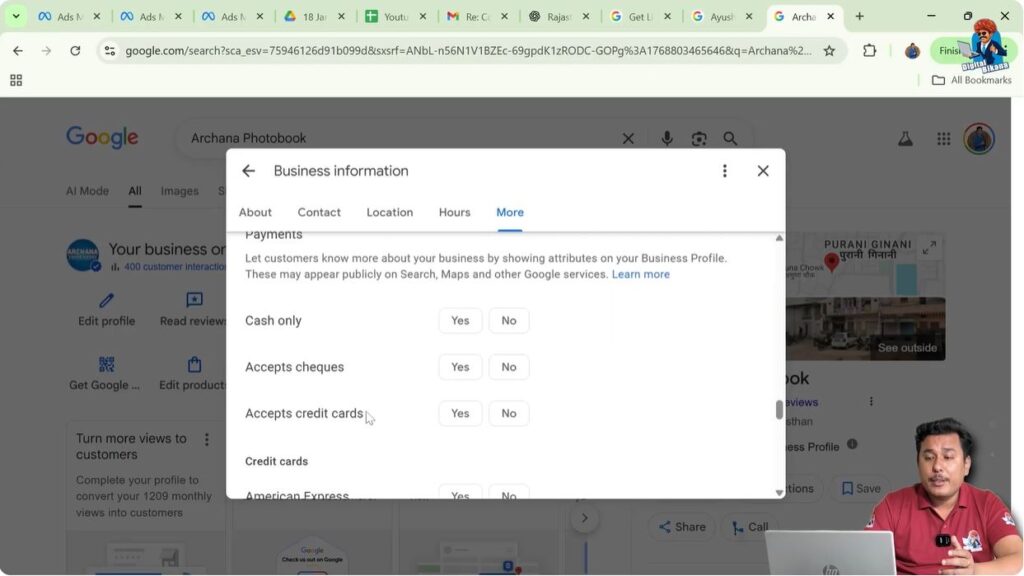
Step 12: Add Payment Methods
Accepted Payment Options
Payment methods such as cash, checks, credit cards, debit cards, Google Pay, and NFC mobile payments can be selected based on what the business accepts.
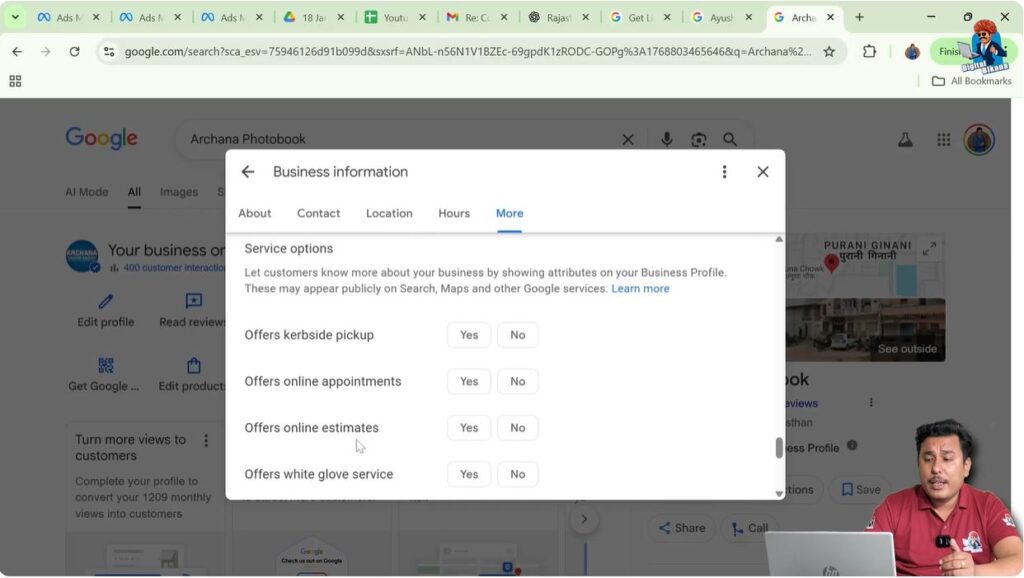
Step 13: Add Service Options
Delivery and Appointment Options
Service options such as online appointments, deliveries, on-site services, and same-day delivery can be selected if applicable.
These options vary based on the business category chosen.
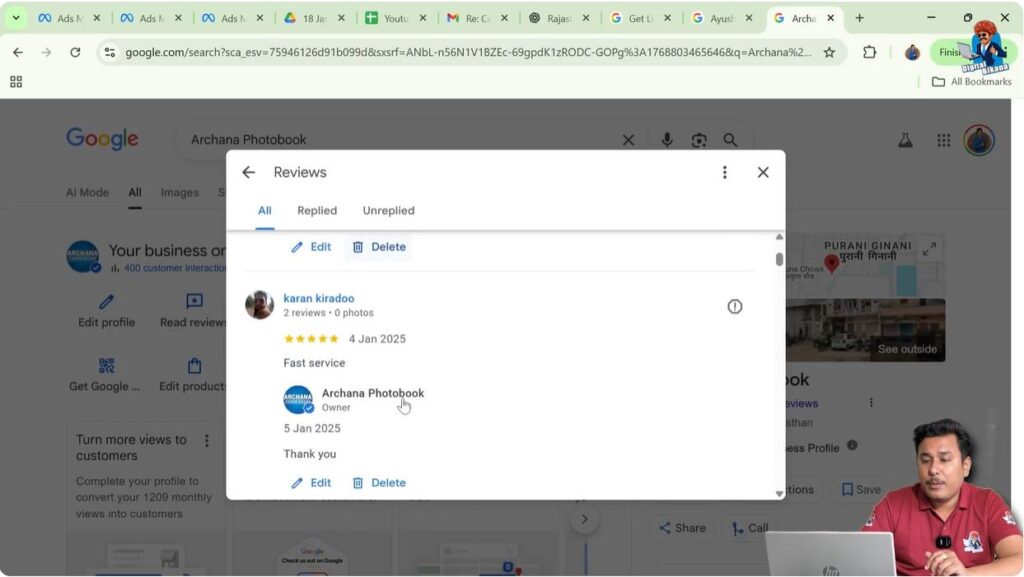
Reviews Management and Customer Interaction
Step 14: Reading and Replying to Reviews
The reviews section allows you to read customer reviews and reply to them. Replying to reviews makes customers feel valued and shows Google that the business is active.
Regularly responding to reviews helps improve the business’s ranking in Google search results.
Adding Photos and Visual Content
Step 15: Uploading Business Photos
Photos of the business exterior, interior, products, and services can be added. The logo and cover photo can also be updated.
Photos initially go through a pending stage, where Google checks quality and authenticity. Low-quality or altered images may be rejected.
Uploading original and clear photos is recommended.
Creating Posts on Google My Business
Step 16: Using Posts for Updates and Events
Google My Business allows posting updates similar to social media platforms. Festival banners, achievement posts, offers, and events can be shared using the post feature.
This helps users stay updated and learn more about the business.

Tracking Performance and Insights
Step 17: Checking Business Performance
The performance section shows how users interact with the business profile. It includes data such as:
- Number of user interactions
- Calls received
- Chats initiated
- Direction requests
- Website clicks
This data helps understand how effective the profile is.

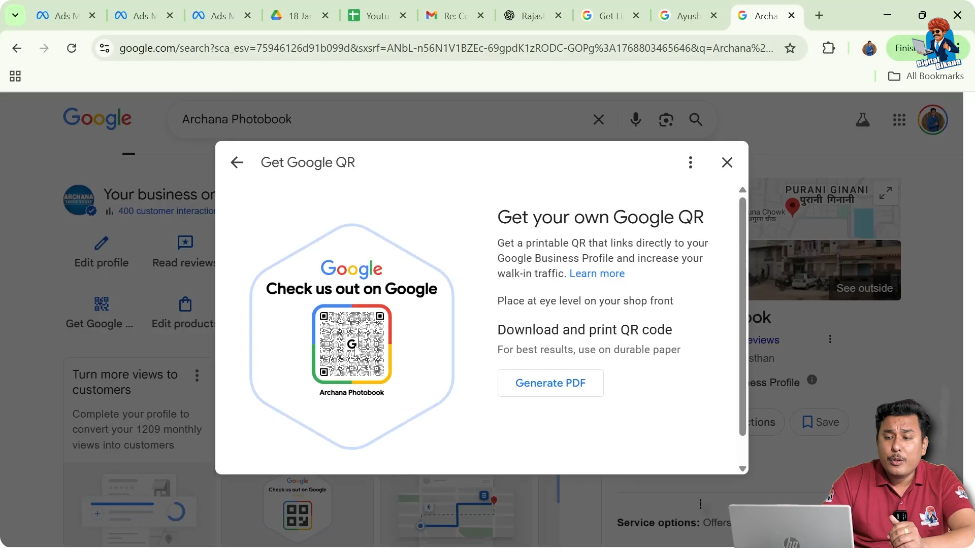
Advertising and QR Code Features
Step 18: Advertising the Business Profile
The profile allows advertising through Google Ads. This can help increase visibility.
Using Google Business Profile QR Code
A QR code for the business profile can be downloaded and shared to showcase the profile. This QR code is different from the review QR code.
The review QR code directly leads users to the review page and can be displayed at the business location.
Step 19: Adding Products and Services
Managing Products
Products can be added one by one by answering simple questions. This helps attract customers and provides more information about offerings.
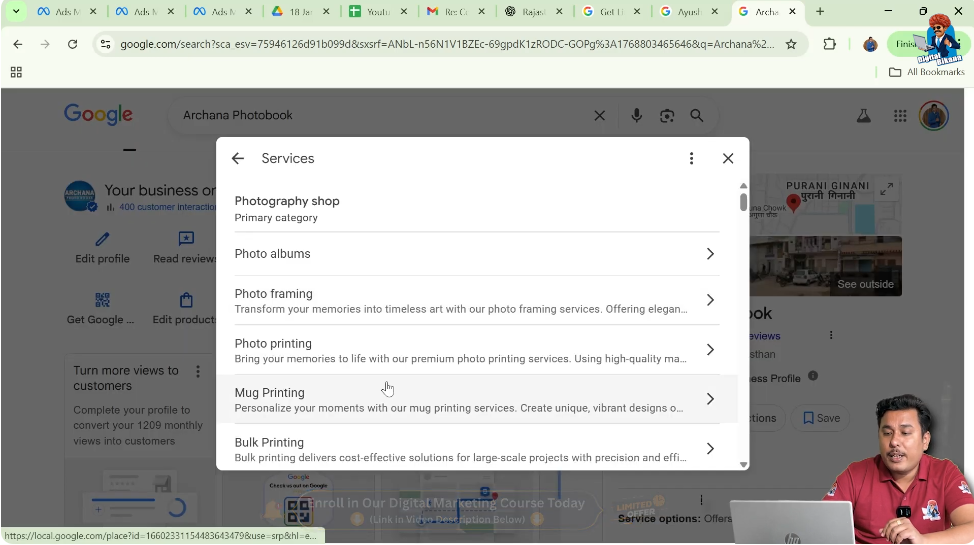
Adding Services
Services can be added with detailed descriptions and relevant keywords. Adding multiple services makes the profile content-rich and improves relevance.
Step 20: Manage Bookings and Reviews QR
Booking Options
Businesses like clinics can enable booking options directly from the profile.
Review QR Code Usage
The review QR code allows customers to easily leave reviews by scanning it. More reviews help improve visibility, though reviews alone are not the only ranking factor.

Step 21: Managing Multiple Business Profiles and Settings
Profile Settings and User Access
If you are the owner, you can add partners or team members. Managers have limited access compared to owners.
The profile settings also show profile ID and other details.

Step 22: Help and Support from Google
Contacting Google Support
If there are issues such as verification problems or inability to add products or services, the help and support option can be used to contact the Google team.
Conclusion
Setting up a Google My Business listing profile involves carefully editing and completing multiple sections. Each section helps improve the accuracy, relevance, and visibility of the business profile.
By properly managing categories, descriptions, services, reviews, photos, and performance data, a business can make its Google My Business profile more informative and effective. This complete setup helps businesses connect better with customers and improve their presence in Google search results and Google Maps.
Related Posts