

In this article, we will learn how to set and fix the overlapping of an image in Elementor in WordPress. While designing a webpage, sometimes images may overlap due to incorrect spacing, margins, or layout settings. Understanding how to control and adjust these elements is essential for creating a clean and professional design.
Elementor provides flexible options such as containers, margins, padding, and layout controls that help manage positioning. This guide explains the complete process step by step, including creating sections, adding images, and fixing overlapping issues using advanced settings.
Creating a New Section in Elementor
To begin, you need to create a section where images will be placed.
Understanding Section Creation
A section is the main layout structure in Elementor that holds columns and containers.
Steps to Create a Section
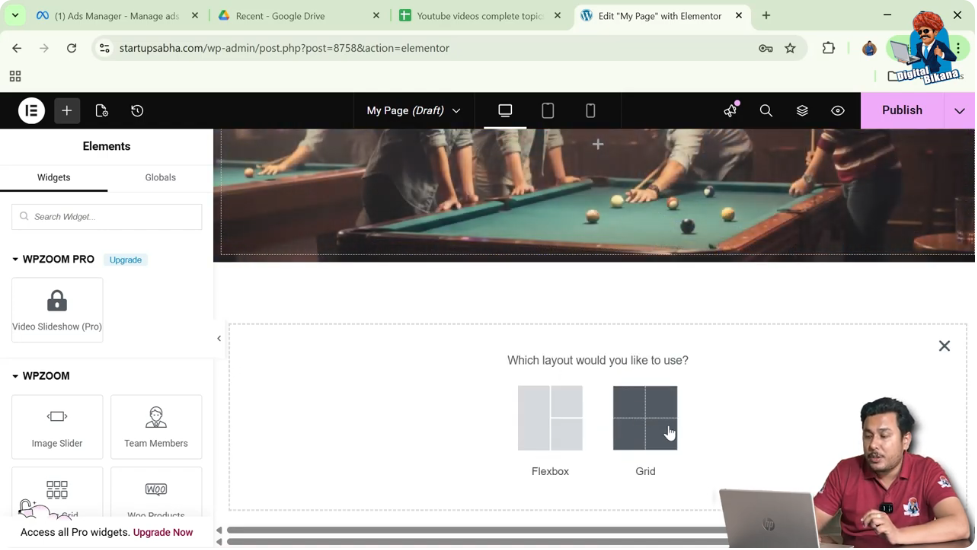
Step 1: Click on the Plus Icon
In the Elementor editor, click on the plus (+) icon in the middle of the screen.
Step 2: Select Layout Type
Choose the layout type. In this case, select Grid.
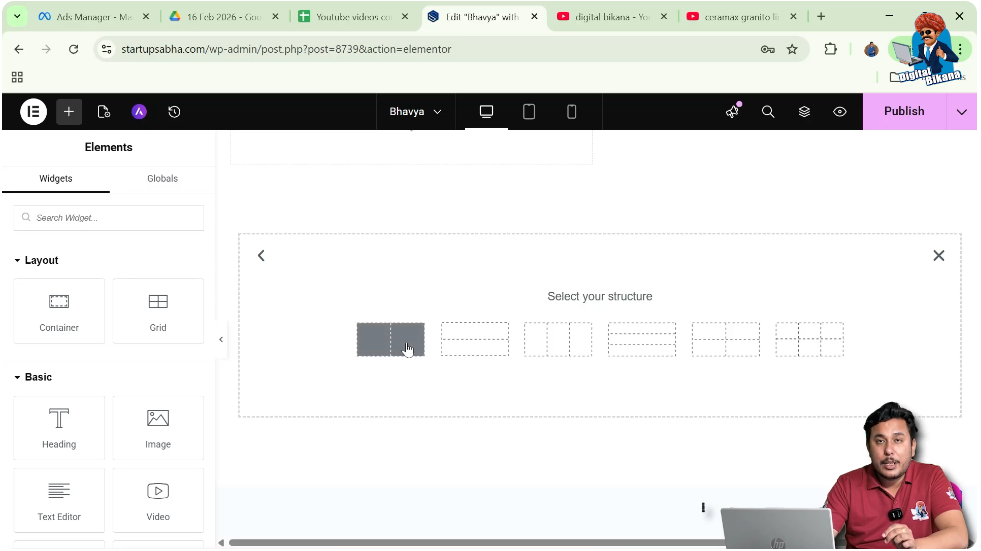
Step 3: Choose Structure
Select a structure with one row and two columns.
Now your section is ready for further design.
Adding Containers in Columns
Next, you need to add containers inside both columns.
Understanding Containers
Containers help organize content and allow you to apply individual styling and positioning.
Steps to Add Containers
Step 1: Open Add Element Panel
Move your cursor to the black header line and click on the plus icon.
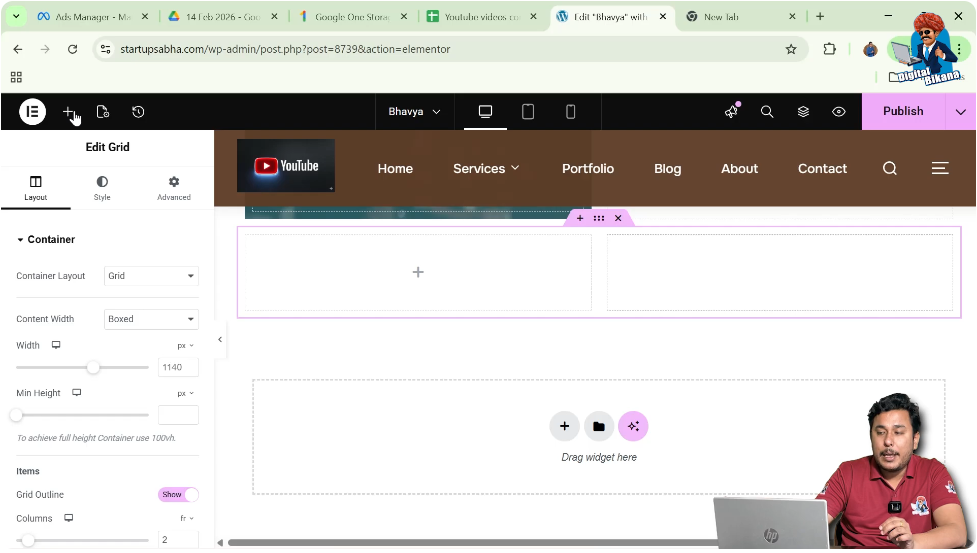
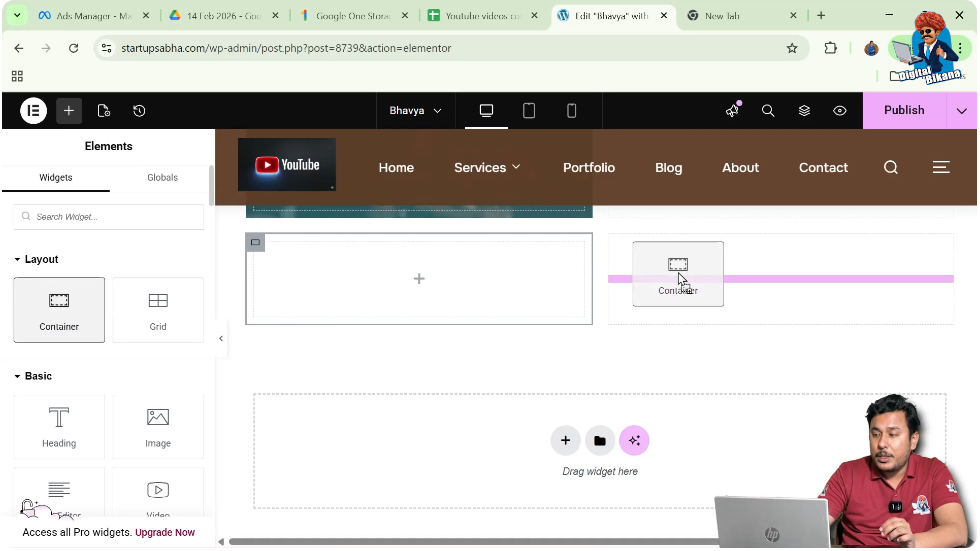
Step 2: Search for Container
Search for “Container” in the widget panel.
Step 3: Drag and Drop Container
Drag the container widget into the first column.
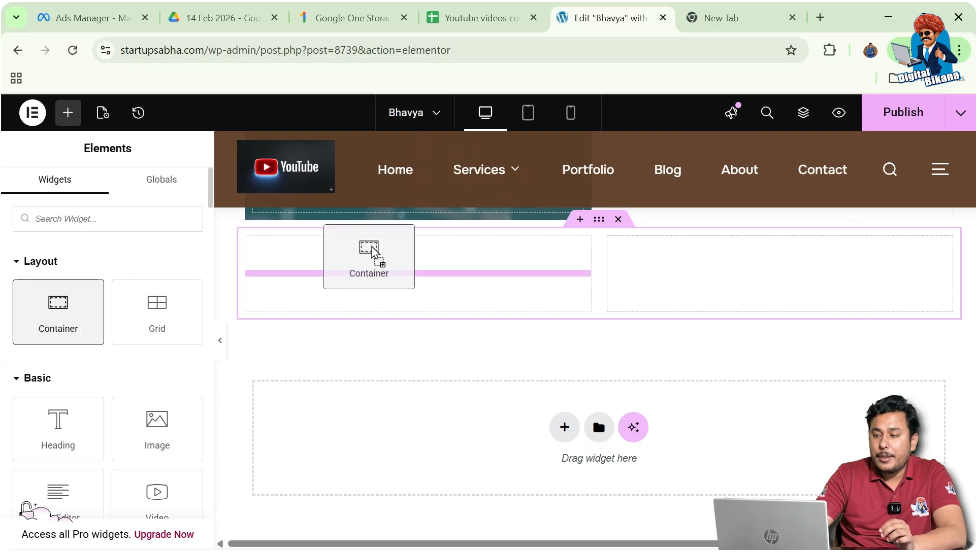
Step 4: Repeat for Second Column
Add another container to the second column using the same method.
Now both columns have containers.
Adding Background Images to Containers
Now the next step is to add images to both containers.
Understanding Background Images
Instead of using image widgets, you can apply images as background to containers.
Steps to Add Background Image
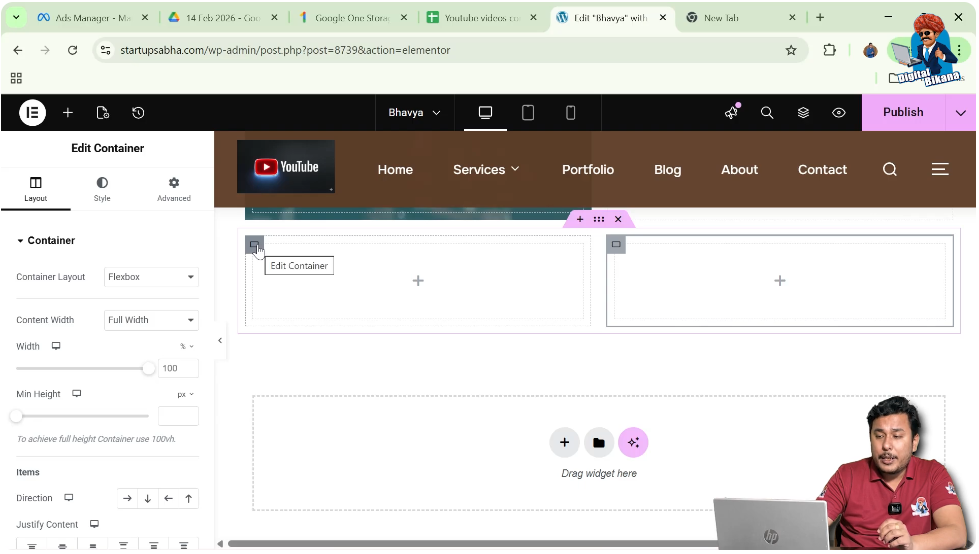
Step 1: Edit Container
Click on the edit container icon (top-left corner).
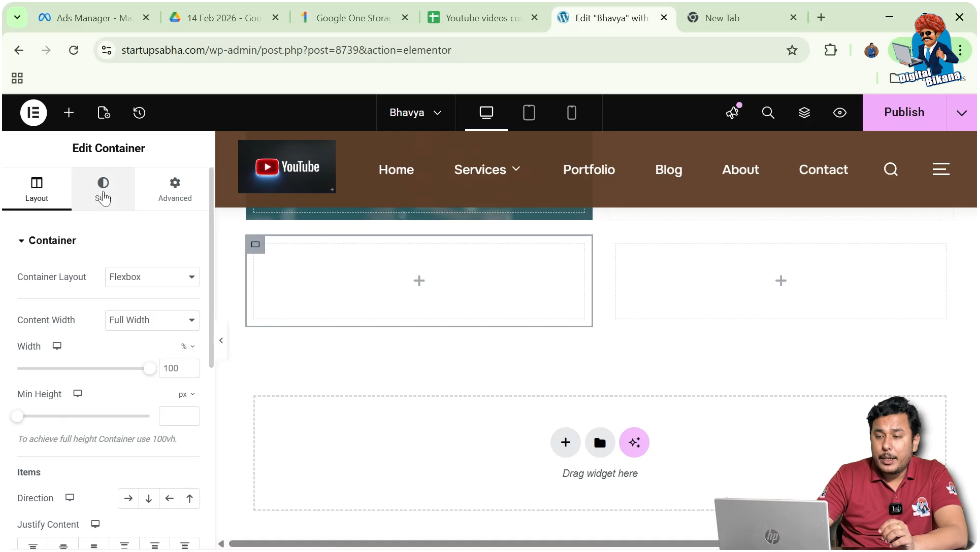
Step 2: Go to Style Settings
In the left toolbar, open the Style tab.
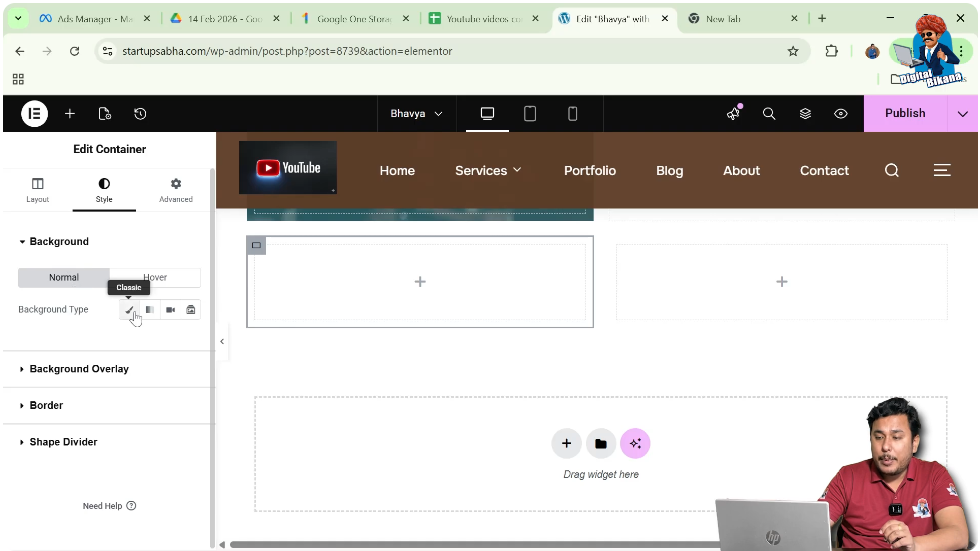
Step 3: Select Background Type
Choose “Normal” and set the background type to “Classic.”
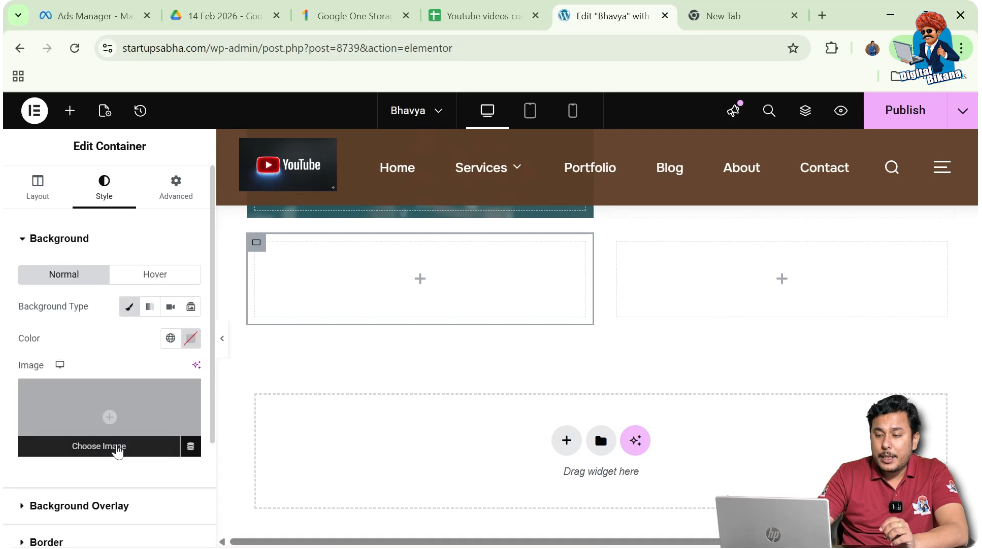
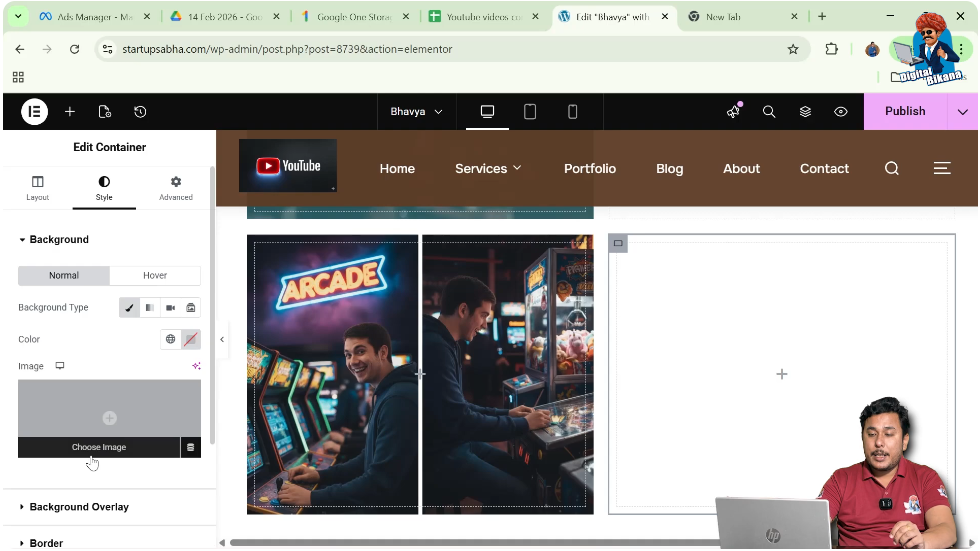
Step 4: Choose Image
Select an image from the media library and click “Select.”
Adjusting Image Display
After adding the image, you need to adjust its display settings.
Improving Image Visibility
To ensure the image looks proper inside the container, display settings must be adjusted.
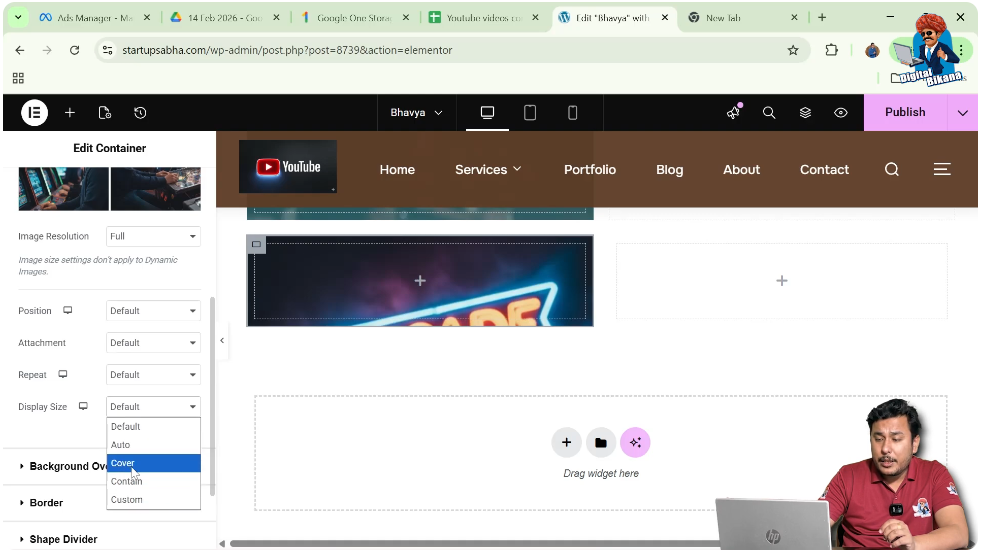
Steps to Adjust Display
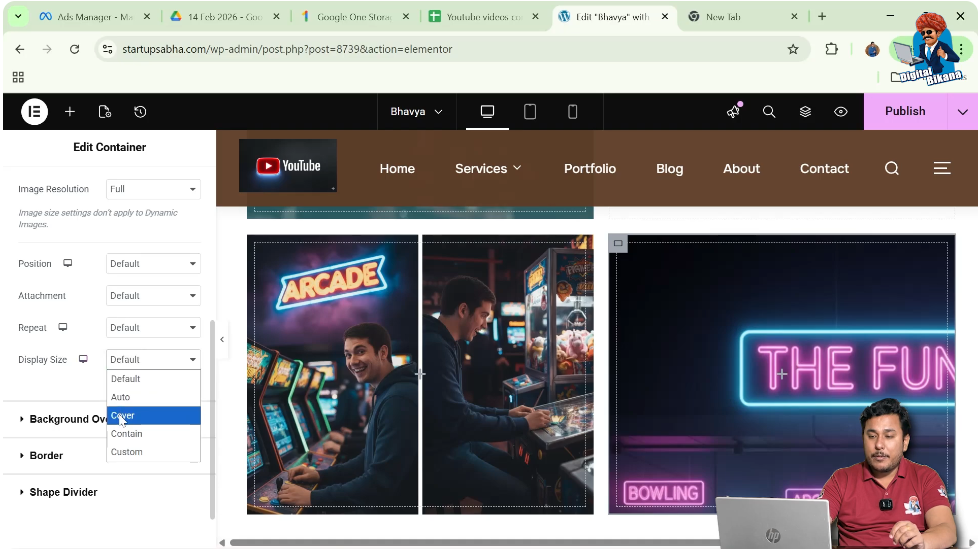
Step 1: Set Display Size
Set the display size to “Cover.”
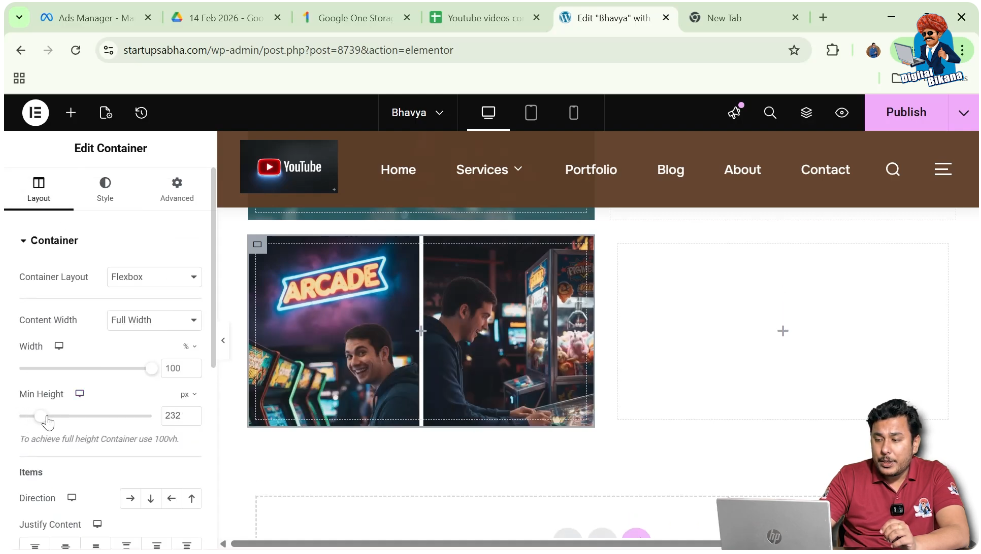
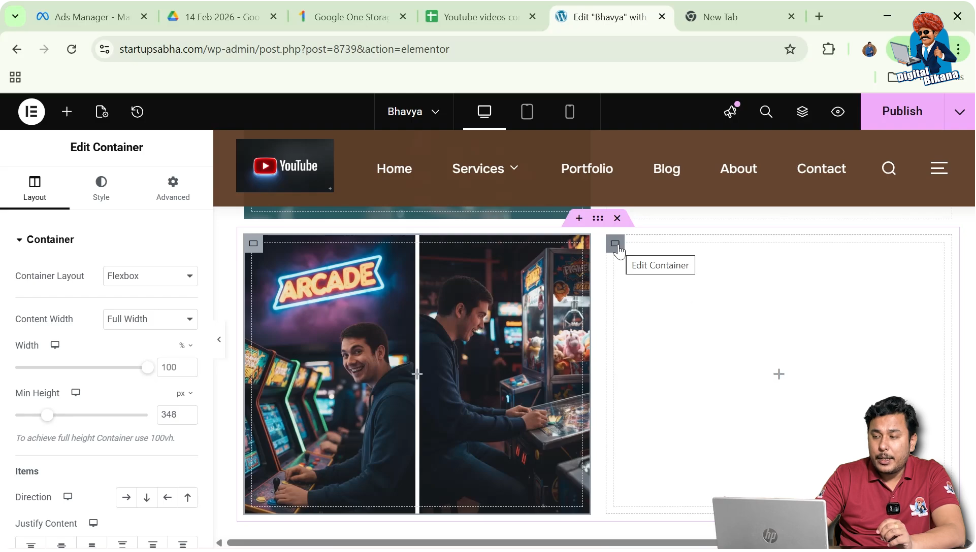
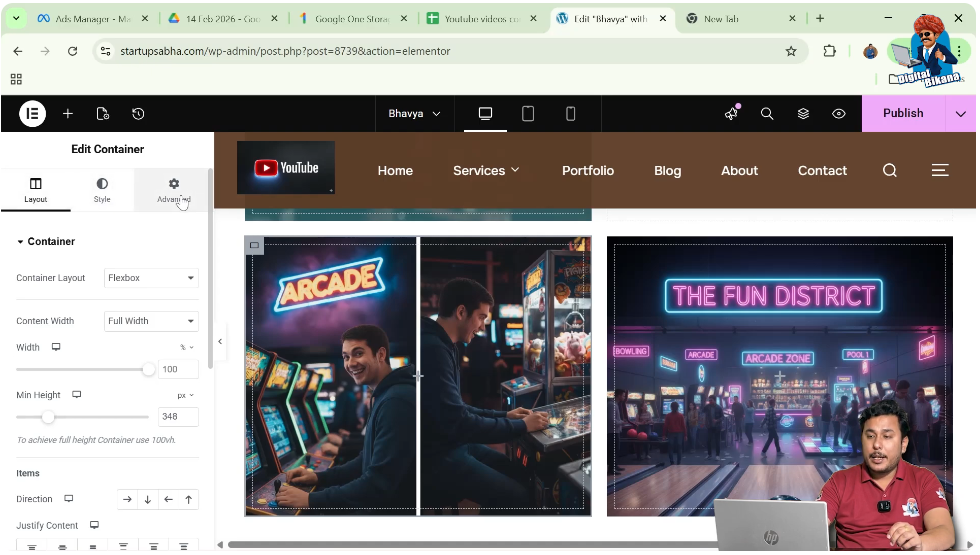
Step 2: Increase Container Height
Go to Layout settings and increase the height of the container.
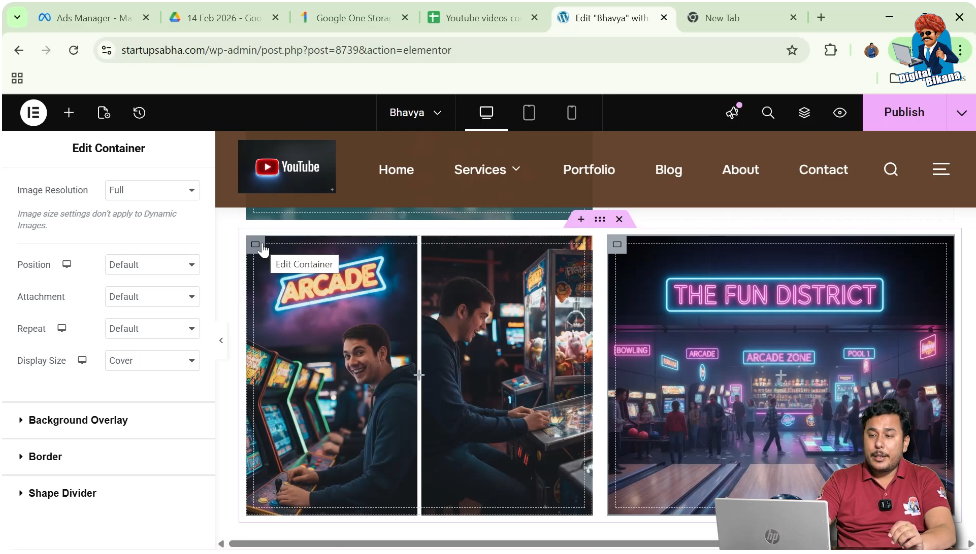
This ensures the image is clearly visible.
Adding Image to Second Container
Repeat the same steps for the second container.
Steps to Add Image
Step 1: Edit Second Container
Click on the edit container icon of the second column.
Step 2: Go to Style Settings
Open the Style tab.

Step 3: Select Background Type
Choose “Classic” under Background.

Step 4: Choose Image
Select another image from the media library.
Step 5: Adjust Display
Set display size and adjust height if needed.
Now both containers have background images.
Understanding Image Overlapping Issue
Sometimes, images may overlap due to incorrect margin or spacing settings.
Why Overlapping Happens
Overlapping occurs when margins or positioning values push elements into each other’s space.
Common Causes
- Excessive margin values
- Incorrect alignment
- Improper layout adjustments
Fixing Image Overlapping Using Margin Settings
The main solution to overlapping is adjusting margin values.
Steps to Fix Overlapping
Step 1: Edit Container
Click on the container where the issue occurs.
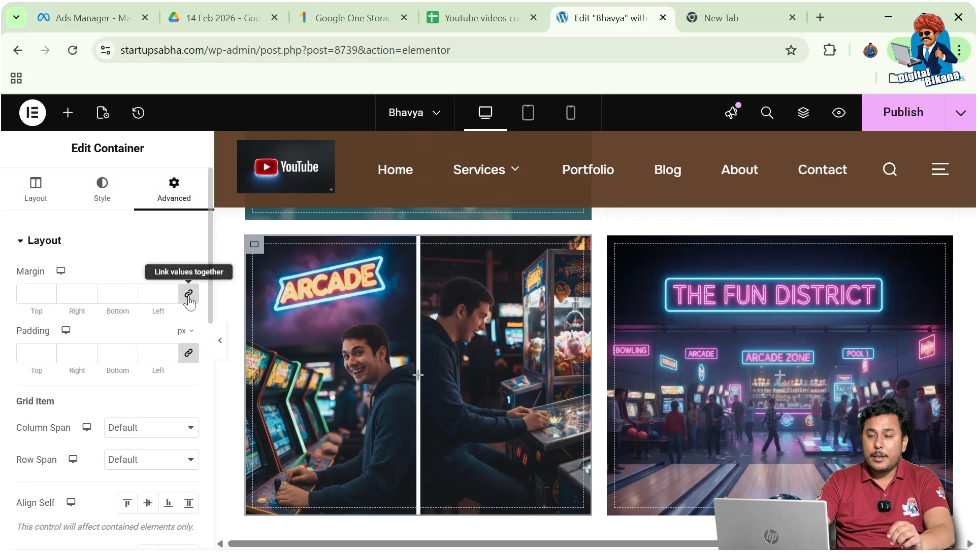
Step 2: Go to Advanced Settings
In the left toolbar, open the Advanced tab.
Step 3: Delink Margin Values
Click on the link icon to unlink top, right, bottom, and left margins.
Step 4: Adjust Margin Values
Modify the margin values carefully:
- Reduce left margin if image overlaps from the side
- Reduce top margin if image overlaps vertically
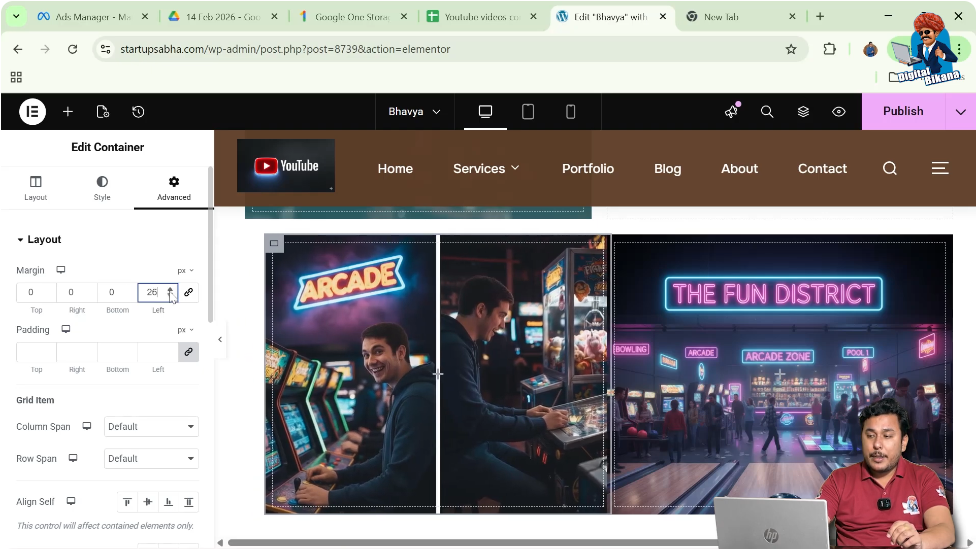
Step 5: Observe Changes
As you adjust the values, the overlapping will be corrected.
Correcting Mistakes in Spacing
If incorrect values cause overlapping, you can easily fix them.
Steps to Correct Mistakes
Step 1: Identify the Issue
Check which side (top, left, right, or bottom) is causing overlap.
Step 2: Reduce Margin Values
Decrease the margin values causing the issue.
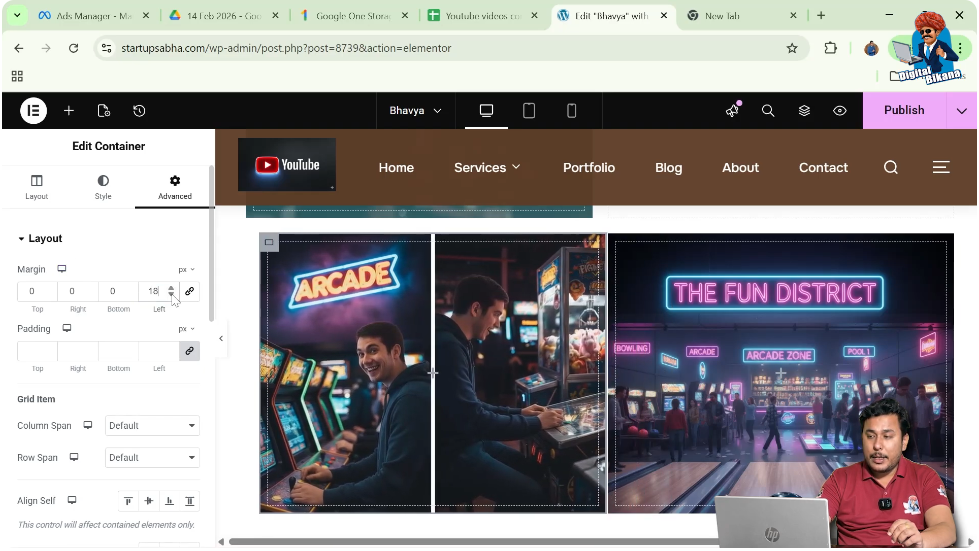
Step 3: Reset if Needed
You can set values back to zero to remove overlapping completely.
Understanding Margin and Padding
Margin and padding play a crucial role in positioning elements.
Margin
Margin controls the outer spacing of an element.
Padding
Padding controls the inner spacing within the element.
Proper Usage
Using correct margin and padding ensures that elements do not overlap and maintain proper spacing.
Tips to Avoid Overlapping Issues
To maintain a clean layout, follow these best practices.
Use Balanced Spacing
Avoid using very large margin values.
Check Layout Regularly
Preview your design while making changes.
Use Default Values When Needed
Reset values to default if layout breaks.
Maintain Consistency
Keep spacing consistent across all sections.
Final Output and Result
After completing all the steps, your layout will have:
- Two containers with background images
- Proper spacing between elements
- No overlapping issues
- A clean and structured design
This improves both visual appearance and user experience.
Conclusion
Fixing image overlapping in Elementor is simple when you understand how margin and layout settings work. By creating sections, adding containers, applying background images, and adjusting margin values in the Advanced settings, you can easily control element positioning.
Elementor provides full flexibility to manage spacing and layout. By following the steps explained in this article, you can fix overlapping issues and create a well-structured and professional webpage design.
Related Posts


