
Reducing the margin of a container in Elementor is an important step in controlling spacing and improving the layout of your website. Proper margin adjustment helps you align elements correctly and create a clean and professional design.
In this article, we will explain how to reduce the margin of a container in Elementor step by step. The explanation is detailed and structured so that you can easily understand how margin works and how to apply it effectively.
Accessing the Elementor Editor
To begin, you need to open Elementor and start editing your web page.
As shown in the process, you are inside the Elementor editor and working on a web page. A section has already been created using a grid layout.
Understanding the Layout Structure
In the demonstrated setup:
- A grid section is created
- The section contains two columns
- A container is placed inside the first column
- Inside the container, a heading and text editor widget are added
Now the goal is to reduce the margin of this container.
Selecting the Container
Step 1: Hover Over the Container
Move your cursor over the container.

Step 2: Click Edit Icon
You will see a gray box icon in the top left corner of the container.
Click on this icon to open the container settings.
Navigating to Advanced Settings
Step 3: Open Advanced Tab
In the left-side toolbar, you will find:
- Layout
- Style
- Advanced
Click on the Advanced tab.
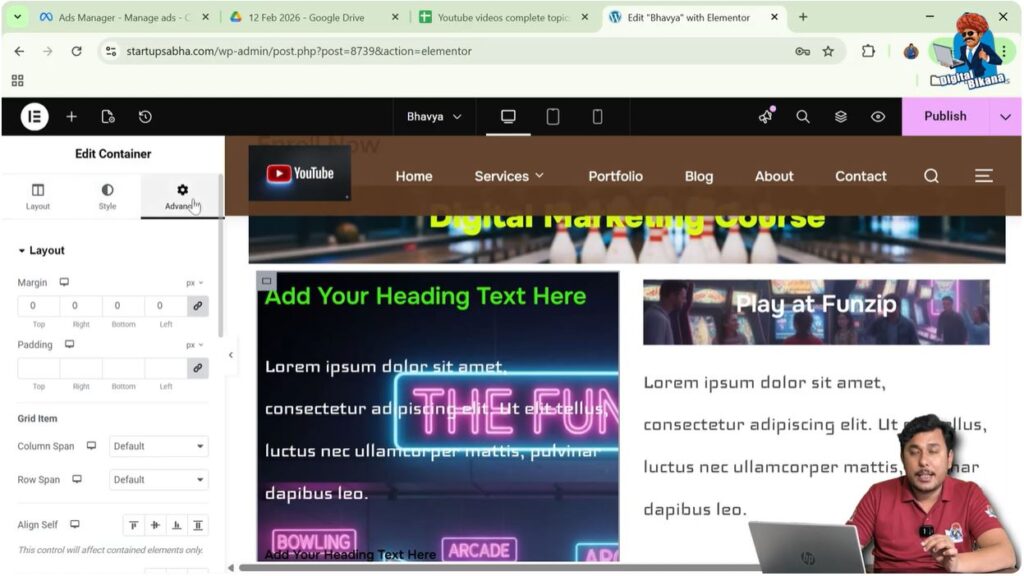
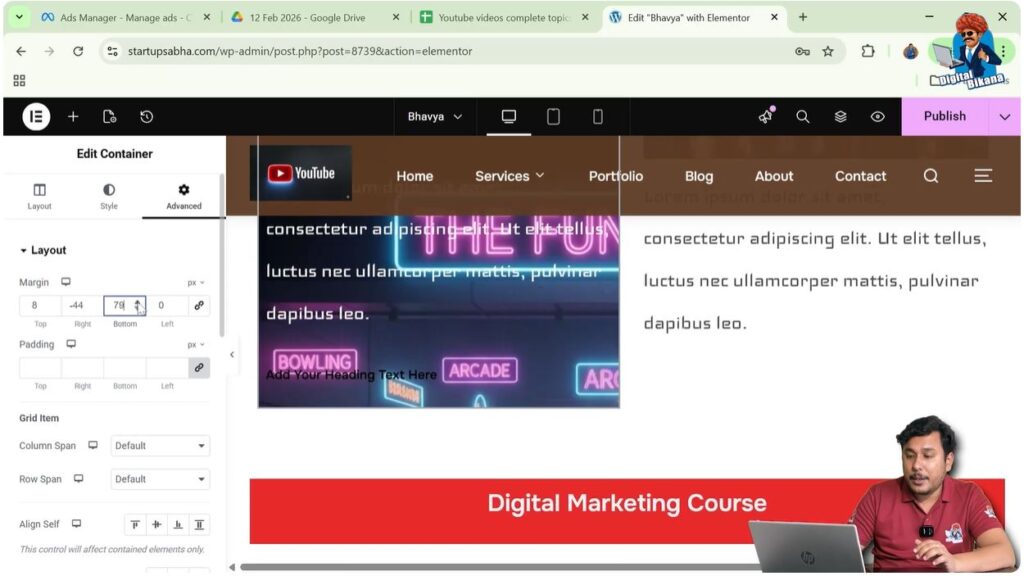
Understanding Margin Settings
Inside the advanced settings, you will find:
- Margin
- Padding
Margin controls the space outside the container.
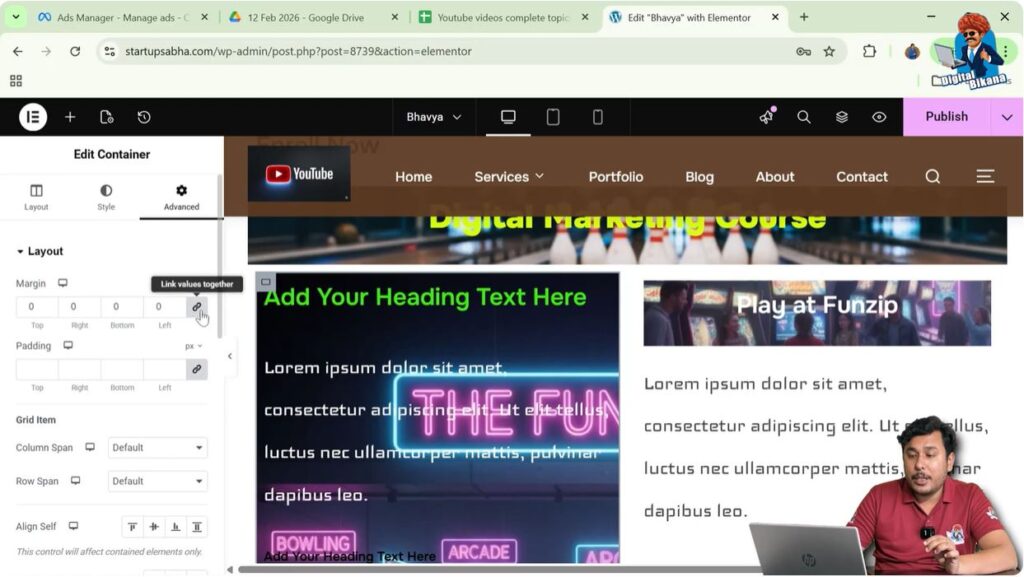
Unlinking Margin Values
Step 4: Click Delink Button
There is a link button that connects all margin values:
- Top
- Right
- Bottom
- Left
Click on the delink button to edit each side individually.
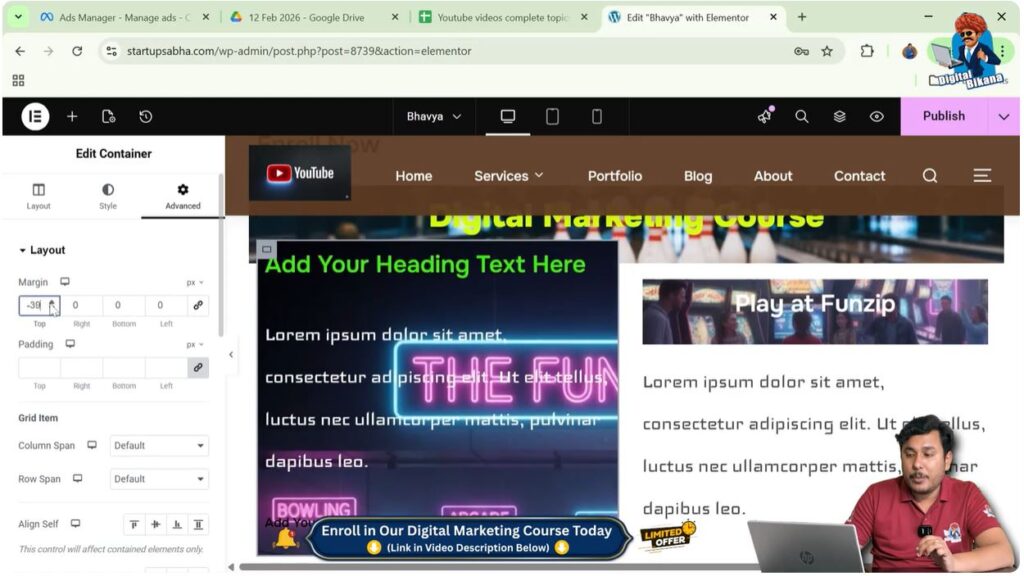
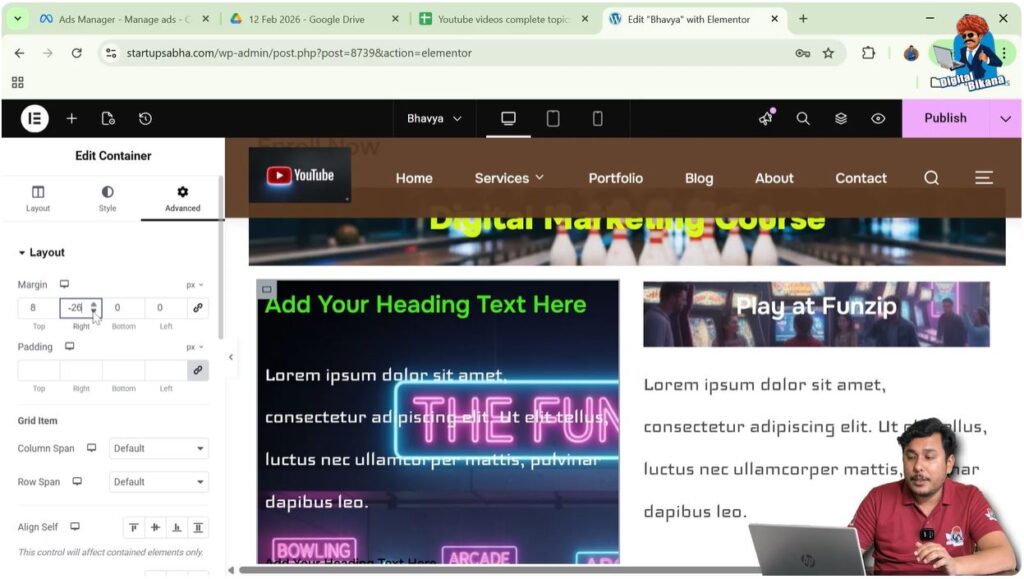
Reducing Margin
Step 5: Adjust Top Margin
Reduce the top margin value.
As you decrease it:
- The container moves upward
- Space above the container decreases

Step 6: Increase Top Margin (Optional)
If you increase the top margin:
- The container moves downward
- Space above increases
Adjusting Other Margins
Step 7: Modify Bottom Margin
Increasing bottom margin:
- Adds space below the container
Reducing bottom margin:
- Decreases space below
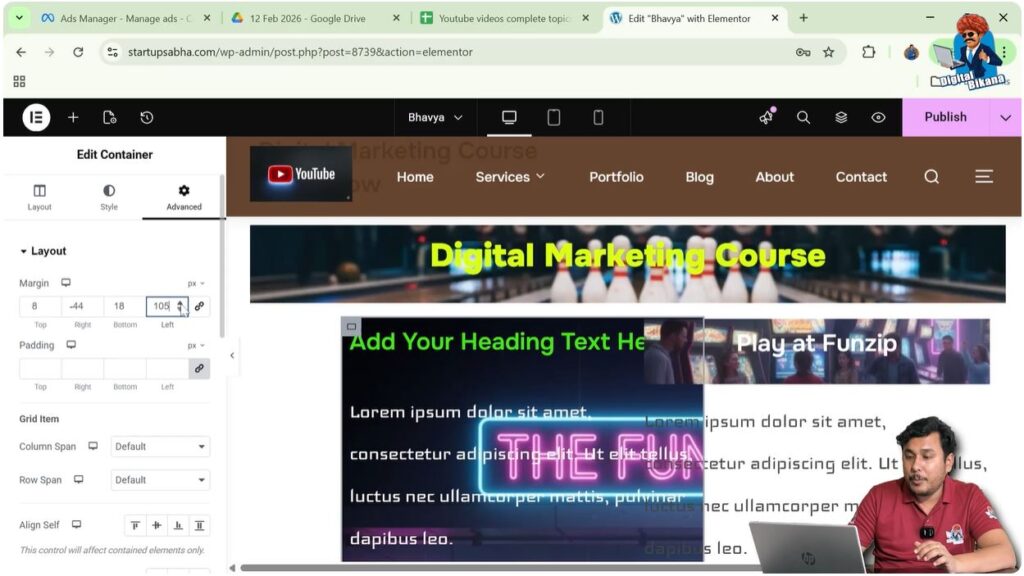
Step 8: Modify Left Margin
Reducing left margin:
- Moves the container towards the left
- It may even go outside the container
Step 9: Modify Right Margin
Changing right margin may not always show visible changes if:
- Another column exists on the right side
This restricts movement.
Understanding Margin Behavior
Margin works as:
- Space outside the container
- It affects positioning
- It can move elements in different directions
Unlike padding, margin can also take negative values.
Practical Example
In the demonstrated process:
- The container margin is reduced from the top
- The container moves upward
- Left margin reduction moves the container outside
- Right margin shows limited effect due to adjacent column
- Bottom margin affects spacing below
Benefits of Reducing Margin
Better Alignment
Helps align elements properly.
Improved Design
Reduces unnecessary spacing.
Flexible Layout
Allows precise control over positioning.
Common Mistakes to Avoid
Not Delinking Values
All sides change together if not unlinked.
Over Reducing Margin
Too much reduction can break layout.
Ignoring Layout Structure
Columns can restrict movement.
Best Practices
- Adjust one side at a time
- Maintain balance in spacing
- Avoid extreme values
- Test on different screen sizes
Final Understanding
Reducing the margin of a container in Elementor involves editing the container, navigating to advanced settings, unlinking margin values, and adjusting each side individually. This helps you control spacing and positioning effectively.
Conclusion
Margin adjustment is a fundamental part of designing layouts in Elementor. By understanding how margin works and how to control it, you can create cleaner and more professional web pages.
By following the steps explained in this guide, you can easily reduce the margin of a container and improve your website layout.
Related Posts


