Editing a container in Elementor is a fundamental skill for designing and customizing your website layout. Containers are the building blocks of your design, and understanding how to edit them allows you to control spacing, alignment, styling, and overall structure.
In this article, we will explain how to edit a container in Elementor using two different scenarios. The explanation follows a step-by-step approach and expands each method in detail so that you can clearly understand how to edit containers effectively.
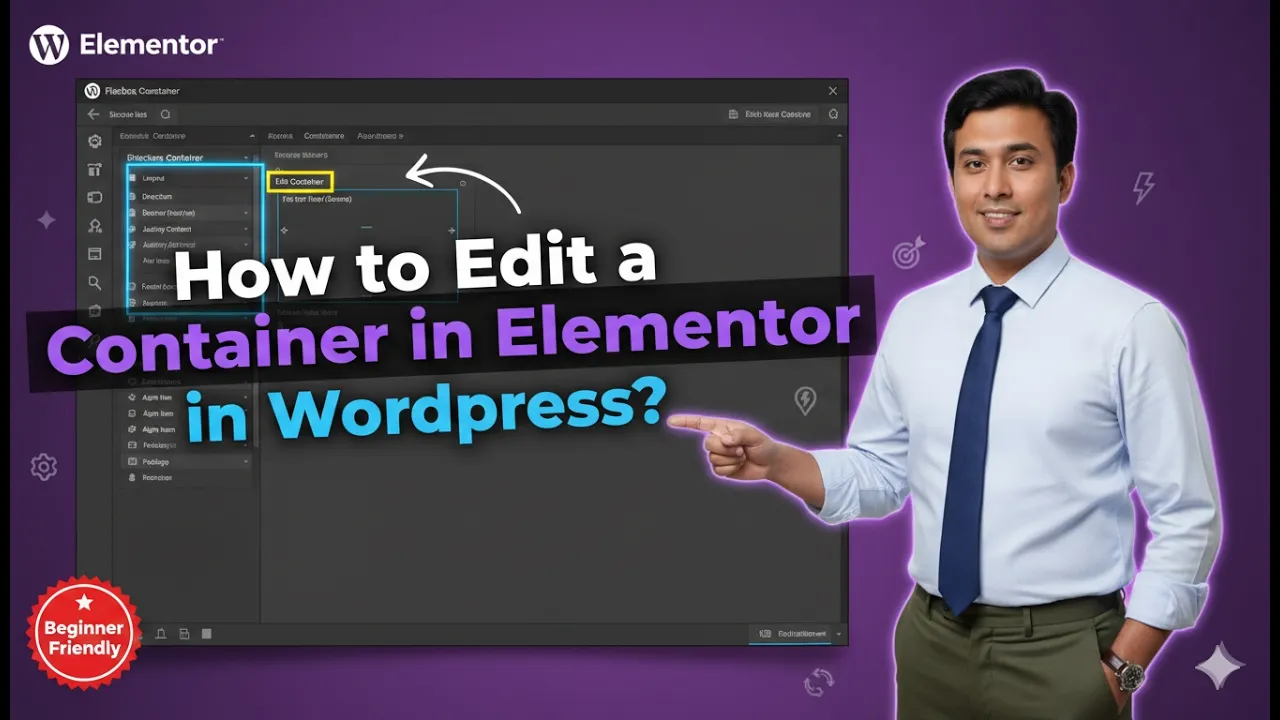
Accessing the Elementor Editor
To begin, you need to open Elementor and start editing your web page.
As shown in the process, you are inside the Elementor editor and creating a web page. Here, containers are used inside sections to structure content.
Depending on the layout, containers can be arranged in different ways, such as grid layout or flexbox layout.
Understanding Container Layouts
Before editing, it is important to understand that containers behave differently depending on the layout:
- Grid layout can have multiple containers
- Flexbox layout may have a single container
This difference determines how you access and edit the container.
Scenario 1: Editing Container in Grid Layout
In this scenario, your section contains multiple containers.
For example:
- One row
- Multiple columns
- Multiple containers inside the section
Step 1: Locate the Container
Move your cursor to the container you want to edit.
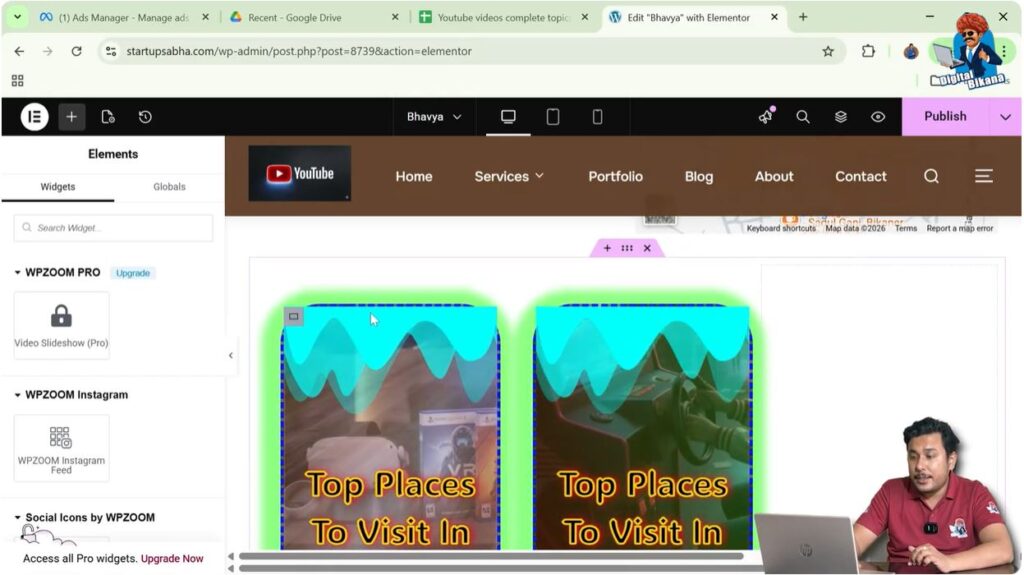
Step 2: Find the Edit Icon
Move your cursor to the top left corner of the container.
You will see a gray box icon.
Step 3: Click the Edit Icon
Click on the gray box icon.
This opens the container settings in the left-side toolbar.
Editing Container Settings
Once the container is selected, you can modify its settings.
Layout Settings
You can adjust:
- Direction
- Alignment
- Width and height
Style Settings
You can change:
- Background
- Colors
- Borders
Advanced Settings
You can control:
- Margin
- Padding
- Motion effects
Scenario 2: Editing Container in Single Container Layout
In this scenario, your section has only one container.
This usually happens in:
- Flexbox layout
- One row and one column structure
Step 4: Move Cursor to Section Top
Move your cursor to the top of the section.

Step 5: Find Six Dot Icon
You will see a six-dot icon at the top of the section.
Step 6: Click the Icon
Click on the six-dot icon.
This selects the container.
Accessing Container Settings
After clicking the icon, the container settings will appear in the left-side toolbar.
Here, you can again modify:
- Layout settings
- Style settings
- Advanced settings
Understanding the Difference Between Both Methods
Grid Layout Method
- Used when multiple containers exist
- Edit icon appears on each container
- Direct selection is possible
Single Container Method
- Used when only one container exists
- No separate edit icon on container
- Use section’s six-dot icon
Practical Example
In the demonstrated process:
- A grid layout with multiple containers is used
- Each container can be edited individually using the gray box icon
Then:
- A flexbox layout with a single container is used
- The container is edited using the six-dot icon
Importance of Editing Containers
Editing containers allows you to:
- Control layout structure
- Adjust spacing and alignment
- Customize design elements
Common Mistakes to Avoid
Not Identifying Layout Type
Always check whether you are using grid or flexbox layout.
Clicking Wrong Icon
Ensure you are clicking the correct icon:
- Gray box for multiple containers
- Six-dot icon for single container
Ignoring Settings
Make full use of layout, style, and advanced settings.
Best Practices
- Organize containers properly
- Maintain consistent spacing
- Use appropriate layout structure
- Preview changes on different devices
Final Understanding
Editing a container in Elementor depends on the layout structure. In grid layouts, you can directly edit containers using the gray box icon, while in single container layouts, you need to use the section’s six-dot icon.
Understanding this difference helps you work more efficiently in Elementor.
Conclusion
Editing containers is a key part of designing websites in Elementor. By understanding how to edit containers in different scenarios, you can easily manage layout, styling, and structure.
By following the steps explained in this guide, you can confidently edit containers and create well-structured and visually appealing web pages.
Related Posts