
Elementor is a powerful page builder used in WordPress that allows users to design webpages using containers, sections, rows, and columns. While designing a page, you often need to duplicate or reuse the same layout multiple times. Instead of creating the same container again and again manually, Elementor provides an easy option to copy and paste containers.
Copying a container helps you duplicate the same design, background, structure, and styling without rebuilding the container from scratch. This saves time and ensures consistency across your webpage layout.
In this guide, you will learn how to copy a container in Elementor while editing a webpage in WordPress.
Opening Elementor While Editing a Page
Before copying a container, you first need to open the Elementor editor.
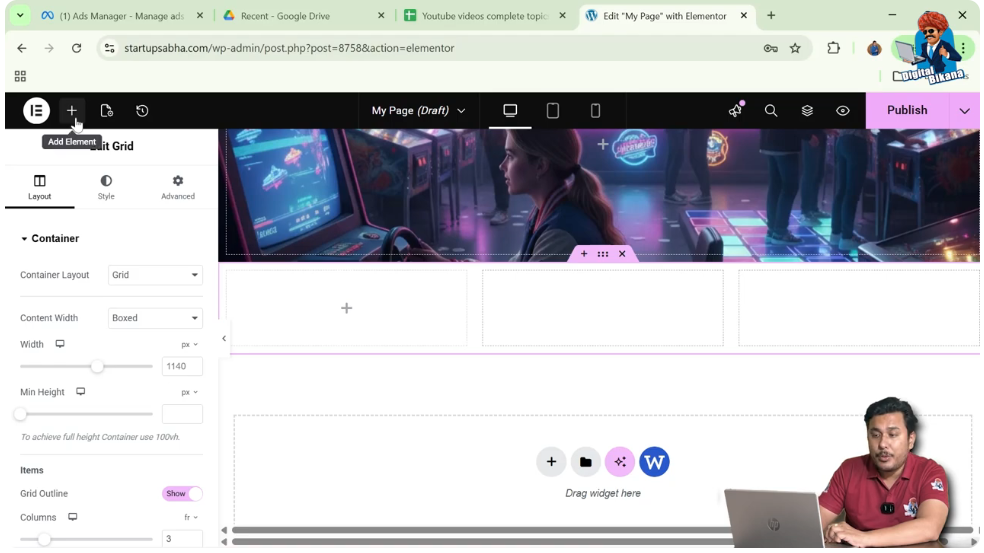
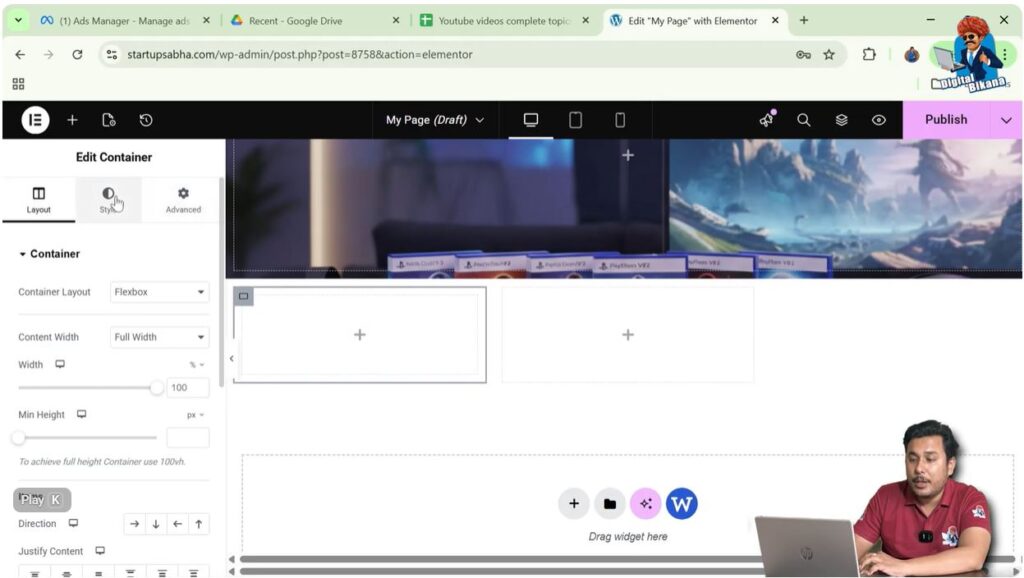
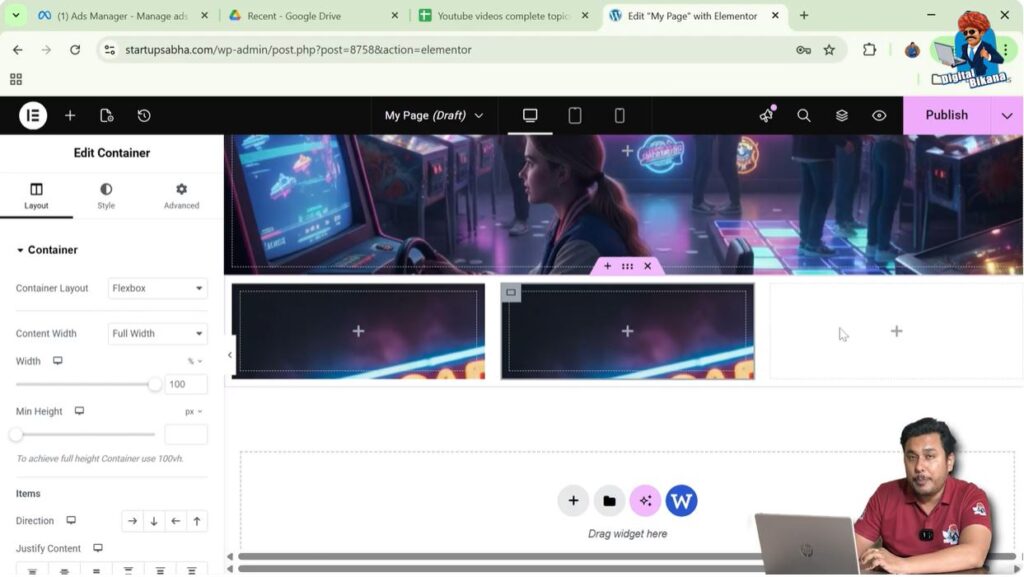
When you open a page using Elementor, the editor interface appears with the live preview of your webpage in the center of the screen. On the left side of the screen, you will see the Elementor editing panel, which contains layout, style, and advanced settings.
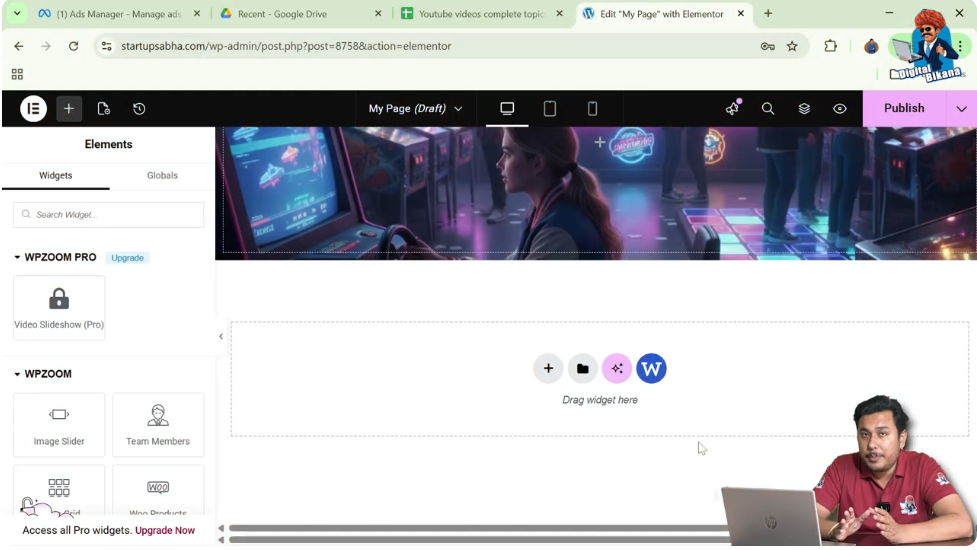
In the center of the page preview, you will notice a plus icon (+). This icon is used to create a new section or container on the page.
To begin working with containers, you first need to create a section.
Creating a Section in Elementor
Sections help organize the layout of a webpage and allow you to add containers and elements inside them.
Step 1: Click the Plus Icon
Click the plus icon displayed in the middle of the screen.
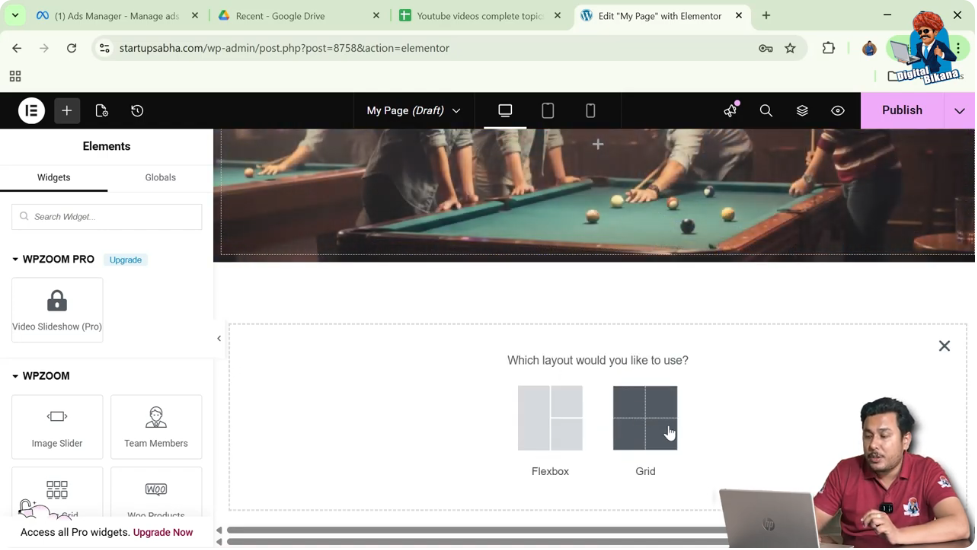
After clicking this icon, Elementor asks you to choose the layout type.
Step 2: Select Grid Layout
Elementor provides two layout options:
For this example, select Grid.
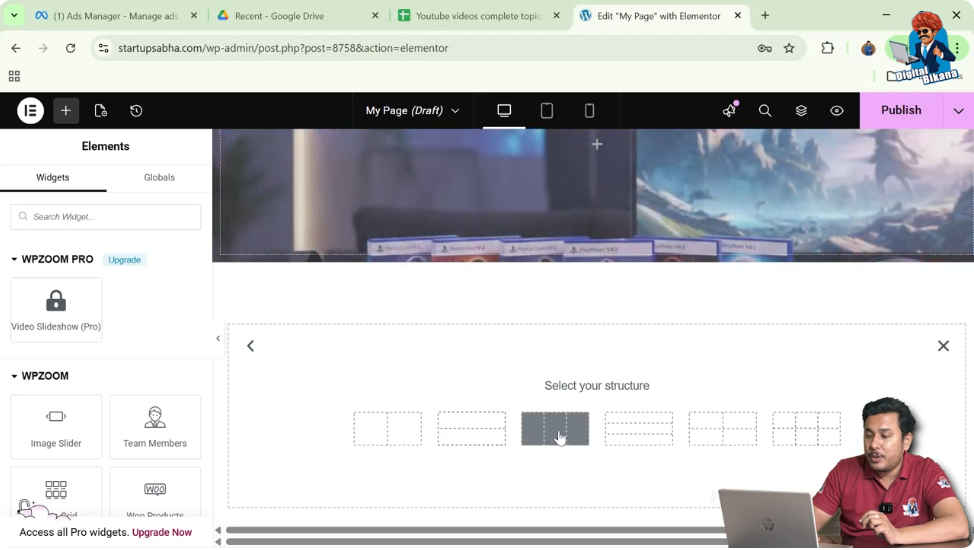
Step 3: Choose Grid Structure
Once the grid layout is selected, Elementor will show several structure options.
Select the one row and three columns grid structure.
After selecting this structure, the section will appear with three columns.
Adding a Container Inside the Grid
After creating the section with three columns, the next step is to add a container inside the first column.
Step 1: Click the Add Element Button
Look at the top black header bar of the Elementor editor.
Click the Add Element button.
Step 2: Search for the Container Widget
In the widget panel, search for Container.
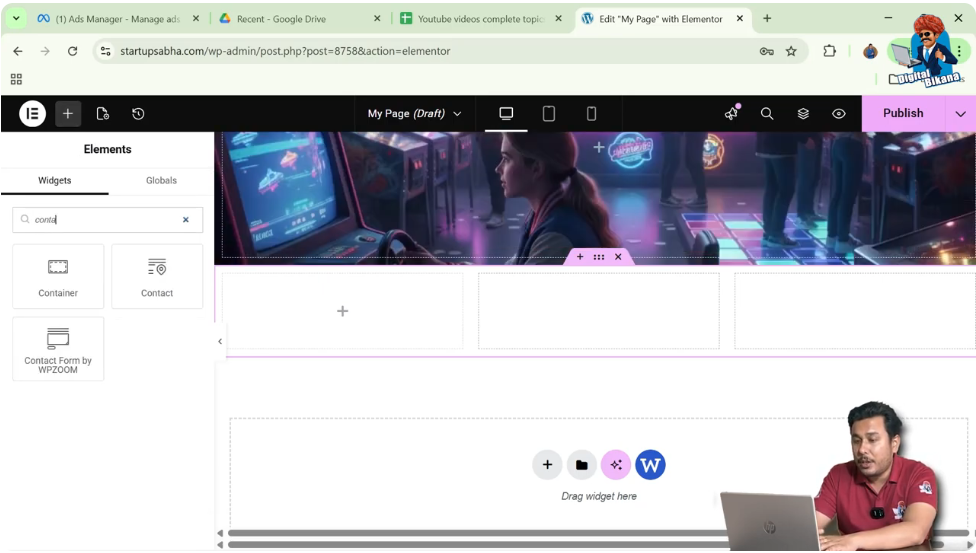
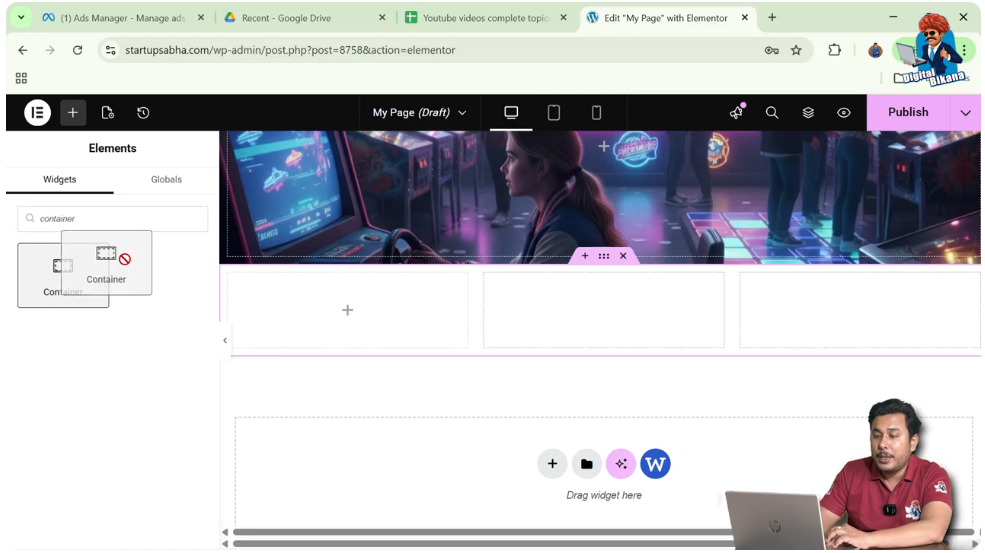
Step 3: Drag and Drop the Container
Drag the Container widget and drop it into the first row, first column of the grid section.
Once dropped, the container will appear inside the first column.
Editing the Container
Now that the container has been added, you can edit its settings and design.
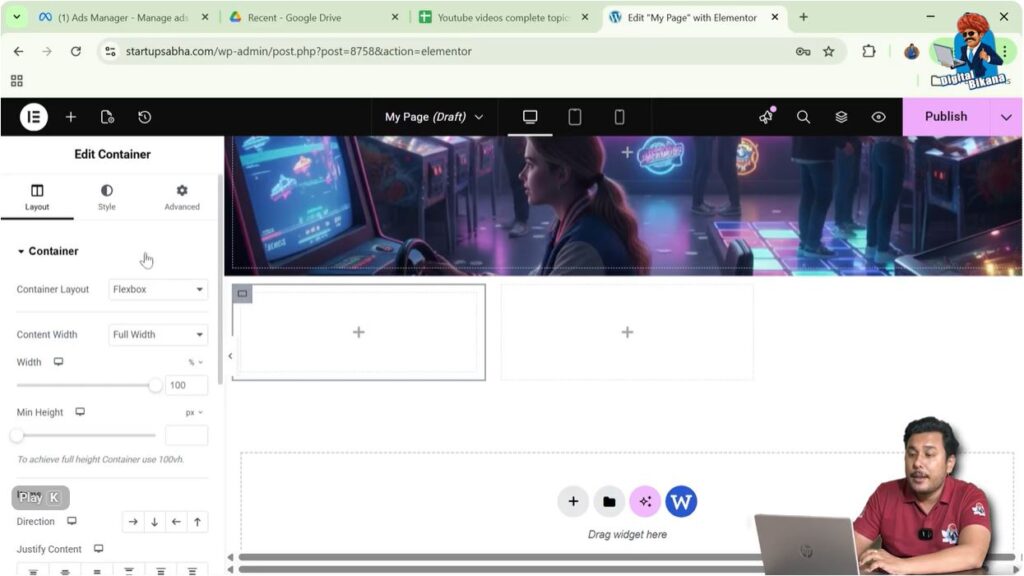
Step 1: Select the Container
Move your cursor to the top left corner of the container.
You will see a gray box icon appear.
Step 2: Click the Container Icon
Left-click on the gray box icon.
Once clicked, the container settings will appear in the left-side toolbar.

Understanding Container Settings
Inside the container settings panel, Elementor provides three types of settings.
These include:
- Layout
- Style
- Advanced
Each section controls a different aspect of the container.
- Layout settings control container structure and alignment.
- Style settings control visual appearance such as background images.
- Advanced settings provide additional customization options.
For this example, we will customize the container using the Style settings.
Adding a Background Image to the Container
To make the container visually identifiable, you can add a background image.
Step 1: Open Style Settings
In the container settings panel, click the Style tab.
Step 2: Open Background Settings
Inside the Style tab, locate the Background section.
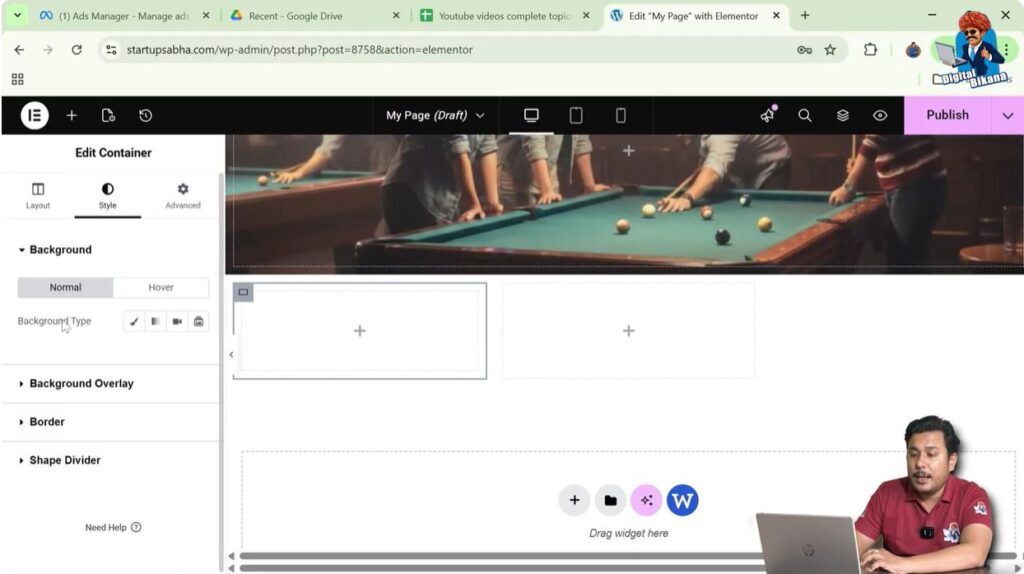
Step 3: Select Background Type
Choose Classic as the background type.

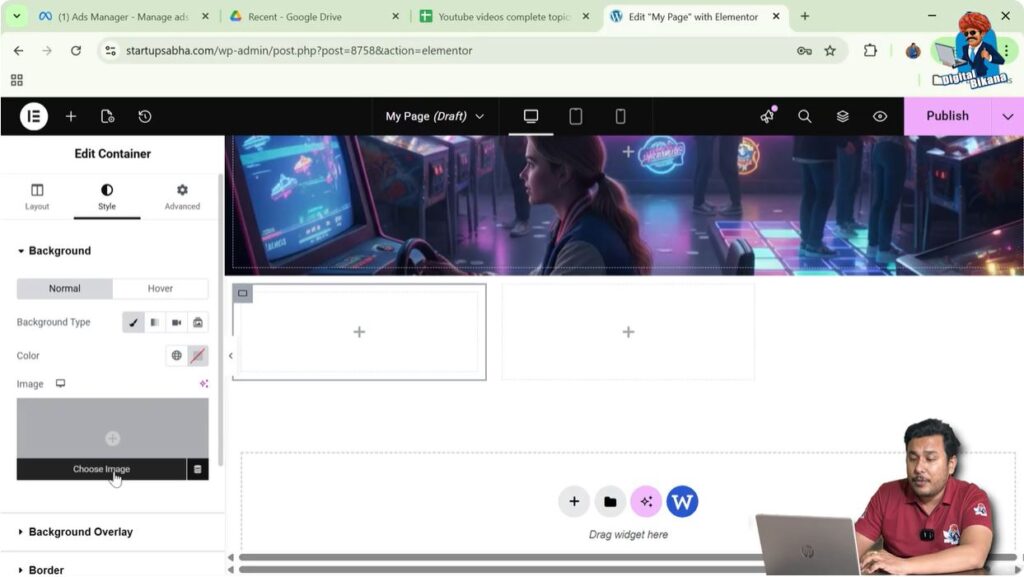
Step 4: Choose an Image
Click the Choose Image button.
The WordPress media library will open.
Select any image from the media library and click Select.
Once selected, the image will appear as the background of the container.
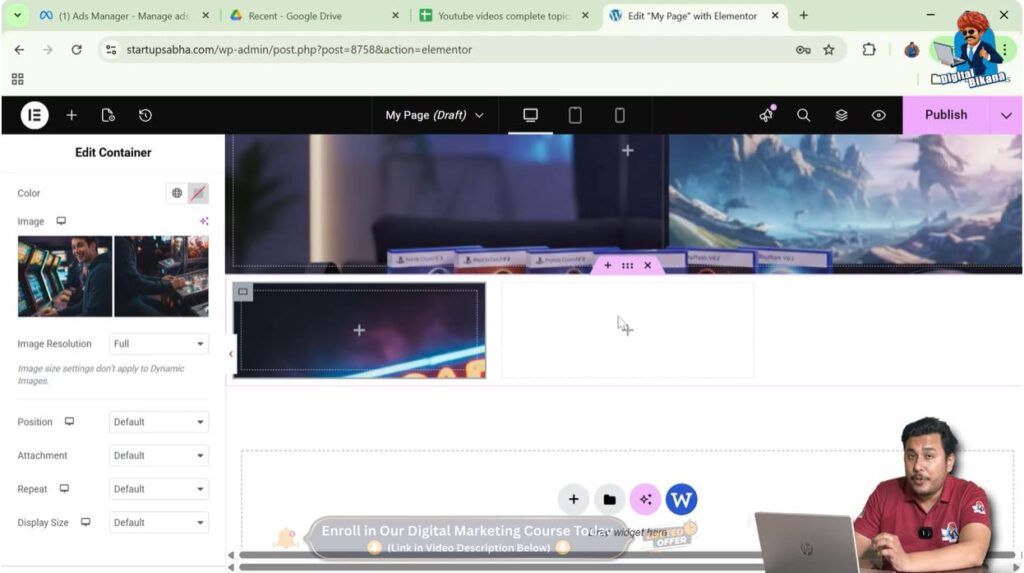
Adjusting Background Image Settings
After adding the background image, you can modify how the image appears inside the container.
For example, you can adjust:
- Background position
- Background display size
- Background repeat settings
You can also change the display size to Cover so the image fits the container properly.
These settings help improve the appearance of the container background.
Copying the Container
Once the container design is ready, you may want to duplicate it in other columns of the same section.
Elementor allows you to copy a container easily.
Step 1: Locate the Container Icon
Move your cursor to the top left corner of the container.
You will see the gray box icon again.
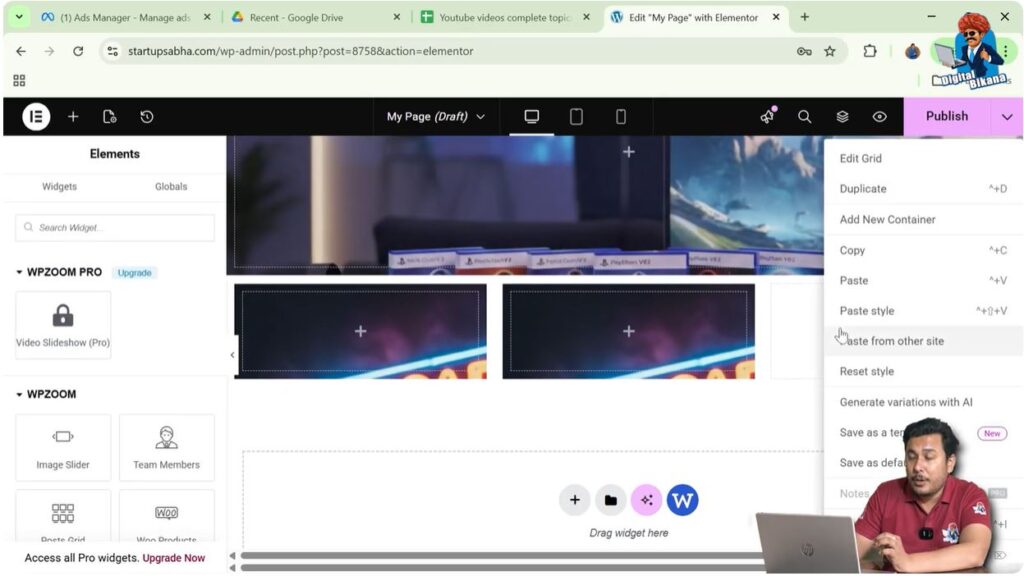
Step 2: Right Click the Container Icon
Right-click on the gray box icon.
This will open a menu with several options.
Step 3: Select Copy
From the menu, click the Copy option.
Now the container design has been copied.

Pasting the Container in Another Column
After copying the container, you can paste it in another column.
Step 1: Move to the Second Column
Move your cursor to the second column in the first row.
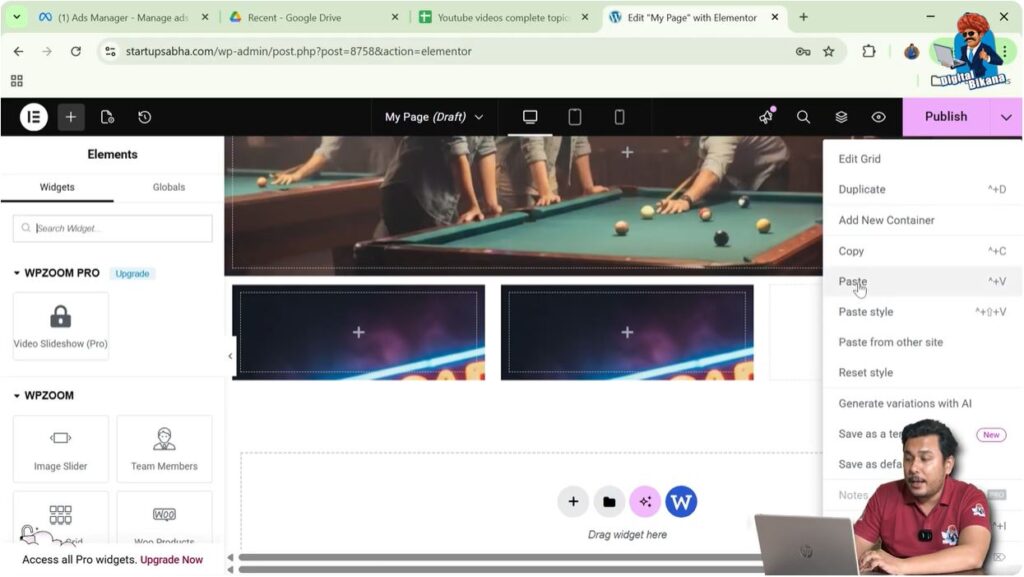
Step 2: Right Click the Column
Right-click inside the second column area.

Step 3: Click Paste
From the menu, click Paste.
The copied container will now appear in the second column.
This container will have the same design and settings as the original container.

Pasting the Container in the Third Column
You can also paste the container into the third column.
Step 1: Move to the Third Column
Move your cursor to the third column in the same row.
Step 2: Right Click the Column
Right-click inside the third column.
Step 3: Click Paste
Click Paste from the menu.
The container will now be copied into the third column.
Now all three columns contain the same container design.
Viewing the Final Layout
After pasting the container into multiple columns, your section will contain identical containers across all columns.
For example, the section now contains:
- First column container
- Second column container
- Third column container
Each container contains the same background image and settings.
This method ensures that the layout remains consistent across different sections of the page.
Advantages of Copying Containers
Copying containers provides several advantages when designing webpages.
Some of these benefits include:
- Saving time when creating similar layouts
- Maintaining consistent design across sections
- Avoiding repetitive manual work
- Quickly duplicating styled containers
- Improving workflow while designing webpages
Instead of creating containers from scratch repeatedly, copying containers allows you to reuse existing designs easily.
Practical Uses of Copying Containers
Copying containers is especially useful when designing sections such as:
- Feature sections with multiple boxes
- Service cards
- Team member cards
- Portfolio layouts
- Product display sections
In these situations, each container often has the same layout and styling, so copying them saves significant time.
Conclusion
Copying a container in Elementor is a simple and efficient way to duplicate designs while building webpages in WordPress.
You begin by creating a section using the plus icon and selecting a grid layout structure such as one row and three columns. Then you add a container to the first column using the container widget.
After editing the container and adding a background image, you can copy the container by right-clicking the container icon and selecting the Copy option.
Once copied, you can paste the container into other columns by right-clicking the target area and selecting Paste.
By using this method, you can quickly duplicate containers and maintain consistent layouts while designing webpages in Elementor.
Related Posts


