
In this article, we will learn how to change the image position in Elementor in WordPress. Elementor is a powerful page builder that provides various customization options to design visually appealing web pages. One important feature is the ability to control the position of background images inside a container.
Adjusting the image position helps in displaying the most important part of the image properly and improves the overall layout of your website. This guide explains the complete process step by step, from creating a container to adjusting the X and Y position of the image.
Creating a New Container in Elementor
To begin, you need to create a container where the image will be added and positioned.
Understanding Container Creation
A container in Elementor acts as a structural element that holds content, images, and design settings. It is the starting point for designing any section.
Steps to Create a Container
Step 1: Click on the Plus Icon
In the Elementor editor, you will see a plus (+) icon in the middle of the screen. Click on it to add a new container.
Step 2: Select Layout Type
After clicking the plus icon, select the layout type as Flexbox.
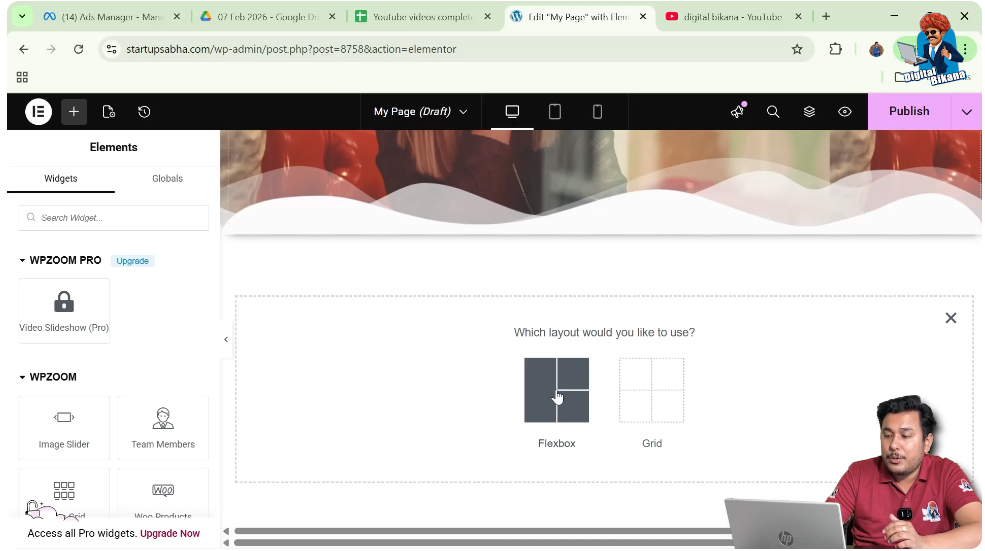
Step 3: Choose Structure
In the structure options, choose the direction as column.
After completing these steps, the container will appear on your screen.

Accessing Container Settings
Once the container is created, you need to access its settings to make changes.
Understanding Edit Container Option
Elementor provides an “Edit Container” option, represented by a six-dot icon, which allows you to modify the container.
Steps to Access Settings
Step 1: Click on Edit Container
Click on the six-dot icon just above the container.
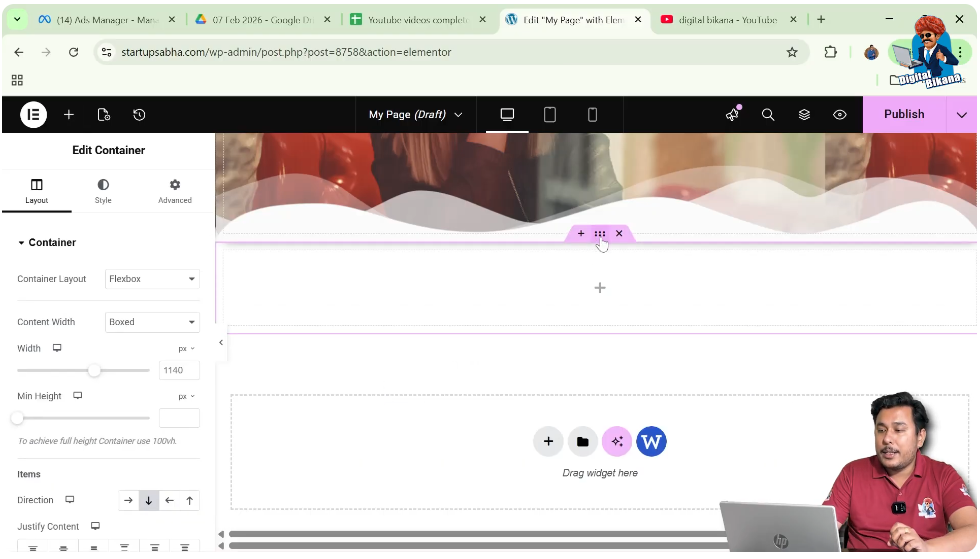
Step 2: Open Left Toolbar
After selecting the container, the left-side toolbar will appear with three options: Layout, Style, and Advanced.
These options allow you to control different aspects of the container.
Adding a Background Image
Before adjusting the position, you need to add a background image to the container.
Understanding Background Image
A background image enhances the visual appeal and serves as the main element whose position you will adjust.
Steps to Add Background Image
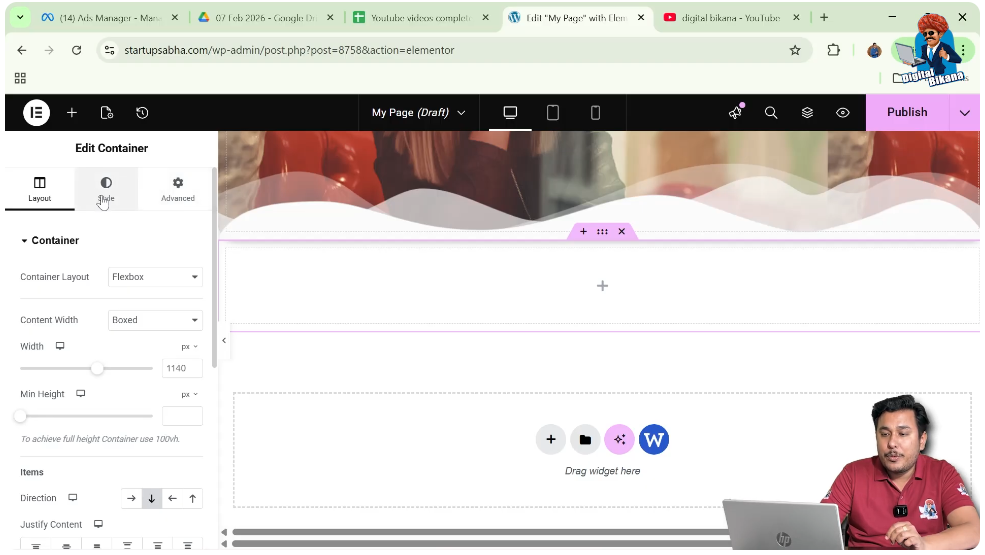
Step 1: Go to Style Tab
In the left toolbar, click on the Style tab.
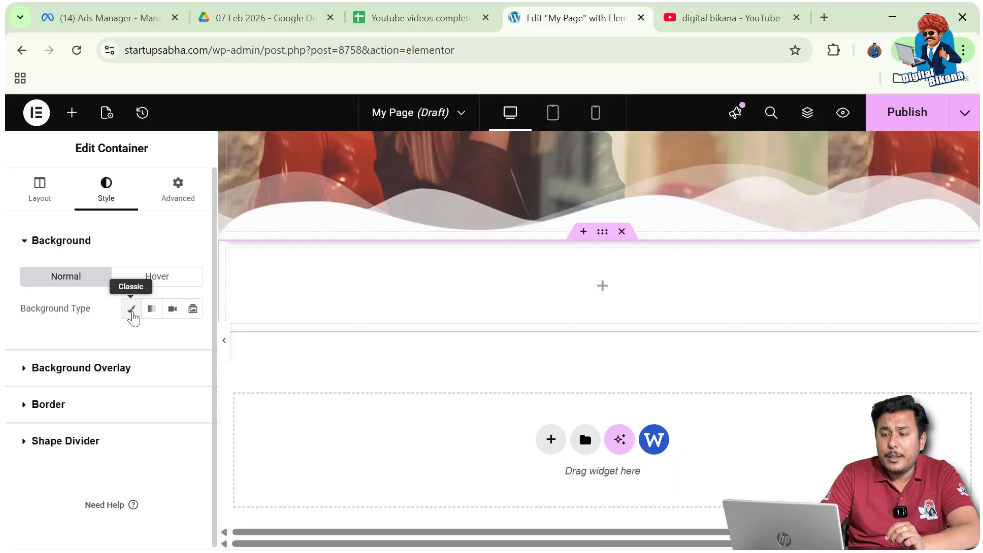
Step 2: Select Background Type
Under the Background section, choose “Classic” as the background type.
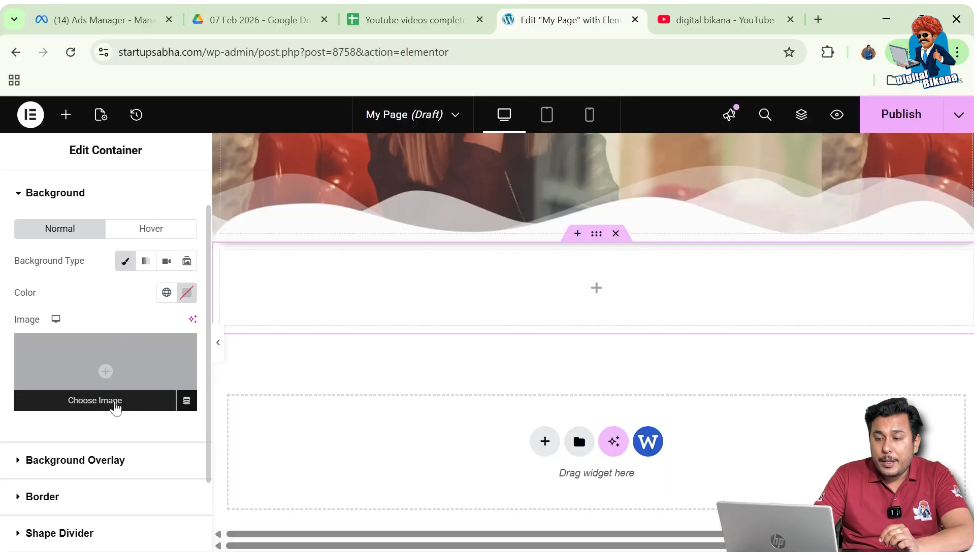
Step 3: Choose Image
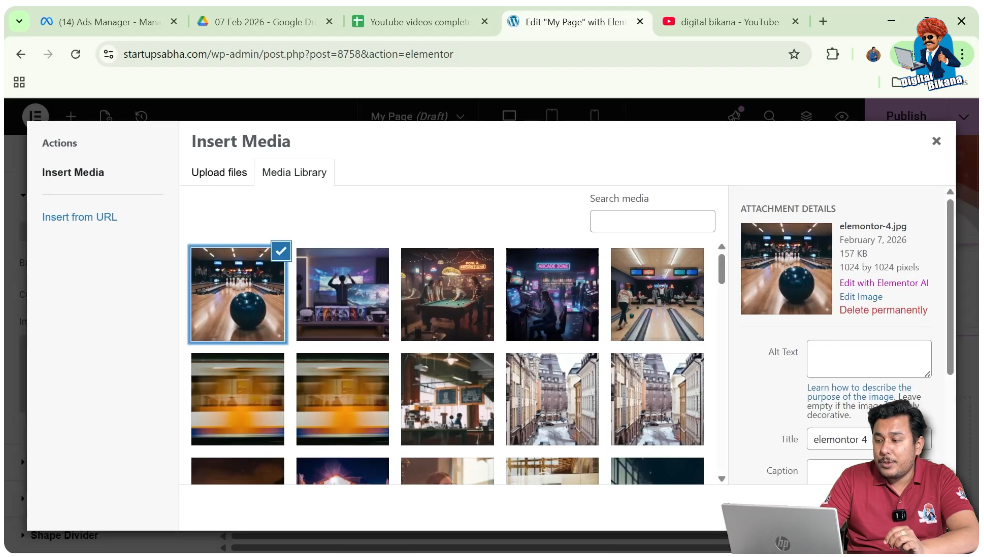
Click on “Choose Image” and select an image from the media library.
Step 4: Apply Image
Click on “Select” to apply the image.
At this stage, the image may not appear properly due to container size.
Adjusting Container Height
If the image is not displayed properly, you need to increase the container height.
Importance of Height
A proper height ensures that the image is clearly visible and positioned correctly.
Steps to Adjust Height
Step 1: Go to Layout Settings
Switch to the Layout tab in the left toolbar.
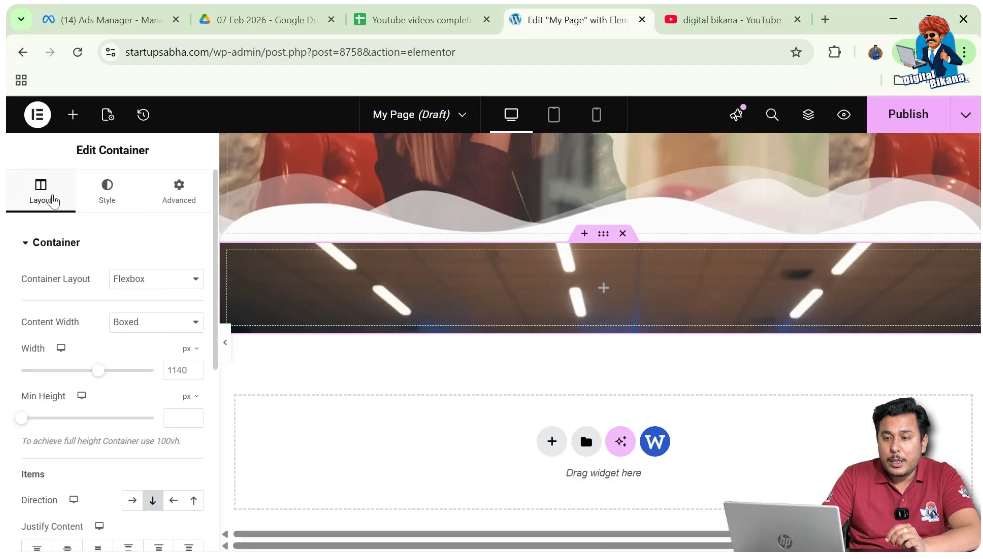
Step 2: Increase Height
Adjust the height of the container until the image is properly visible.
After this, return to the Style settings.

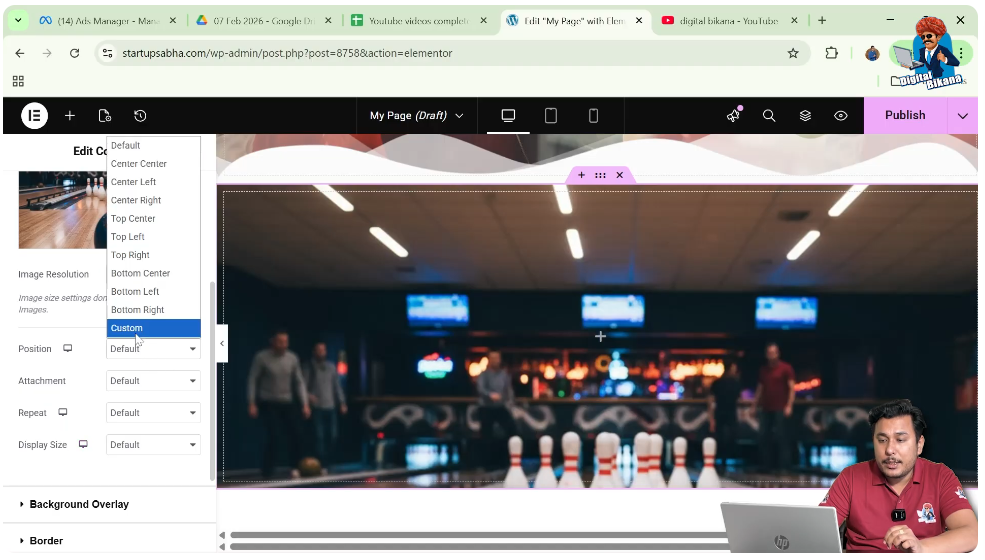
Understanding Background Position Options
Elementor provides multiple predefined position options for background images.
Available Position Options
You will find several options such as:
- Default
- Center Center
- Center Left
- Center Right
- Top Center
- Top Left
- Top Right
- Bottom Center
- Bottom Left
- Bottom Right
- Custom
Each option aligns the image differently within the container.
Changing Image Position in Elementor
Now comes the main part of the process—changing the image position.
Using Custom Position
To have full control over the image placement, you need to use the custom option.
Steps to Change Position
Step 1: Select Custom Position
In the background position settings, select “Custom.”
Step 2: Adjust Y Position
Use the Y-axis control to move the image vertically.
- Increasing the Y value moves the image downward
- Decreasing the Y value moves the image upward
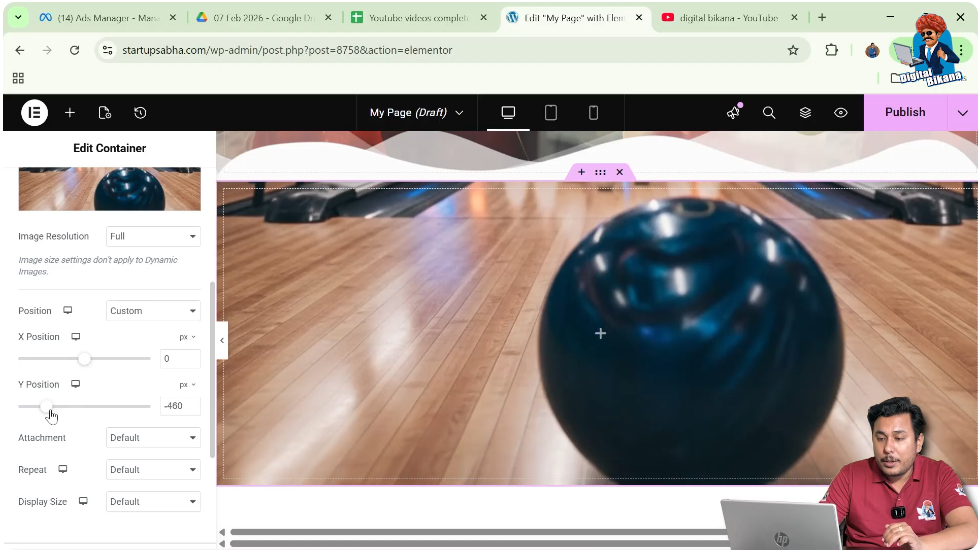
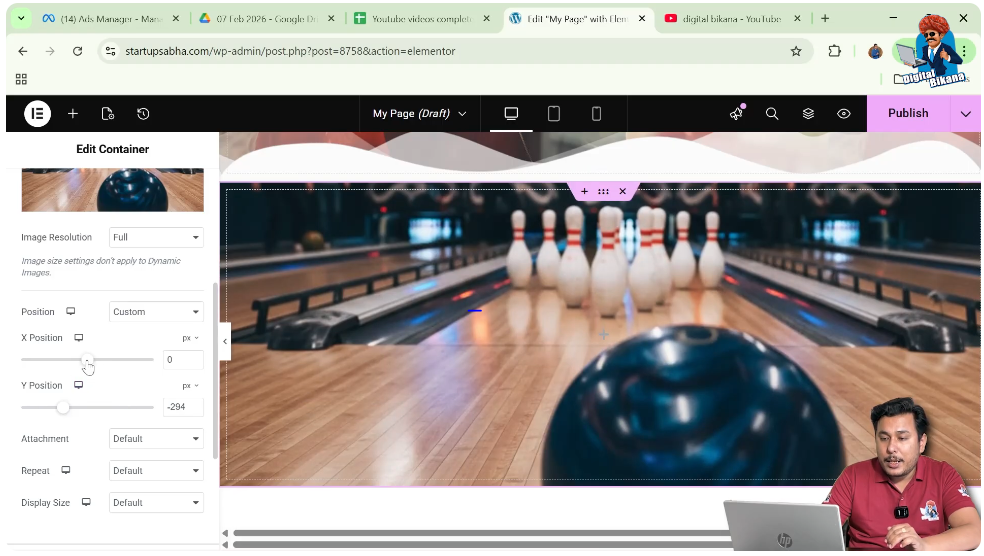
Step 3: Adjust X Position
Use the X-axis control to move the image horizontally.
This allows precise positioning of the image inside the container.
Understanding X and Y Axis Movement
To effectively adjust image position, it is important to understand how X and Y axes work.
Y Axis (Vertical Movement)
The Y-axis controls the vertical position of the image.
- Increasing Y value moves the image down
- Decreasing Y value moves the image up
X Axis (Horizontal Movement)
The X-axis controls the horizontal position.
- Increasing X value moves the image to the right
- Decreasing X value moves the image to the left
By combining both axes, you can place the image exactly where you want.
Fine-Tuning Image Position
After adjusting X and Y values, you can fine-tune the image placement.
Improving Visual Balance
Proper positioning ensures that the important part of the image remains visible and aligns well with other elements.
Tips for Better Positioning
Adjust Gradually
Make small changes in X and Y values to achieve precise placement.
Check Responsiveness
Ensure the image looks good on different screen sizes.
Focus on Key Area
Position the image so that the main subject is clearly visible.
Final Output and Result
After completing all the steps, your container will have:
- A properly created layout
- A background image
- Adjusted container height
- Customized image position using X and Y axis
This results in a clean and well-aligned design.
Conclusion
Changing the image position in Elementor is a simple yet essential design technique. By creating a container, adding a background image, and adjusting its position using predefined options or custom X and Y values, you can improve the visual layout of your webpage.
Elementor provides flexibility to control image placement precisely, allowing you to create professional and attractive designs. By following the steps explained in this article, you can easily adjust image positions and enhance your website’s appearance.
Related Posts


