
Elementor is one of the most powerful page builders used in WordPress for designing professional and responsive webpages without writing any code. It allows users to visually create layouts using containers, sections, widgets, and styling options. While designing webpages, adjusting the height of containers becomes very important to properly display background images, text, and other elements.
Sometimes when you add an image or other content inside a container, the container height may not match the size of the content. As a result, the image may not appear properly. In such situations, you need to adjust the container height so that the design appears correctly on the webpage.
Elementor provides simple layout settings that allow you to control the minimum height or maximum height of containers. By adjusting these settings, you can easily control how tall or short a container should appear.
In this article, you will learn how to adjust the height of a container in Elementor while editing a webpage in WordPress.
Opening Elementor Editor
Before adjusting the container height, you first need to open the Elementor editor.
When you open a webpage using Elementor, the editor interface appears on the screen. The page preview is displayed in the center of the screen, and the editing panel appears on the left side toolbar.
In the middle of the screen, you will see a plus icon (+). This icon is used to add a new container or section to the webpage.

To start adjusting the container height, you first need to create a container.
Creating a Container in Elementor
Containers help organize content inside a webpage layout.
Step 1: Click the Plus Icon
Click the plus icon displayed in the middle of the screen.
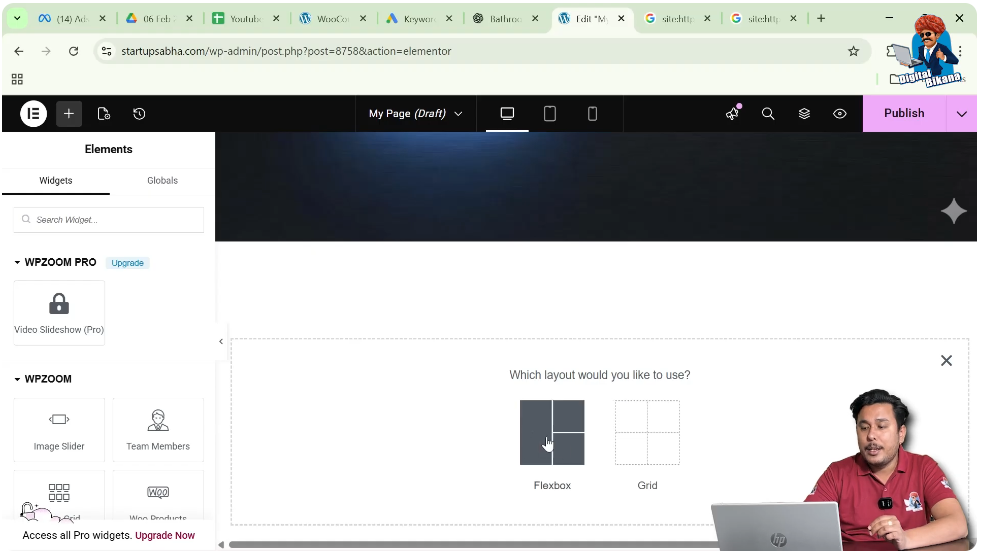
After clicking the icon, Elementor will ask you to select the layout type.
Step 2: Select Flexbox Layout
Elementor provides two layout options:
For this example, select Flexbox.
Step 3: Choose the Structure
After selecting Flexbox, Elementor will show different layout structures.
Choose the Direction Column structure.
Once selected, the container will appear on the screen.

Editing the Container
After creating the container, the next step is to edit its settings.
Step 1: Click the Edit Container Icon
Above the container, you will see an Edit Container icon represented by six dots.
Click this icon.
Step 2: Open Container Settings
Once clicked, the container settings will appear in the left side toolbar.
Here you will see three main tabs:
- Layout
- Style
- Advanced
Each tab controls different aspects of the container design.
Adding a Background Image
Before adjusting the container height, it is helpful to add a background image so that you can clearly see how the container size affects the image display.
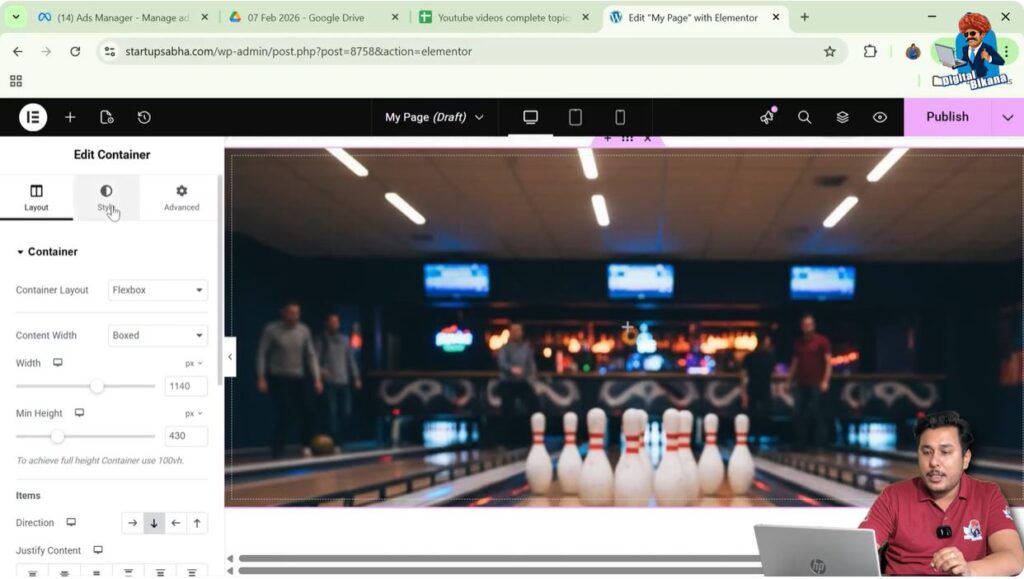
Step 1: Open Style Settings
Click the Style tab in the container settings.

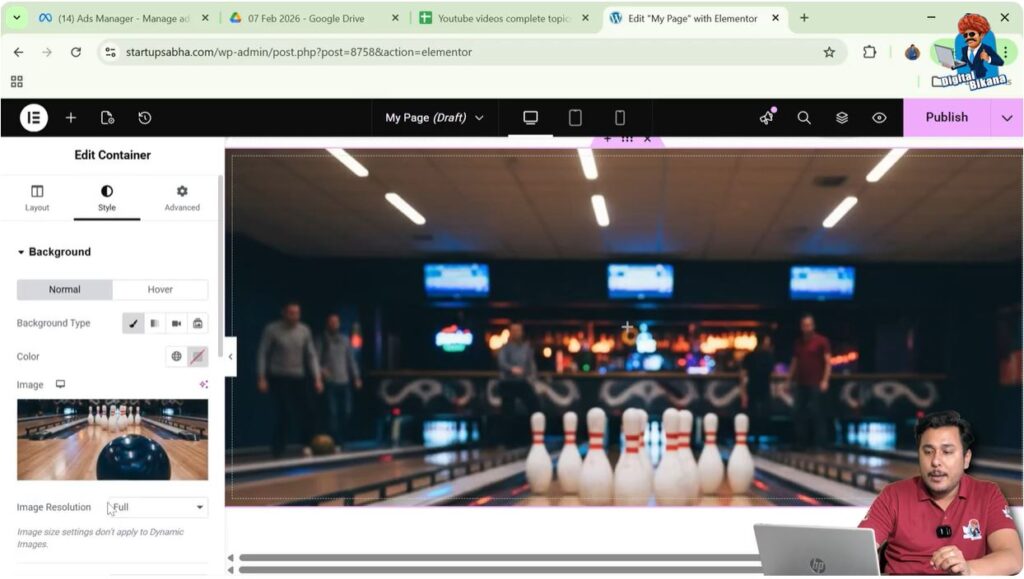
Step 2: Open Background Settings
Inside the Style tab, locate the Background section.
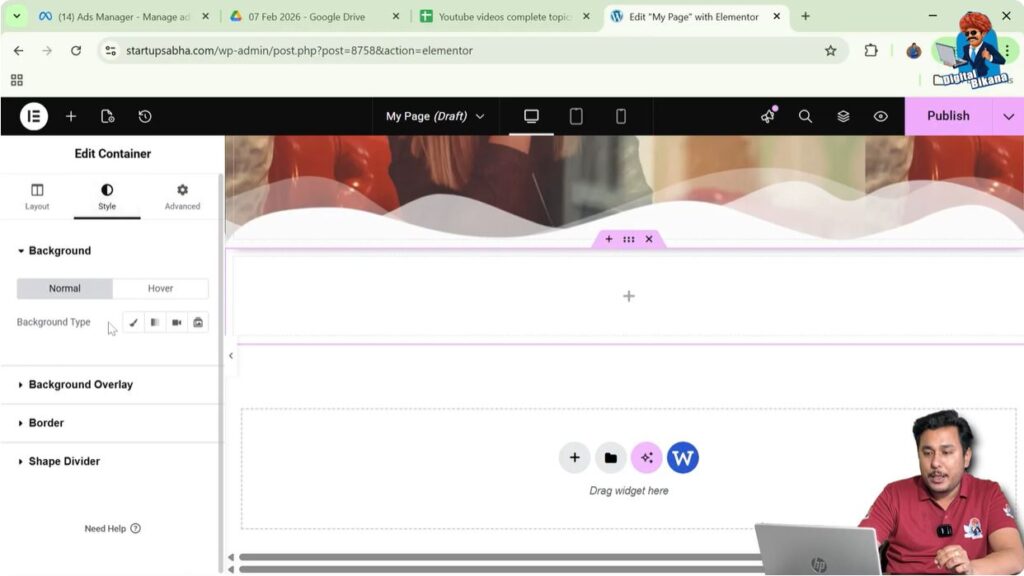
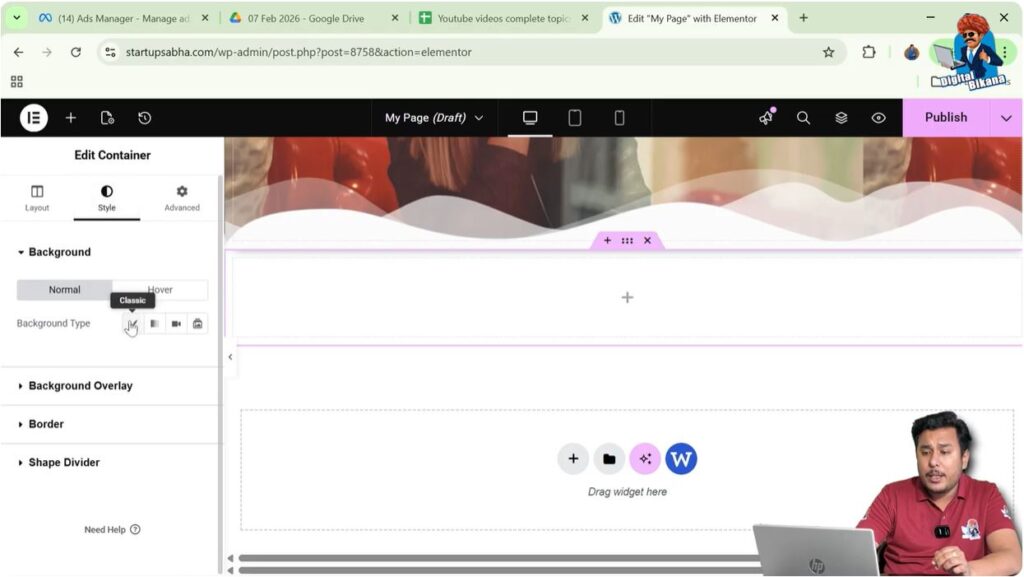
Step 3: Select Background Type
Choose Classic as the background type.
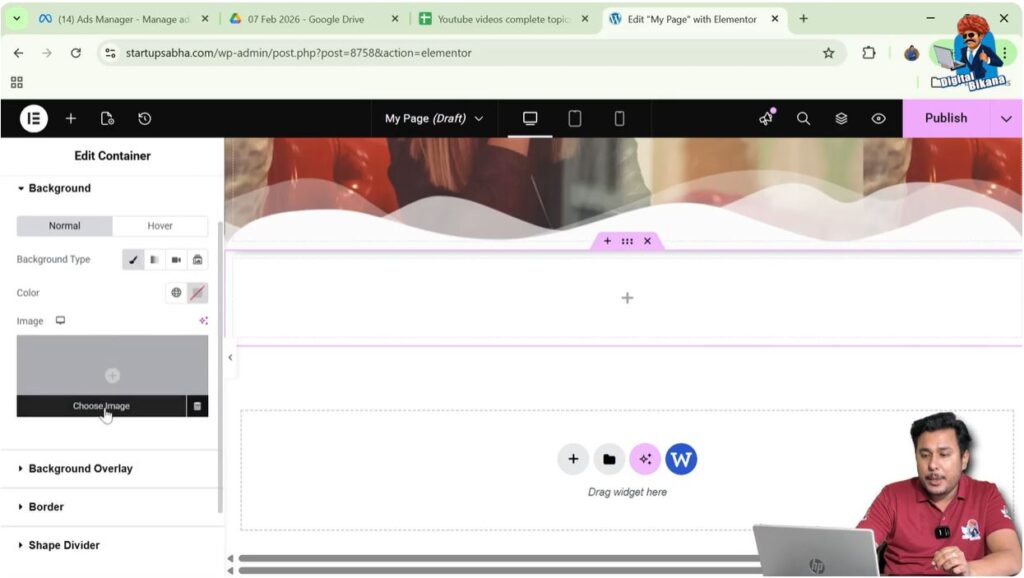
Step 4: Choose an Image
Click the Choose Image button.
The WordPress Media Library will open.
Select an image from the media library and click Select.
Now the image will appear as the background of the container.
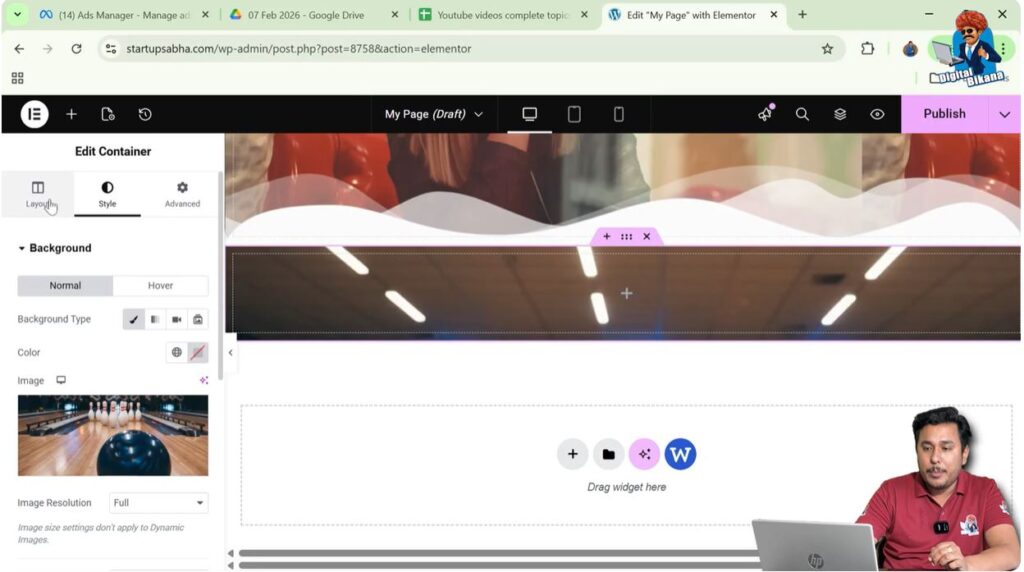
Understanding the Container Height Problem
After adding the background image, you may notice that the image does not appear properly.
This happens because the image size and container height are different.
For example:
- The image may be large
- The container height may be small
Because of this mismatch, the image may appear cropped or partially visible.
To fix this problem, you need to increase the container height.
Adjusting Container Height
Elementor allows you to control the height of containers using layout settings.
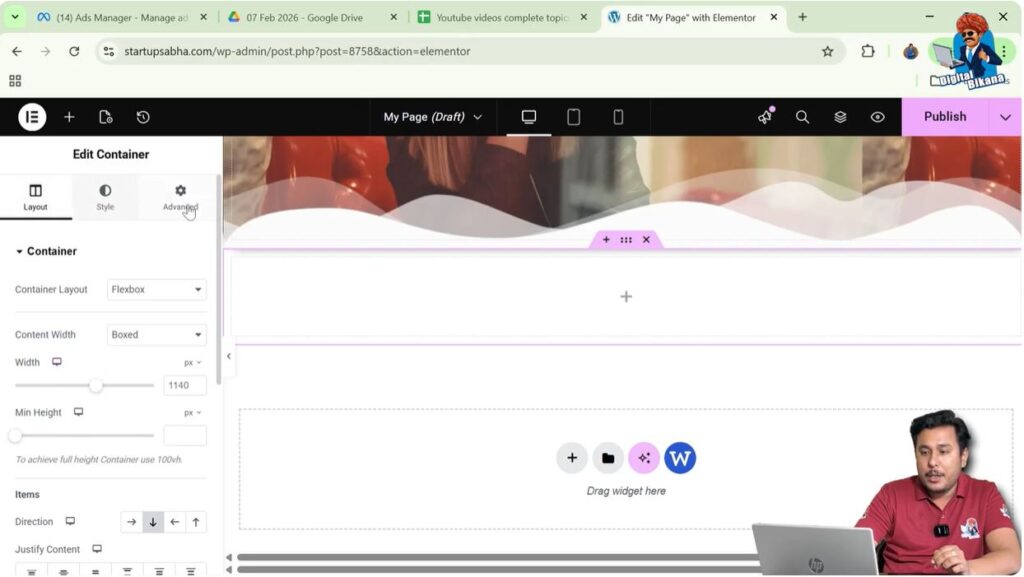
Step 1: Open Layout Settings
Scroll up in the left side toolbar.
Click the Layout tab.
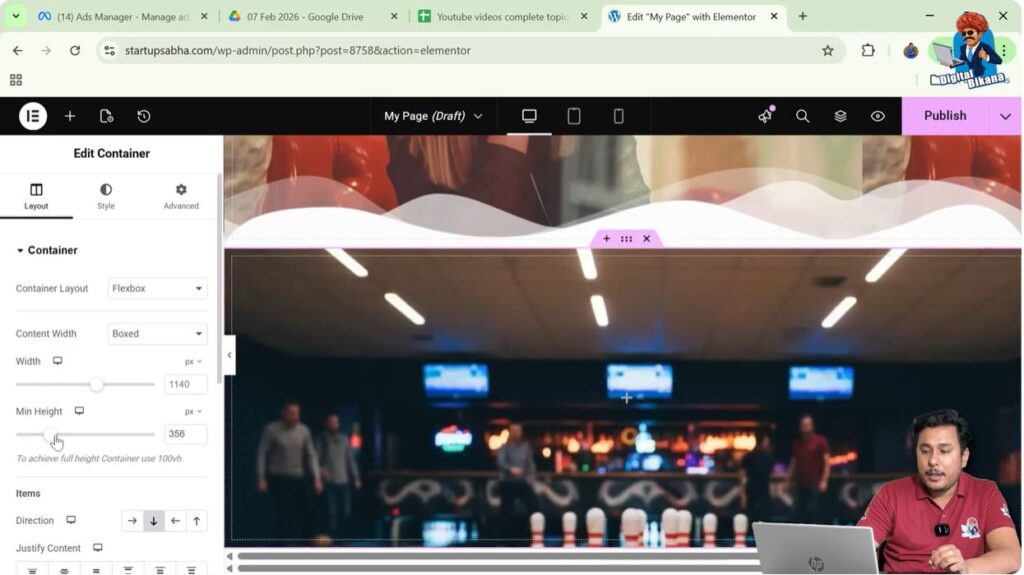
Step 2: Locate Height Settings
Inside the layout settings, you will find options for:
- Minimum Height
- Maximum Height
These options allow you to control the vertical size of the container.
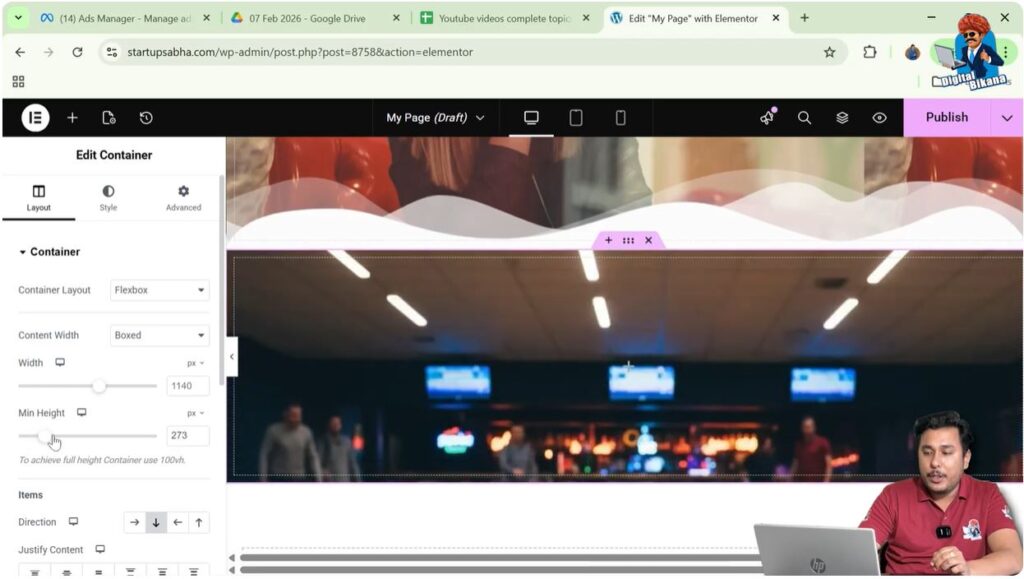
Step 3: Increase Container Height
Increase the minimum height value.
As you increase the height, you will notice that the container becomes taller.
This helps the background image display more clearly.
For example, you can increase the height to a larger value so that the entire image becomes visible.
Viewing the Adjusted Container
Once the height is increased, the container will expand vertically.
The background image will now appear more clearly because the container has enough space to display it properly.
Adjusting the container height is especially useful when designing:
- Hero sections
- Banner sections
- Image backgrounds
- Landing page headers
These sections often require larger containers to display images correctly.
Adjusting Background Image Position
After adjusting the container height, you may want to fine-tune the position of the background image.
Step 1: Return to Style Settings
Click the Style tab again.
Step 2: Scroll to Background Settings
Scroll down inside the background settings.
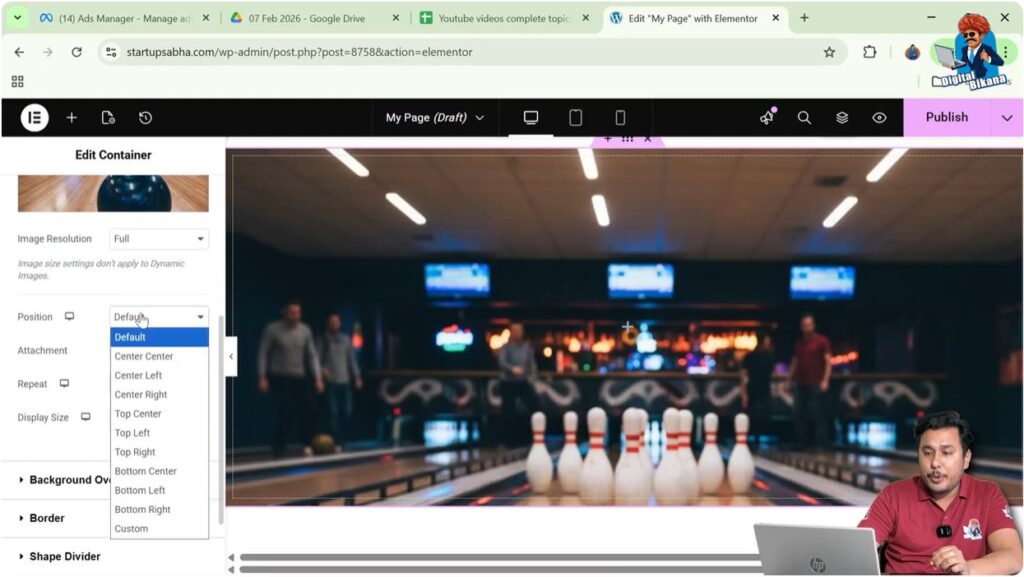
Step 3: Adjust Image Position
Locate the Position setting.
Select Custom Position.
Now you can adjust the Y position value.
Increasing or decreasing the Y position moves the image upward or downward inside the container.
This helps you align the image perfectly within the container.
Why Adjusting Container Height is Important
Adjusting container height is an important step in webpage design because it helps maintain proper layout balance.
Without proper height adjustment, the container may appear too small, and the background image may not display correctly.
Proper container height ensures that:
- Images appear clearly
- Content has enough space
- Layout looks balanced
- Sections look visually appealing
Best Use Cases for Container Height Adjustment
Adjusting container height is commonly required in several types of webpage sections.
These include:
- Website hero sections
- Landing page banners
- Image backgrounds
- Promotional sections
- Feature sections
In these cases, container height plays an important role in creating visually appealing designs.
Conclusion
Adjusting the height of a container in Elementor is a simple process that helps improve the layout and appearance of your webpage.
You begin by opening the Elementor editor and creating a container using the plus icon. After creating the container, you can add a background image through the Style settings.
If the image does not appear properly, you can adjust the container height by opening the Layout tab and increasing the minimum height of the container.
After adjusting the height, you can return to the Style settings and modify the background image position to ensure the image is displayed correctly.
By using these layout settings, you can easily control the height of containers while designing webpages in Elementor on WordPress.
Related Posts


