In this article, we will learn how to adjust the border width of a container in Elementor in WordPress. Elementor provides powerful styling options that allow you to customize the appearance of your website elements. One of these important styling features is the ability to control border width.
By adjusting border width, you can highlight sections, improve layout structure, and enhance the overall design of your webpage. This guide explains the complete process step by step, from creating a container to customizing border width for all sides or specific sides.
Creating a New Container in Elementor
Before adjusting the border width, you need to create a container where the border will be applied.
Understanding Container Creation
A container in Elementor acts as a layout block that holds content, images, and styling elements. It is the foundation of your design.
Steps to Create a Container
Step 1: Click on the Plus Icon
In the Elementor editor, you will see a plus (+) icon in the middle of the screen. Click on this icon to create a new container.
Step 2: Select Layout Type
After clicking the plus icon, you will be asked to choose a layout. Select Flexbox as the layout type.
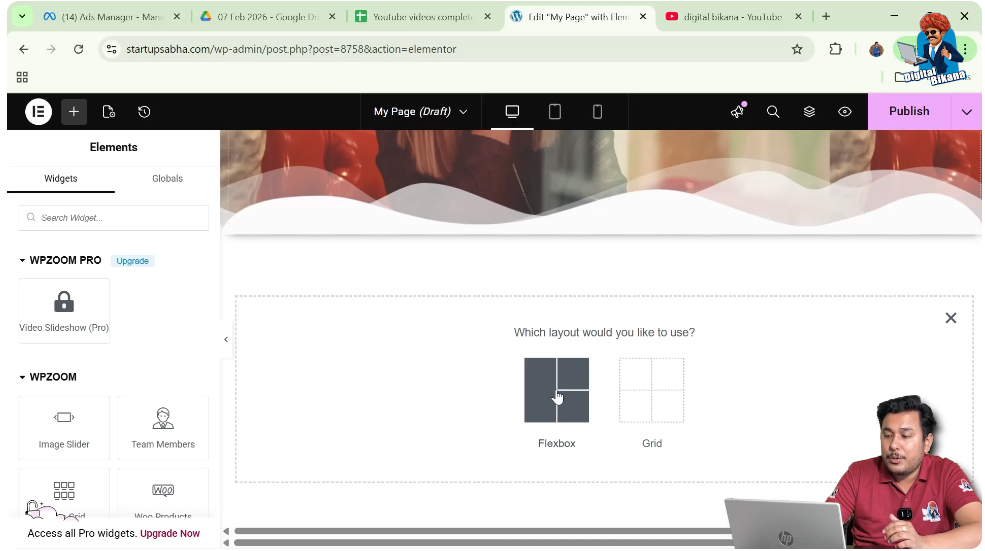
Step 3: Choose Structure
Now select the structure as a one-direction column.
After completing these steps, a new container will be successfully created on your webpage.

Accessing Container Settings
Once the container is created, you need to access its settings to apply styling changes.
Understanding Edit Container Option
Elementor provides an “Edit Container” option that allows you to control layout, style, and advanced settings.
Steps to Access Settings
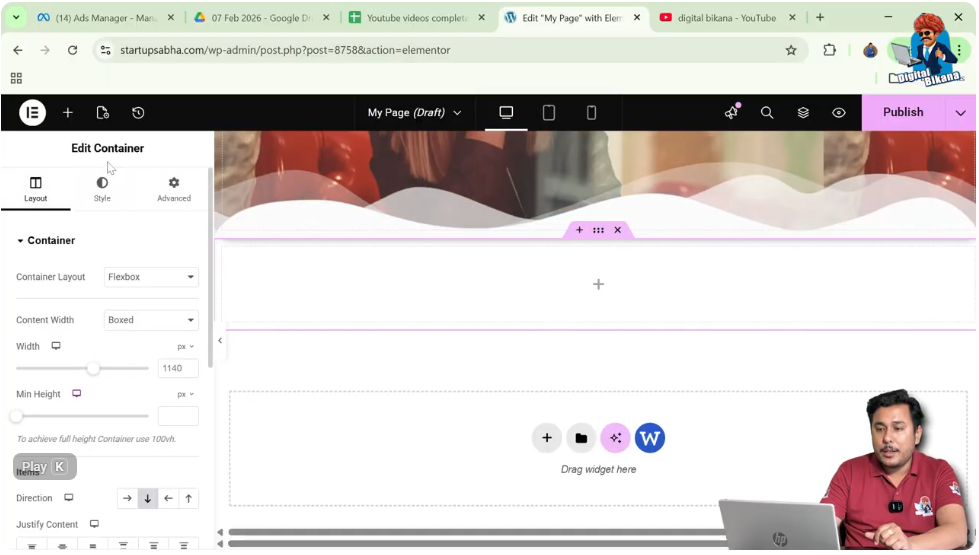
Step 1: Click on Edit Container
Click on the container and select the “Edit Container” option located above it.
Step 2: Open Left Toolbar
After clicking, the left-side toolbar will appear with three main sections: Layout, Style, and Advanced.
This panel contains all the customization options.
Adjusting Container Height
Before working on borders, it is important to adjust the height of the container for better visibility.
Importance of Height Adjustment
A proper container height ensures that the border and background image are clearly visible and well-positioned.
Steps to Adjust Height
Step 1: Go to Layout Settings
In the left toolbar, open the Layout section.
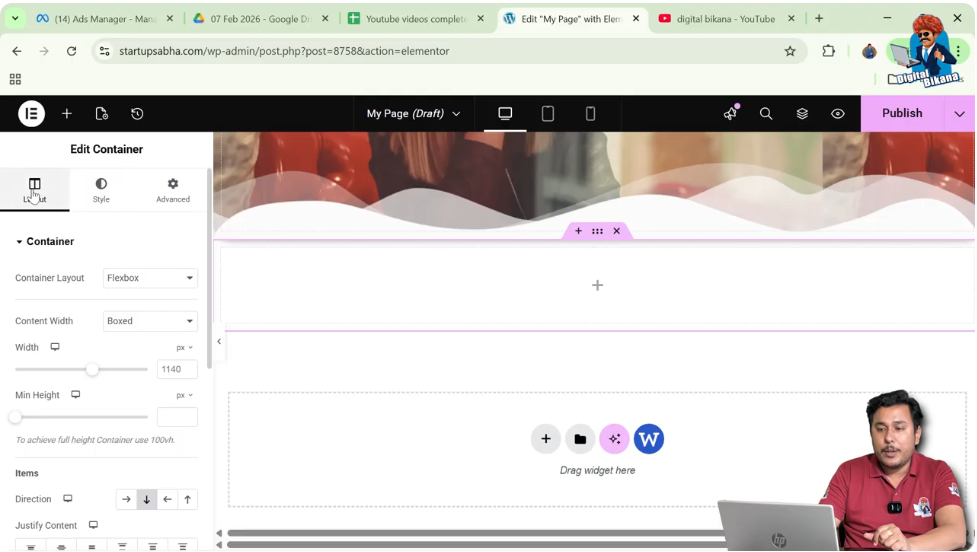
Step 2: Increase Height
Adjust the height of the container according to your requirement.
Once the height is set, the container is ready for further styling.

Adding a Background Image
To enhance the visual appearance, you can add a background image before adjusting the border width.
Understanding Background Styling
A background image improves the look of the container and makes the border more noticeable.
Steps to Add Background Image
Step 1: Go to Style Tab
Switch to the Style tab in the left toolbar.
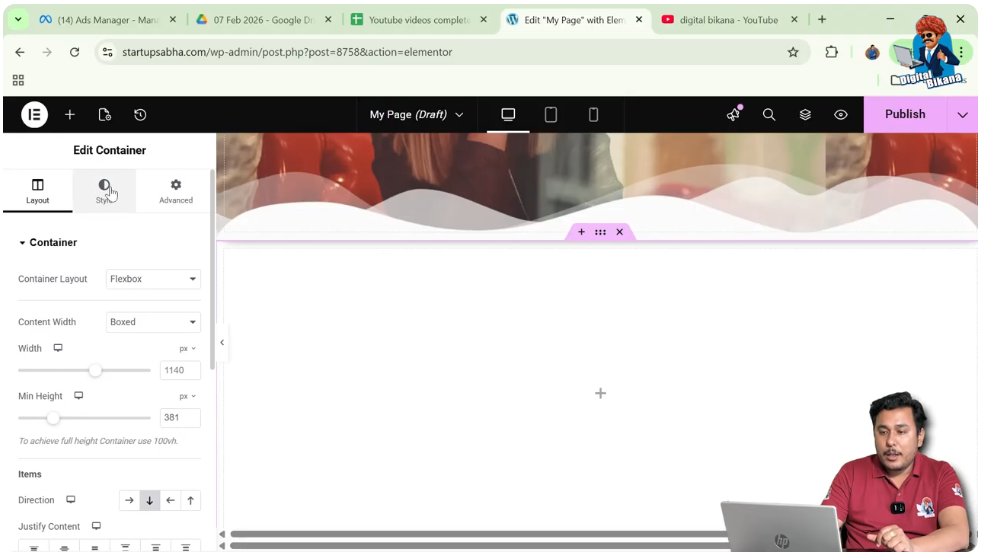
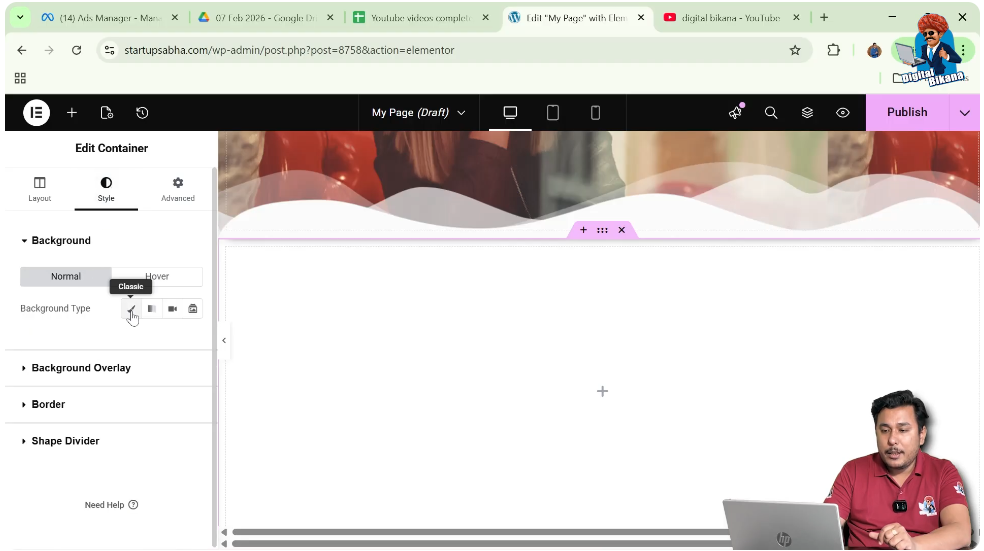
Step 2: Select Background Type
Under Background, choose “Normal” and then select “Classic” as the background type.
Step 3: Choose Image
Select an image from the media library.
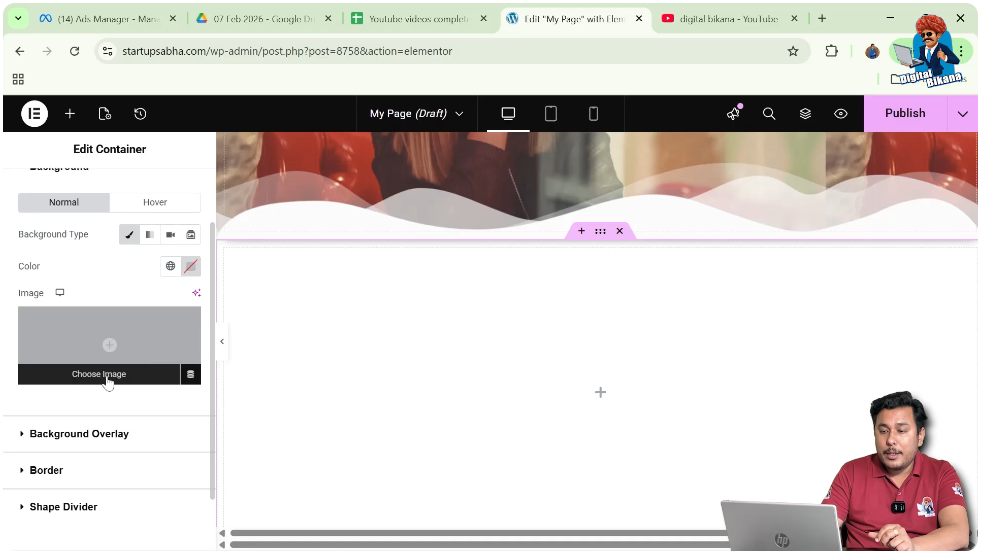
Step 4: Apply Image
Click on “Select” to apply the image to the container.

Adjusting Background Image Position
After adding the image, you may need to adjust its position for better alignment.
Improving Image Placement
Correct positioning ensures that the important parts of the image are visible within the container.
Steps to Adjust Position
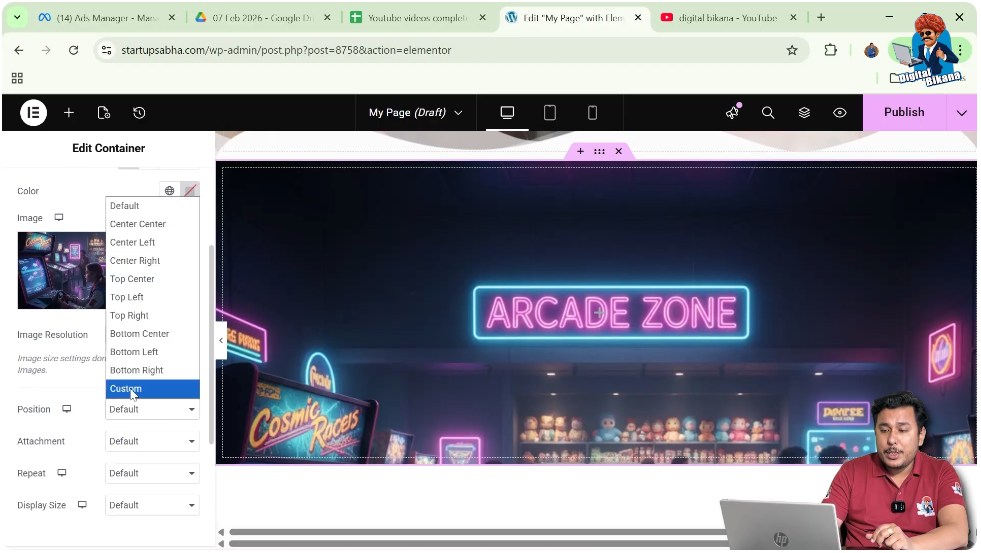
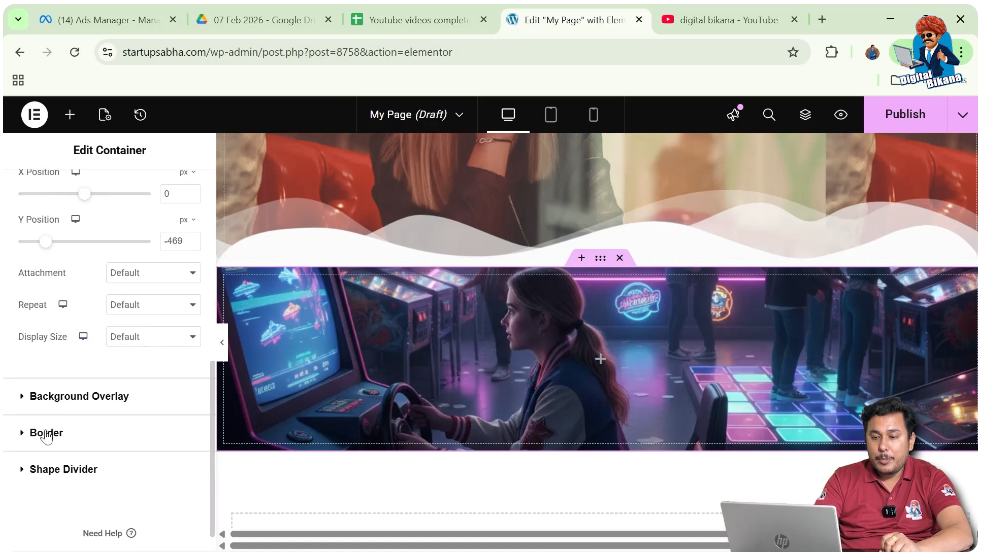
Step 1: Set Position to Custom
Change the image position setting to “Custom.”
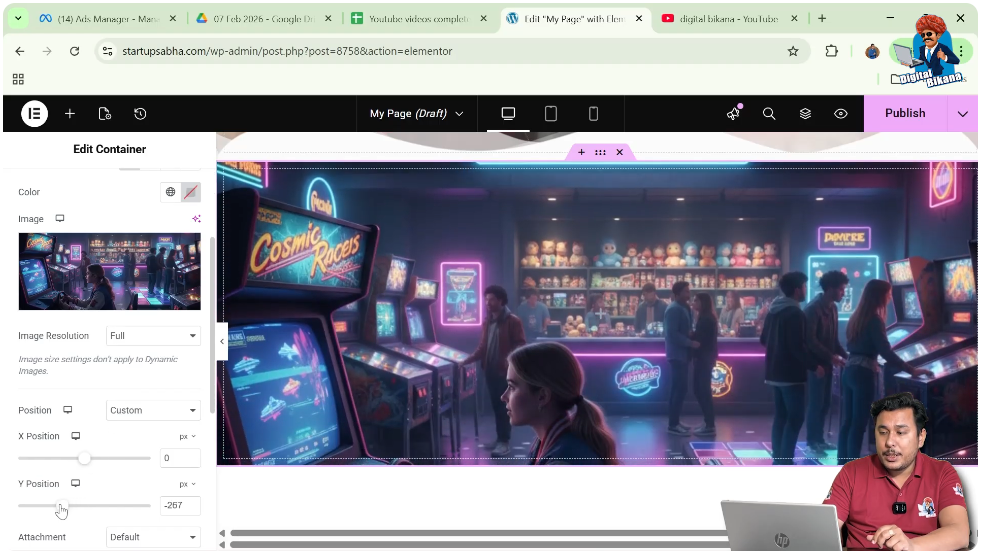
Step 2: Adjust Y Position
Decrease the Y-axis value to move the image upward.
After making these adjustments, the image will be properly aligned.
Navigating to Border Settings
Once the background image is set, the next step is to move to border settings.
Understanding Border Settings
Border settings allow you to define the outline of the container, including type, color, and width.
Steps to Access Border Settings
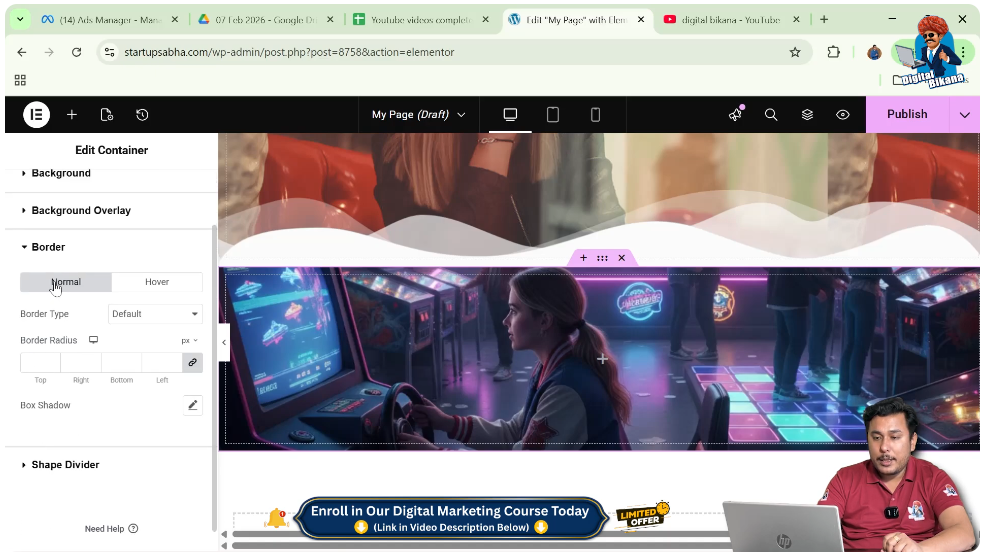
Step 1: Scroll Down in Style Tab
In the Style section, scroll down until you find the Border settings.
Step 2: Open Border Options
Click on the Border section to view customization options.
Selecting Border Type and Color
Before adjusting border width, you need to select a border type and color.
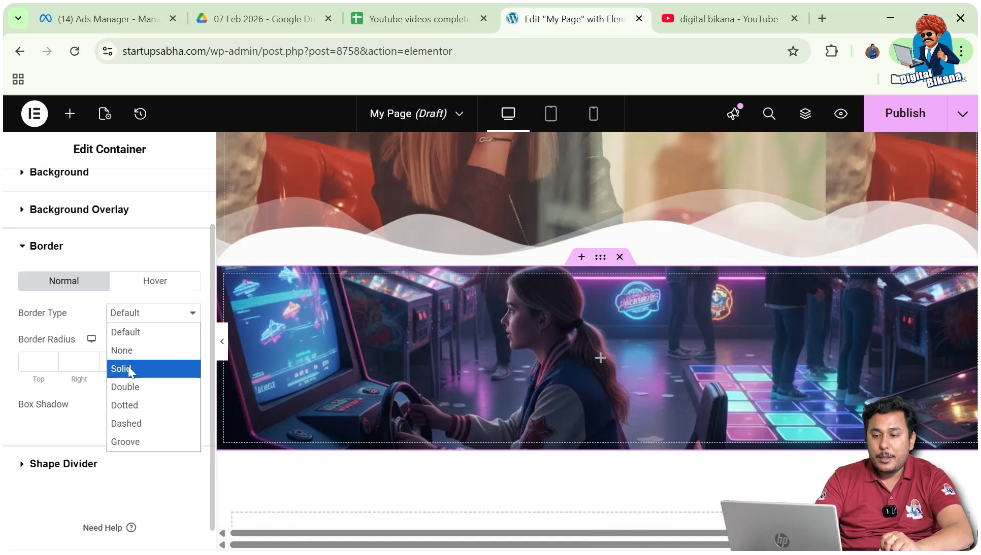
Choosing Border Type
Select the “Solid” border type to apply a continuous line around the container.
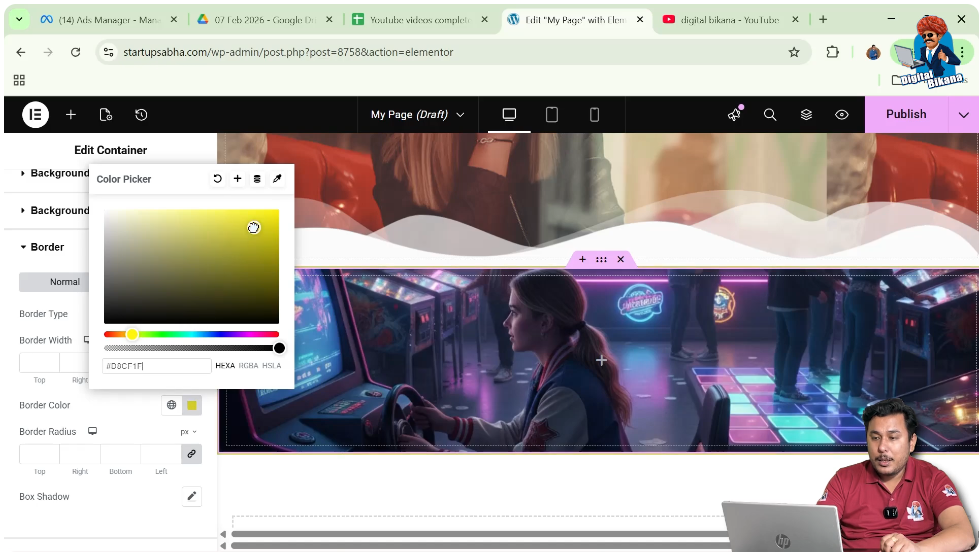
Selecting Border Color
Choose a color from the color palette. For example, you can select yellow as the border color.
Steps to Apply Border
Step 1: Select Border Type
Choose “Solid” from the border type options.
Step 2: Choose Border Color
Pick a color such as yellow from the color palette.
Once applied, the border will be visible around the container.
Adjusting Border Width
Now comes the main part of the process—adjusting the border width.
Understanding Border Width
Border width controls the thickness of the container’s border. Increasing the width makes the border more prominent, while decreasing it makes it subtle.
Steps to Adjust Border Width
Step 1: Increase Border Width
Use the border width control to increase the thickness of the border.
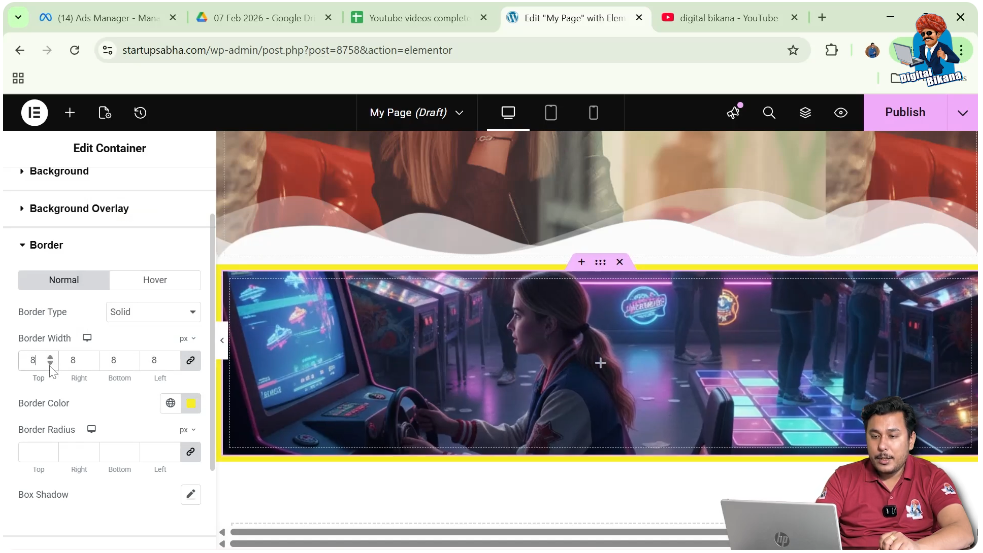
Step 2: Observe Changes
As you increase the value, the border becomes thicker and more visible.
Adjusting Border Width for Individual Sides
Elementor also allows you to control border width for each side separately.
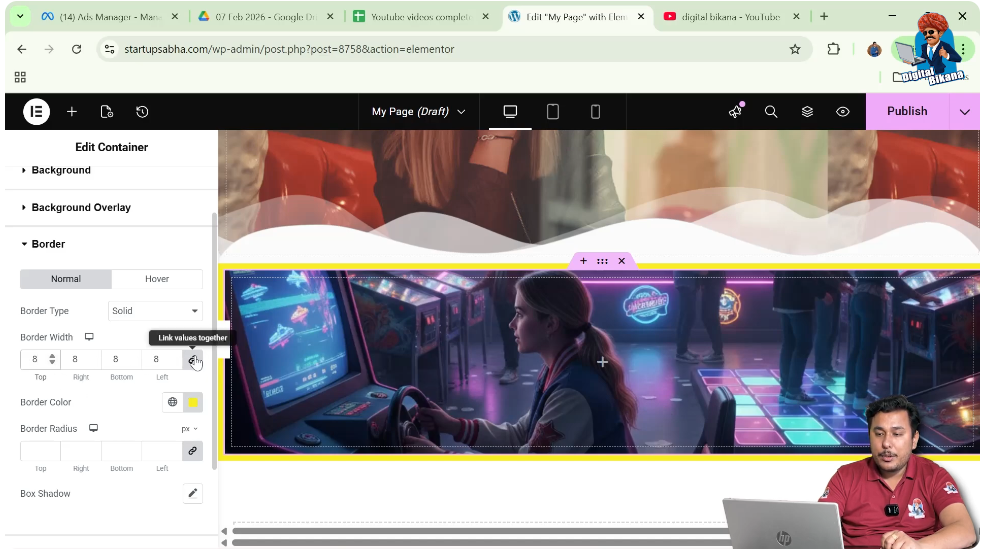
Understanding Delink Option
The “link values together” option keeps all sides equal. By delinking, you can set different values for each side.
Steps to Adjust Individual Sides
Step 1: Delink Values
Click on the “link values together” option to unlink the sides.
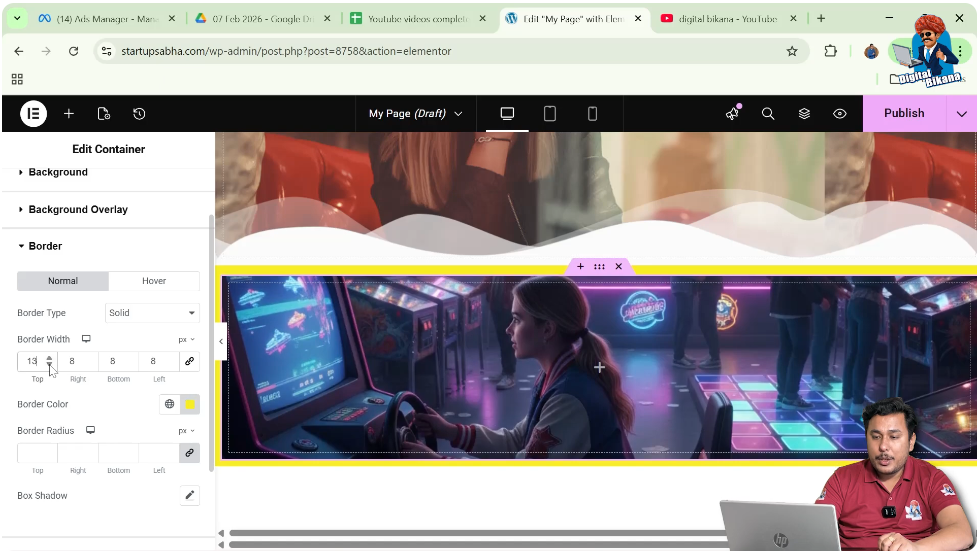
Step 2: Set Individual Width
Now you can increase or decrease the border width for top, right, bottom, or left individually.
This helps create unique and customized designs.
Adjusting Border Width for All Sides
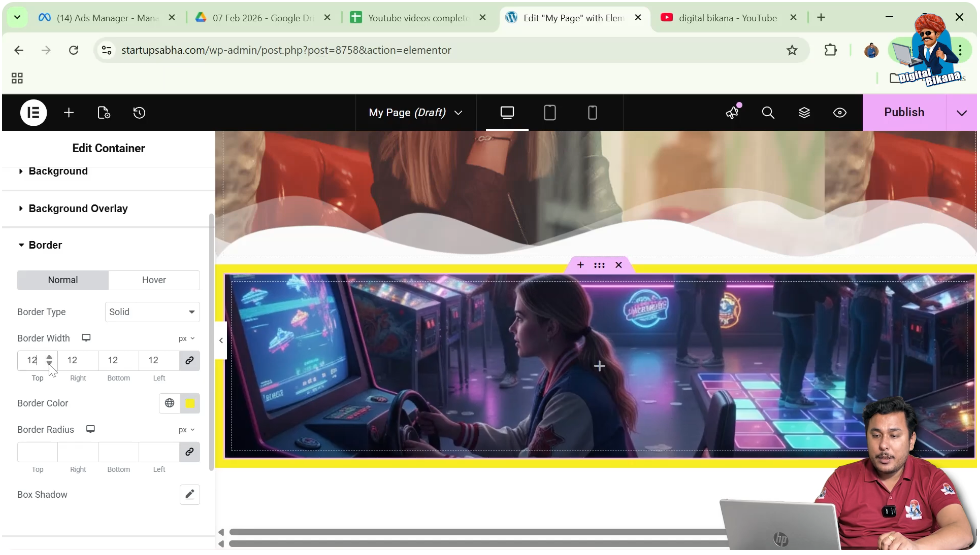
If you want the same border width on all sides, you can link the values again.
Understanding Linked Values
When values are linked, any change applies equally to all sides.
Steps to Adjust All Sides
Step 1: Link Values
Click on the “link values together” button to link all sides.

Step 2: Adjust Width
Increase or decrease the border width, and it will apply uniformly to all sides.
This is useful for maintaining consistency in design.
Final Output and Result
After completing all the steps, your container will have:
- A properly created structure
- Adjusted height
- A background image
- A selected border type
- A chosen border color
- Customized border width for all sides or individual sides
These elements combine to create a visually appealing and well-structured container.
Conclusion
Adjusting the border width of a container in Elementor is a simple yet powerful design technique. By creating a container, adding a background image, selecting a border type and color, and customizing the border width, you can enhance the visual appeal of your webpage.
Elementor provides flexibility to control border width for all sides or individual sides, allowing you to create unique and professional designs. By following the steps explained in this article, you can easily adjust border width and improve your website layout.
Related Posts