
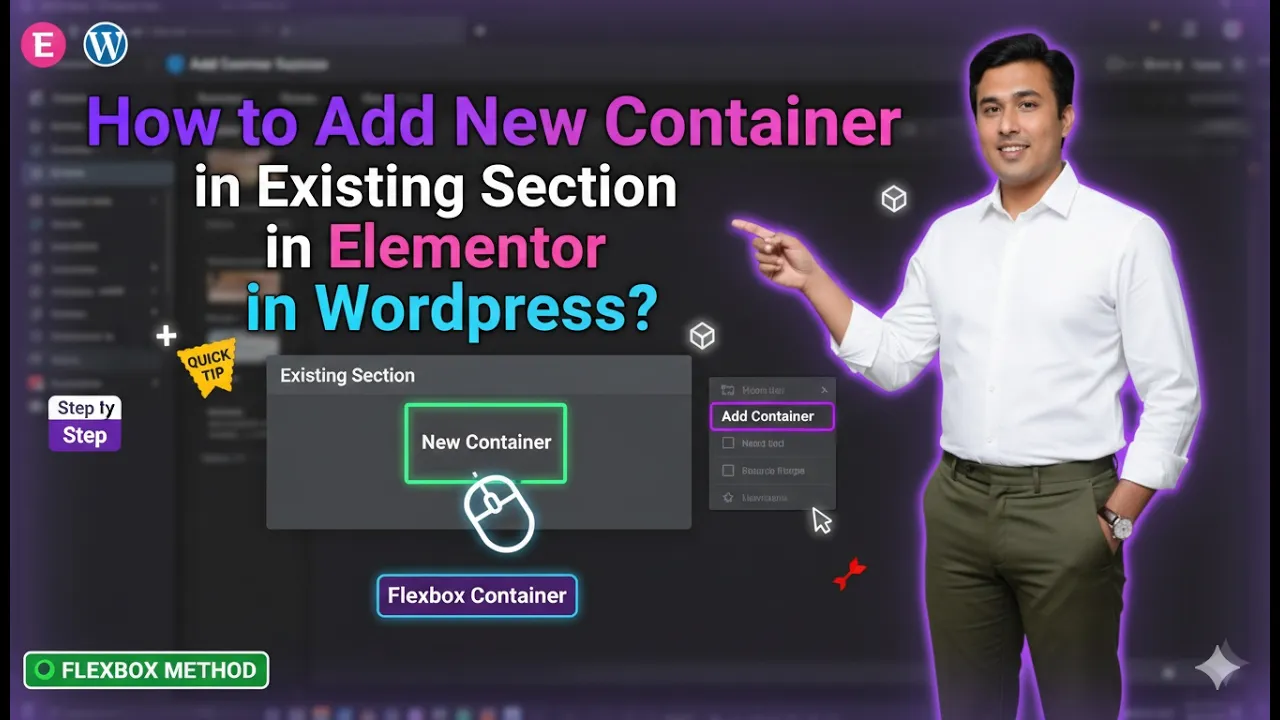
Elementor is one of the most popular page builders used in WordPress for designing modern and responsive websites. It allows users to build layouts using containers, sections, rows, and columns without writing any code. One important feature of Elementor is the ability to add new containers inside an existing section or container. This helps you create more structured and flexible layouts.
Sometimes while designing a webpage, you may want to add more containers inside an existing section to organize content better. Elementor makes this process very simple by allowing you to add containers using the container edit options or by dragging and dropping container widgets.
In this guide, you will learn how to add a new container inside an existing section while editing a webpage using Elementor in WordPress.
Opening Elementor Editor
Before adding a new container inside an existing section, you first need to open the Elementor editor.
When you edit a webpage using Elementor, the Elementor editing interface appears on the screen. The page preview appears in the center, while the Elementor editing toolbar is displayed on the left side of the screen.

Inside the page preview area, you will see a plus icon (+) in the middle of the screen. This icon is used to create a new section or container in Elementor.
To begin the process, you need to create a section first.
Creating a Section in Elementor
When designing a webpage in Elementor, sections and containers help organize the page layout.
Step 1: Click the Plus Icon
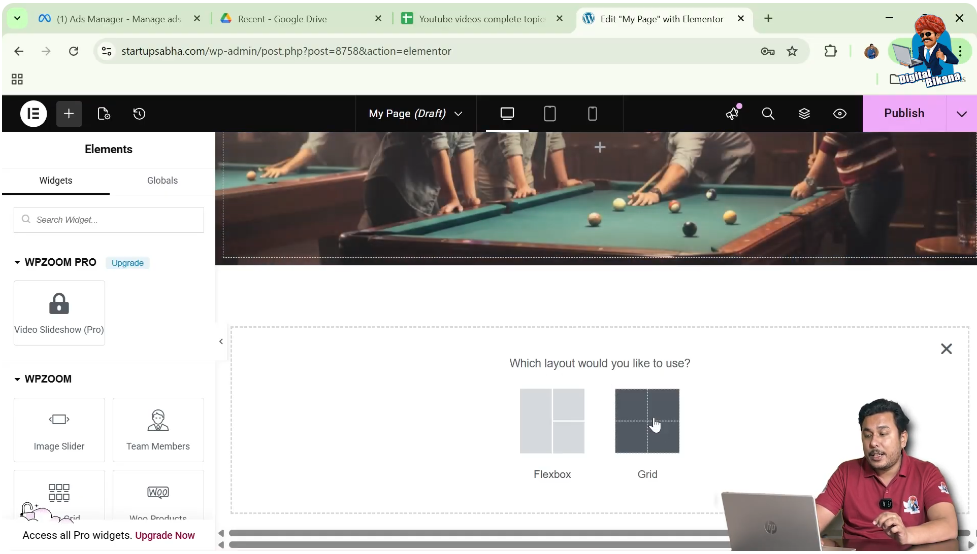
Click the plus icon displayed in the center of the screen.
After clicking the icon, Elementor will ask you to select the layout type.
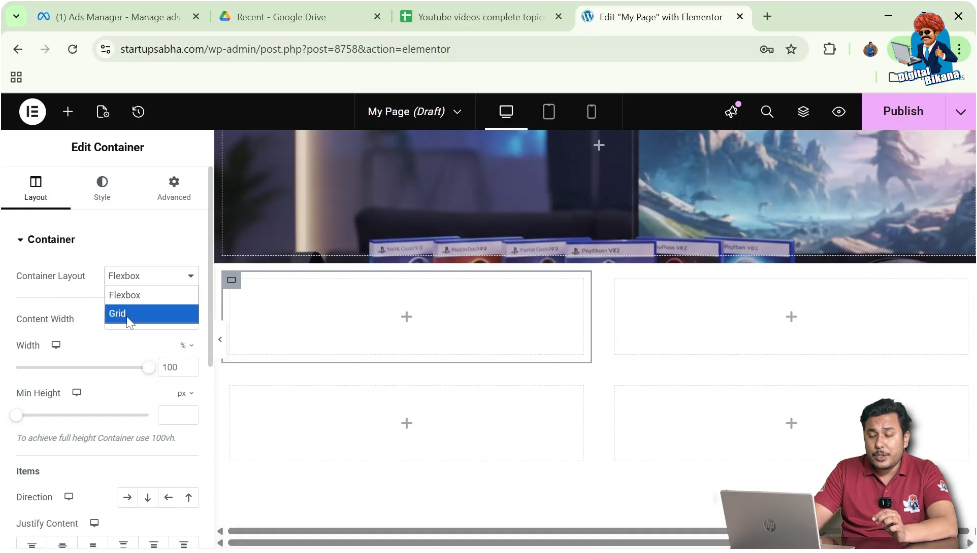
Step 2: Select Grid Layout
Elementor allows you to choose between Flexbox and Grid layouts.
For this example, select the Grid layout.
Step 3: Choose the Structure
After selecting the grid layout, Elementor will display different layout structures.
Choose the structure one row and two columns.
Once selected, the section will appear with two containers.

Understanding Sections and Containers
Before adding new containers, it is important to understand the structure of Elementor layouts.
In Elementor:
- A section is the main layout block.
- A container is placed inside a section.
- Containers can contain other containers, widgets, or elements.
This flexible structure allows users to design complex layouts easily.
Adding a New Container in an Existing Section
After creating a section with containers, you may want to add more containers within the same section.
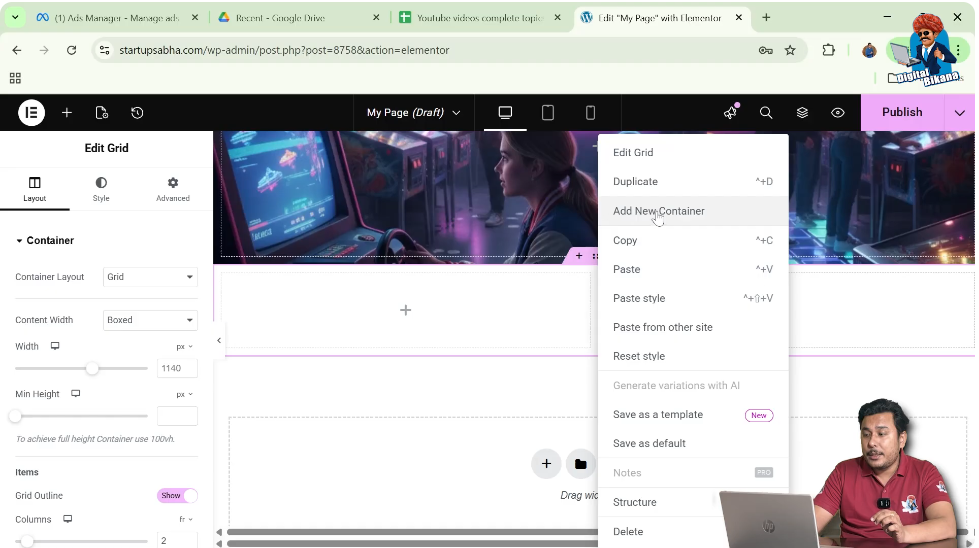
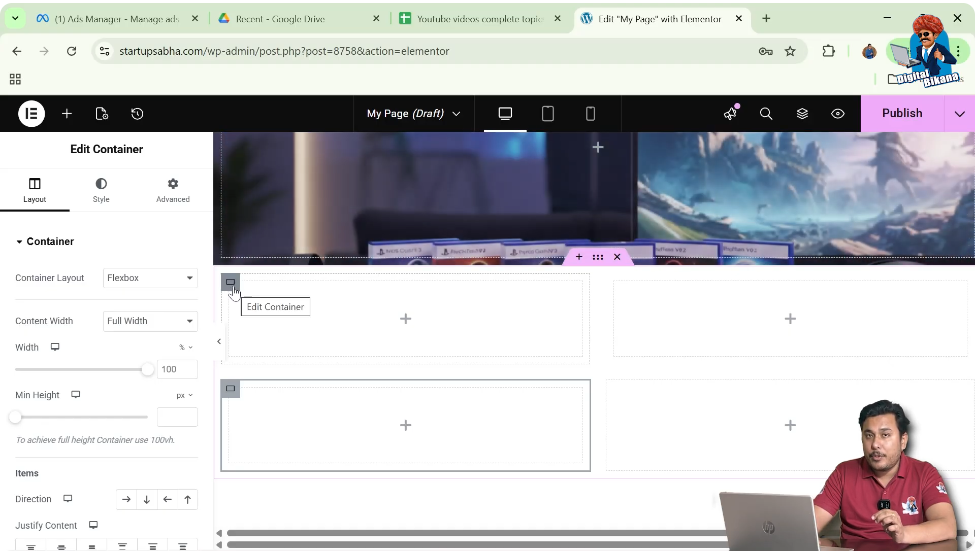
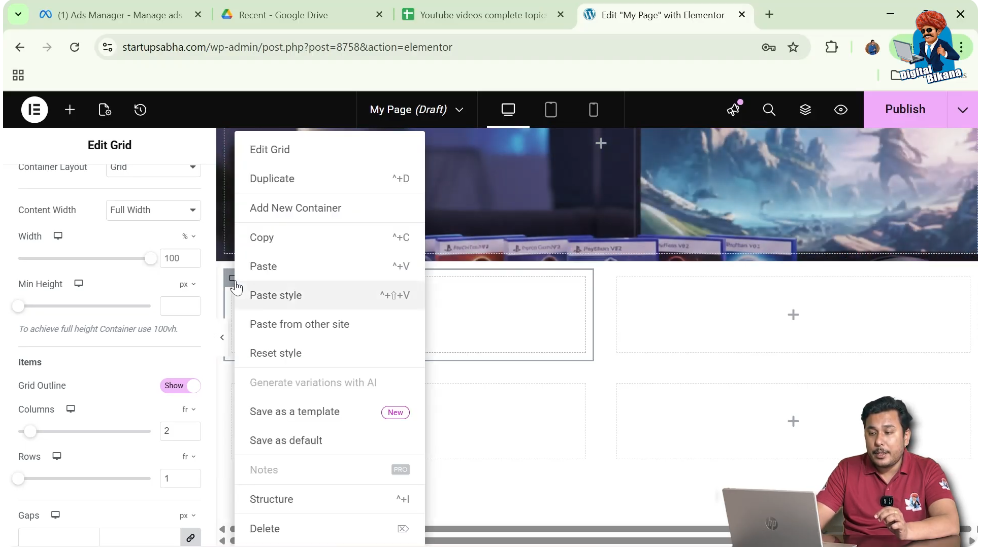
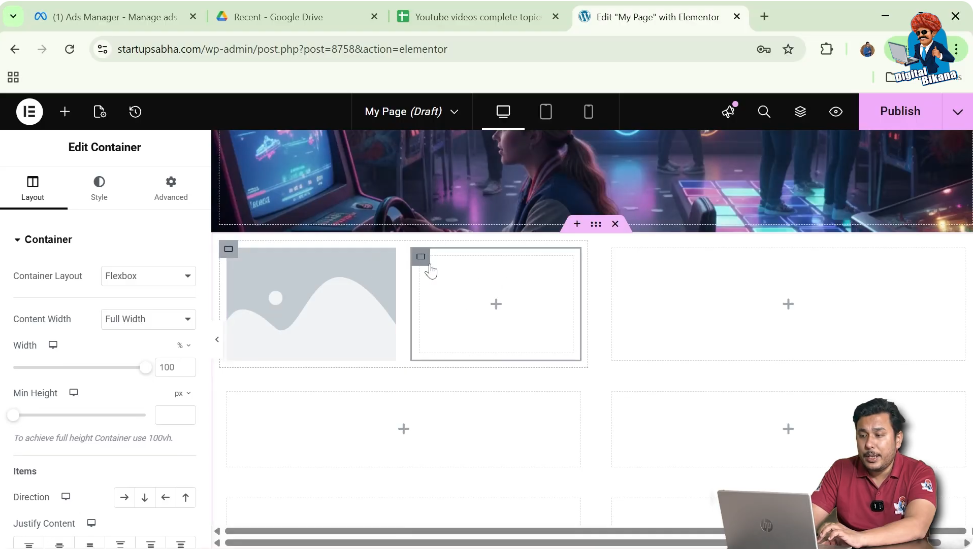
Step 1: Click the Edit Container Icon
Each container has an Edit Container icon represented by six dots.
This icon appears at the top of the container.
Click this six dots icon.
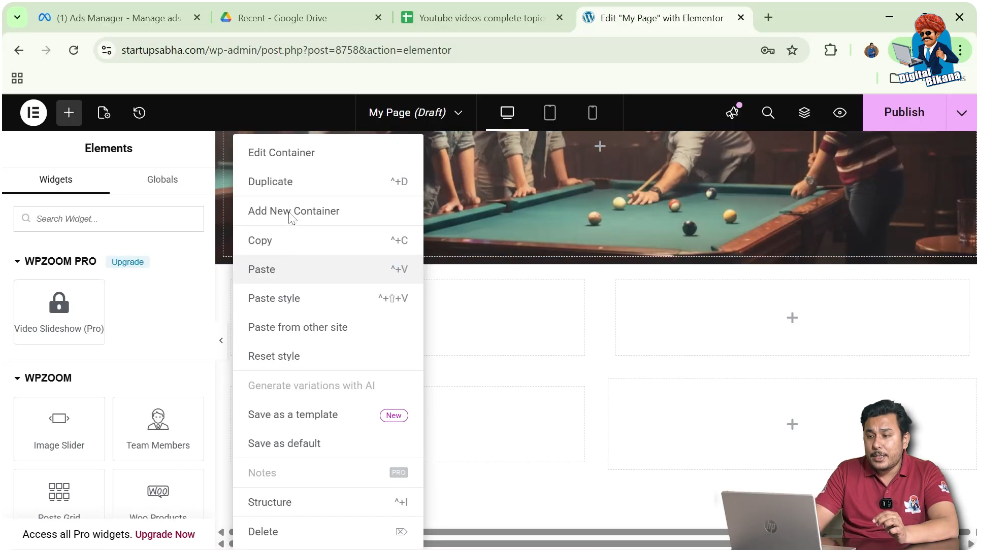
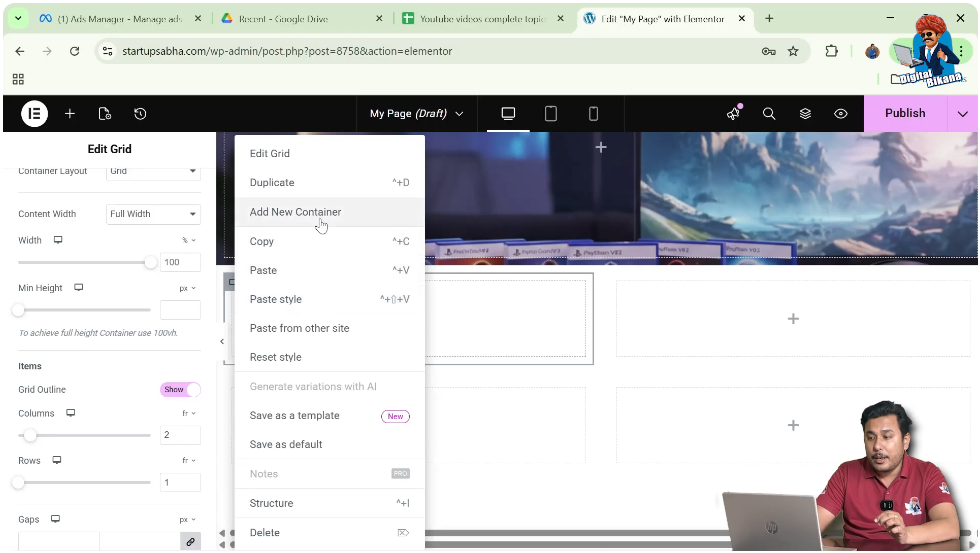
Step 2: Add New Container
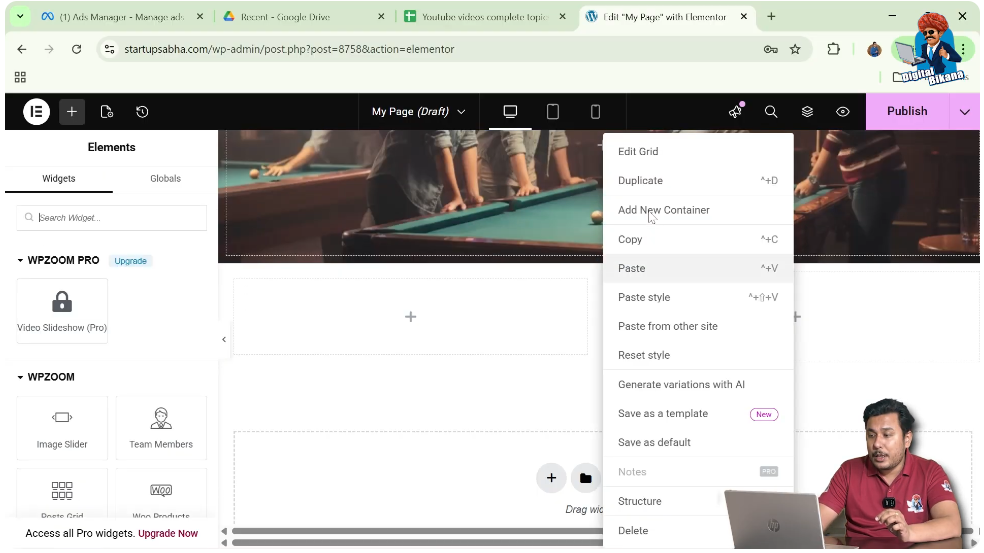
After clicking the edit container icon, right-click on it.
From the options that appear, click Add New Container.
This will add a new container inside the same section.
You can repeat this process to add multiple containers.
For example:
- First container
- Second container
- Third container
By repeating the same steps, you can continue adding more containers inside the section.
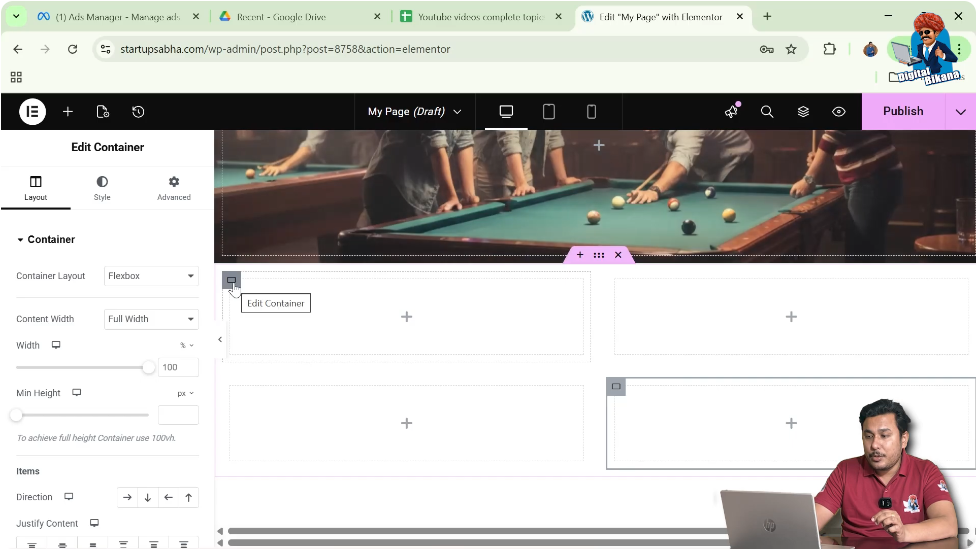
Adding Multiple Containers
You can add more containers inside the same section by repeating the process.
Step 1: Click the Container Icon
Click the six dots icon again on the container.
Step 2: Select Add New Container
Right-click and select Add New Container again.
Now another container will be added.
By repeating this method, you can easily create multiple containers within the same section.
Adding Container Inside an Existing Container
Sometimes you may want to add a container inside another container instead of adding it directly to the section.
To do this, you must edit the specific container.
Step 1: Select the Container
Click the gray container icon located in the top left corner of the container.
Step 2: Right Click the Container
Right-click on the container icon.
Step 3: Add New Container
Click Add New Container.
This will add a container inside the selected container.
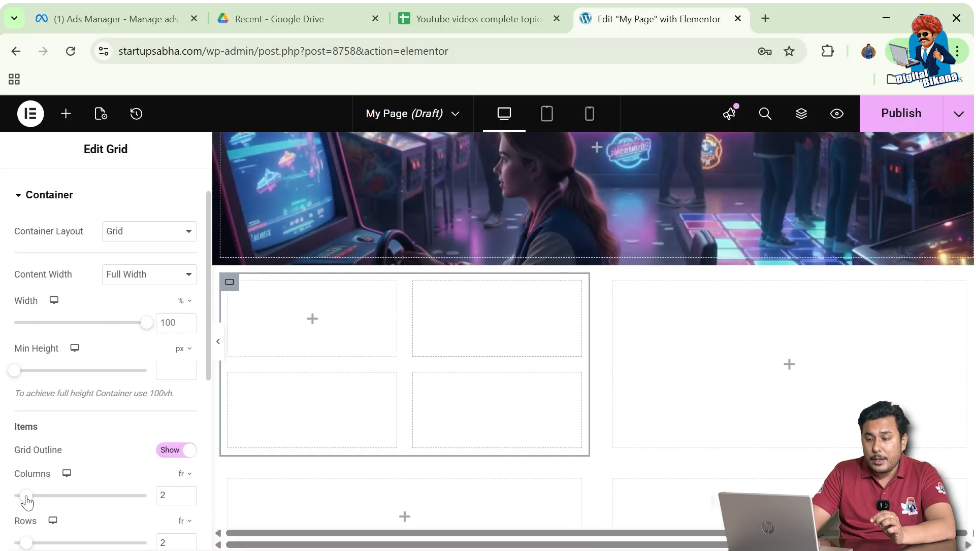
Adjusting Container Layout
Before adding containers inside another container, it may be necessary to adjust the container layout.
Step 1: Open Container Settings
Click the edit container icon.
Step 2: Go to Layout Settings
In the left-side toolbar, open the Layout settings.
Step 3: Change Container Layout to Grid
If the container layout is set to Flexbox, you can change it to Grid.
Step 4: Adjust Columns and Rows
You can specify the number of rows and columns.
For example:
- Set columns to 2
- Set rows to 1
This creates a grid layout inside the container.
Adding Containers Using the Add New Container Option
After adjusting the container layout, you can add containers inside it.
Step 1: Right Click the Container
Right-click the Edit Container icon.
Step 2: Select Add New Container
Click Add New Container.
However, sometimes the new container may be added outside the intended container and inside the section instead.
In such cases, another method can be used.
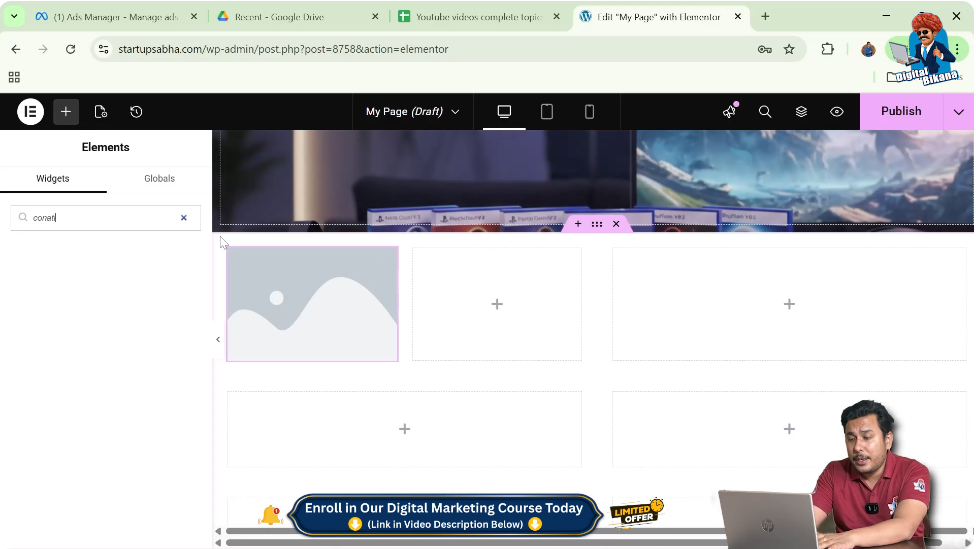
Adding Containers Using Widgets
Elementor also allows you to add containers using widgets.
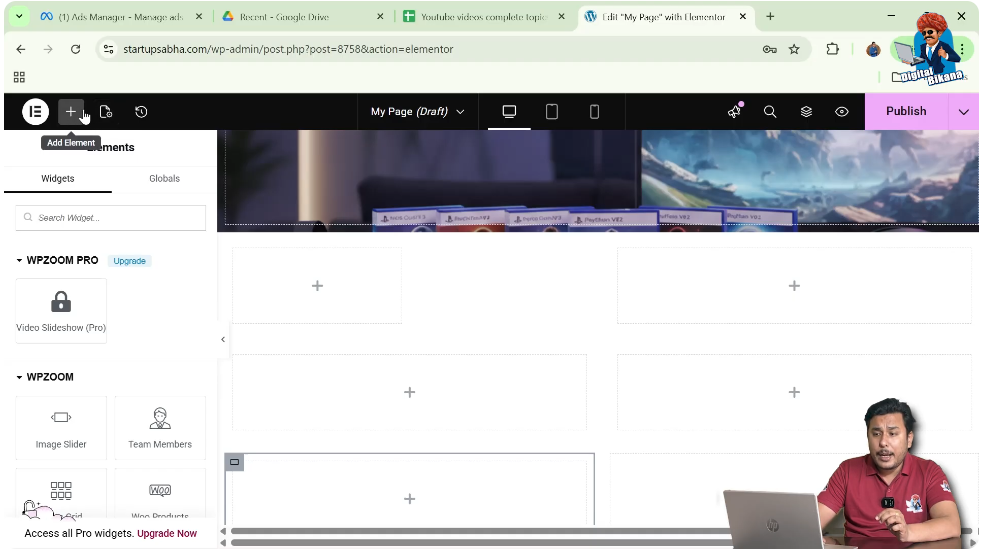
Step 1: Click the Add Element Button
Click the Add Element button located in the top black header bar.
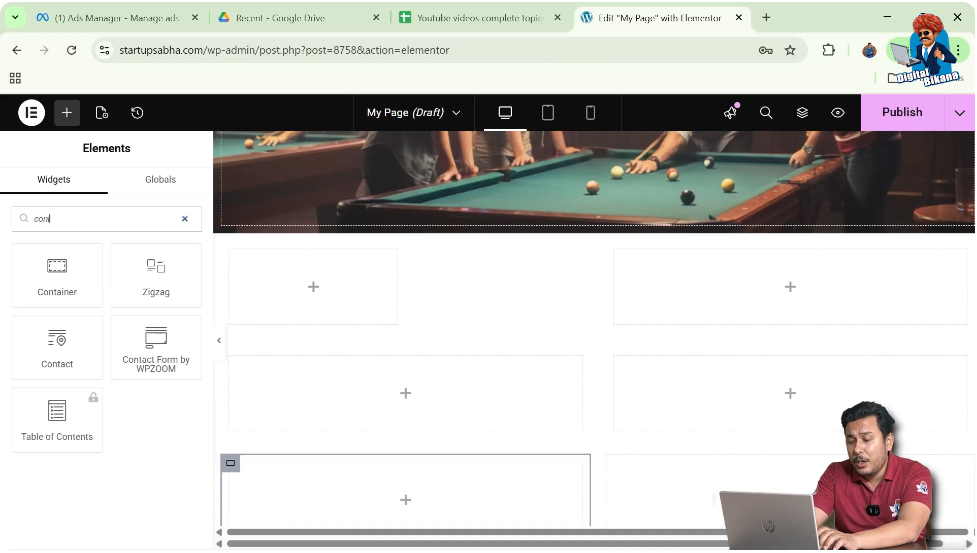
Step 2: Search for Container
In the widget search box, type Container.
The container widget will appear in the widget list.
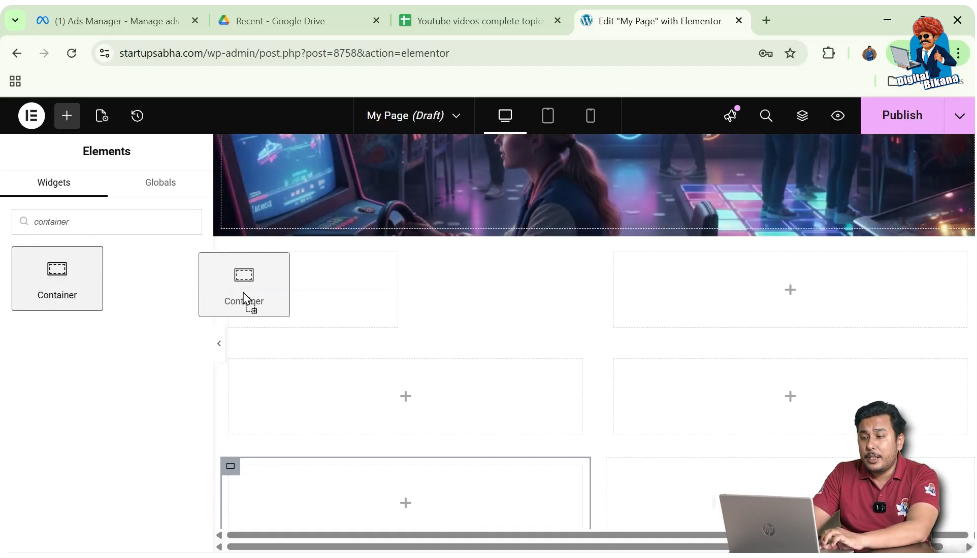
Step 3: Drag and Drop the Container
Drag the container widget and drop it into the desired location inside the section or container.
This method ensures that the container is added exactly where you want it.
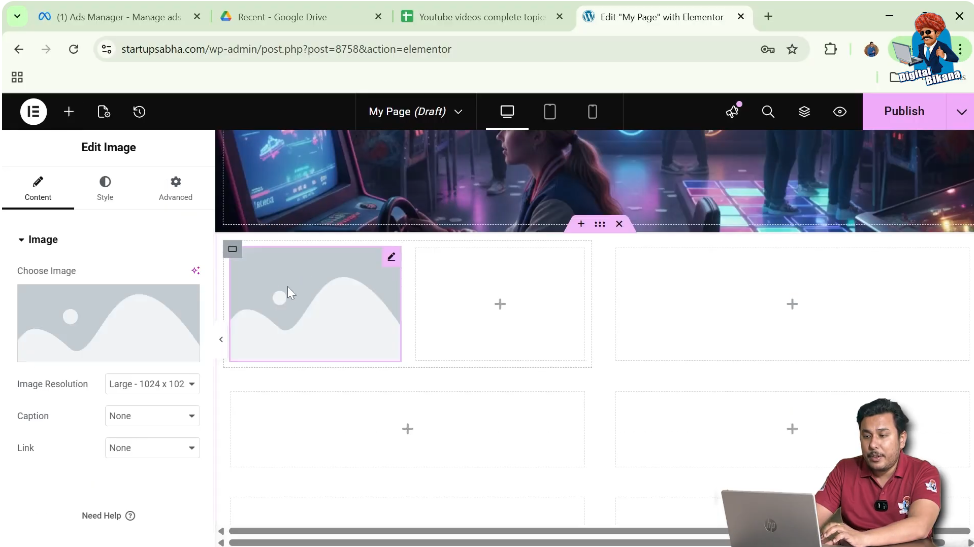
Adding Elements Inside the Container
Sometimes Elementor may require you to place an element inside a container before adding additional containers.
Step 1: Click the Plus Icon
Click the plus icon in the top black header.
Step 2: Search for an Image Widget
In the widget section, search for Image.
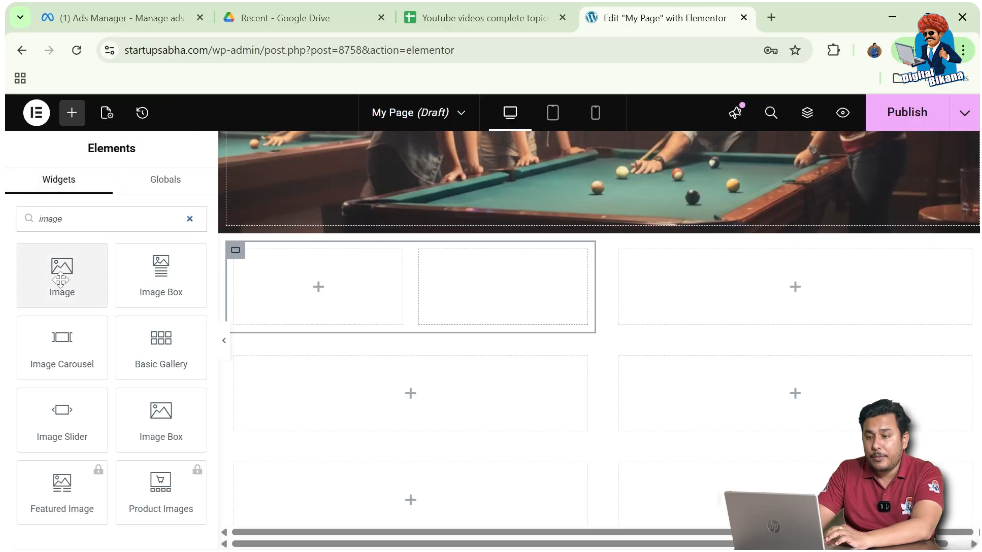
Step 3: Add the Image
Drag and drop the image widget into the container.
Now the container contains an element.
Adding Another Container Inside the Same Section
After adding an element inside the container, you can add another container.
Step 1: Click the Plus Icon Again
Click the plus icon in the Elementor header.
Step 2: Search for Container Widget
Search for Container in the widget panel.
Step 3: Drag and Drop the Container
Drag the container widget and drop it into the desired area.
Now you will see multiple containers inside the same section.
For example, a section may contain:
- One main container
- Two additional containers
- Multiple nested containers
This allows you to create complex layouts easily.
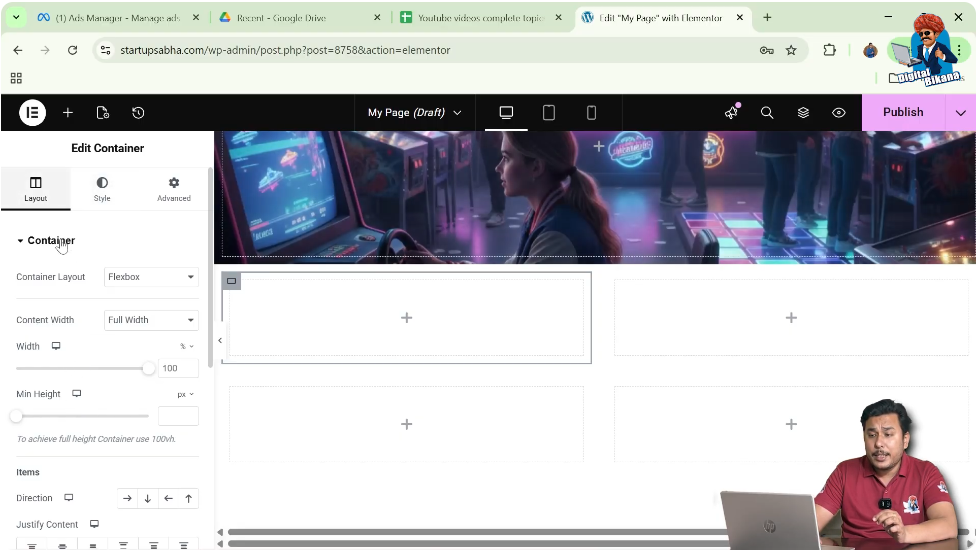
Viewing the Final Layout
After adding containers and elements, the section may contain multiple containers arranged in rows and columns.
For example, one section may contain:
- Three main containers
- Additional containers nested inside them
This structure helps create organized webpage layouts and improves content alignment.
Why Add Containers in Existing Sections
Adding containers inside existing sections provides several advantages when designing webpages.
Some benefits include:
- Better content organization
- More flexible layout design
- Easier content alignment
- Ability to create nested layouts
- Improved responsiveness for different screen sizes
Using containers effectively allows you to design professional-looking webpages using Elementor.
Conclusion
Adding a new container inside an existing section in Elementor is a simple process that helps you create structured and flexible webpage layouts.
You begin by creating a section using the plus icon and selecting a layout structure such as grid or flexbox. After creating the section, you can add new containers by clicking the edit container icon and selecting the Add New Container option.
You can also add containers inside existing containers by right-clicking the container icon. If needed, you can change the container layout to grid and adjust rows and columns before adding more containers.
Another method is to use the container widget from the Elementor widgets panel and drag it into the desired location.
By using these methods, you can easily add containers inside existing sections while designing webpages in Elementor on a WordPress website.
Related Posts


