Running advertisements on Facebook and Instagram requires available balance in your ad account. If there are no funds, ads will not start, or they will stop automatically once the balance is exhausted. Understanding how to add money correctly—and choosing the right payment setup—is extremely important, especially for beginners. In this article, we will explain how to add money in a Facebook ad account, how the billing system works, and the difference between prepaid and postpaid ad accounts, exactly as used inside Facebook Ads Manager.
Understanding Facebook Ad Account Billing
Before adding money, it is important to understand where billing options exist and how Facebook manages ad payments.
Whenever you run ads through Meta platforms like Facebook or Instagram, all payments, balances, and transactions are controlled inside Ads Manager. The billing section is directly connected to your ad account, not to individual campaigns.
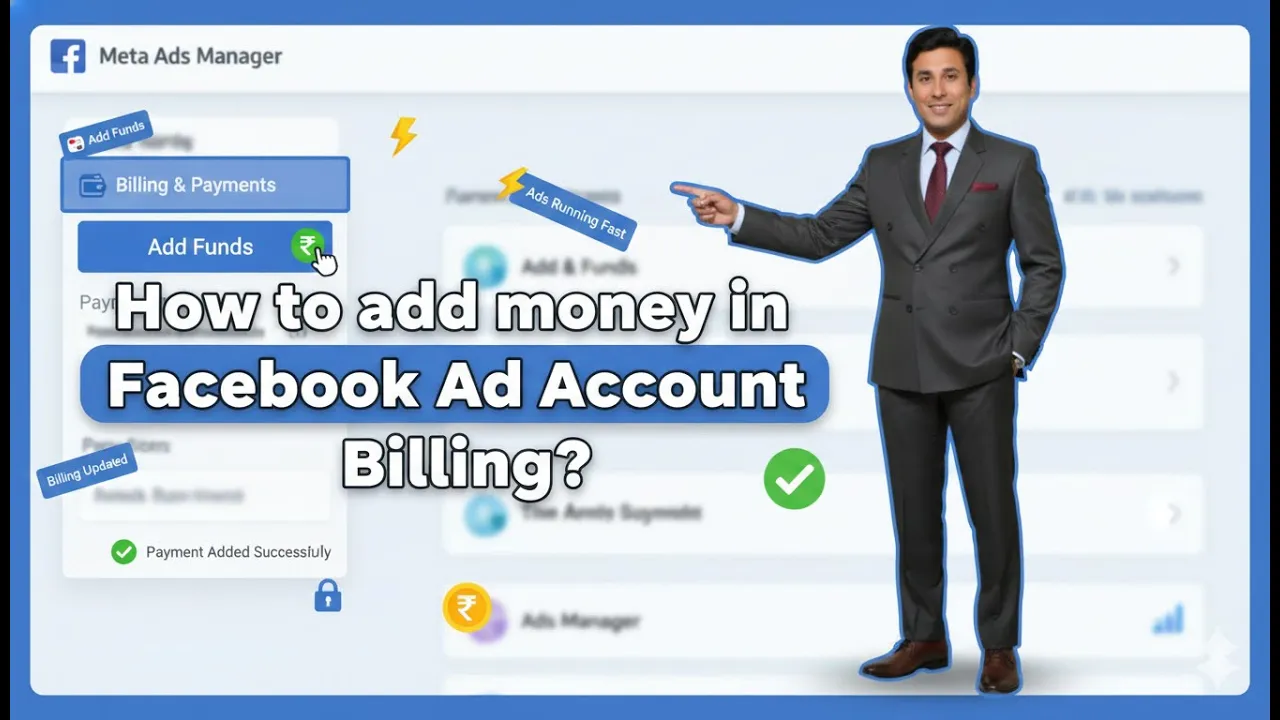
How to Add Money in Facebook Ad Account?
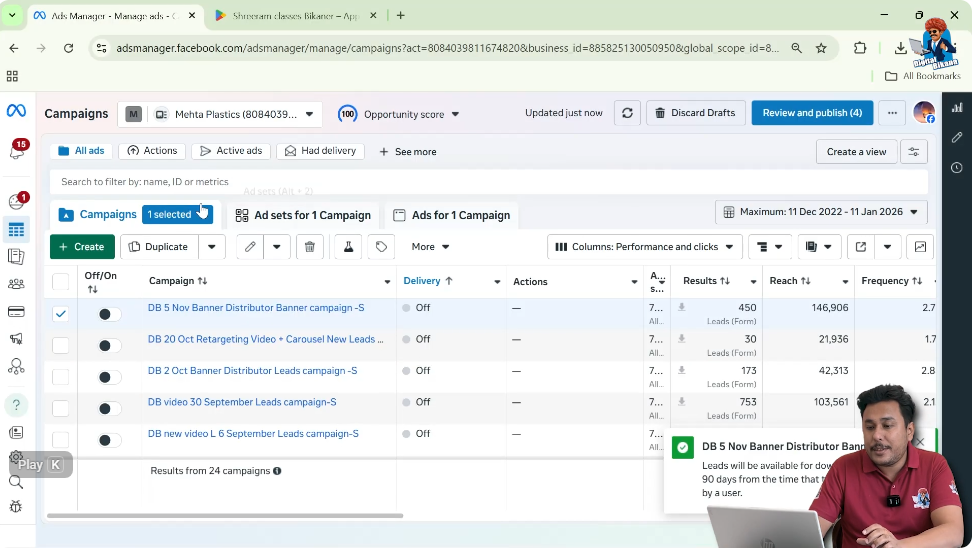
Step 1: Open Facebook Ads Manager
First, log in to your Facebook account and open Facebook Ads Manager.
This is the main dashboard where campaigns, ad sets, ads, performance data, and billing information are managed.
Once Ads Manager opens, you will usually land on the Campaigns section by default.
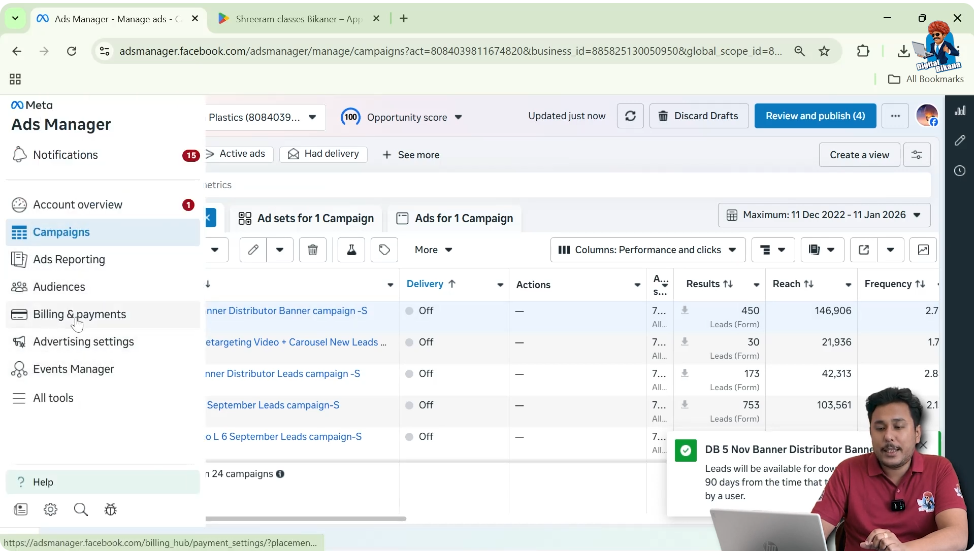
Step 2: Go to Billing and Payments
On the left-hand toolbar inside Ads Manager, you will see an option called Billing and Payments.
Click on this option to access your ad account’s billing area.
This section contains:
- Payment history
- Current balance
- Payment methods
- Fund addition options
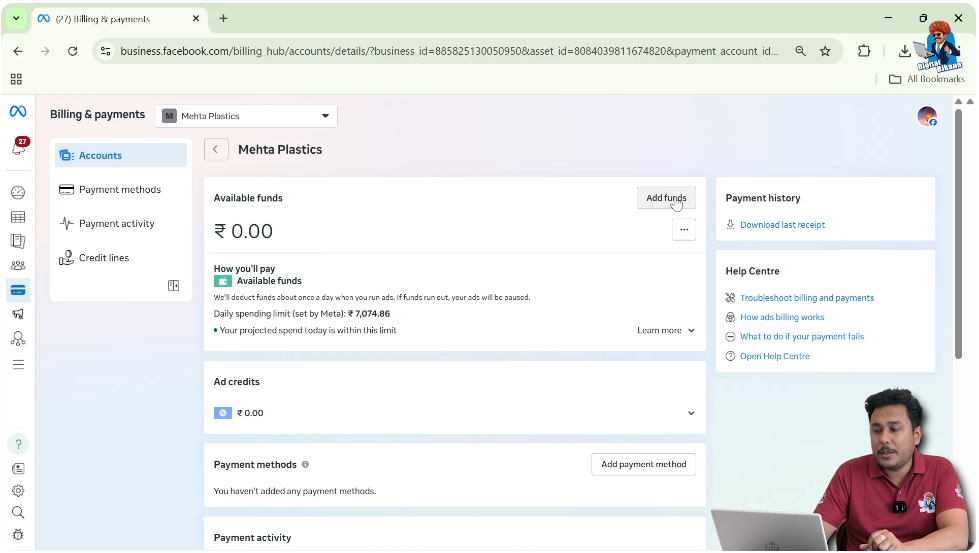
Step 3: Enter the Billing Section
After clicking on Billing and Payments, you will be redirected to the billing dashboard of your Facebook ad account.
This dashboard shows:
- Amount spent
- Remaining balance (if prepaid)
- Past transactions
- Payment status
From here, you can manage everything related to payments.

Step 4: Click on “Add Funds”
Inside the billing section, you will see an option labeled Add Funds.
Click on Add Funds to begin the process of adding money to your Facebook ad account.
This option is mainly visible in prepaid ad accounts, where funds must be added before ads can run.
Step 5: Choose Payment Method and Enter Amount
After clicking Add Funds, Facebook will ask you to:
- Select a payment method
- Enter the amount you want to add
Common payment methods include:
- UPI
- Net banking
- Debit card
- Credit card
For example, if you want to add ₹1,000, simply enter that amount in the field provided.

Step 6: Complete the Payment Process
Once you click Next, the payment flow depends on the method you selected:
- UPI: A QR code will appear for payment
- Net Banking: You will be redirected to your bank’s login page
- Debit/Credit Card: You will need to enter card number, cardholder name, expiry date, and other required details
After successful payment, the amount is instantly added to your Facebook ad account.

What Happens After Adding Funds?
Once funds are added:
- Your ads can start running
- Campaigns automatically resume if they were paused due to insufficient balance
- Ads stop again when the balance is fully used (in prepaid accounts)
Understanding Prepaid and Postpaid Facebook Ad Accounts
One of the most important parts of Facebook ad billing is choosing between prepaid and postpaid ad accounts. Many advertisers face issues simply because they do not understand this difference properly.
What is a Prepaid Facebook Ad Account?
In a prepaid ad account, you must add money before running ads.
How prepaid accounts work:
- You add funds first
- Ads run until the balance is exhausted
- Ads automatically stop when balance becomes zero
- Ads start again only after adding funds
This type of account gives full control over spending and prevents unexpected deductions.
Why Many Advertisers Prefer Prepaid Accounts
Most advertisers prefer prepaid accounts because:
- There is no risk of automatic deductions
- Spending is limited to the amount added
- Ads stop automatically when budget ends
- No surprise bank withdrawals
This makes prepaid accounts safer, especially for beginners.
What is a Postpaid Facebook Ad Account?
In a postpaid ad account, ads run first and Facebook deducts the amount later from your bank account.
How postpaid accounts work:
- Ads run continuously
- Facebook tracks daily ad spend
- The total spent amount is deducted at the end of the day (EOD)
- Deductions happen automatically from your bank account
Risks of Postpaid Ad Accounts
Many users face problems with postpaid accounts because:
- Ads continue running if not manually stopped
- Money is deducted automatically every day
- Users may ignore bank SMS or alerts
- Large amounts can be deducted within a few days
This often causes panic, especially for new advertisers.
Why the First Transaction is Extremely Important
A very important rule in Facebook ad accounts is:
Your first payment method decides whether your ad account is prepaid or postpaid—and it cannot be changed later.
First Payment Using UPI or Net Banking
If your first payment is made using:
- UPI
- Net banking
Then your ad account becomes a prepaid ad account.
Once set as prepaid:
- It will always remain prepaid
- It cannot be converted to postpaid later
First Payment Using Credit Card
If your first payment is made using a credit card, your ad account may become a postpaid ad account.
Once set as postpaid:
- It cannot be converted to prepaid
- Ads will keep running until manually stopped
Can You Switch Between Prepaid and Postpaid Later?
No.
- Prepaid cannot be changed to postpaid
- Postpaid cannot be changed to prepaid
This is why your first transaction matters the most.
Recommendation for First-Time Advertisers
If you are adding funds to your Facebook ad account for the first time, it is strongly recommended to:
- Avoid using a credit card
- Use UPI or net banking instead
This ensures:
- Your account remains prepaid
- Spending stays under control
- No automatic deductions happen
Adding Payment Methods Later
Even after your first transaction:
- You can add more payment methods
- You can manage cards, UPI, and bank accounts
- The ad account type (prepaid/postpaid) will not change
Checking Payment Activity and History
Inside the billing section, you can also:
- View payment history
- Track daily spending
- See which campaigns consumed the budget
- Monitor balance usage
This helps in understanding where your ad money is going.
Adding Business Tax Information
Facebook also allows you to:
- Add business tax details
- Manage invoices
- Maintain billing records for accounting
This is useful for businesses and agencies running ads regularly.
Summary: Adding Money in Facebook Ad Account
To summarize:
- Open Facebook Ads Manager
- Go to Billing and Payments
- Click on Add Funds
- Select payment method
- Enter amount
- Complete payment
And most importantly:
- Decide prepaid or postpaid carefully
- Choose payment method wisely during first transaction
Final Thoughts
Adding money to a Facebook ad account is simple, but understanding how billing works is critical. Many advertising mistakes happen not because of poor campaigns, but because of poor billing decisions.
By using the correct payment method and understanding prepaid versus postpaid accounts, you can run ads smoothly, safely, and without stress.
This approach ensures better budget control and a more confident advertising experience on Meta platforms.
Related Posts