
Adding a background image slideshow is a great way to make your website visually appealing and interactive. Instead of using a single static background image, you can display multiple images that automatically change one after another. This technique is commonly used in hero sections, banners, landing pages, and promotional sections of websites.
Elementor makes it very easy to add a background image slideshow inside a container. By using the background slideshow option in the container style settings, you can display multiple images that rotate automatically. You can also control the speed of the slideshow, choose different transition styles, and adjust how the images appear in the container.
In this guide, you will learn how to add an image slideshow in the background of a container while editing a webpage using Elementor on a WordPress website.
Opening Elementor Editor
Before adding a background slideshow, you first need to open the Elementor editor.
When you edit a page using Elementor, the editor interface appears with a live preview of the page in the center of the screen. The Elementor editing panel appears on the left side of the screen, where you can manage layout, style, and advanced settings.
Inside the page preview area, you will notice a plus icon (+) displayed in the middle of the screen. This icon is used to create a new container or section.
To begin adding a slideshow background, the first step is to create a container.
Creating a Container in Elementor
Containers are used to organize elements inside a webpage. To add a background slideshow, you first need to create a container where the slideshow will appear.
Step 1: Click the Plus Icon
Click the plus icon displayed in the center of the screen.
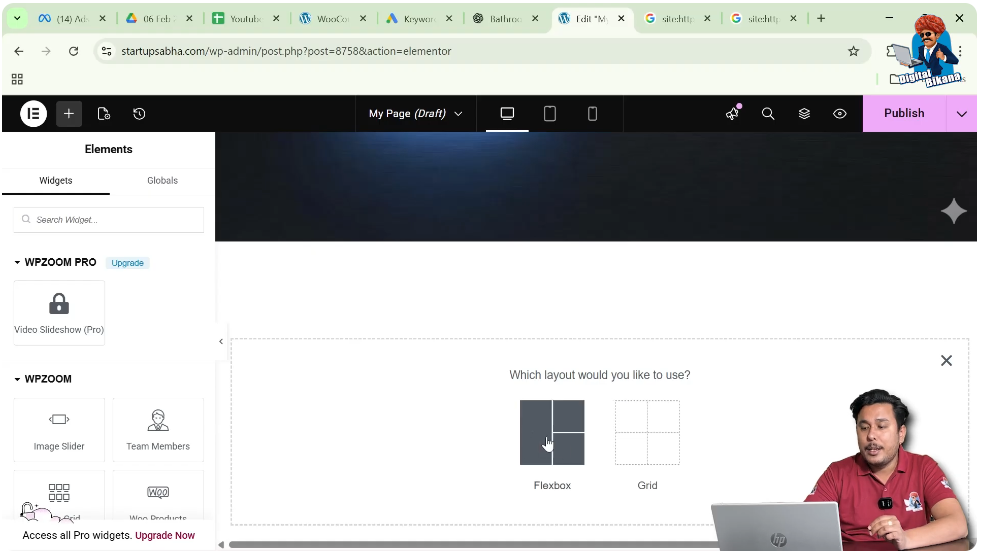
After clicking the icon, Elementor will ask you to select the layout for the container.
Step 2: Select Flexbox Layout
Elementor provides layout options such as Flexbox and Grid.
For this example, select Flexbox.
Flexbox containers allow flexible alignment and layout structure for webpage elements.
Step 3: Select the Container Structure
Once Flexbox is selected, Elementor displays different container structures.
Select the direction column structure. This creates a simple container where elements are arranged vertically.
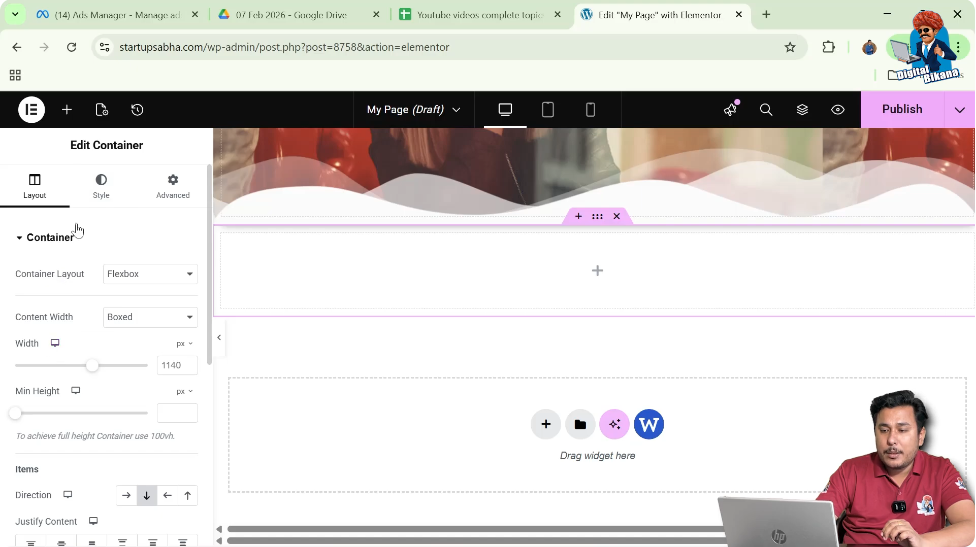
After selecting the structure, the container will appear on the page.

Editing the Container
After the container is created, you need to edit it to add the slideshow background.
Step 1: Click the Six Dots Icon
At the top of the container, you will see a six dots icon. This icon represents the container control.
Click on these six dots to open the container settings.
Once clicked, the container settings will appear in the left-side toolbar.
Understanding Container Settings
Inside the container editing panel, Elementor provides three main settings sections:
- Layout
- Style
- Advanced
Each section allows you to control different aspects of the container.
- Layout settings control container size, alignment, and structure.
- Style settings control the visual appearance such as background images or colors.
- Advanced settings include motion effects, responsive settings, and custom CSS.
To add a background slideshow, you need to go to the Style settings.
Opening Style Settings
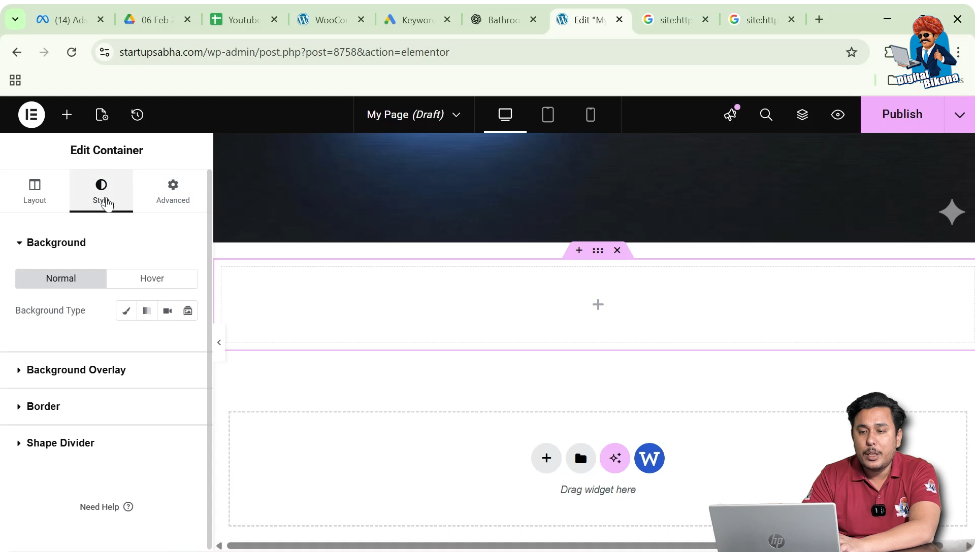
In the container editing panel, click the Style tab.
Inside the Style settings, you will find multiple design options for customizing the container.
These options include:
- Background
- Background Overlay
- Border
- Shape Divider
To add the slideshow, you need to open the Background settings.
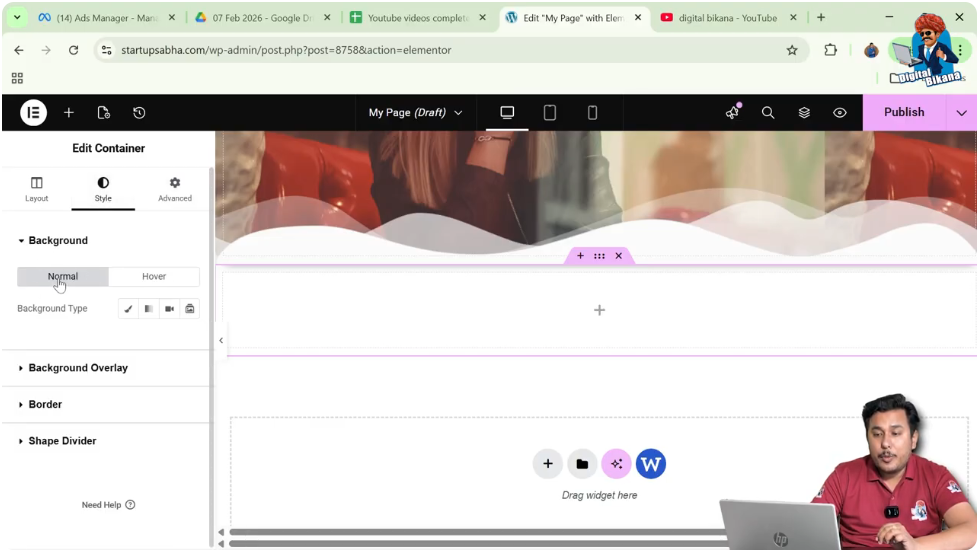
Background Settings in Elementor
Inside the Background settings, Elementor provides two tabs:
- Normal
- Hover
The Normal tab controls the background that appears normally on the container.
The Hover tab allows you to change the background when the cursor moves over the container.
Since we want to add a slideshow background that appears normally, we will work inside the Normal tab.
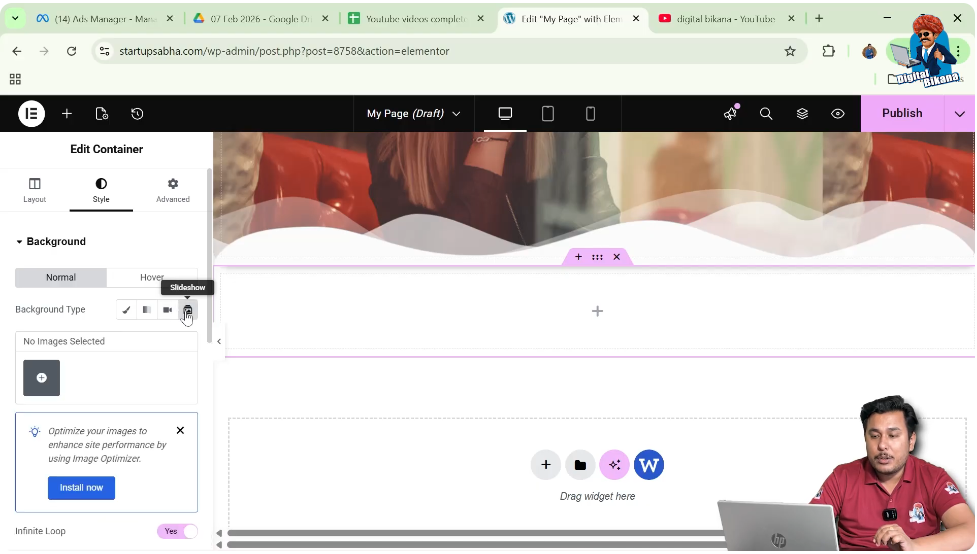
Selecting the Background Type
Inside the Background settings, you will see different background type options.
These options include:
To add multiple images that rotate automatically, select the Slideshow option.
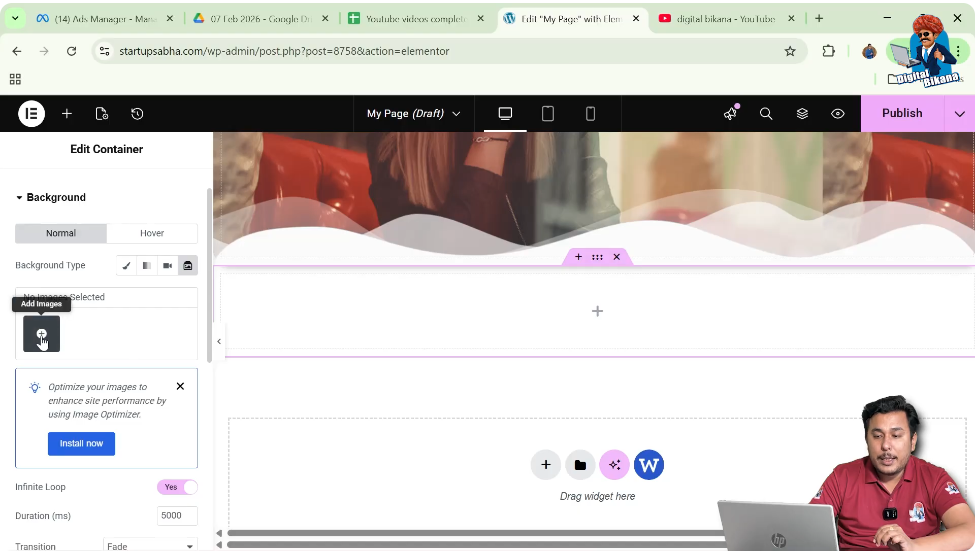
Adding Images to the Slideshow
After selecting the slideshow background type, Elementor asks you to add images.
Step 1: Click Add Images
Click the Add Images button.
This opens the WordPress media library.
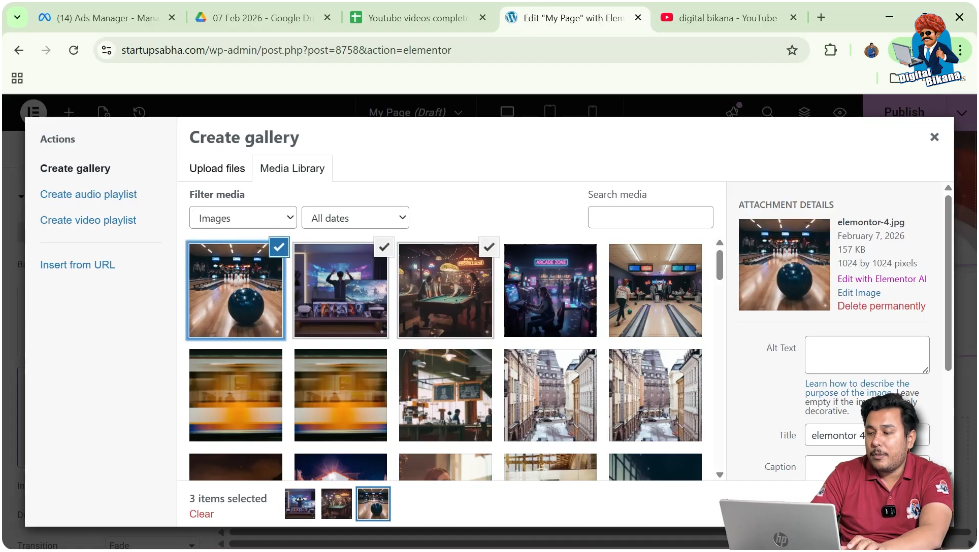
Step 2: Select Multiple Images
From the media library, select the images you want to include in the slideshow.
You can select multiple images by pressing the Control key on the keyboard while selecting images.
For example, you may select:
- Image 1
- Image 2
- Image 3
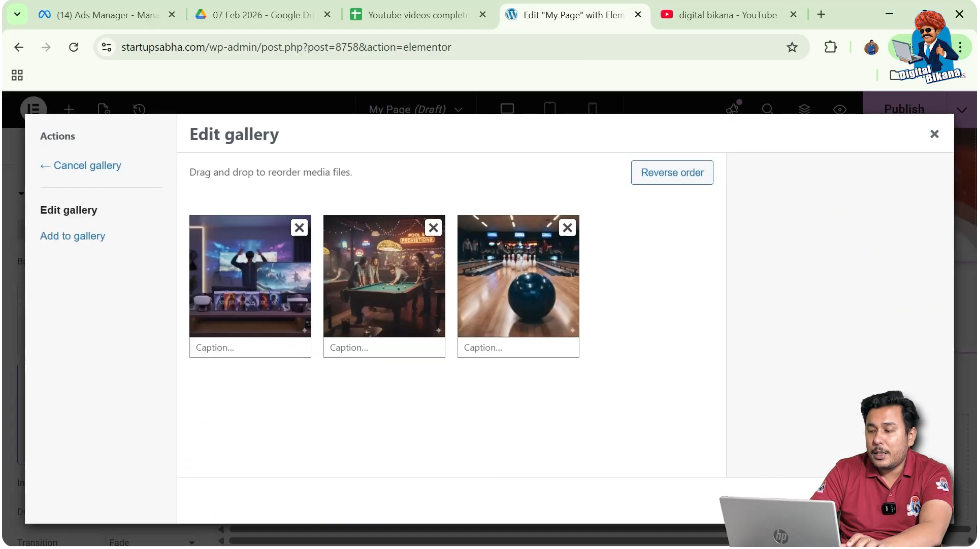
After selecting the images, click Create a New Gallery.
Step 3: Insert the Gallery
After creating the gallery, click Insert Gallery.
Once inserted, the selected images will be added to the slideshow.
Adjusting the Container Height
After adding the slideshow images, you may notice that the container height is too small.
Because of this, the images may not be displayed properly.
To fix this issue, you need to increase the container height.
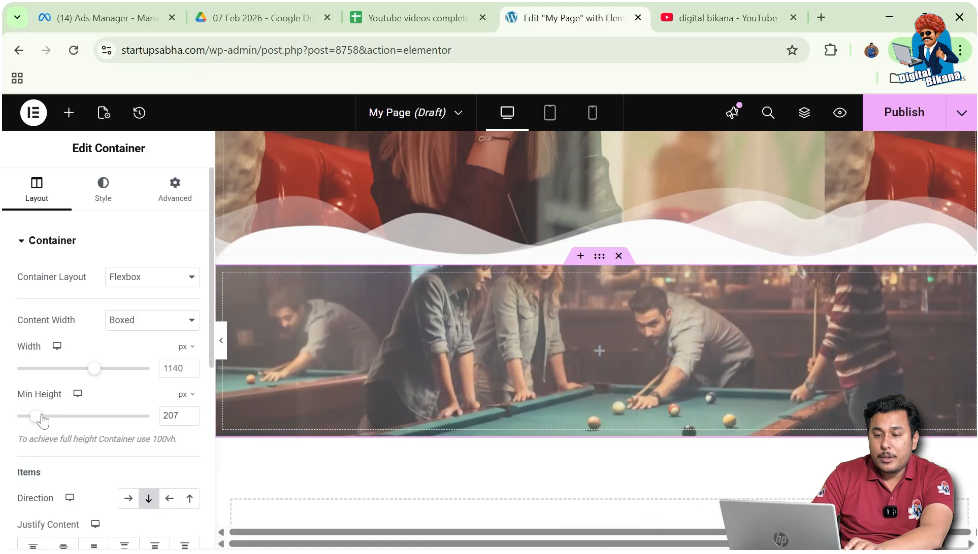
Step 1: Open Layout Settings
Go back to the Layout tab in the container settings.
Step 2: Increase the Height
Adjust the container height until the images appear properly.
Once the height is increased, the slideshow images become clearly visible.
Viewing the Slideshow Effect
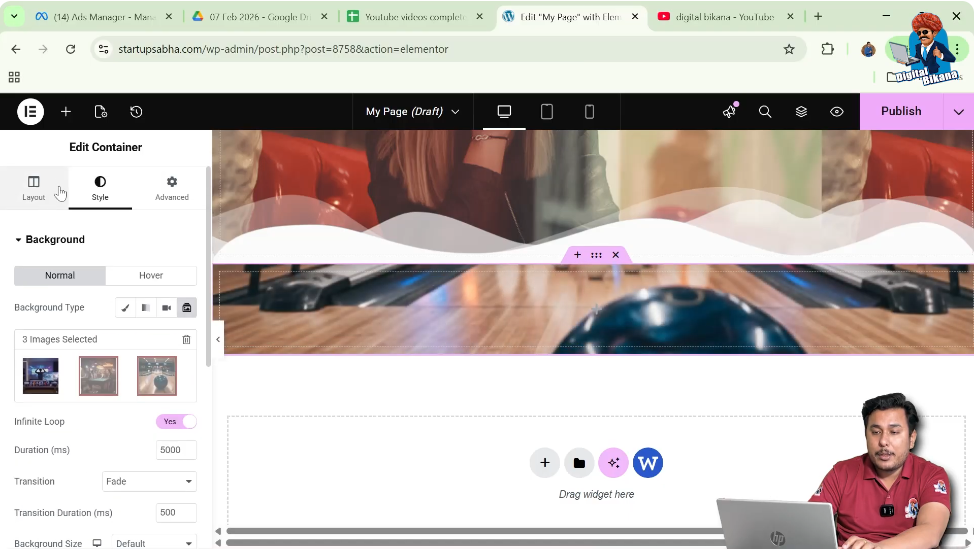
After adjusting the container height, return to the Style settings.
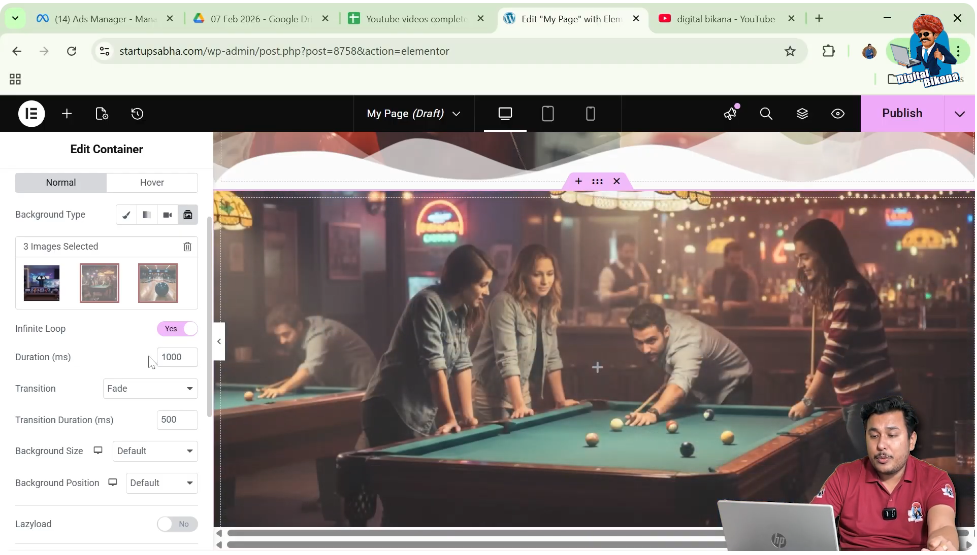
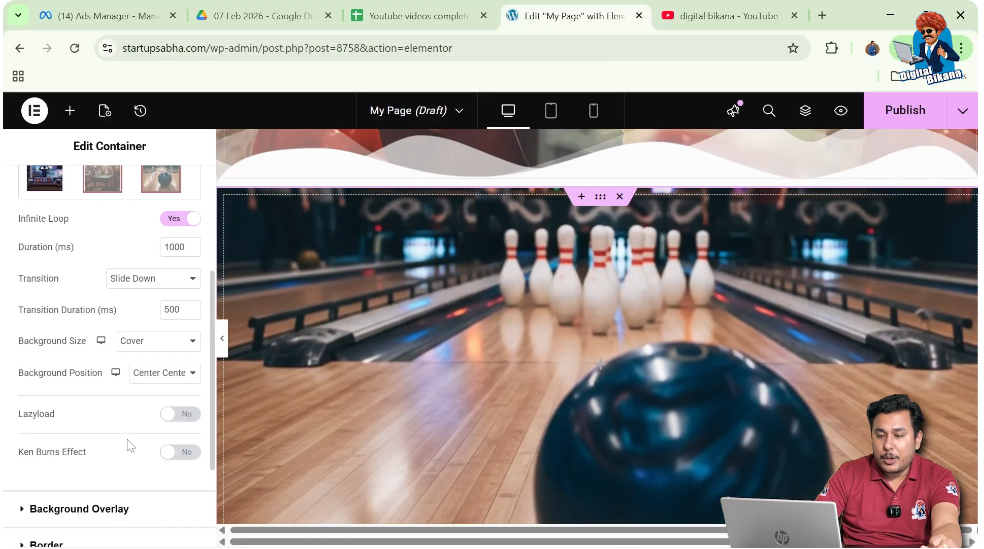
Inside the slideshow background settings, you will see that the images are now rotating automatically.
The images will continue changing one after another in an infinite loop.
This means the slideshow will keep running continuously without stopping.
Infinite Loop Settings
Elementor provides an option to control whether the slideshow repeats infinitely.
By default, the Infinite Loop option is enabled.
When this option is turned on, the slideshow keeps repeating continuously.
If you turn this option off, the slideshow will stop after displaying all images once.
Adjusting Slideshow Duration
You can control how quickly the images change.
The Duration setting determines how long each image stays visible before switching to the next image.
For example:
- A shorter duration means images change faster.
- A longer duration means images remain visible for more time.
The duration is measured in milliseconds.
For example, if the duration is set to 1000 milliseconds, the image changes very quickly.
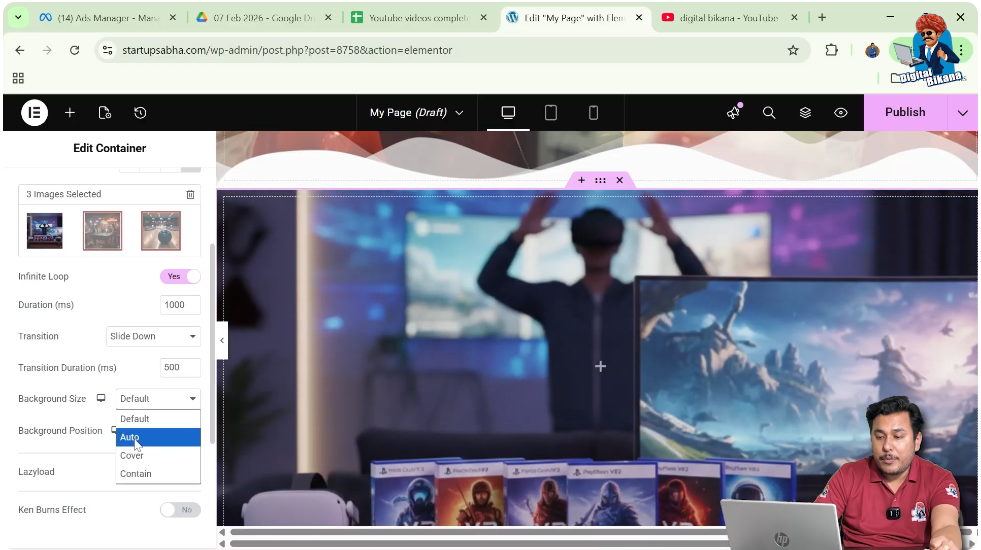
Choosing Slideshow Transition Effects
Elementor also allows you to select different transition styles between images.
Some of the available transition options include:
- Fade
- Slide
- Slide Left
- Slide Up
- Slide Down
These transitions control how one image changes to the next.
For example:
- Fade transition smoothly fades one image into another.
- Slide transition moves the image in a sliding motion.

Adjusting Transition Duration
The Transition Duration option controls how quickly the transition effect occurs.
A shorter transition duration creates a faster animation, while a longer duration creates a smoother and slower transition.
Adjust this setting according to your design preference.

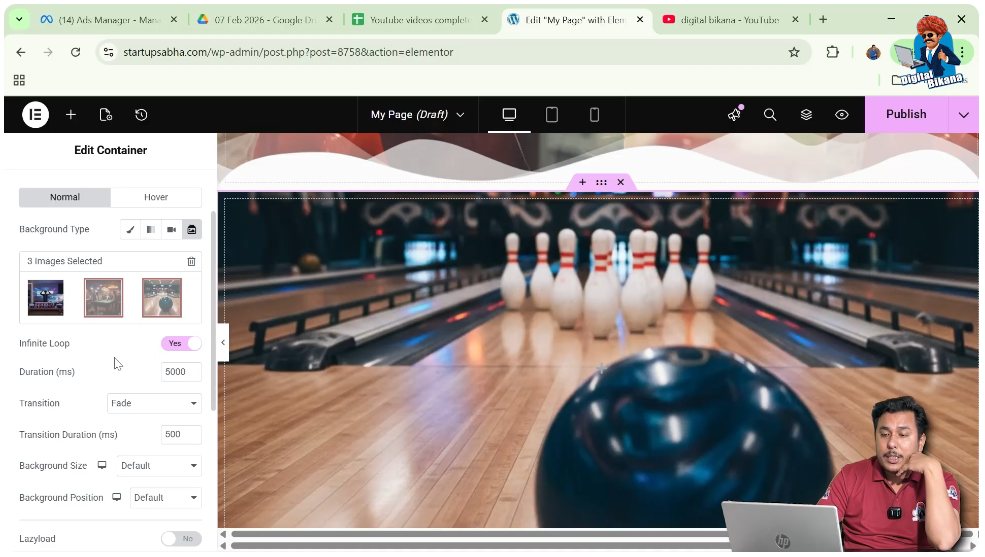
Adjusting Background Size
Inside the slideshow settings, you will find the Background Size option.
This option determines how the images fit inside the container.
You can select Cover so that the image covers the entire container area.
This prevents the image from repeating and ensures it fills the container properly.
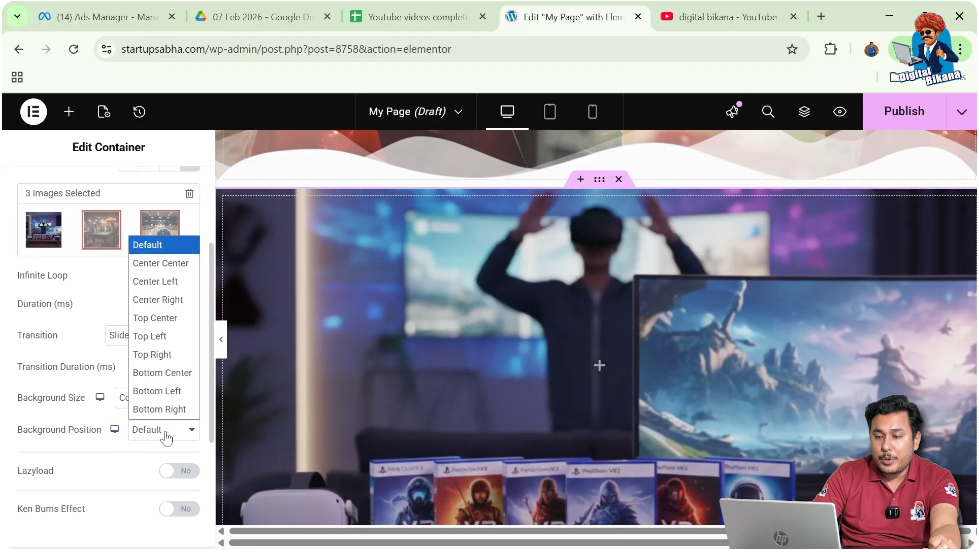
Adjusting Background Position
You can also control where the image appears inside the container.
The Background Position option allows you to choose positions such as:
- Center Center
- Top Center
- Bottom Center
Selecting Center Center ensures the image remains centered inside the container.
Lazy Load Option
Elementor also provides a Lazy Load option for slideshow images.
When Lazy Load is enabled, the slideshow images load only when a user scrolls to that section.
This can improve website performance because images are not loaded until they are needed.
You can choose whether to keep this option enabled or disabled.
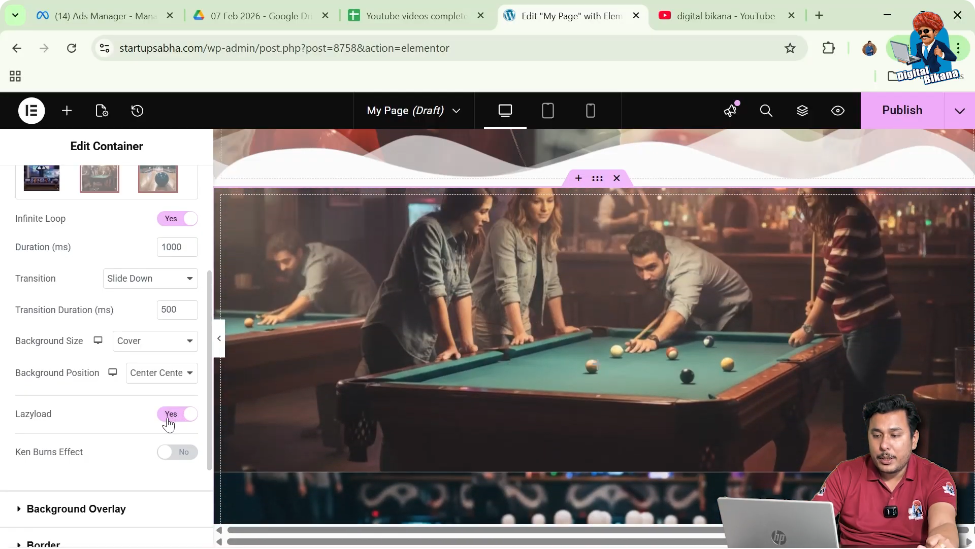
Ken Burns Effect
Elementor also includes an option called the Ken Burns effect.
This effect adds a subtle zoom and motion animation to the background images during the slideshow.
When enabled, the images slowly zoom in or out while transitioning between slides.
This creates a more dynamic and visually engaging slideshow.
Conclusion
Adding an image slideshow to the background of a container in Elementor is a simple process that can greatly improve the visual appearance of your website.
You begin by creating a container using the plus icon and selecting a Flexbox layout. After creating the container, you edit the container settings and open the Style tab. Inside the Background settings, you select the Slideshow option and add multiple images from the media library.
After inserting the images, you increase the container height so the images appear properly. Elementor then automatically displays the images as a rotating slideshow.
You can further customize the slideshow by adjusting settings such as duration, transition style, transition duration, background size, background position, lazy load, and the Ken Burns effect.
By following these steps, you can easily add a background image slideshow to a container while designing webpages in Elementor on a WordPress website.
Related Posts


