
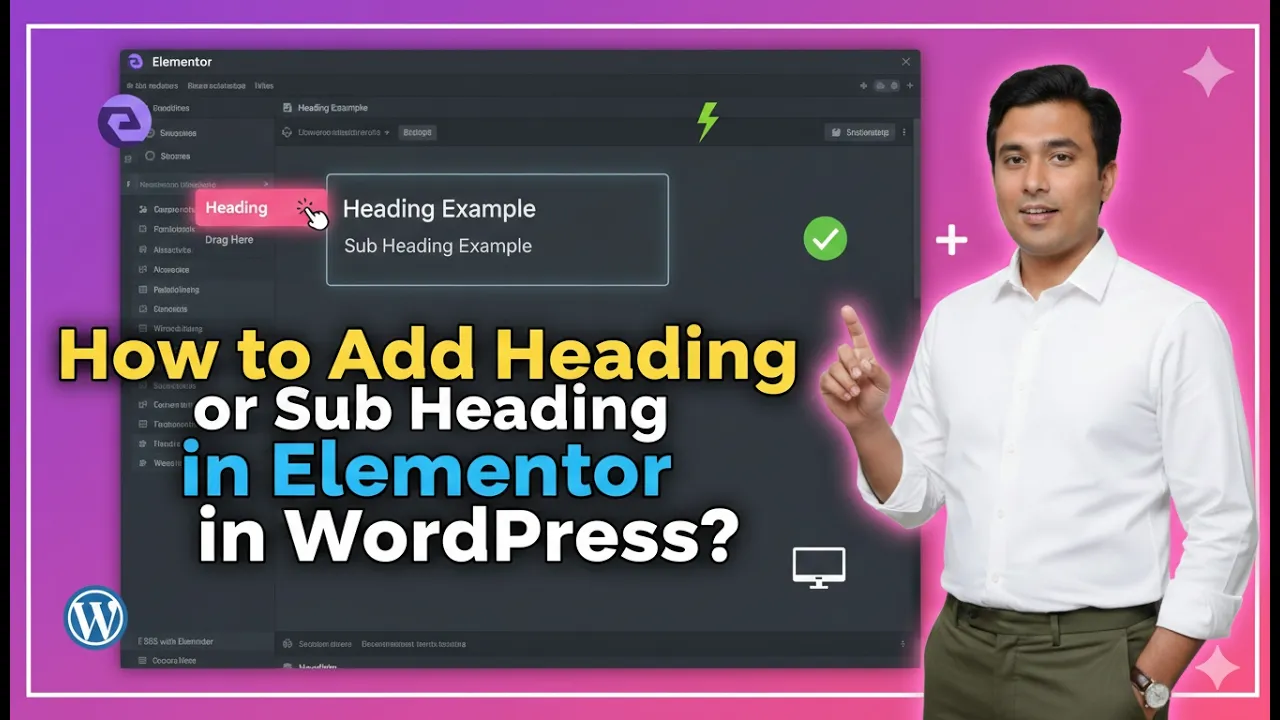
In this article, we will learn how to add a heading and subheading in Elementor in WordPress. Elementor is a powerful page builder that allows you to design web pages easily using a drag-and-drop interface. One of the most basic and important elements in any webpage is the heading and subheading structure.
Headings help define the structure of your content, while subheadings and paragraph text provide additional information and improve readability. This guide explains the complete process step by step, from creating a section to adding headings, paragraph text, and subheadings.
Creating a New Section in Elementor
Before adding a heading or subheading, you need to create a section where these elements will be placed.
Understanding Section Creation
A section in Elementor acts as a container that holds widgets like headings, text, images, and other elements. It is the first step in designing any layout.
Steps to Create a Section
Step 1: Click on the Plus Icon
In the Elementor editor, you will see a plus (+) icon in the middle of the screen. Click on it to create a new section.
Step 2: Select Layout Type
After clicking the plus icon, you will be asked to choose a layout. Select Flexbox as the layout type. You can also choose Grid depending on your requirement.
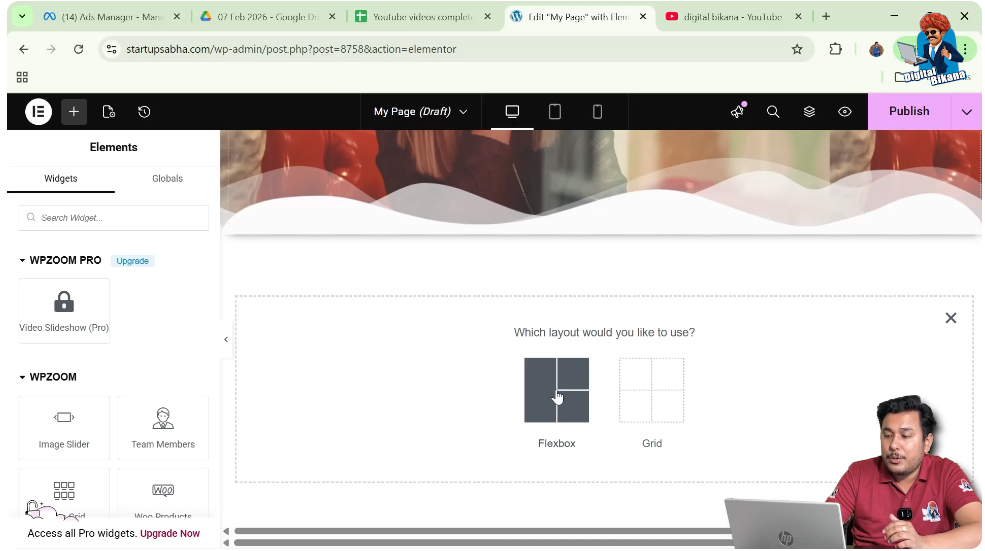
Step 3: Choose Structure
Select the structure as a one-direction column.
Once these steps are completed, your section will be successfully created.

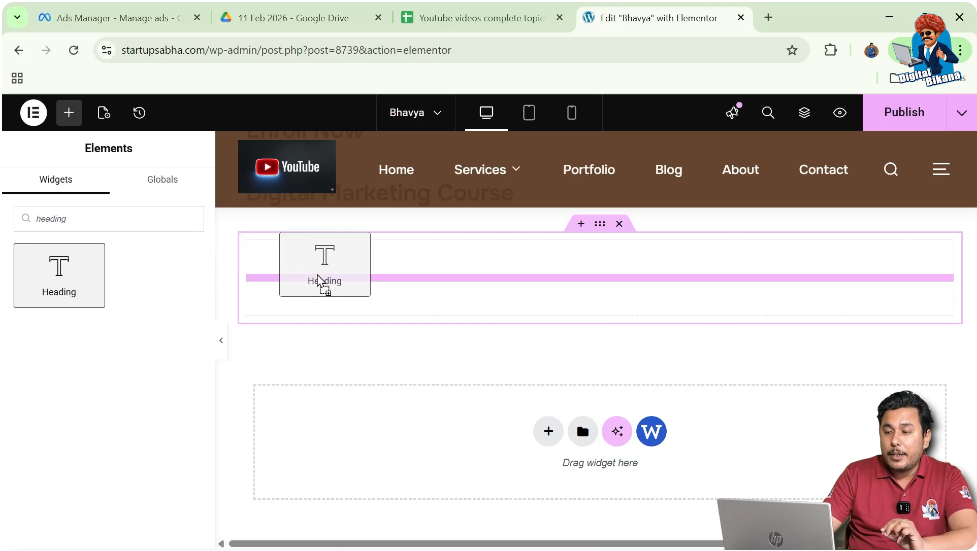
Adding a Heading Widget in Elementor
After creating the section, the next step is to add a heading widget.
Understanding Heading Widget
The heading widget is used to add titles and main headings to your webpage. It helps in organizing content and improving SEO.
Steps to Add Heading
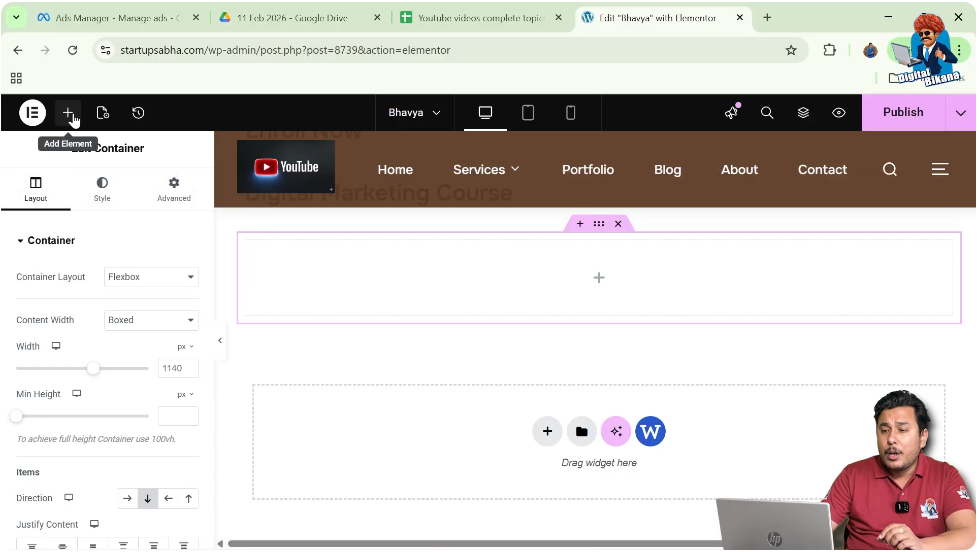
Step 1: Open Widget Panel
Move your cursor to the top black header area and click on the plus icon to add elements.
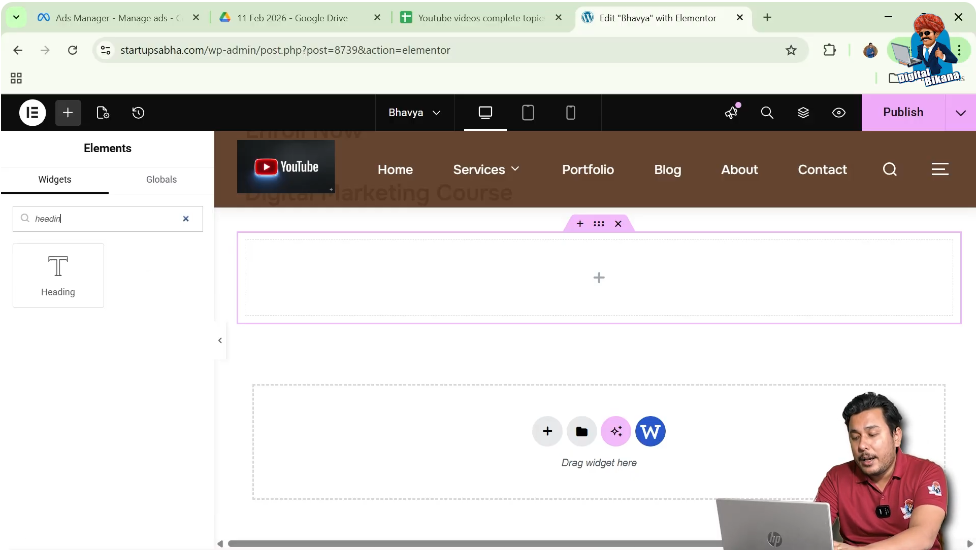
Step 2: Search for Heading
In the widgets panel, search for “Heading.”
Step 3: Drag and Drop Widget
Drag the heading widget and drop it into the section you created.
Once added, the heading will appear in your section.
Editing Heading Content
After adding the heading, you need to edit its content.
Understanding Content Settings
Elementor provides content settings where you can change the text of your heading.
Steps to Edit Heading
Step 1: Select Heading
Click on the heading widget.
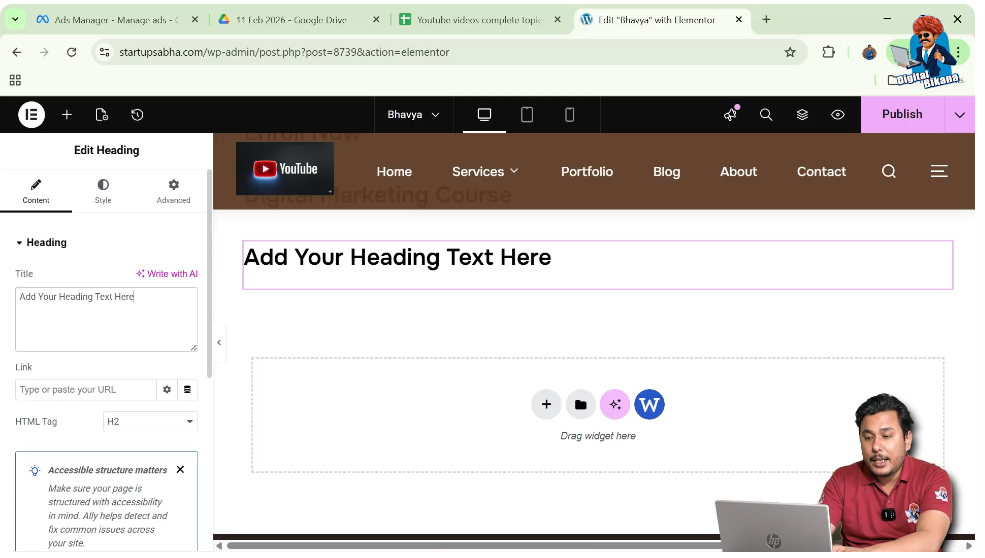
Step 2: Open Content Settings
In the left-side toolbar, go to the Content tab.
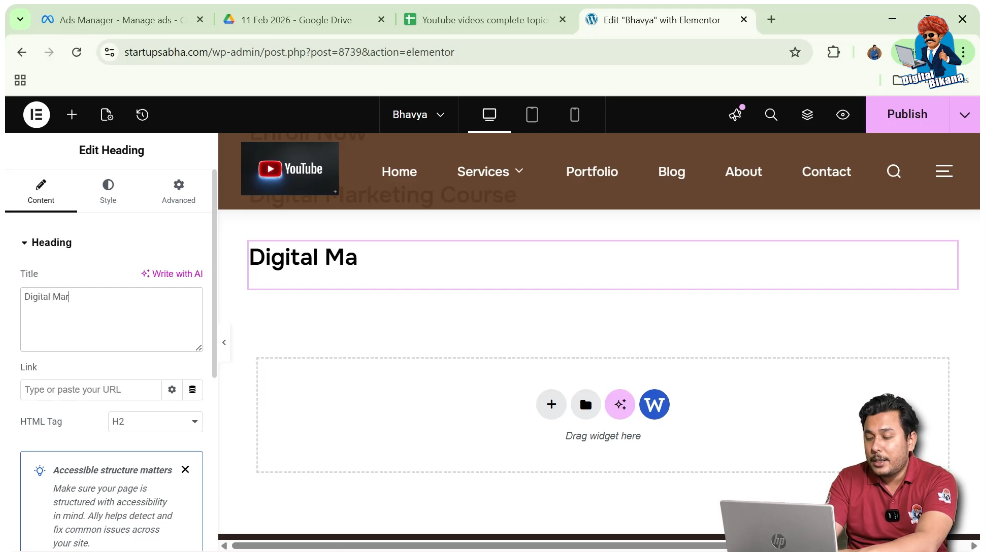
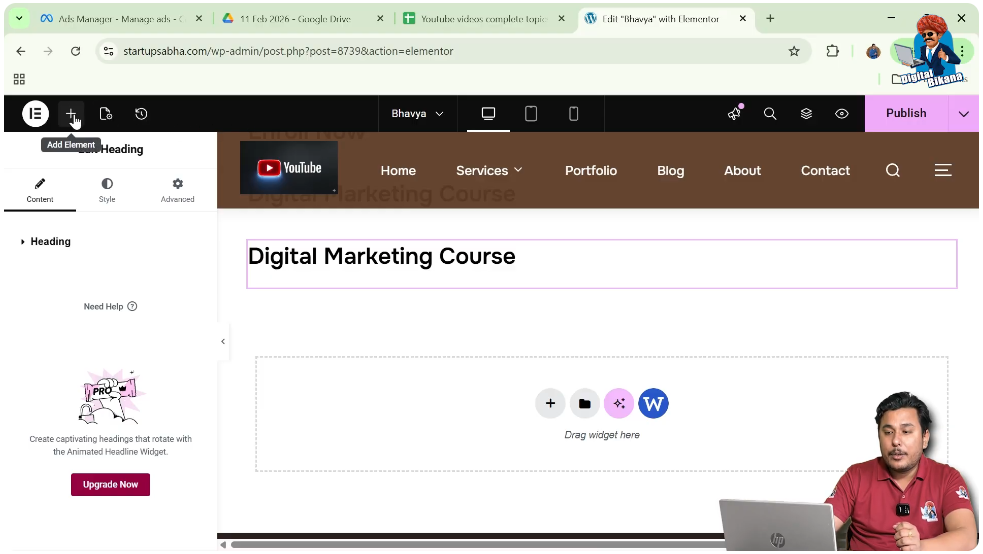
Step 3: Enter Heading Title
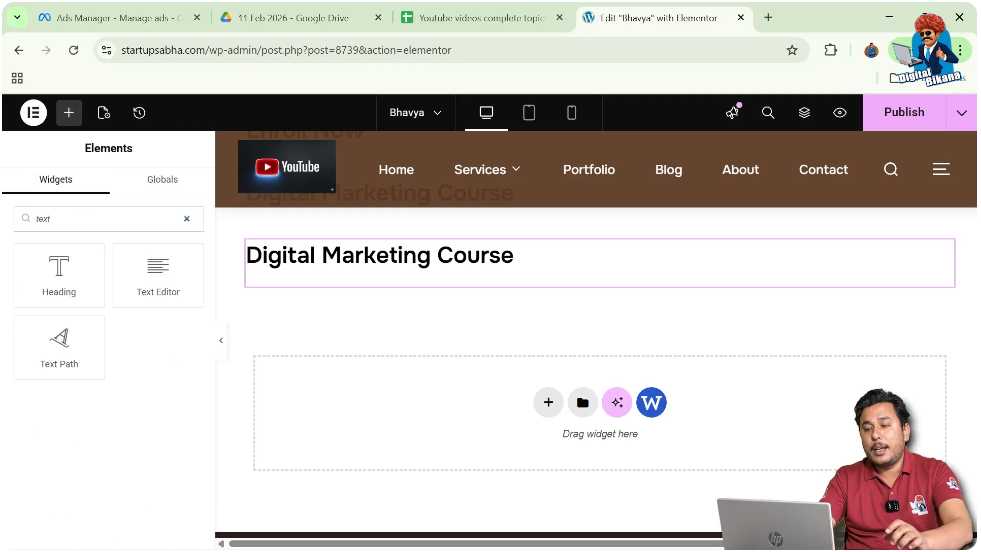
In the heading title field, type your desired text, such as “Digital Marketing Course.”
Your heading will be updated instantly.
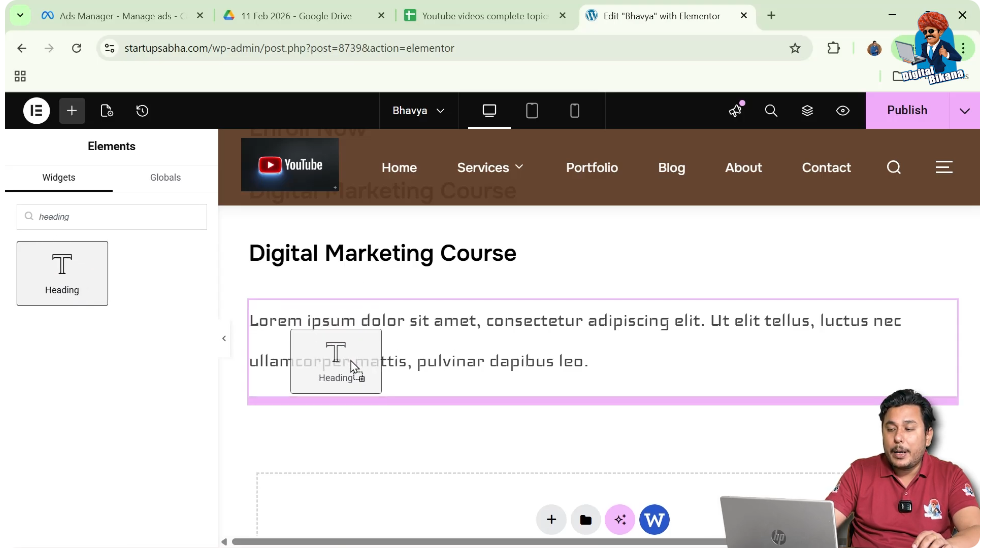
Adding Paragraph Text Below Heading
To provide more information under the heading, you can add paragraph text.
Understanding Text Editor Widget
The text editor widget allows you to add paragraph content below headings.
Steps to Add Paragraph
Step 1: Open Widget Panel
Move your cursor to the black header line and click on the plus icon.
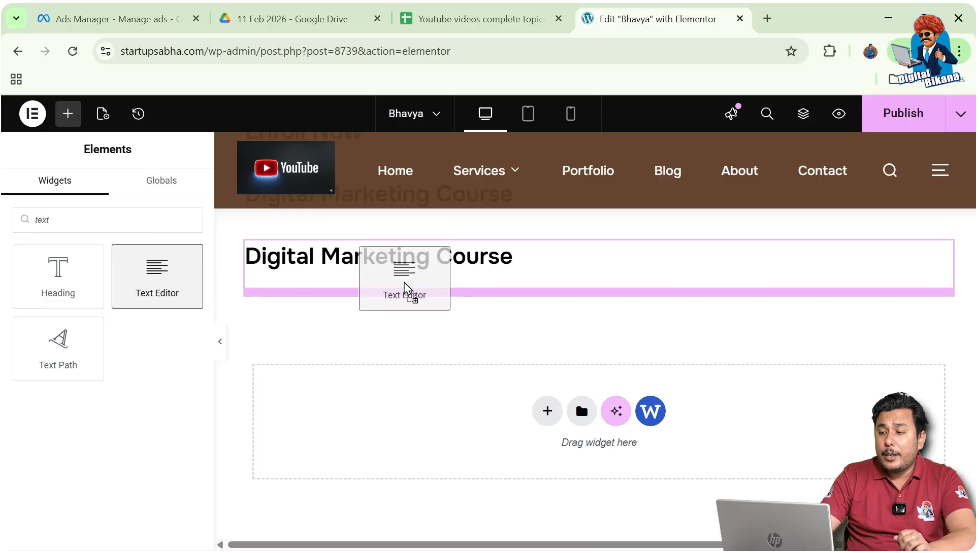
Step 2: Search for Text Editor
Search for “Text Editor” in the widgets panel.
Step 3: Drag and Drop Widget
Drag the text editor widget and drop it below the heading.
You will see a pink line indicating where the widget will be placed. Ensure it is positioned below the heading.
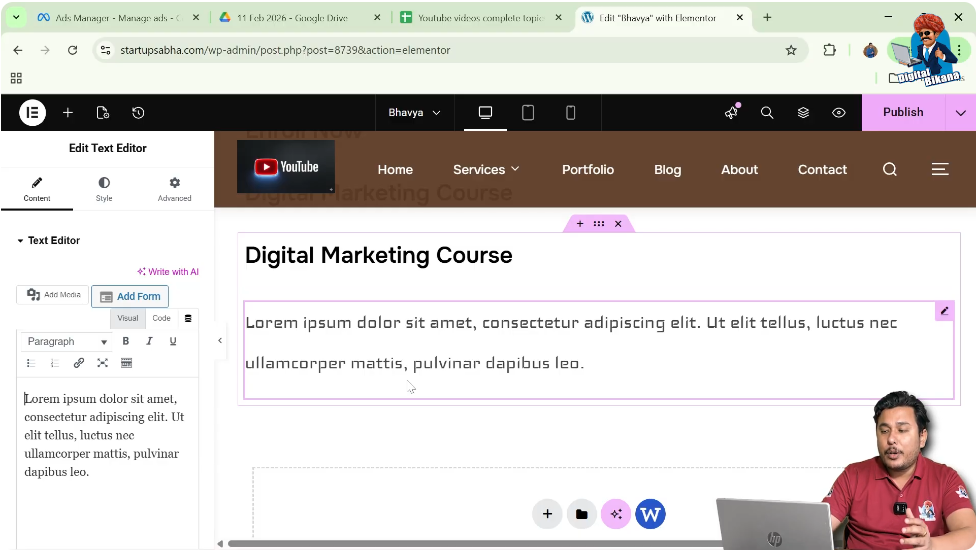
Step 4: Enter Text
Type your paragraph content in the text editor.
Now your heading will have supporting text below it.
Understanding Widget Placement
Elementor provides visual indicators to help you place widgets correctly.
Using the Pink Line Indicator
When dragging a widget, a pink line appears to show where the element will be placed.
Positioning Widgets Correctly
If you place the widget above the heading, it will appear above it.
If you place it below, it will appear under the heading.
For this layout, ensure the paragraph is placed below the heading.
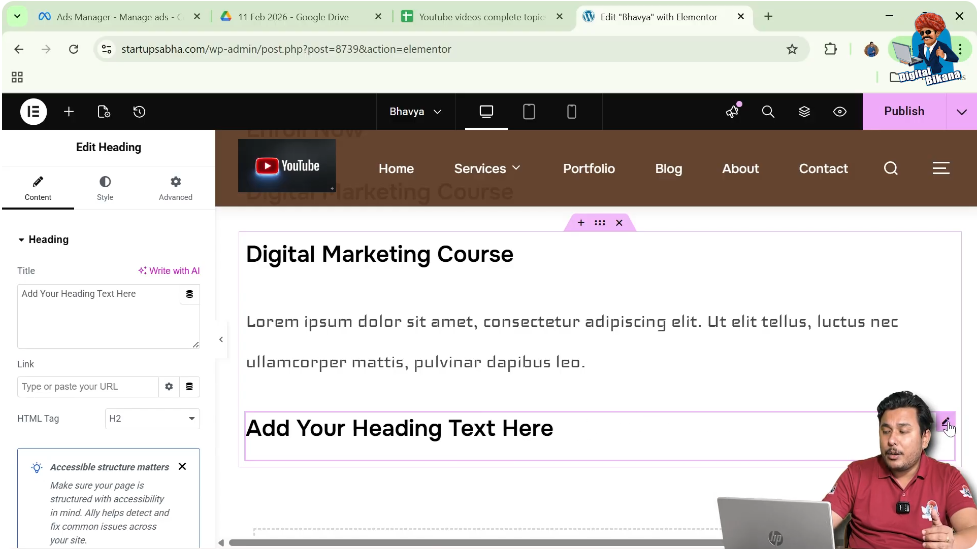
Adding a Subheading in Elementor
Now the next step is to add a subheading below the paragraph.
Understanding Subheading
A subheading is another heading element used to divide content into smaller sections.
Steps to Add Subheading
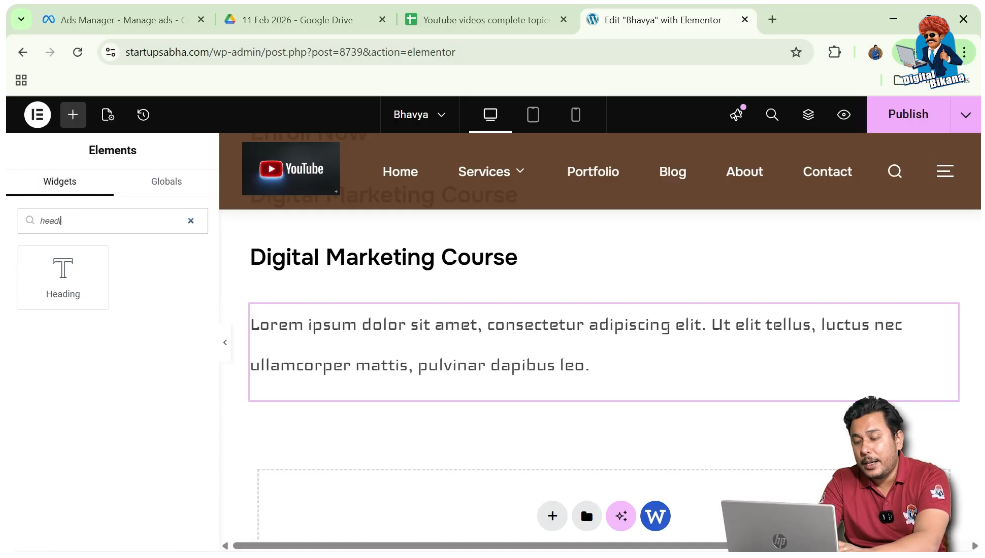
Step 1: Open Widget Panel
Move your cursor to the black header line and click on the plus icon.

Step 2: Search for Heading
Search for the heading widget again.
Step 3: Drag and Drop Widget
Drag the heading widget and drop it below the paragraph text.
Use the pink line indicator to ensure correct placement.
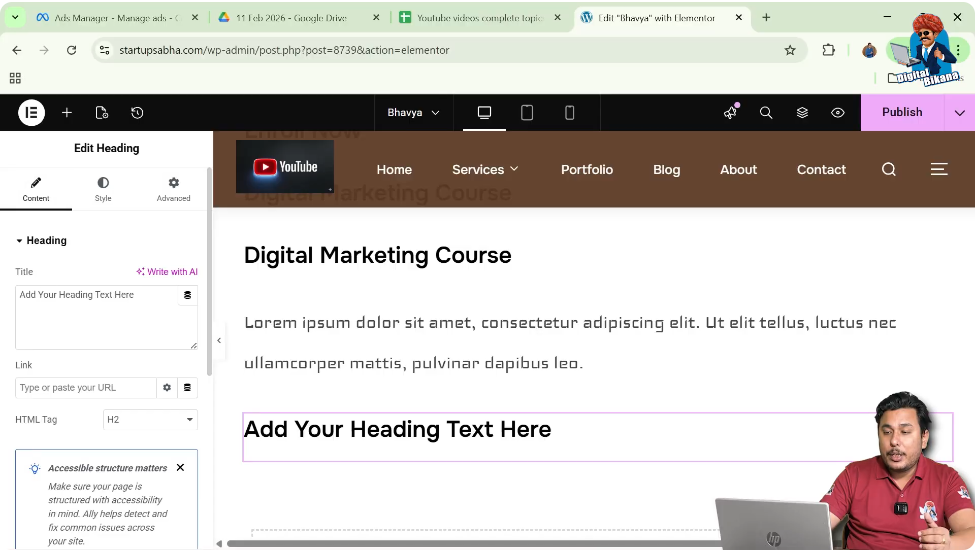
Editing Subheading Content
After adding the subheading, you need to customize its text.
Steps to Edit Subheading
Step 1: Click on Subheading
Select the newly added heading widget.
Step 2: Open Content Settings
In the left toolbar, go to the Content tab.
Step 3: Enter Subheading Text
Type your desired subheading text.
Your subheading will be updated instantly.
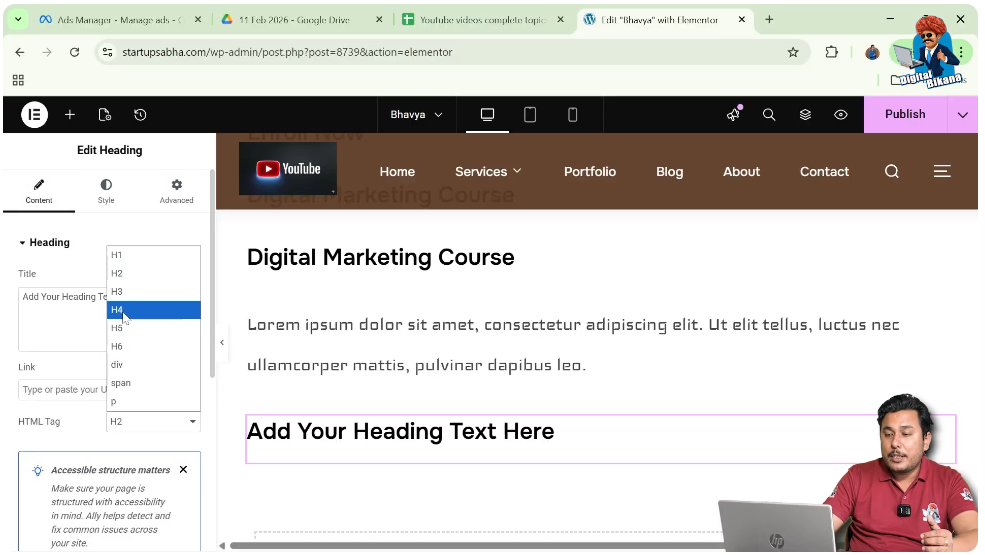
Changing Heading Levels (HTML Tags)
Elementor allows you to change the heading level using HTML tags.
Understanding HTML Tags
HTML tags define the importance and size of headings, such as H1, H2, H3, H4, H5, and H6.
Steps to Change Heading Size
Step 1: Select Heading
Click on the heading widget.
Step 2: Go to Content Settings
In the left toolbar, open the Content tab.
Step 3: Change HTML Tag
Choose the desired heading tag, such as H3, H4, or H5, based on your requirement.
This will adjust the size and importance of the heading.
Importance of Heading and Subheading Structure
Using proper headings and subheadings improves both design and SEO.
Improving Readability
Headings break content into sections, making it easier for users to read.
Enhancing SEO
Search engines use headings to understand the structure of your content.
Creating Visual Hierarchy
Different heading sizes help organize content and guide users through the page.
Final Output and Result
After completing all the steps, your section will have:
- A main heading
- A paragraph text below the heading
- A subheading placed under the paragraph
- Proper heading hierarchy using HTML tags
This structure improves both the design and usability of your webpage.
Conclusion
Adding headings and subheadings in Elementor is a simple yet essential part of website design. By creating a section, adding a heading widget, inserting paragraph text, and placing a subheading, you can structure your content effectively.
Elementor’s drag-and-drop interface and real-time editing make it easy to arrange elements exactly as needed. By following the steps explained in this article, you can create well-structured and visually appealing content for your WordPress website.
Related Posts


