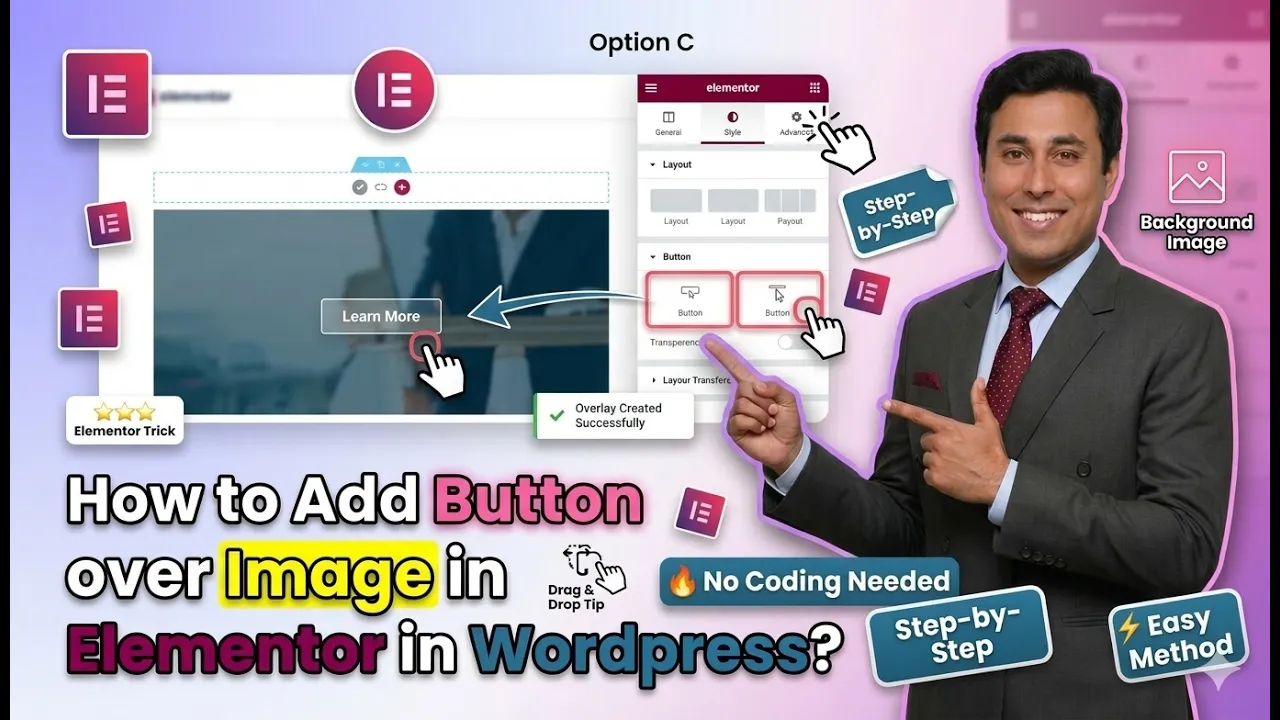
In this article, we will learn how to add a button over an image in Elementor in WordPress. Elementor is a powerful drag-and-drop page builder that allows you to design visually appealing layouts without coding. One of the commonly used design techniques is placing a button over an image to create a call-to-action section.
This method is useful for banners, promotional sections, and landing pages where you want users to interact with a button placed directly on an image. In this guide, we will go through the complete step-by-step process, including creating a section, adding a background image, placing a button, and adjusting its position.
Creating a New Section in Elementor
To begin, you need to create a section where the image and button will be placed.
Understanding Section Creation
A section is the main layout structure in Elementor that holds columns and containers.
Steps to Create a Section
Step 1: Click on the Plus Icon
In the Elementor editor, click on the plus (+) icon in the middle of the screen.
Step 2: Select Layout Type
Choose the layout type. In this case, select Grid. You can also choose Flexbox based on your requirement.
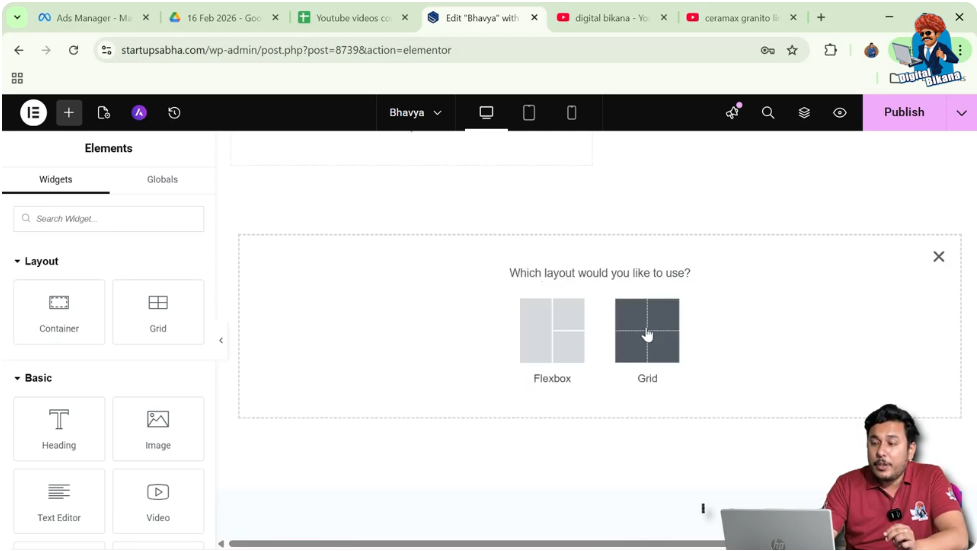
Step 3: Choose Structure
Select a structure with one row and two columns.

Step 4: Adjust Section Height
In the left toolbar, increase the height of the section for better visibility.
Now your section is ready.

Adding a Container in Elementor
After creating the section, the next step is to add a container.
Understanding Container
A container helps organize elements like images, text, and buttons.
Steps to Add Container
Step 1: Open Add Element Panel
Move your cursor to the black header line and click on the plus icon.

Step 2: Search for Container
Search for “Container” in the widget panel.
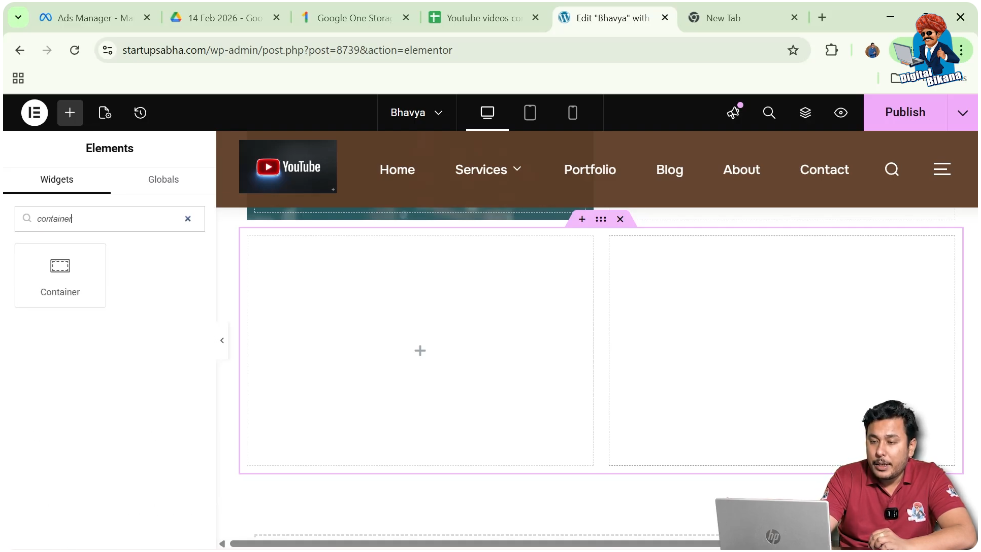
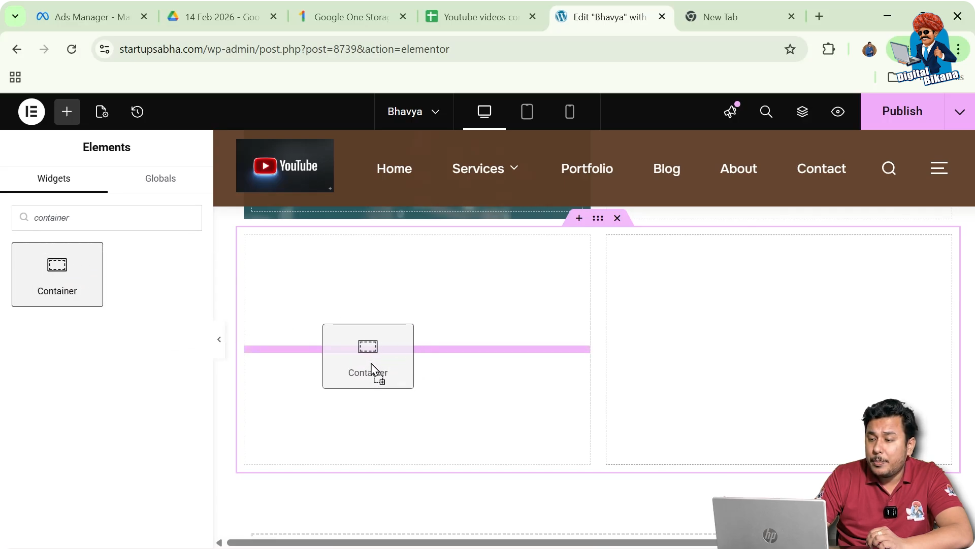
Step 3: Drag and Drop Container
Drag the container widget and drop it into the first column.
Now the container is added successfully.
Adding Background Image to Container
To place a button over an image, you first need to add an image as a background.
Understanding Background Image
A background image is applied to the container and acts as the base layer.
Steps to Add Background Image
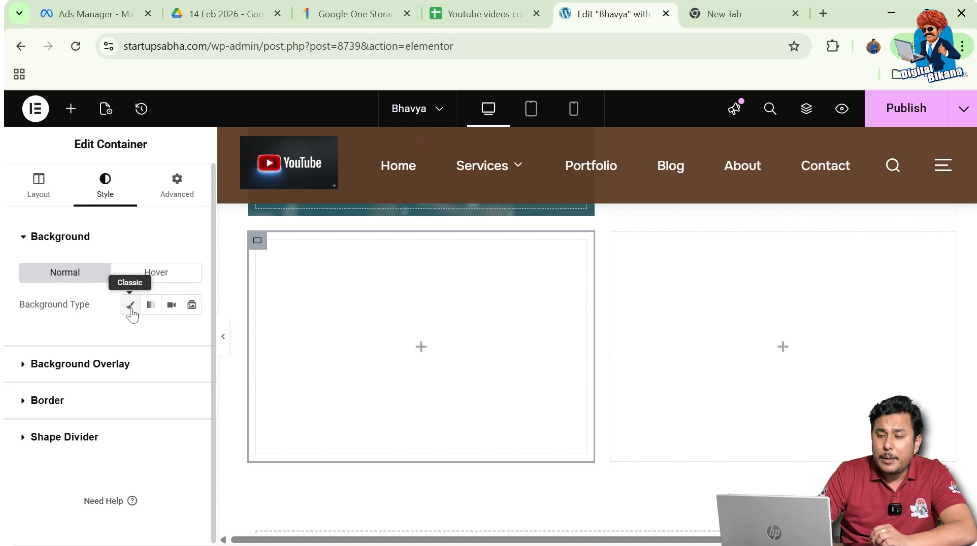
Step 1: Edit Container
Click on the edit container icon (top-left gray box).
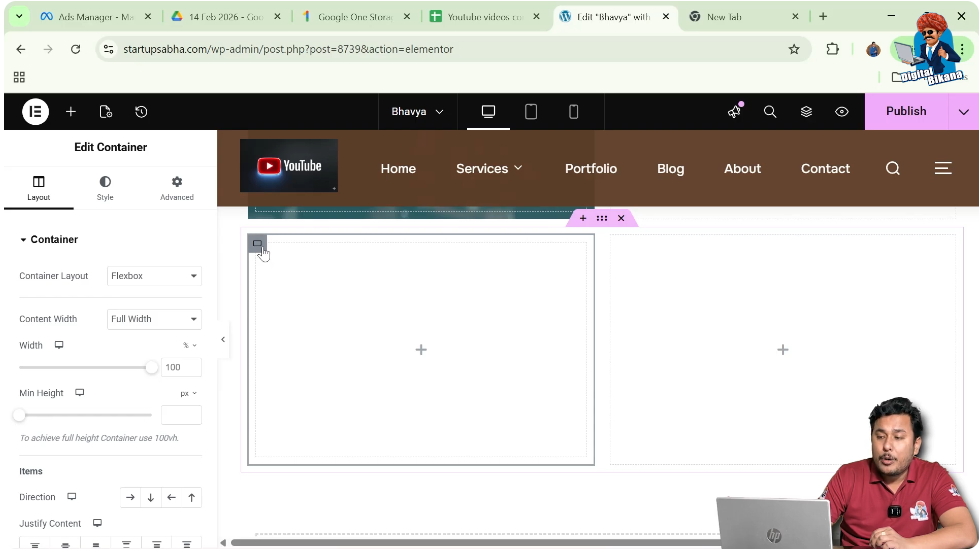
Step 2: Go to Style Settings
In the left toolbar, open the Style tab.

Step 3: Select Background Type
Choose “Normal” and set the background type to “Classic.”
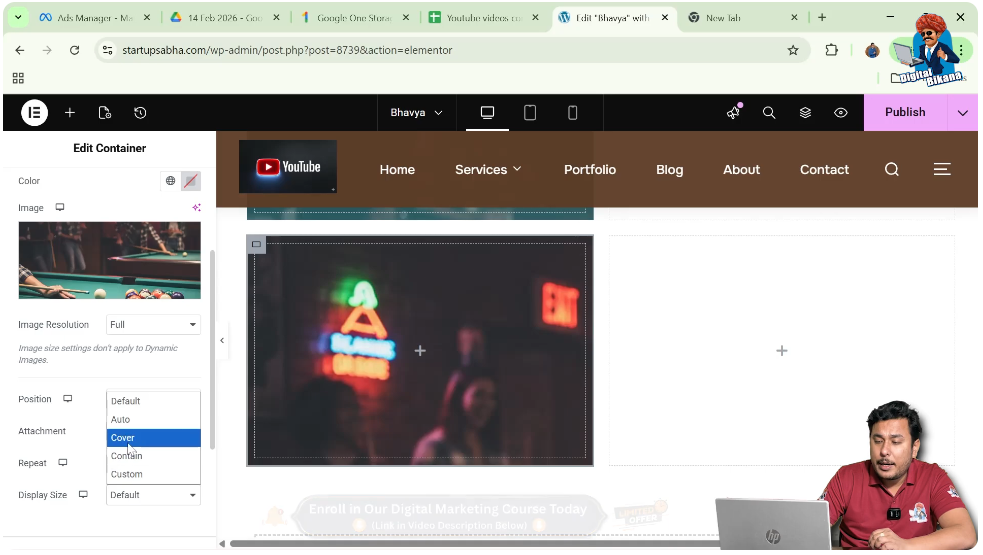
Step 4: Choose Image
Select an image from the media library and click “Select.”

Adjusting Background Image Display
After adding the image, you need to adjust its display settings.
Improving Image Visibility
Proper display settings ensure that the image looks good inside the container.
Steps to Adjust Display
Step 1: Set Display Size
Set the display size to “Cover.”
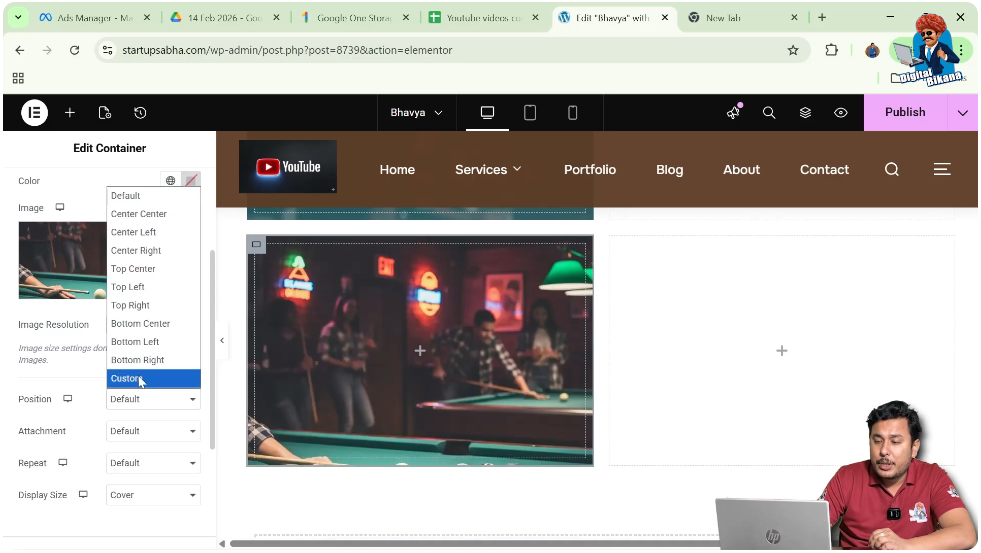
Step 2: Adjust Position
Select “Custom” position and adjust X and Y values as needed.
Now the image will be properly aligned.
Adding Button Over Image
Now comes the main step—adding a button on top of the image.
Understanding Button Placement
The button will be placed inside the container, which already has a background image.
Steps to Add Button
Step 1: Open Widget Panel
Move your cursor to the top black header line and click on the plus icon.
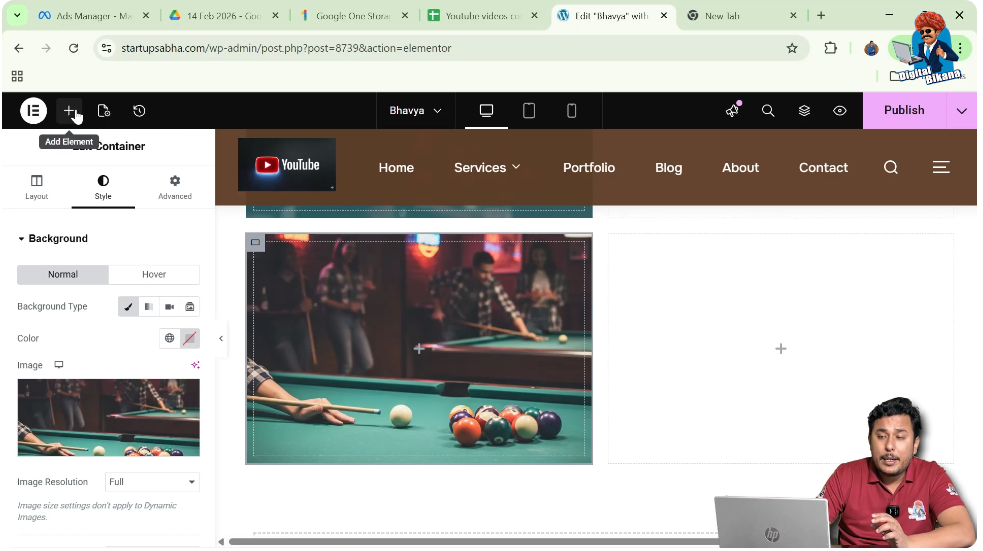
Step 2: Search for Button Widget
Search for “Button” in the widget panel.
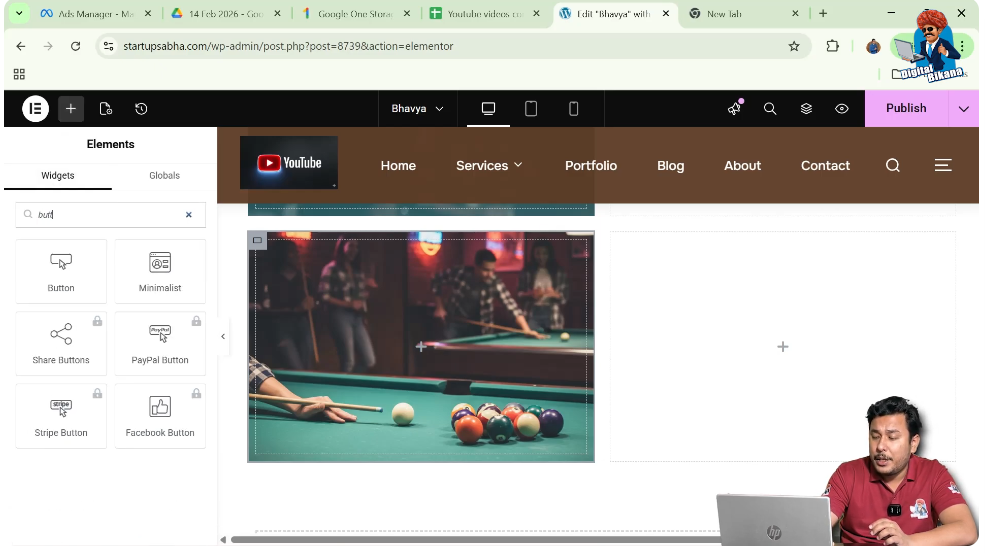
Step 3: Drag and Drop Button
Drag the button widget and drop it inside the container.
Now the button will appear over the image.

Adjusting Button Position
To place the button correctly over the image, you need to adjust its position.
Understanding Margin Settings
Margins control the spacing around the button and help position it precisely.
Steps to Adjust Position
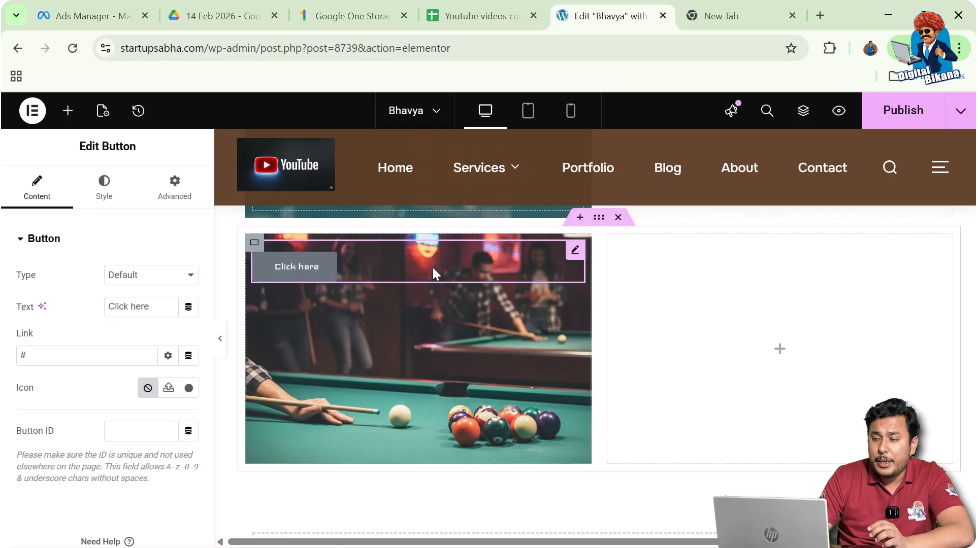
Step 1: Select Button
Click on the button widget.
Step 2: Go to Advanced Settings
Open the Advanced tab in the left toolbar.
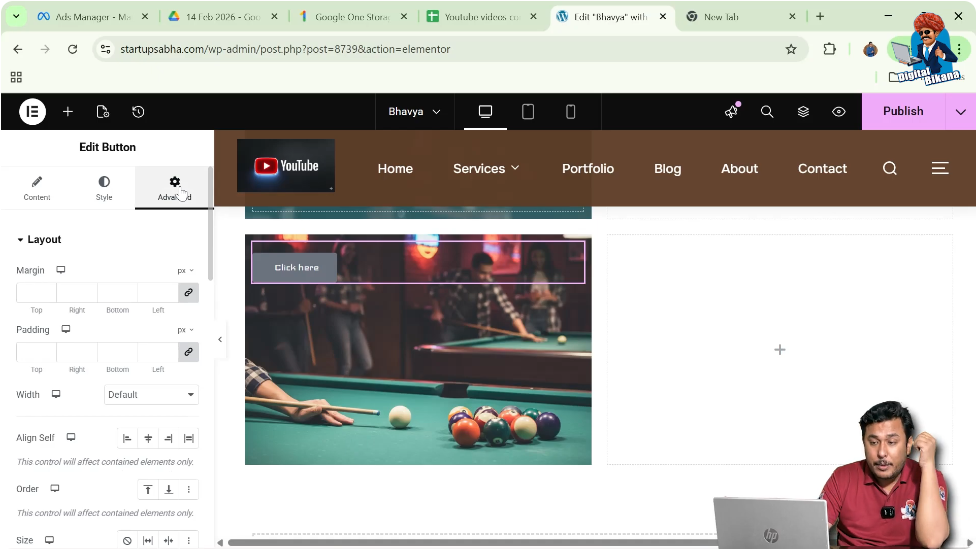
Step 3: Adjust Margin
Use margin values to move the button:
- Increase top margin to move it downward
- Increase left margin to move it toward the center
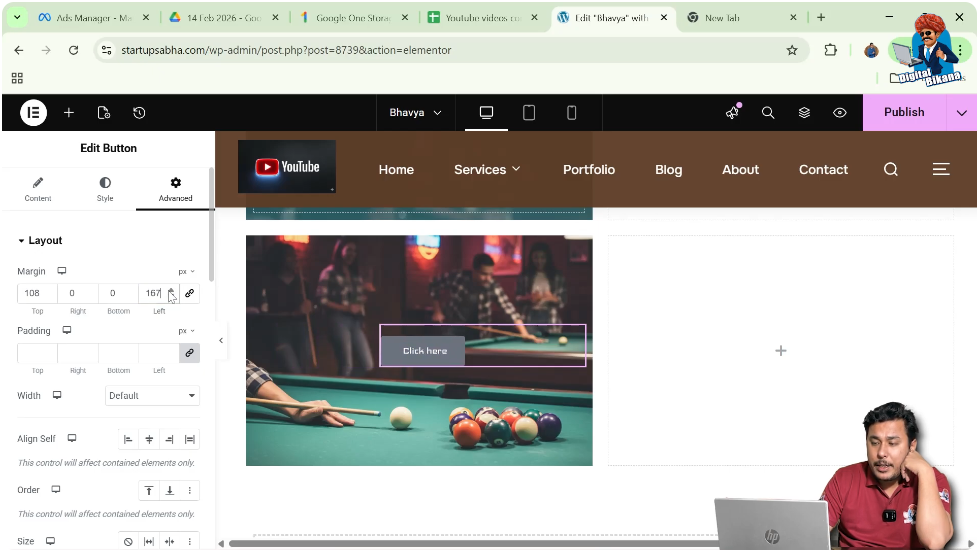
Step 4: Delink Values
Click on the link icon to adjust each side independently.
This helps position the button exactly where you want.
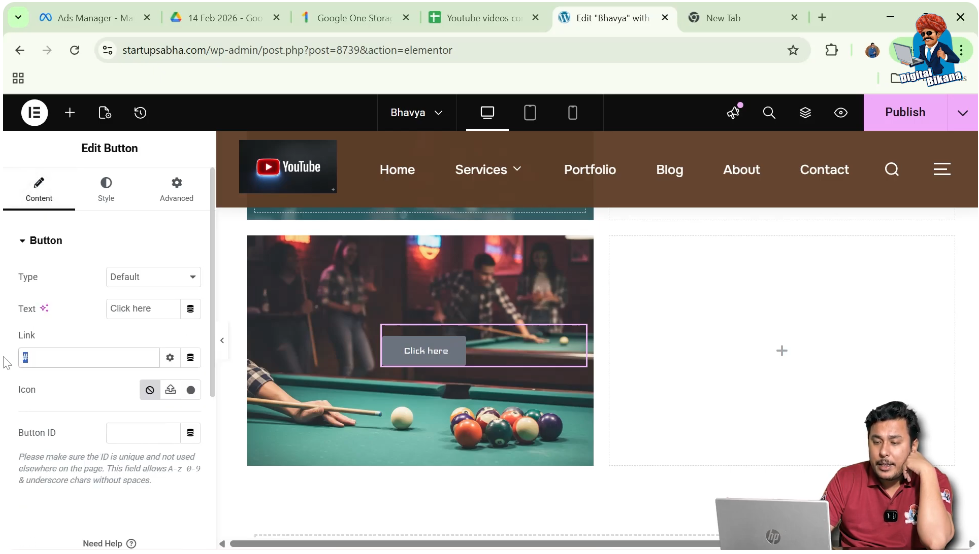
Adding Link to Button
You can make the button functional by adding a link.
Understanding Button Linking
A linked button redirects users to another page or URL when clicked.
Steps to Add Link
Step 1: Go to Content Settings
Click on the Content tab.
Step 2: Enter URL
Add the desired link in the link field.
Now your button is clickable.
Enhancing Button Design
You can further improve the appearance of the button.
Styling Options
- Change button color
- Adjust text size
- Modify padding and spacing
Improving Visibility
Ensure that the button color contrasts well with the background image.
Final Output and Result
After completing all the steps, your layout will have:
- A section with proper height
- A container with a background image
- A button placed over the image
- Adjusted button position using margin
- A clickable button with a link
This creates a visually appealing and interactive design.
Conclusion
Adding a button over an image in Elementor is a simple and effective way to create engaging website sections. By creating a section, adding a container, applying a background image, and placing a button with proper positioning, you can build attractive call-to-action areas.
Elementor provides flexible customization options that allow you to adjust layout, spacing, and styling easily. By following the steps explained in this article, you can successfully place a button over an image and enhance your website design.
Related Posts