In this article, we will learn how to add a background image to a heading in Elementor in WordPress. Elementor provides multiple ways to apply background images, but adding a background specifically behind a heading requires a proper understanding of containers and sections.
There is no direct option to add a background image inside the heading widget itself. However, you can achieve this effect by applying background images to the container or section in which the heading is placed. In this guide, we will explore three different methods to add a background image behind a heading.
Understanding Background Image in Heading
Before starting, it is important to understand how background images work in Elementor.
Why Background Cannot Be Added Directly to Heading
Elementor does not allow adding a background image directly to the heading widget. Instead, the background is applied to the parent container or section.
Solution Approach
To achieve a heading background effect, you need to:
- Use a section or container
- Apply background image to that container
- Place the heading inside it
Method 1: Adding Background Image Using Section or Flexbox
This is the most basic method where the heading is placed inside a section or flexbox container.
Steps to Add Background in Section
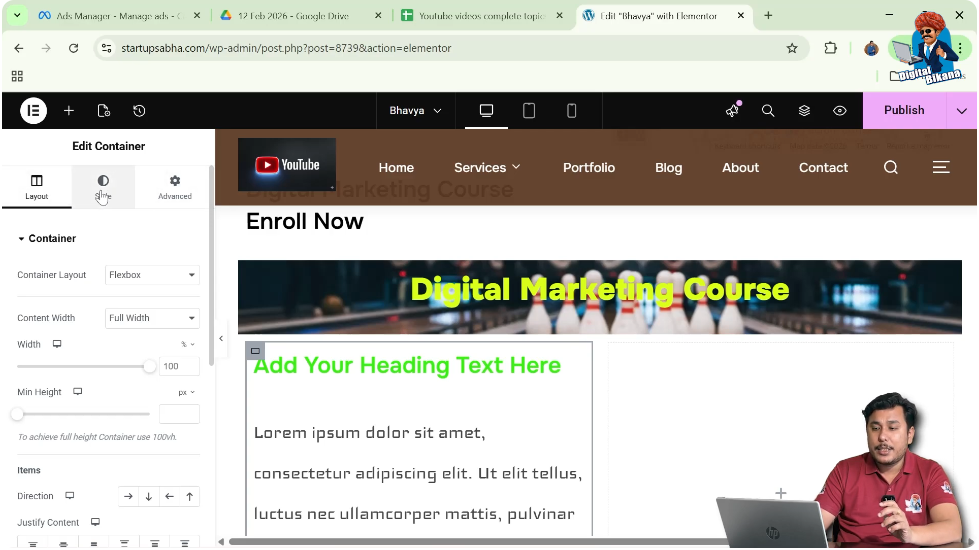
Step 1: Select the Section
Move your cursor over the section where the heading is placed.
Step 2: Click on Edit Container
Click on the six-dot icon above the section to edit it.

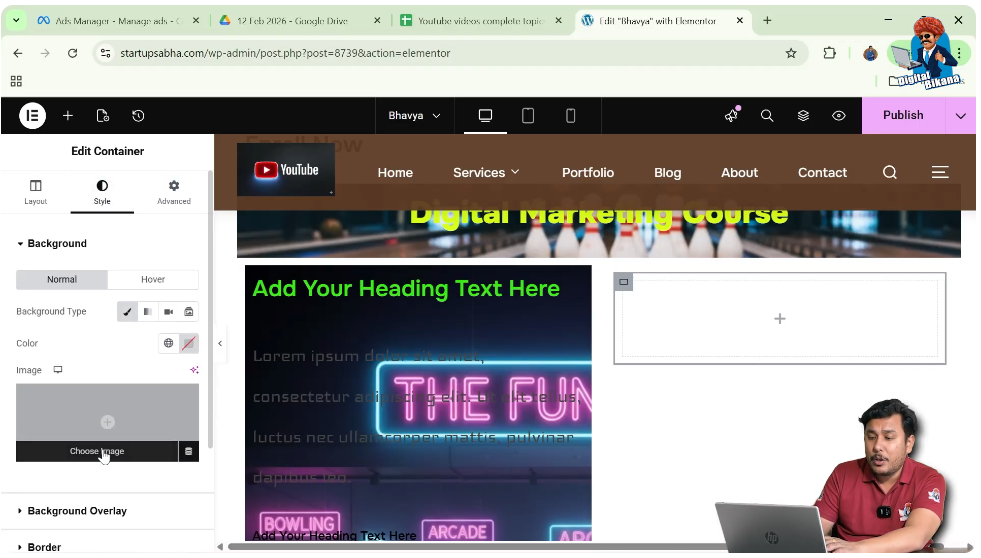
Step 3: Open Style Settings
In the left toolbar, go to the Style tab.

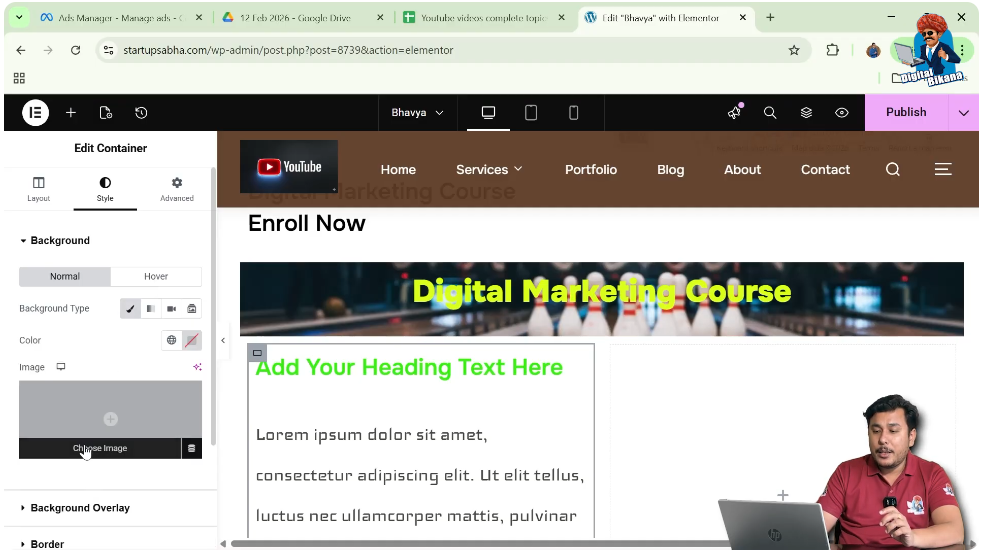
Step 4: Select Background Type
Under Background, choose “Normal” and set the type to “Classic.”
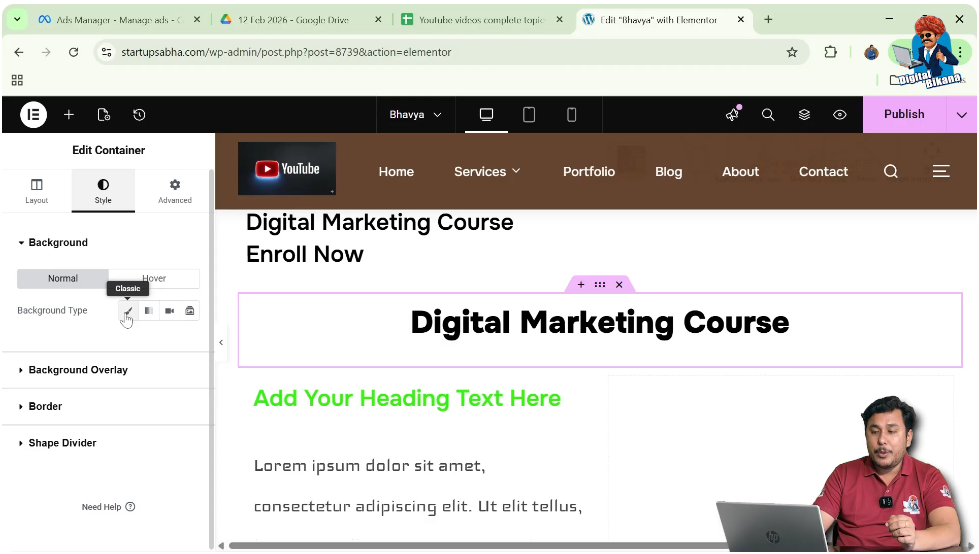
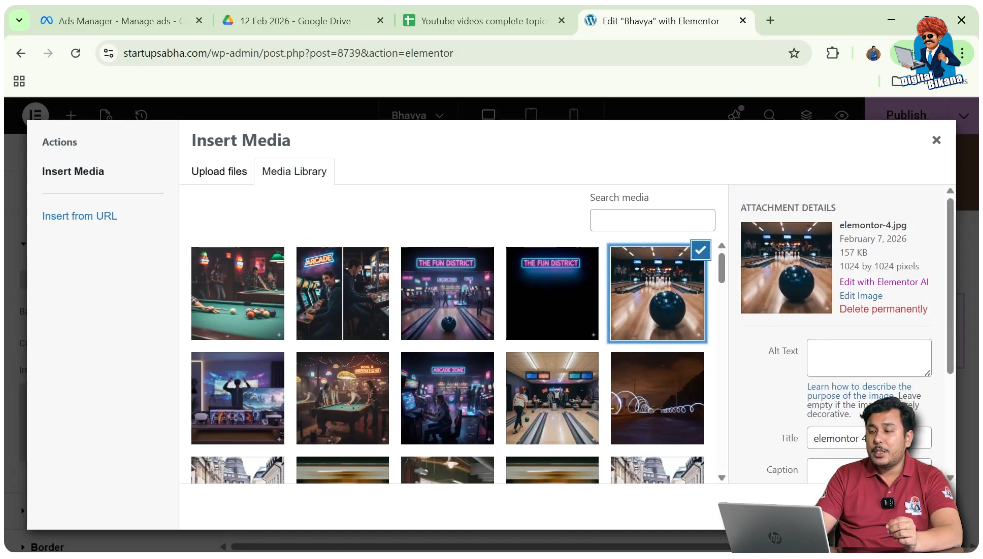
Step 5: Choose Image
Select an image from the media library or upload a new one.
Step 6: Apply Image
Click on “Select” to apply the background image.
The background will now appear behind the heading.
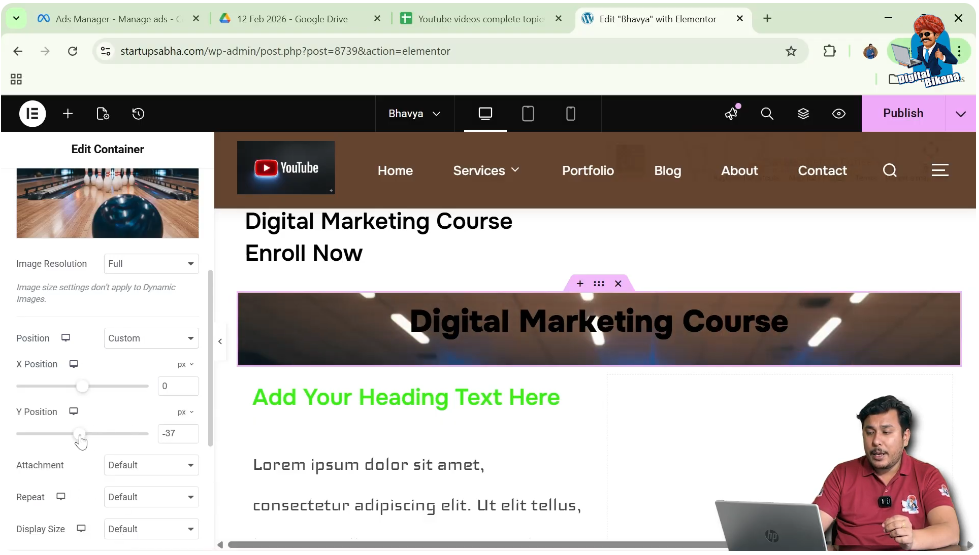
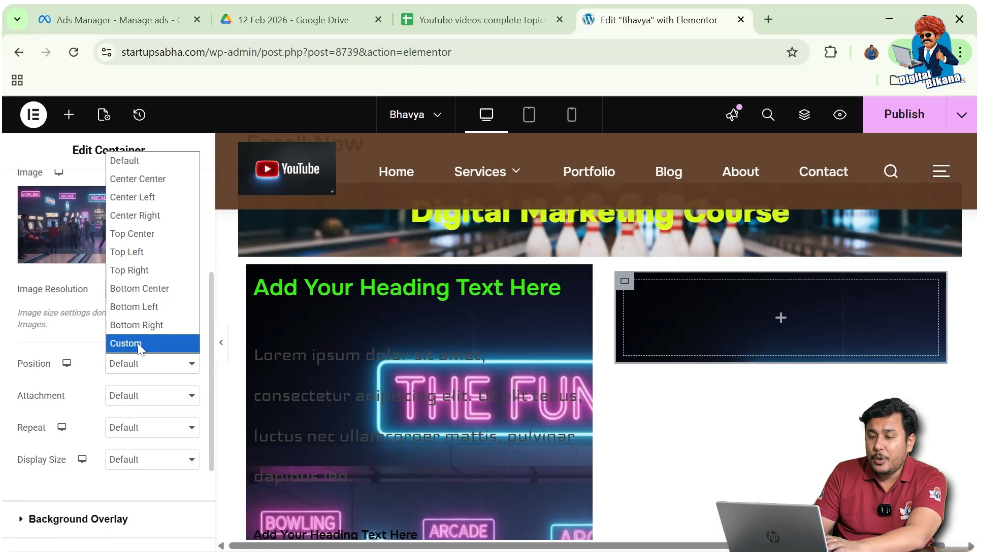
Adjusting Background Position
After adding the image, you may need to adjust its position.
Steps to Adjust Position
Step 1: Select Position as Custom
In the background settings, choose “Custom” position.
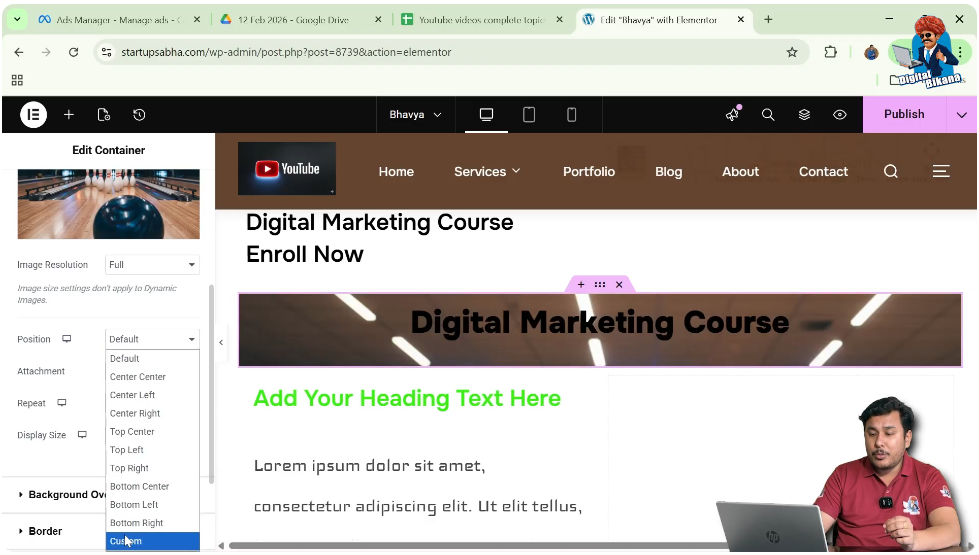
Step 2: Adjust Y Position
Increase or decrease the Y-axis value to move the image up or down.
This helps align the image properly with the heading.
Changing Heading Text Color for Visibility
Once the background image is added, the heading text may not be clearly visible.
Steps to Change Text Color
Step 1: Select Heading
Click on the heading widget.
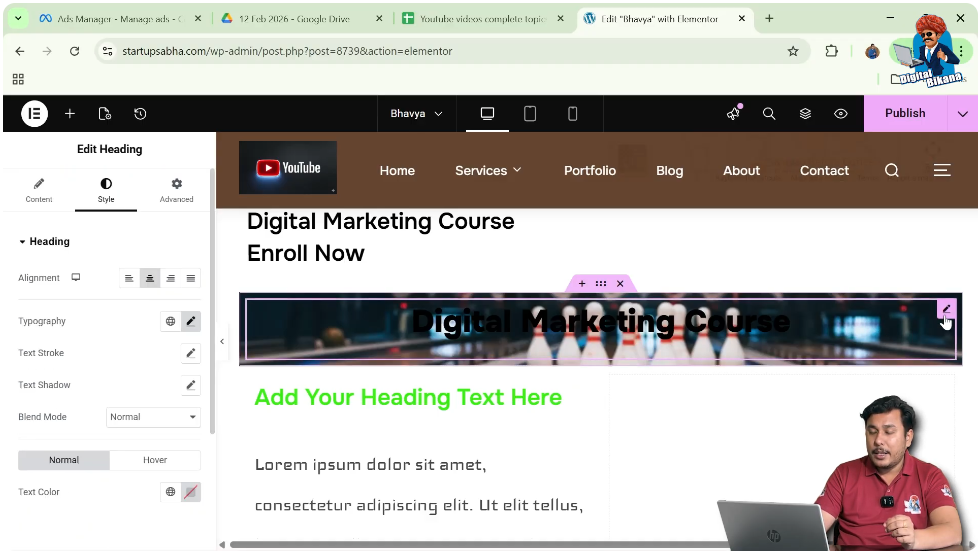
Step 2: Open Style Settings
Go to the Style tab in the left toolbar.
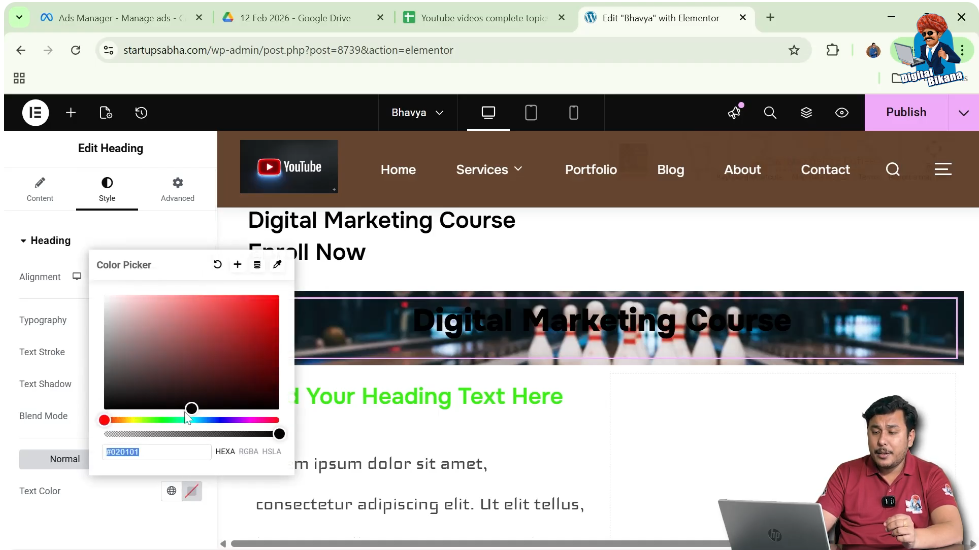
Step 3: Change Text Color
Choose a color like white to improve visibility over the background.
This ensures that the heading stands out clearly.
Method 2: Adding Background Image Using Container
In this method, the background image is applied to a container instead of the entire section.
Understanding Container-Based Background
When you apply a background to a container, it affects all elements inside that container, including headings and paragraphs.
Steps to Add Background in Container
Step 1: Select Container
Move your cursor over the container.
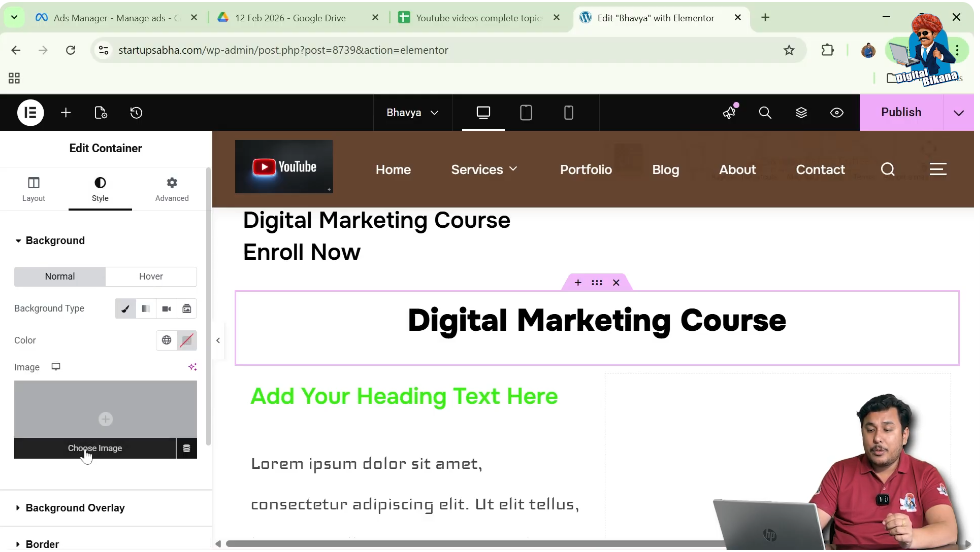
Step 2: Click on Edit Container
Click on the gray box icon to edit the container.

Step 3: Go to Style Settings
Open the Style tab.
Step 4: Select Background Type
Choose “Normal” and set the background type to “Classic.”

Step 5: Choose Image
Select an image from the media library and click on “Select.”
Now the background image will appear behind all content inside the container.
Understanding Container Background Effect
When using this method, the background image is applied to the entire container.
Impact on Elements
- Heading will have background image
- Paragraph will also have background image
This method is useful when you want a consistent background across multiple elements.
Method 3: Using Nested Containers for Heading Background
This is the most advanced method, where you create a separate container specifically for the heading.
Understanding Nested Containers
Nested containers allow you to apply background images to specific elements without affecting others.
Steps to Create Nested Container
Step 1: Add New Container
Click on the plus icon in the top black header and search for “Container.”

Step 2: Drag and Drop Container
Place the container inside your section.
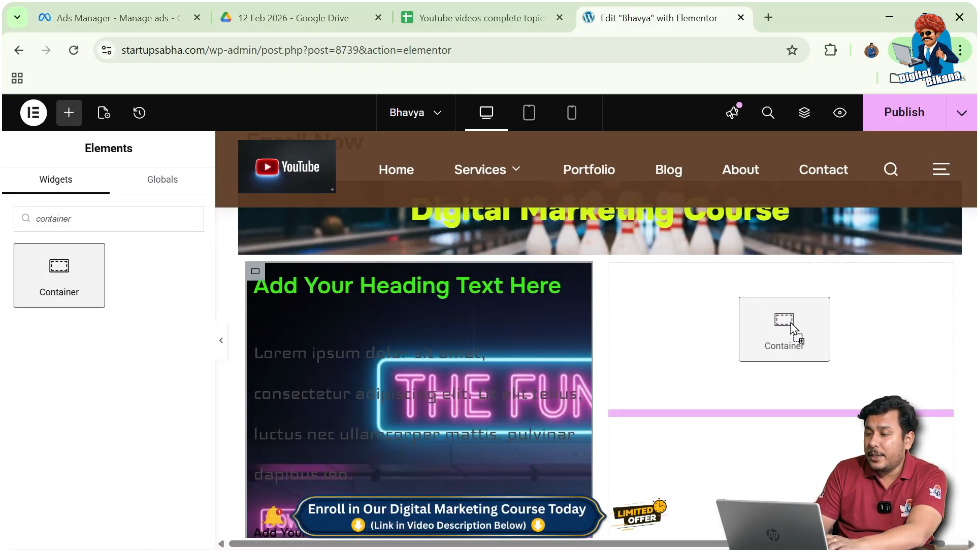
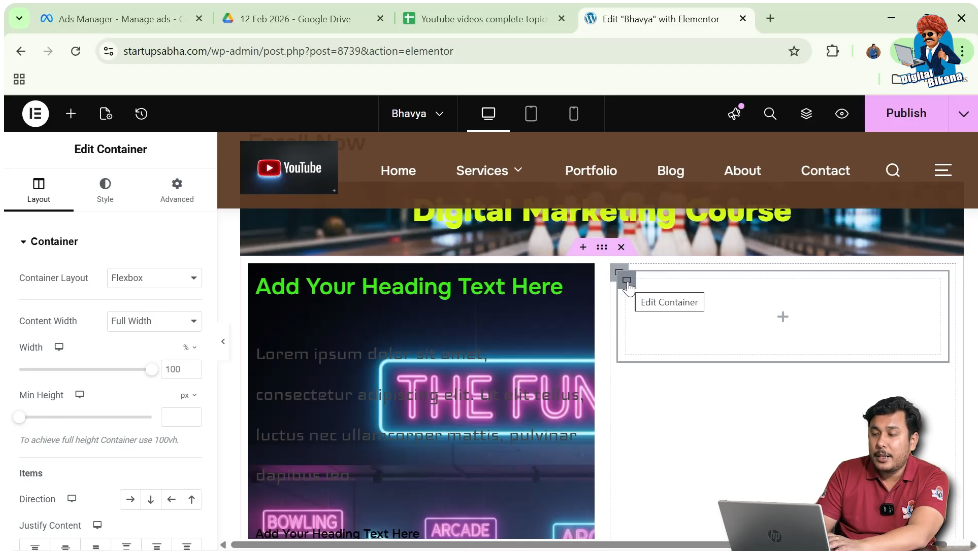
Step 3: Add Another Container Inside
Add a second container inside the first container.
This creates a nested structure.

Applying Background to Inner Container
Now apply the background image only to the inner container.
Steps to Add Background
Step 1: Select Inner Container
Click on the gray box icon of the inner container.
Step 2: Open Style Settings
Go to the Style tab.

Step 3: Select Background Type
Choose “Classic” under Background.

Step 4: Add Image
Select an image from the media library and click on “Select.”
Step 5: Adjust Position
Set position to custom and adjust the Y value if needed.
Now the background image will appear only inside this small container.
Adding Heading Inside Inner Container
After setting the background, you need to add the heading.
Steps to Add Heading
Step 1: Open Widget Panel
Click on the plus icon in the top black header.

Step 2: Search for Heading
Search for the heading widget.
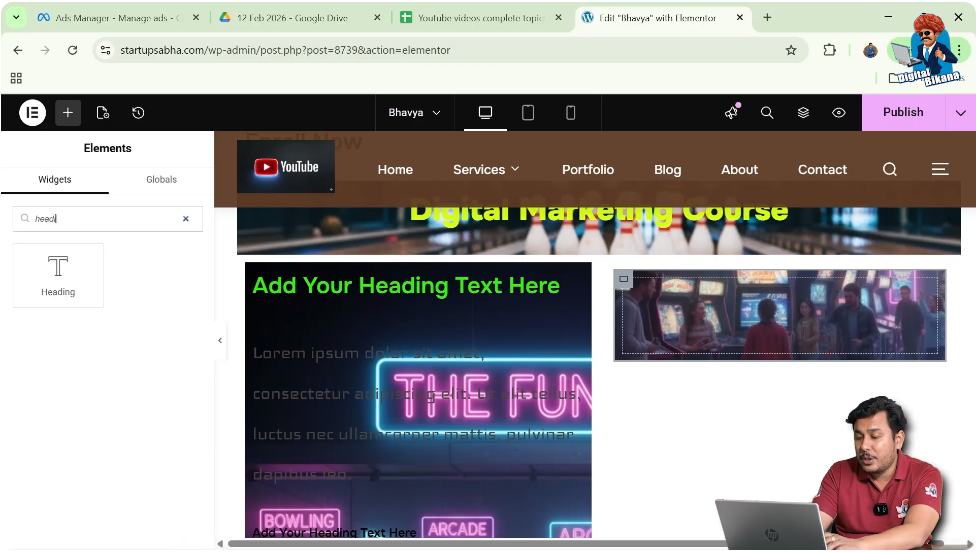
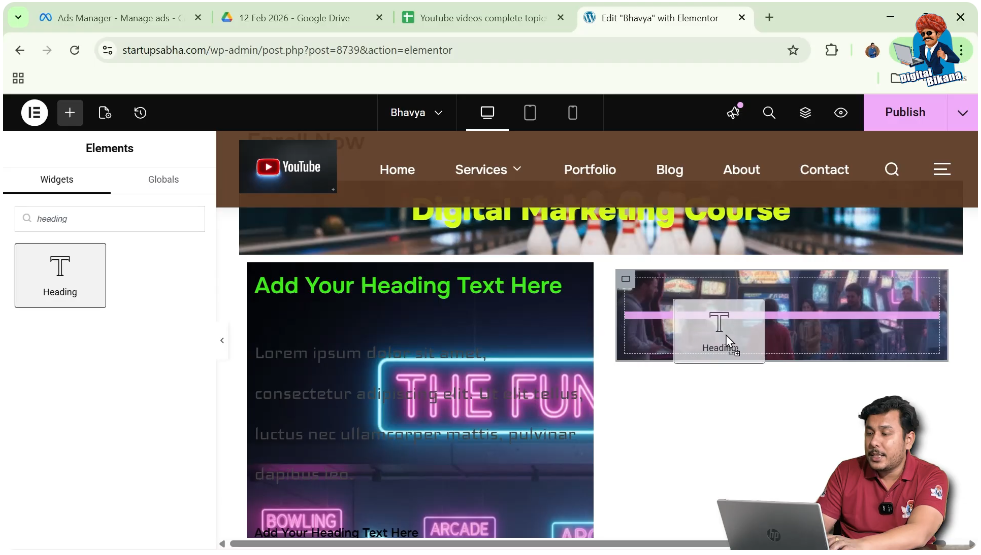
Step 3: Drag and Drop
Place the heading inside the inner container.
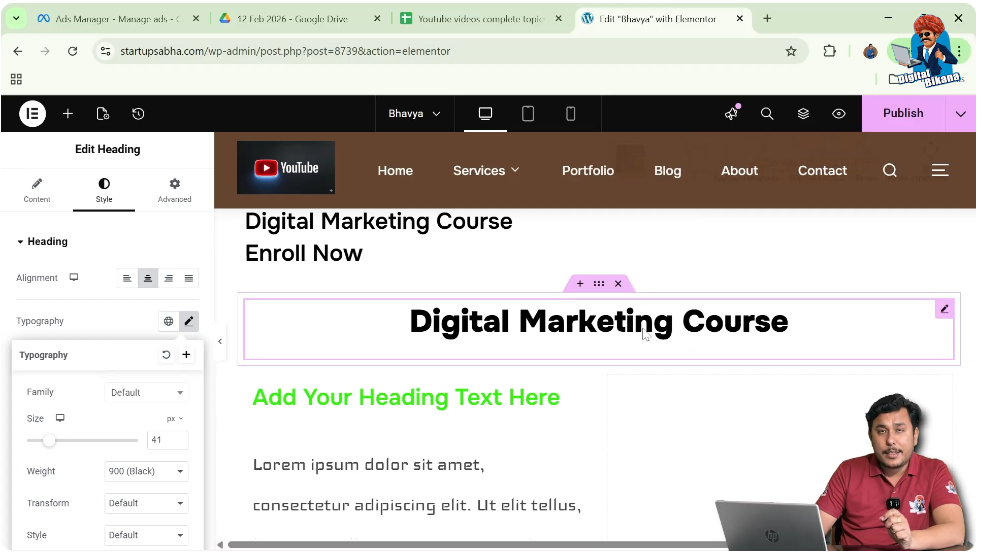
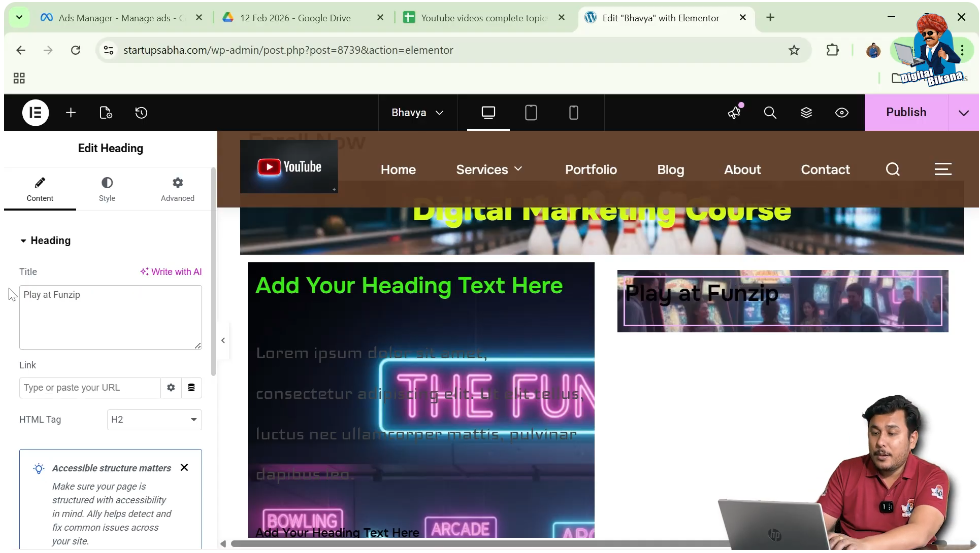
Step 4: Edit Content
Enter your desired heading text in the Content tab.
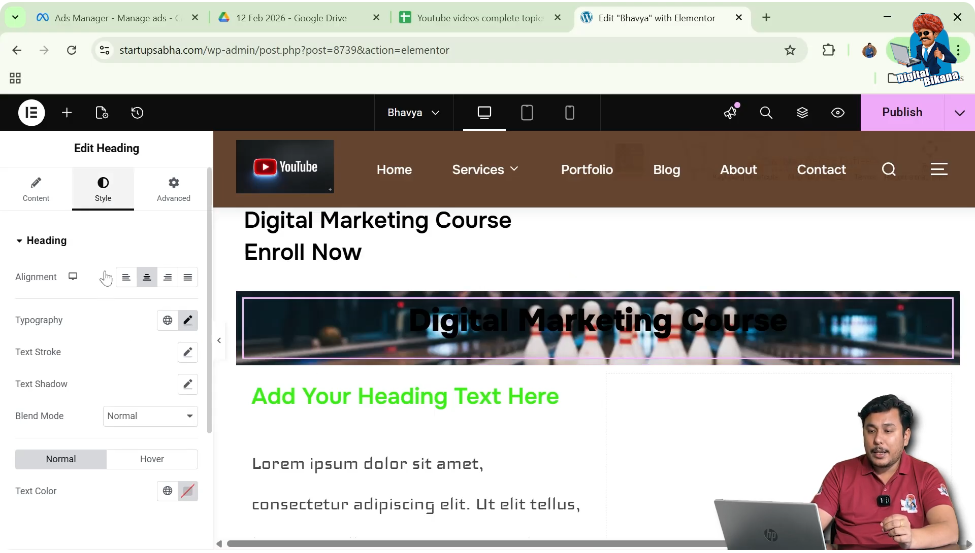
Styling the Heading
To improve visibility and alignment, you can style the heading.
Steps to Style Heading
Step 1: Change Text Color
Go to Style settings and change the text color to white.

Step 2: Align Text
Set alignment to center.
This makes the heading more visually appealing.

Adding Paragraph Without Background
Now you can add a paragraph below the heading without applying the background image.
Steps to Add Paragraph
Step 1: Search for Text Editor
Click on add element and search for “Text Editor.”
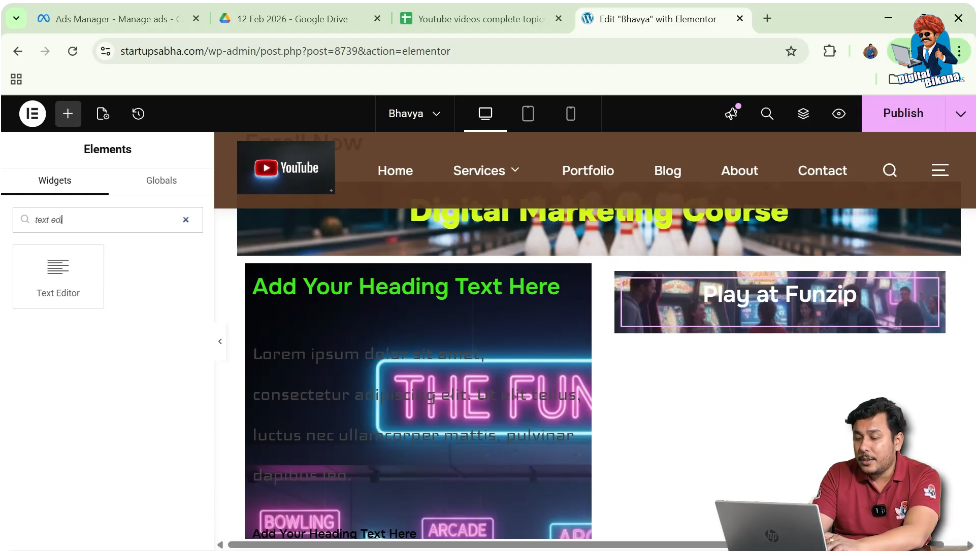
Step 2: Drag and Drop
Place it below the heading but outside the inner container if needed.
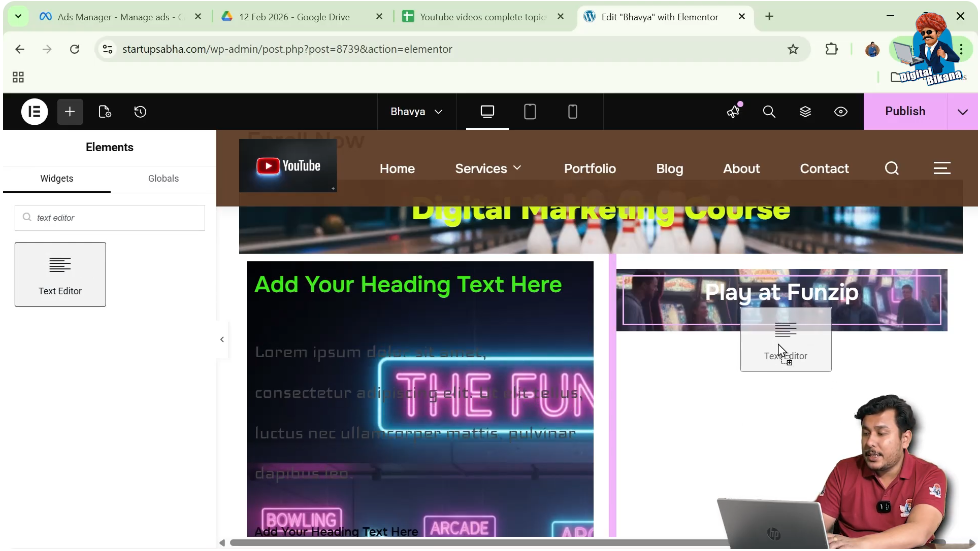
Step 3: Enter Text
Add your paragraph content.
In this case, the paragraph will not have the background image.

Comparing the Three Methods
Each method serves a different purpose.
Method 1
Applies background to the entire section.
Method 2
Applies background to the container, affecting all elements inside.
Method 3
Applies background only to a specific container, ideal for heading-only background.
Final Output and Result
After completing all methods, you will be able to:
- Add background image behind heading
- Control image position
- Adjust heading visibility
- Apply background selectively using containers
This results in a more flexible and visually appealing design.
Conclusion
Adding a background image to a heading in Elementor requires the use of sections and containers. Since the heading widget does not support direct background images, you can use different methods such as section background, container background, or nested containers to achieve the desired effect.
Among these methods, nested containers provide the most control, allowing you to apply background images only to specific elements like headings. By following the steps explained in this article, you can easily create stylish heading backgrounds and enhance your website design.
Related Posts