Adding a background image to a container in Elementor is a common design technique used to make webpages visually appealing. Background images are often used in hero sections, banners, call-to-action areas, and many other parts of a webpage to create an engaging user experience.
Elementor allows users to easily add background images inside containers while editing pages on a WordPress website. By using the container settings and style options, you can apply images, adjust their display size, modify the container height, and control the image position to achieve the desired design.
In this guide, you will learn how to add a background image in a container while editing a webpage in Elementor. The process involves creating a container, accessing style settings, choosing a background image, adjusting display size, and modifying the container height for proper image visibility.
Opening Elementor While Editing a Page
Before adding a background image, you first need to open the Elementor editor for the webpage you want to design.
When you edit a webpage using Elementor, the page editing interface appears with a visual workspace in the center of the screen. On the left side of the screen, you will see the Elementor editing panel that contains various widgets and settings.
In the middle of the page preview area, you will notice a plus icon (+). This icon is used to create a new section or container where you can add elements and design content.

To start adding a background image to a container, you first need to create a container by clicking this plus icon.
Creating a Container in Elementor
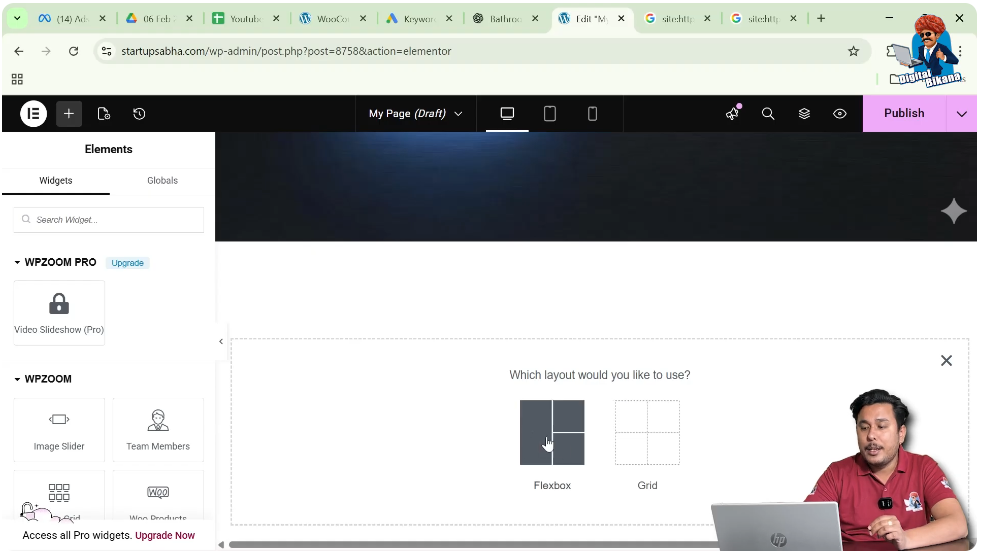
When you click the plus icon in Elementor, the system asks you to choose the layout structure. Elementor provides two layout options for creating containers.
These options include:
Both layout systems help you organize content on a webpage, but for this example, the Flexbox layout will be selected.
Step 1: Click the Plus Icon
While editing a page in Elementor, click the plus icon in the middle of the screen to add a new section.
Step 2: Select Flexbox
After clicking the plus icon, Elementor asks you whether you want to create the container using Flexbox or Grid.
For this process, select Flexbox.
Step 3: Choose the Container Structure
Once you select Flexbox, Elementor shows different container structures.
Choose the first structure, which represents one row and one column.
This creates a simple container that contains a single column. It is commonly used for sections such as banners, headings, or full-width background sections.
Once selected, the container will appear on the page.

Editing the Container
After creating the container, you can modify its settings to add a background image.
Step 1: Click the Six Dots Icon
At the top of the container, you will see six dots. These dots represent the container control.
Clicking these dots allows you to edit the container settings.
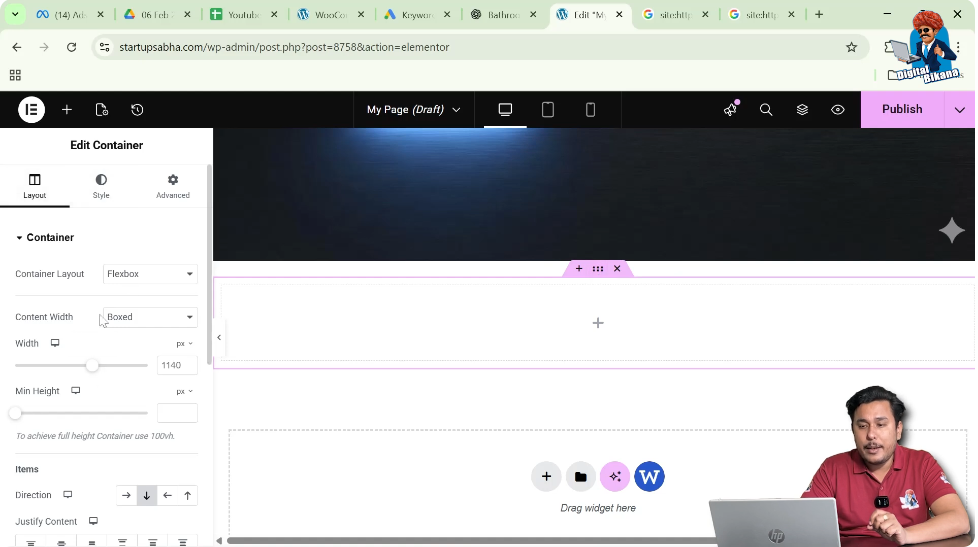
Once you click the six dots icon, the container editing options will appear in the left-side toolbar.
Container Settings in Elementor
When editing a container, Elementor provides three types of settings in the left-side panel.
These settings include:
- Layout
- Style
- Advanced
Each section allows you to control different aspects of the container.
Since the goal is to add a background image, you need to open the Style settings.
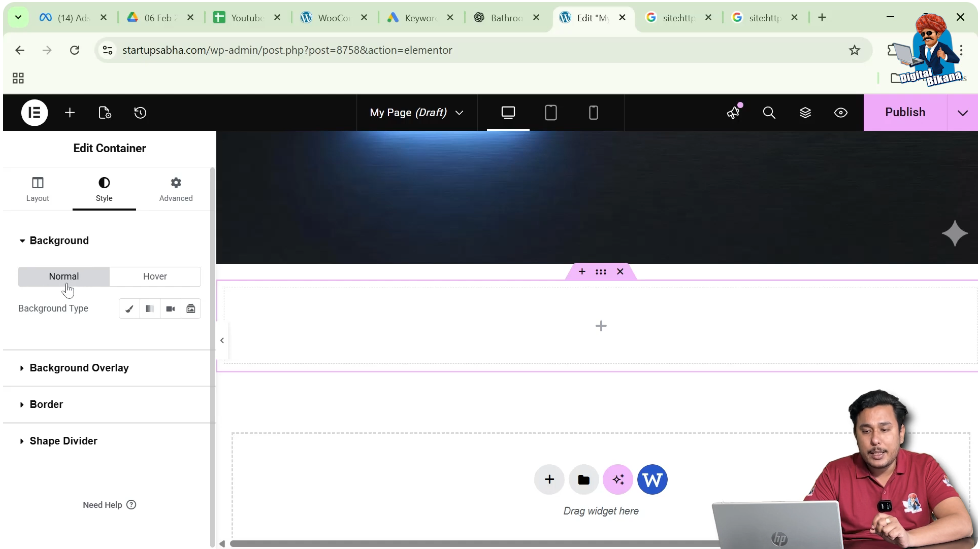
Opening Style Settings
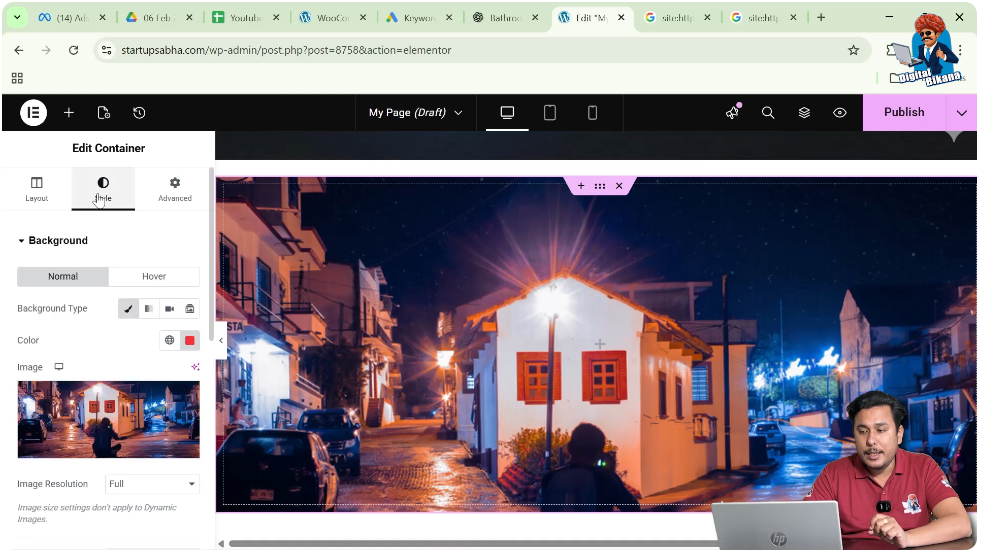
In the container editing panel, click on the Style tab.
Inside the Style tab, you will see several design options available for customizing the container.
These options include:
- Background
- Background Overlay
- Border
- Shape Divider
To add a background image, you need to work inside the Background settings.

Background Settings in Elementor
Inside the Background section, Elementor provides additional options for customizing the container background.
The background settings contain two tabs:
- Normal
- Hover
The Normal tab allows you to apply background settings that appear normally on the container.
The Hover tab allows you to change the background when the user moves the cursor over the container.
Since the goal is to add a normal background image, the Normal tab will be used.
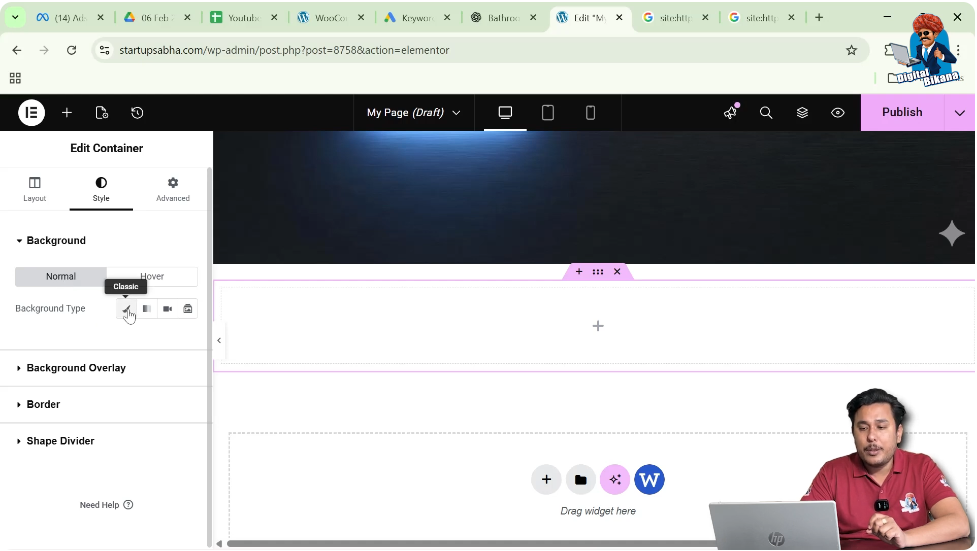
Choosing the Background Type
Inside the Normal background settings, Elementor provides different background types.
These include:
- Classic
- Gradient
- Video
- Slideshow
To add an image as the container background, you need to select Classic.
The Classic background option allows you to apply either a background color or a background image.
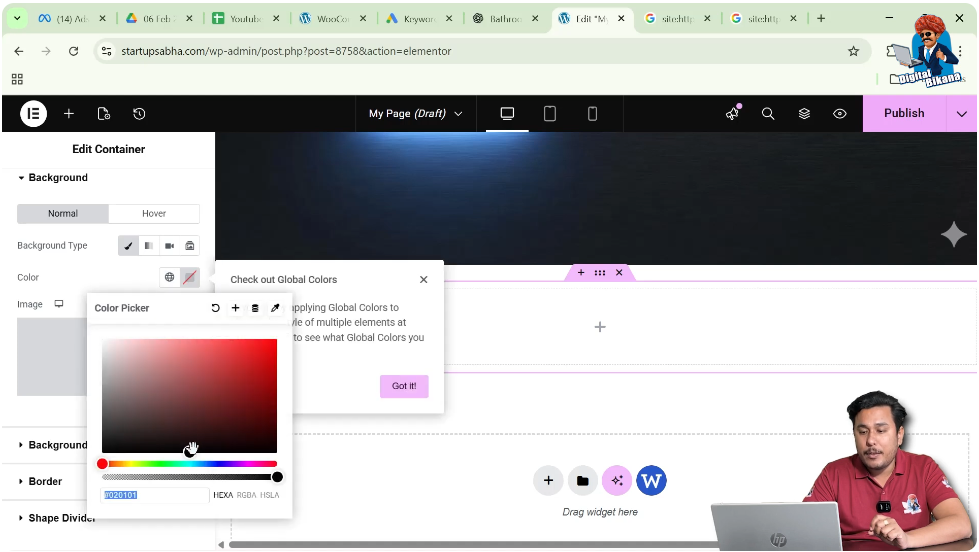
Adding Background Color
Before adding an image, it is possible to apply a background color.
Inside the Classic background settings, you will see a color icon. Clicking this icon opens the color palette.
From the color palette, you can select any color to apply to the container background.
Once you choose a color, the container background color will immediately change.
However, if you want to use an image instead of a color, you need to add an image.
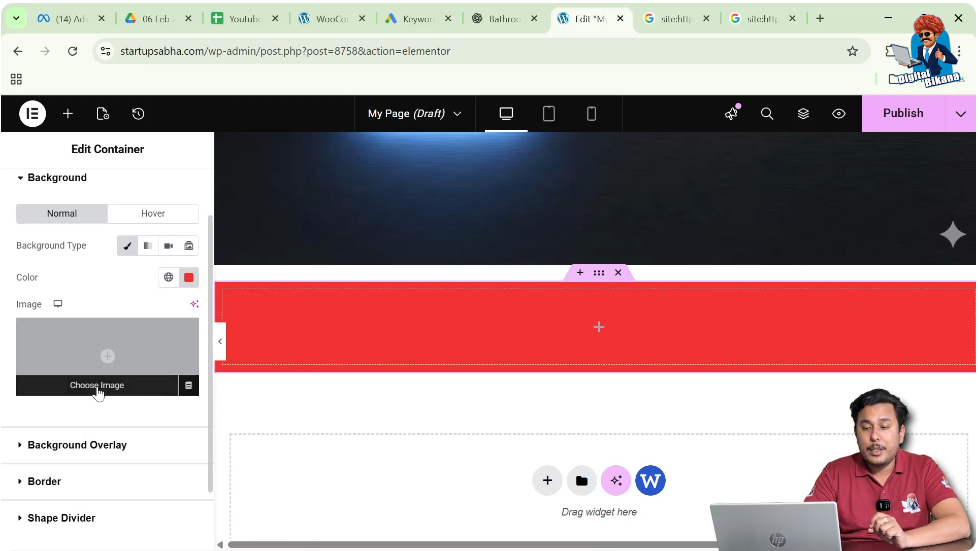
Adding a Background Image
To add an image to the container background, you need to select the image option.
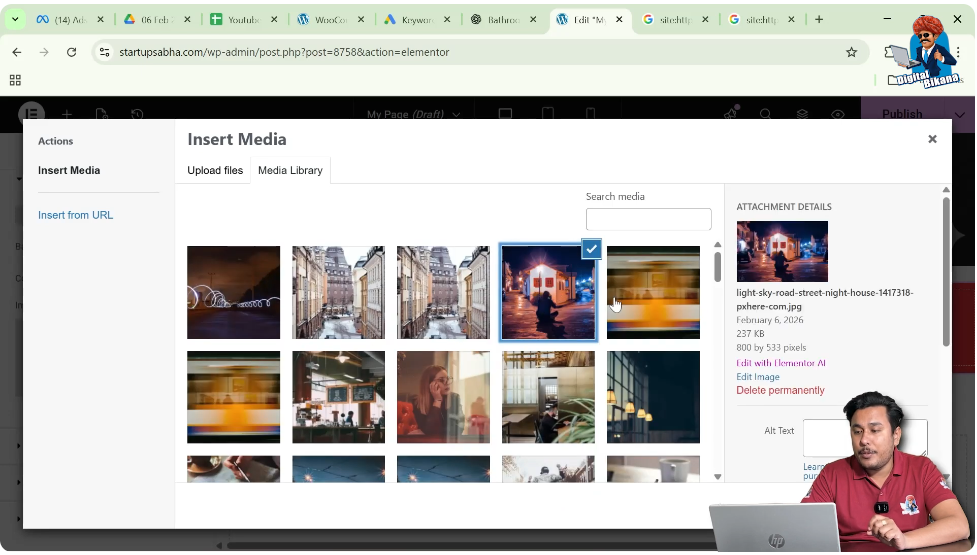
Step 1: Click “Choose Image”
Inside the Classic background settings, click the Choose Image button.
This opens the WordPress media library.
Step 2: Select an Image
From the media library, choose the image that you want to use as the background.
After selecting the image, click Select.
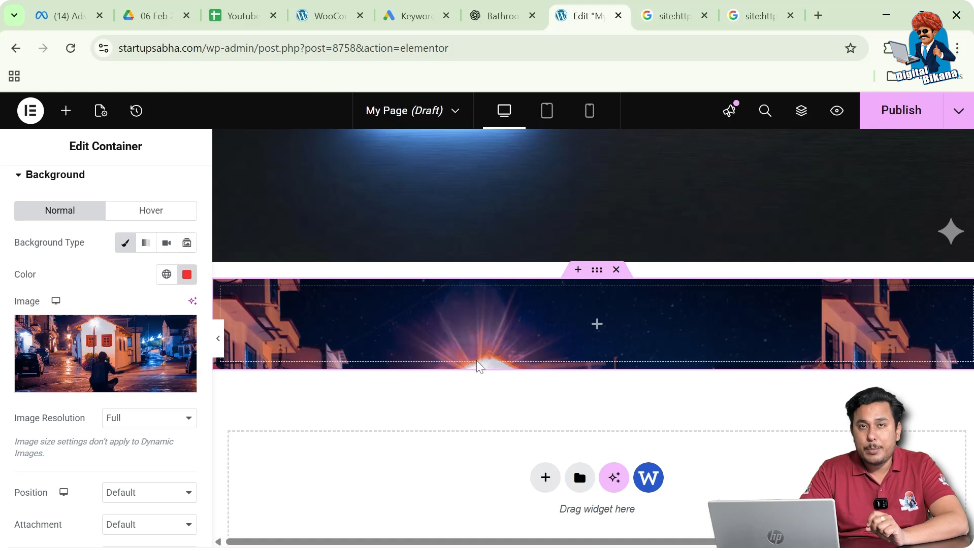
Once selected, the image will appear as the container background.
Adjusting the Background Image Display
After adding the image, you may notice that the image does not appear properly.
This usually happens because the container height and the image size are not aligned.
As a result, the full image may not be visible.
To fix this, you need to adjust the display settings of the background image.
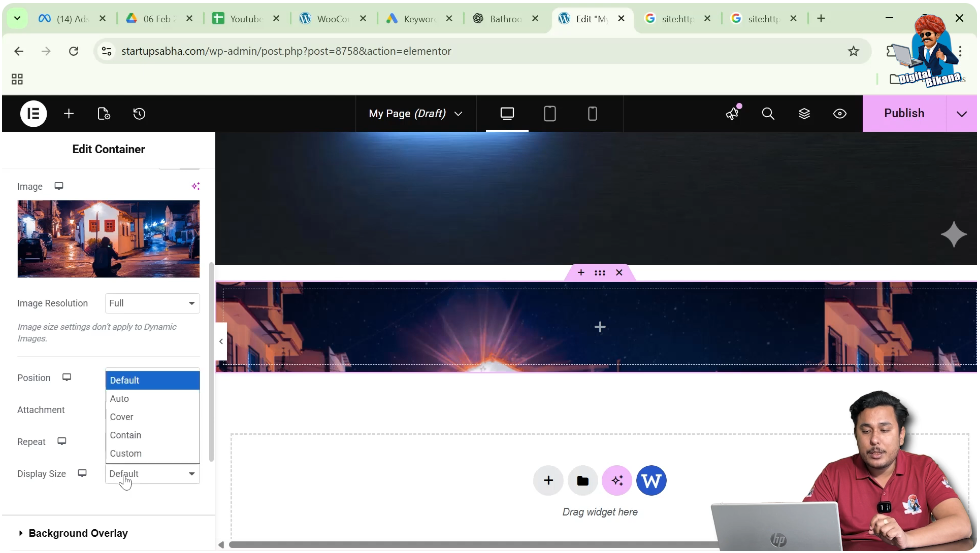
Changing the Display Size
Inside the background settings, scroll down until you find the Display Size option.
By default, the display size may not be set correctly, which can cause the image to appear repeated or improperly positioned.
To fix this issue, change the display size to Cover.
The Cover option ensures that the image covers the entire container area without repeating.
However, even after selecting Cover, the image may still not display properly if the container height is too small.
Adjusting the Container Height
If the container height is small, the background image may not be fully visible.
To fix this issue, you need to increase the container height.
Step 1: Go to Layout Settings
Return to the Layout tab in the container settings.
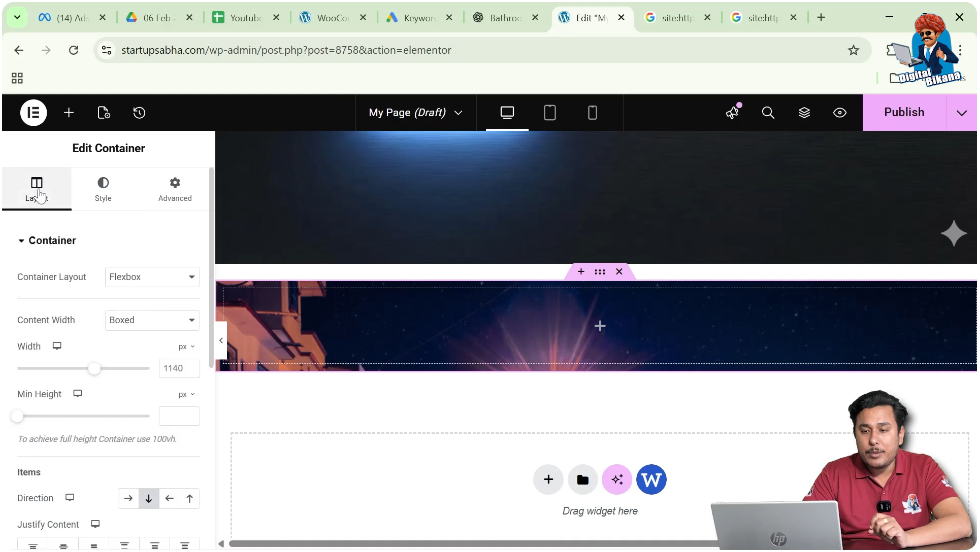
Step 2: Increase the Height
Adjust the container height by entering a value.
For example, the height can be set to 422 pixels.
Once the container height increases, the background image becomes more visible and fits properly inside the container.

Adjusting the Background Image Position
Sometimes the background image may not appear exactly where you want it.
In such cases, you can adjust the image position.
Step 1: Go Back to Style Settings
Return to the Style tab in the container settings.
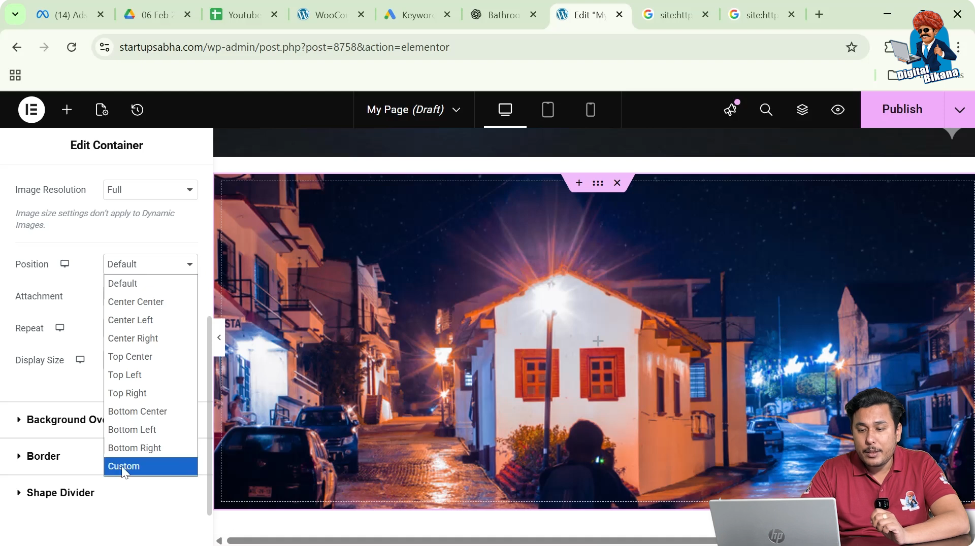
Step 2: Find the Position Option
Inside the background settings, locate the Position option.

Step 3: Select Custom Position
Choose Custom Position to manually control the image placement.
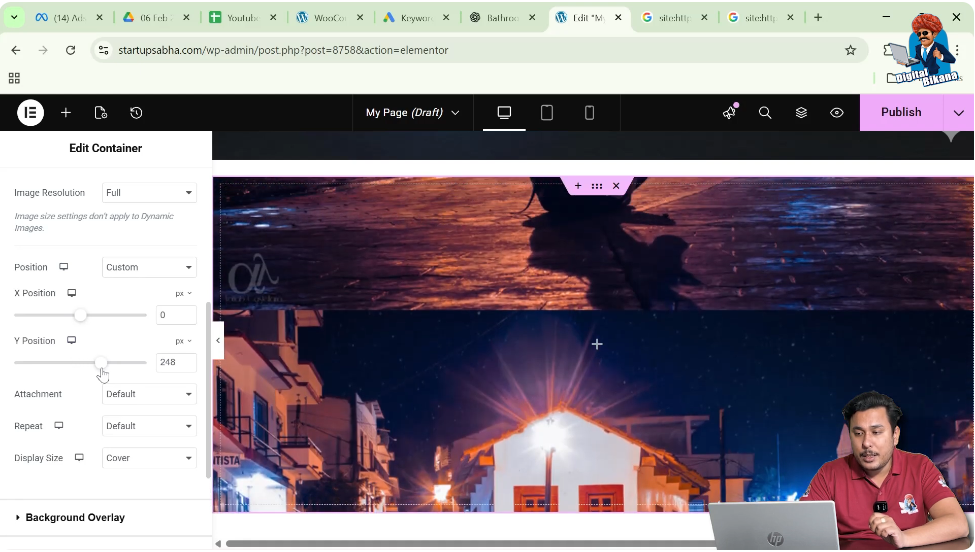
Step 4: Adjust the Y-Axis
Using the Y-axis control, you can move the image up or down.
When you increase the value, the image moves downward.
When you decrease the value or add negative values, the image moves upward.
For example, setting the Y-axis value to minus 239 pixels moves the image upward inside the container.
Preventing Image Repetition
If the display size is not set to Cover, the image may repeat multiple times inside the container.
For example, the same image may appear four times across the container.
This happens because the default display setting allows the image to repeat.
To prevent this, it is important to set the display size to Cover before adjusting the container height.
This ensures that the image fills the container properly without repeating.
Fine-Tuning the Image Position
After adjusting the container height and setting the display size to Cover, you may still want to fine-tune the image position.
For example, you might notice a small portion of the image repeating or appearing incorrectly.
In such cases, you can adjust the Y-axis position further.
For example, setting the Y-axis value to minus 202 pixels may position the image more accurately within the container.
This allows you to control exactly how the background image appears on the page.
Conclusion
Adding a background image to a container in Elementor is a simple process that helps enhance the visual design of your website.
You begin by creating a container using the plus icon and selecting a Flexbox layout. After creating the container, you edit it using the six dots icon and open the Style settings. Inside the Style tab, you access the Background settings and select the Classic background type.
From there, you can choose an image from the media library and apply it as the container background. To ensure the image appears correctly, you need to set the display size to Cover and increase the container height if necessary.
Finally, you can adjust the background image position using the custom position settings and Y-axis controls.
By following these steps, you can easily add and adjust a background image inside a container while editing a webpage in Elementor on a WordPress website.
Related Posts