Managing a Facebook page often requires more than one person, especially when handling content, messages, ads, or overall page management. Facebook allows page owners to add admins so that responsibilities can be shared securely. In this guide, we will learn how to add an admin to your Facebook page using the page settings. The process is simple and can be completed in a few steps if done correctly.
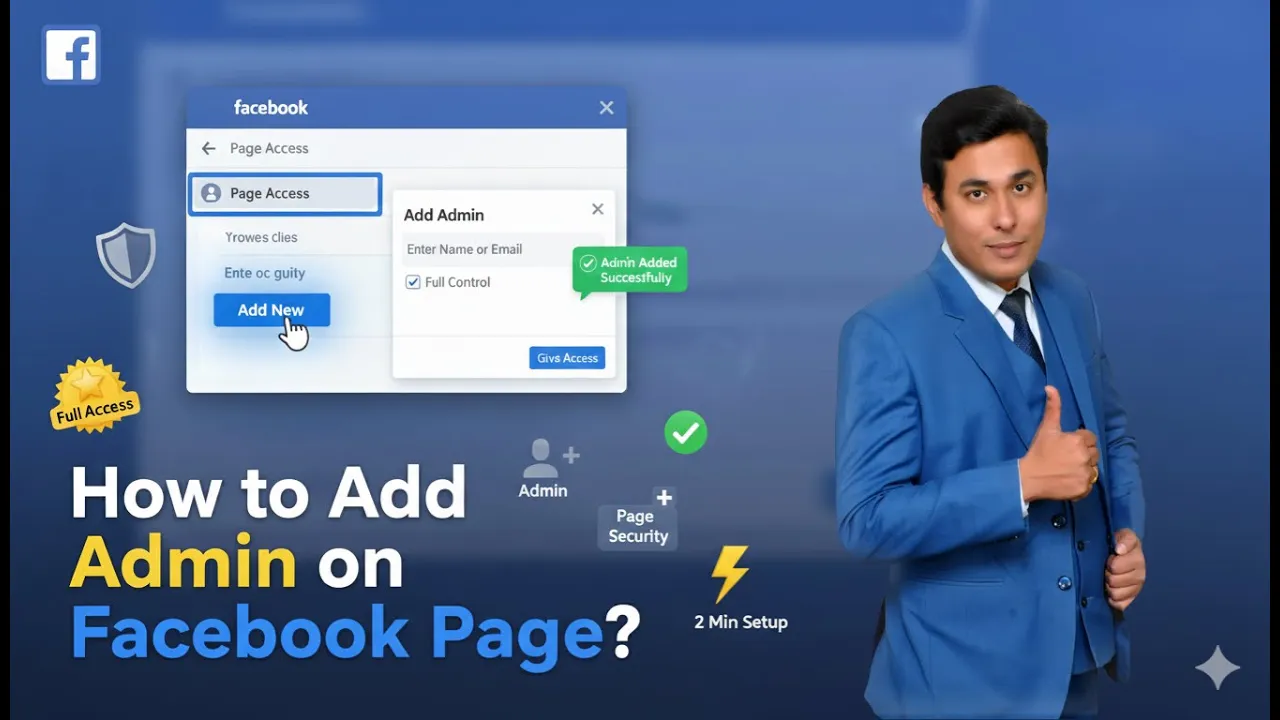
How to add Admin on Facebook Page?
This guide explains each step in detail, starting from switching to your Facebook page to the final confirmation of admin access.
1. Switching to Your Facebook Page
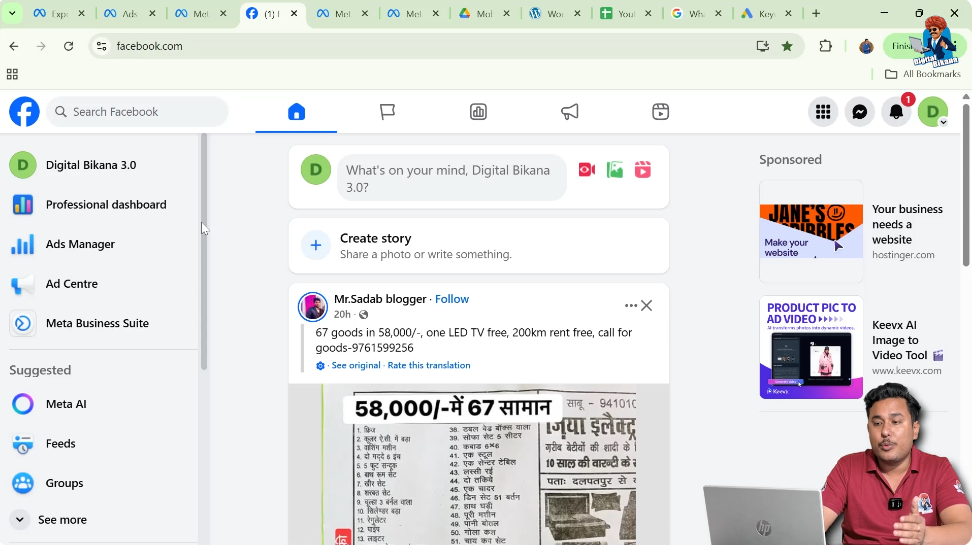
To begin, log in to your Facebook account. Once you are logged in, you must switch from your personal Facebook profile to the Facebook page where you want to add an admin.
Look at the top-right corner of your Facebook screen. You will see a profile icon. Click on this icon. When you click it, Facebook shows both your personal Facebook account and your Facebook page name.
If you click on your personal Facebook account, you will remain on your personal profile. To manage your page, you must click on your Facebook page name. Once you click on the page name, Facebook will automatically switch you to your Facebook page.
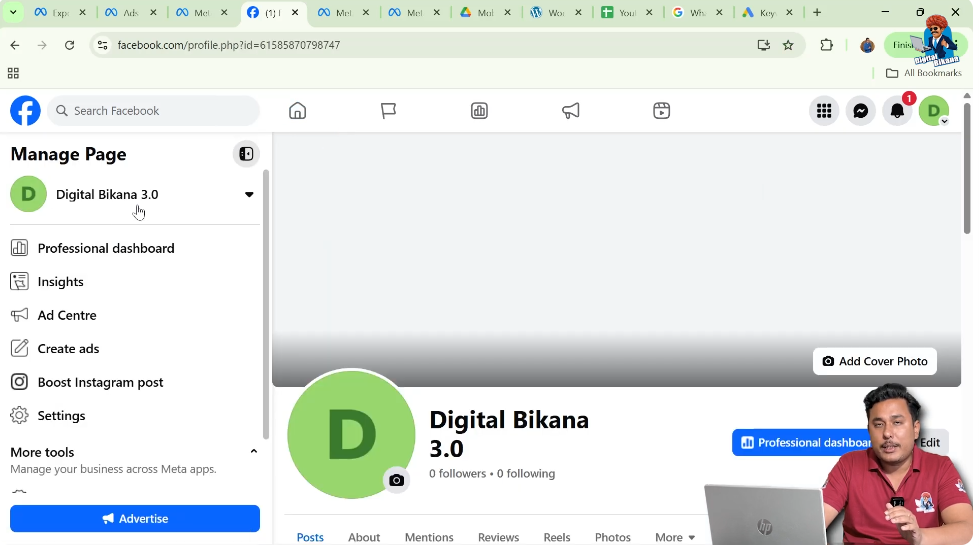
After switching, you will be on the homepage of your Facebook page. This confirms that you are now operating as the page and not as a personal profile.
2. Opening the Facebook Page Profile
Once you are on the Facebook page homepage, the next step is to open the Facebook page profile.
To do this, click on the page name again. This action opens the page profile view, where you can access management options related to your Facebook page.

The page profile area is where Facebook allows page owners to control settings, permissions, and page access. Make sure you are inside the page profile before proceeding to the next steps.
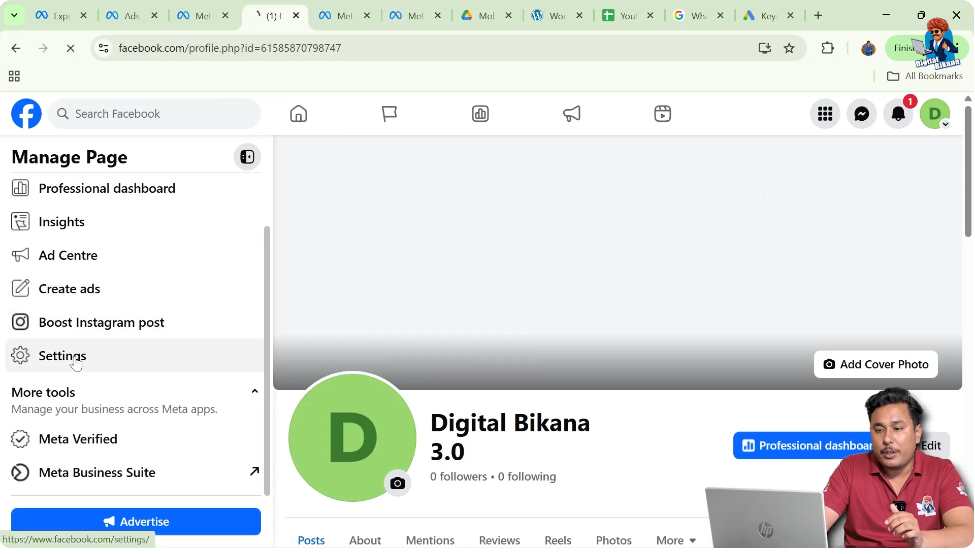
3. Accessing the Settings Option
After opening the Facebook page profile, you need to access the page settings.
Click on the Settings option. This option is available within the page management interface and allows you to control different aspects of your Facebook page, including visibility, access, and roles.
The settings section is essential because all administrative changes, including adding admins, are handled from here.
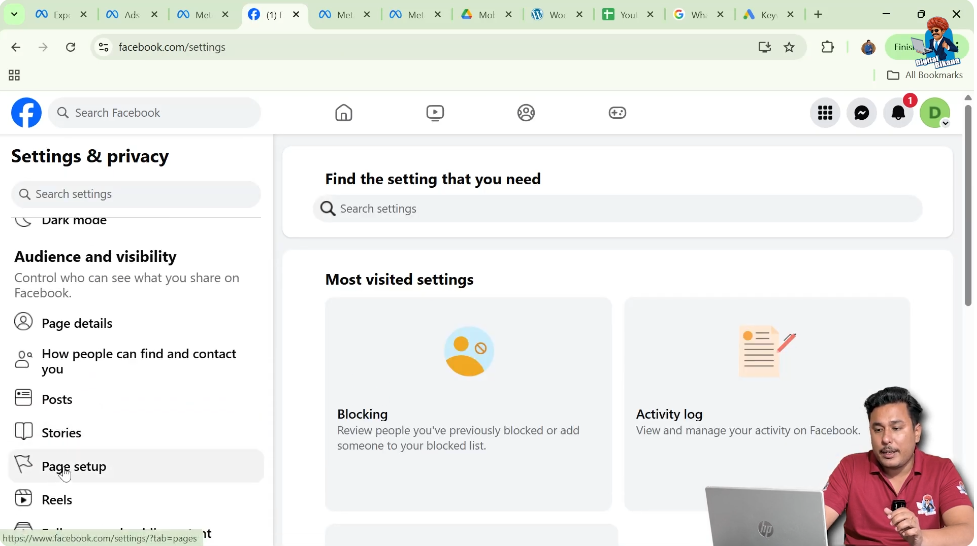
4. Navigating to the Page Setup Section
Once you are inside the settings area, look at the left-side menu.
Scroll down carefully until you find the Page Setup section. This section contains options related to page configuration and access management.
Under Page Setup, you will find an option called Page Access. This is the specific section where you can add or manage people who have access to your Facebook page.
5. Opening the Page Access Option
Click on Page Access to continue.
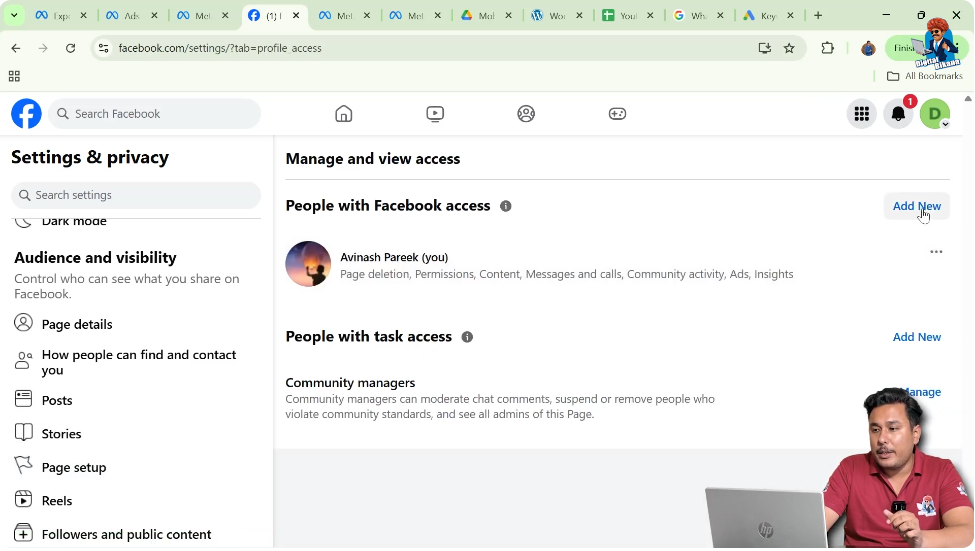
The Page Access section displays the controls needed to manage who can access your Facebook page and what level of access they can have.
This is the only place where Facebook allows you to add someone as an admin to your page.

6. Adding a New Admin to the Facebook Page
Inside the Page Access section, you will see an option labeled Add New.
Click on Add New to start the process of adding a new admin.
After clicking Add New, Facebook will prompt you to proceed further. Click on Next to continue.
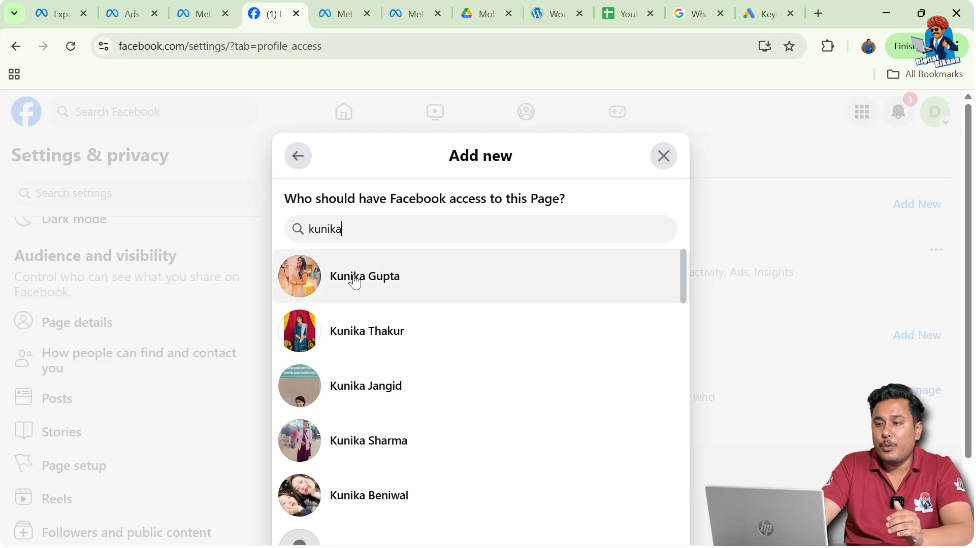
7. Searching for the Person to Add as Admin
Now, Facebook allows you to search for the person you want to add as an admin.
In the search field, type the name of the person you want to give admin access to. When you start typing, Facebook will show a list of names that match your search.
Select the correct person from the list.
Important Requirement Before Adding an Admin
One very important point to remember is that the person you want to add as an admin must be in your Facebook friend list.
If the person is not added as your Facebook friend, their name will not appear in the search results. You must first add them as a friend on Facebook and ensure the friend request is accepted before you can add them as an admin.
Only after this requirement is fulfilled will you be able to find and select their name.
8. Giving Admin Access
After selecting the person’s name, click on Give Access.
This action means you are assigning admin permissions to that person for your Facebook page.
For security reasons, Facebook will now ask you to verify your identity.

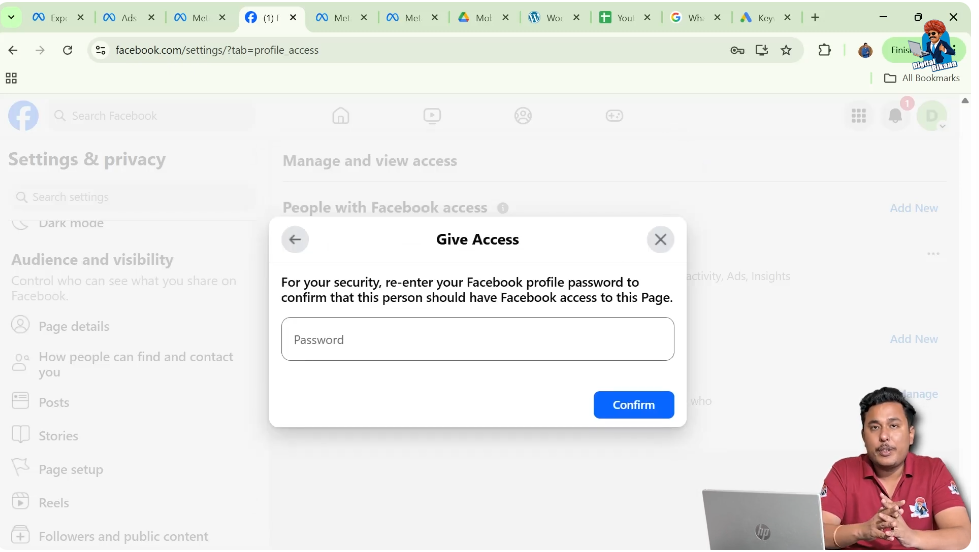
9. Confirming with Facebook Password
Once you click on Give Access, Facebook will prompt you to enter your Facebook account password.
Enter your password carefully. This step ensures that only authorized page owners can add admins.
After entering the password, click on Confirm.
Once confirmed, Facebook processes your request and sends an admin access invitation to the selected person.
10. Admin Access Request Notification
After confirmation, the person you selected will receive a request notification.
This request is sent to the email address that is linked to their Facebook account. It may also appear as a notification inside their Facebook account.
The request informs them that they have been invited to become an admin of your Facebook page.
11. Accepting the Admin Request
To complete the process, the invited person must take action.
They need to open the email associated with their Facebook account or check their Facebook notifications.
Inside the email or notification, they will see an option to Accept Request.
Once they click on Accept Request, the admin access will be approved.
12. Completion of Admin Addition
After the person accepts the request, they will be officially added as an admin to your Facebook page.
At this point, they can access the page according to the admin permissions assigned by Facebook.
You do not need to take any further action after the request is accepted.
Final Notes
Adding an admin to your Facebook page is a straightforward process, but it must be done carefully. Always ensure that the person you are adding is trustworthy, as admins have significant control over the page.
The key steps include switching to your Facebook page, accessing settings, navigating to Page Access, selecting the person, confirming with your password, and waiting for the person to accept the request.
By following this step-by-step guide, you can confidently add an admin to your Facebook page and manage your page more efficiently.
Related Posts