
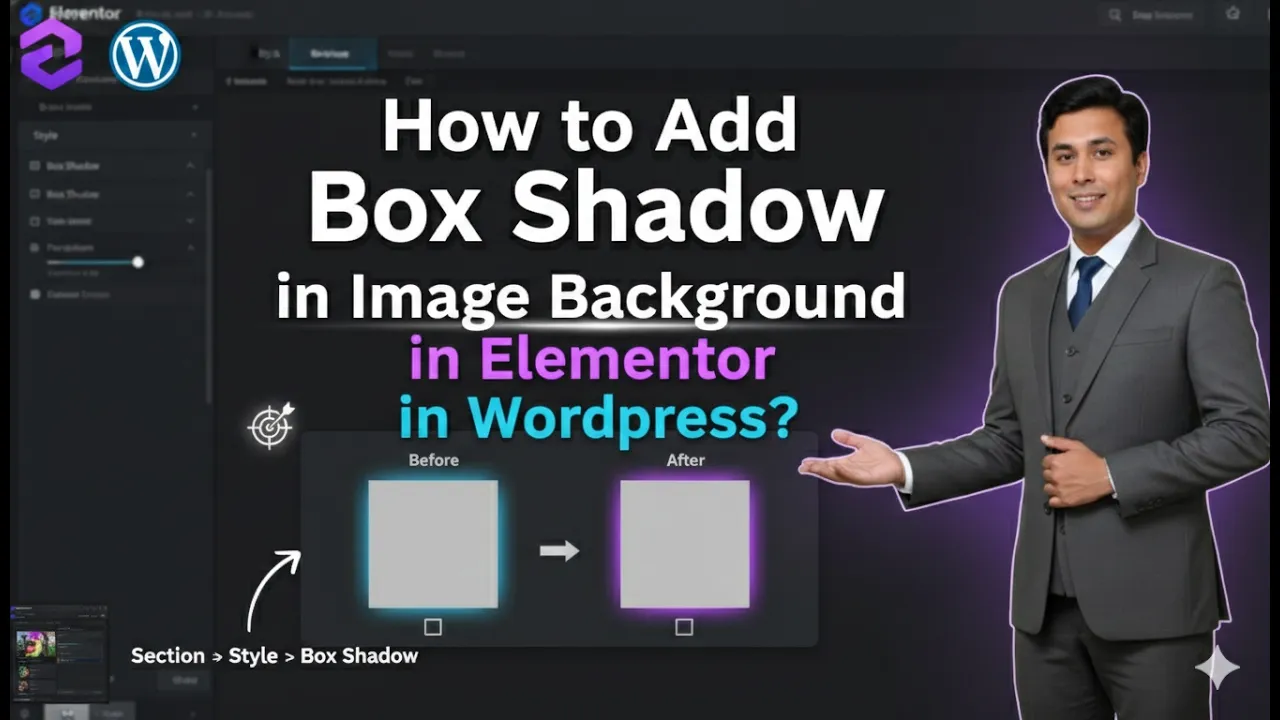
In this article, we will learn how to add a box shadow to an image in Elementor in WordPress. Elementor is a powerful page builder that provides advanced styling options to enhance the appearance of website elements. One such feature is the box shadow, which helps create depth and makes images stand out.
Adding a box shadow to an image improves the visual appeal and gives a professional touch to your design. This guide explains the complete process step by step, from creating a section to adding an image and applying box shadow effects.
Creating a New Section in Elementor
Before adding an image and applying box shadow, you need to create a section.
Understanding Section Creation
A section acts as the base layout in Elementor where you can place widgets such as images, text, and containers.
Steps to Create a Section
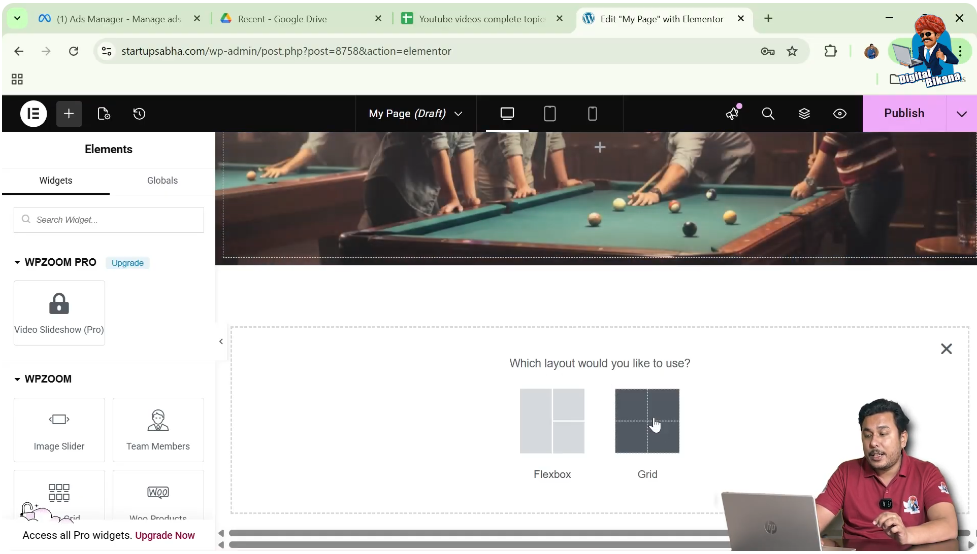
Step 1: Click on the Plus Icon
In the Elementor editor, click on the plus (+) icon in the middle of the screen.
Step 2: Select Layout Type
Choose the layout type. In this case, select Grid. You can also select Flexbox as per your requirement.
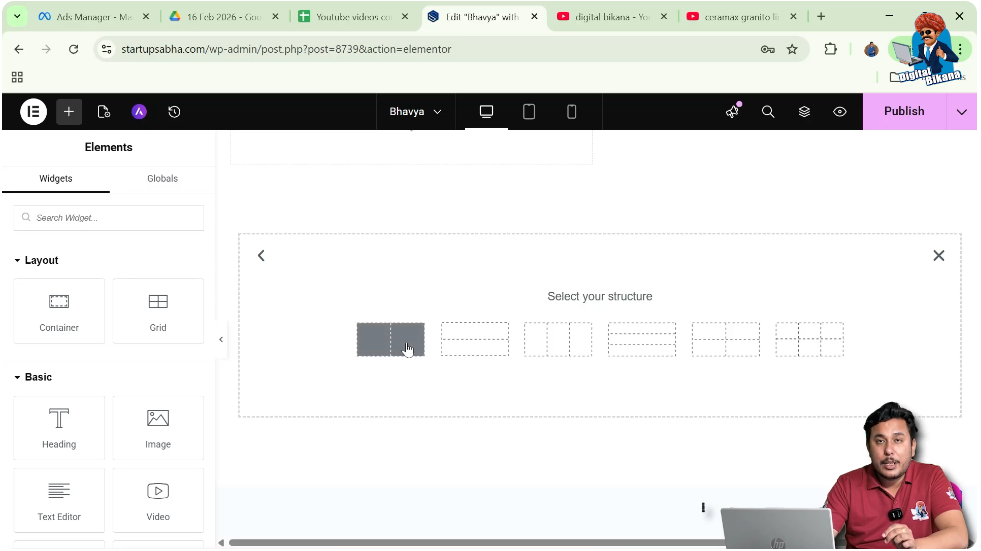
Step 3: Choose Structure
Select a structure with two columns and one row.
After completing these steps, your section will be ready.
Adding an Image Widget in Elementor
Now the next step is to add an image widget to the section.
Understanding Image Widget
The image widget allows you to insert and customize images directly within your layout.
Steps to Add Image
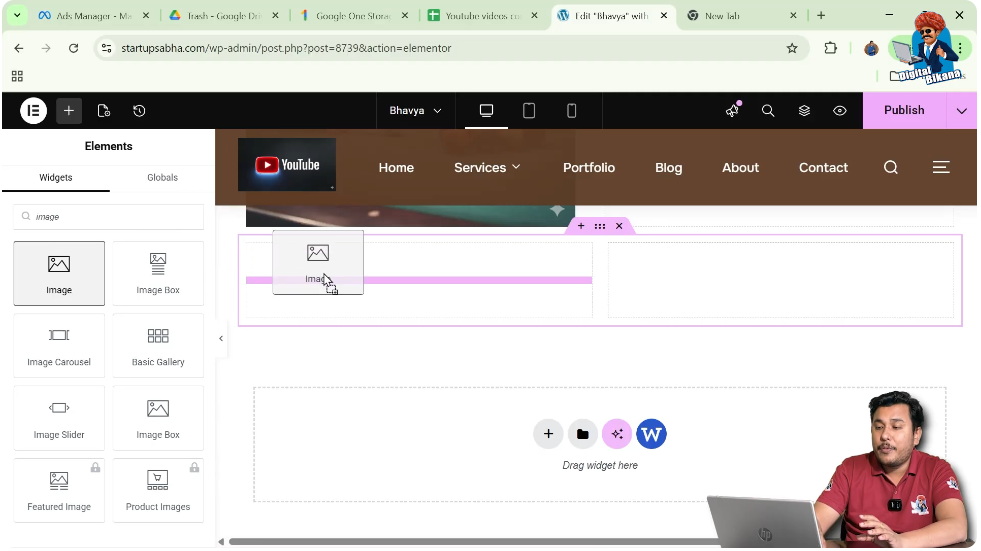
Step 1: Open Add Element Panel
Move your cursor to the black header line and click on the plus icon.
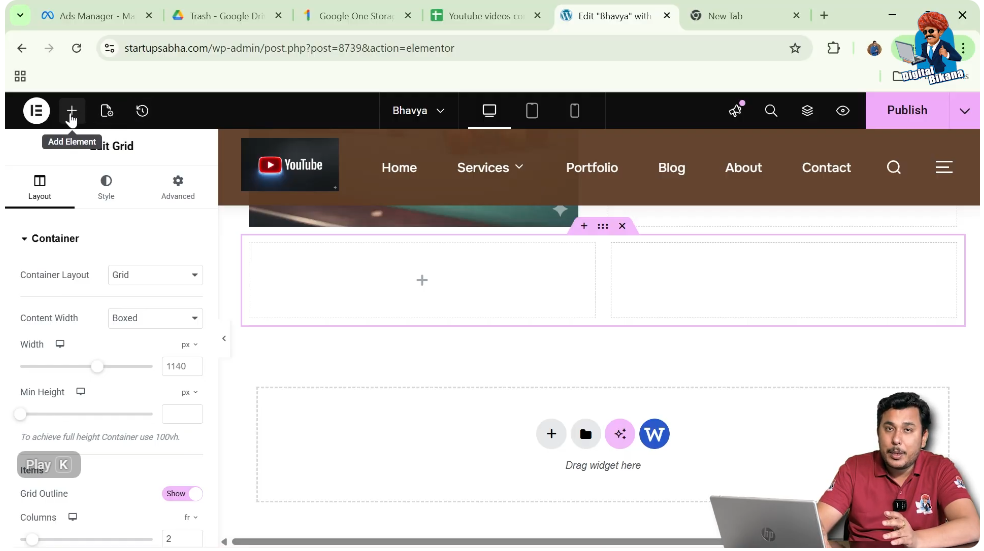
Step 2: Search for Image Widget
Search for “Image” in the widget panel.
Step 3: Drag and Drop Widget
Drag the image widget and drop it into one of the columns.
Now the image widget will appear in your section.
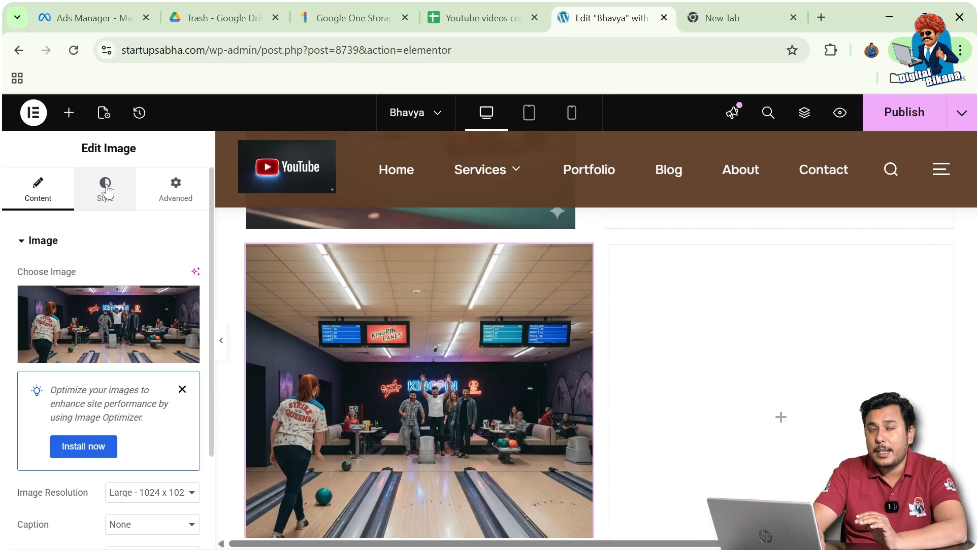
Selecting and Adding Image
After placing the image widget, you need to add an image.
Understanding Image Selection
You can choose an image from the media library or upload a new one.
Steps to Add Image
Step 1: Click on Choose Image
In the Content settings, click on “Choose Image.”
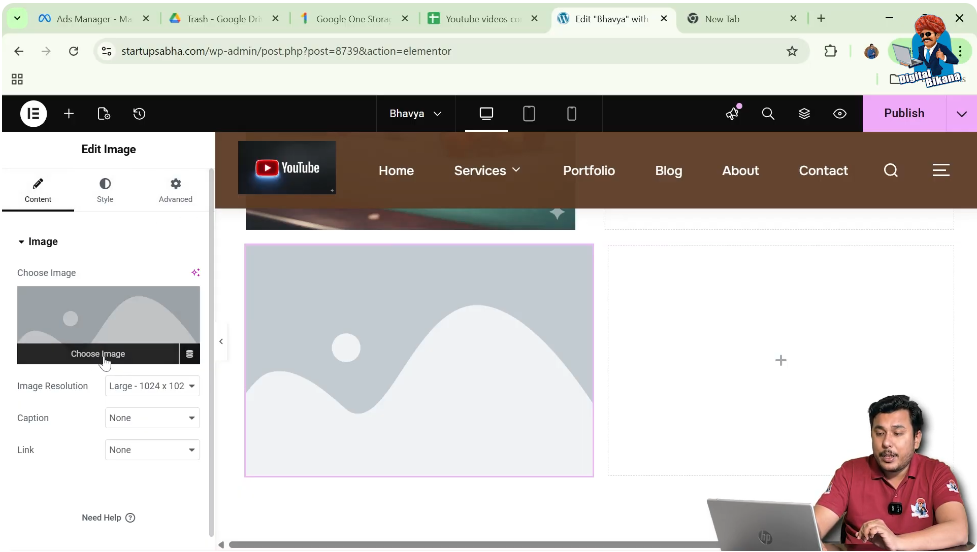
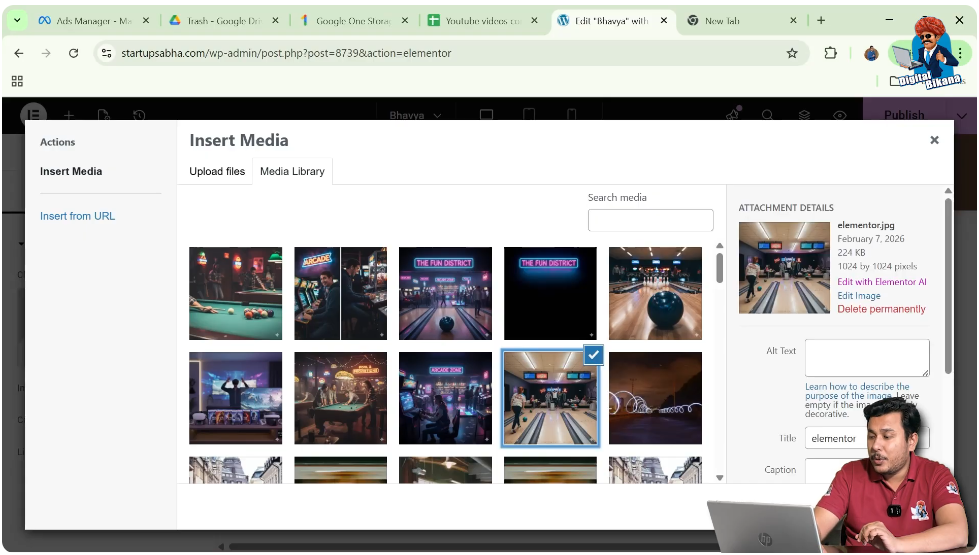
Step 2: Select Image
Choose an image from the media library.
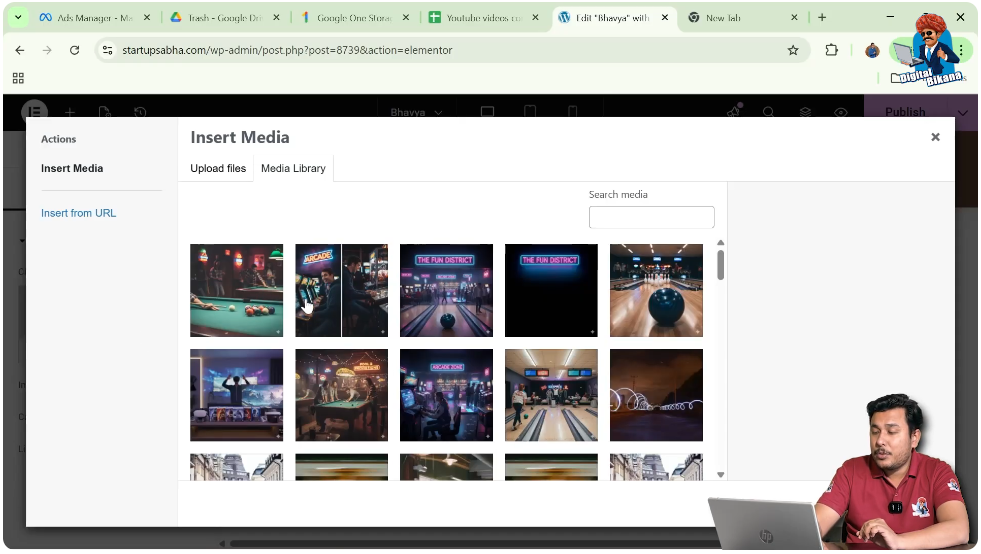
Step 3: Apply Image
Click on “Select” to display the image.
Now the image is successfully added.
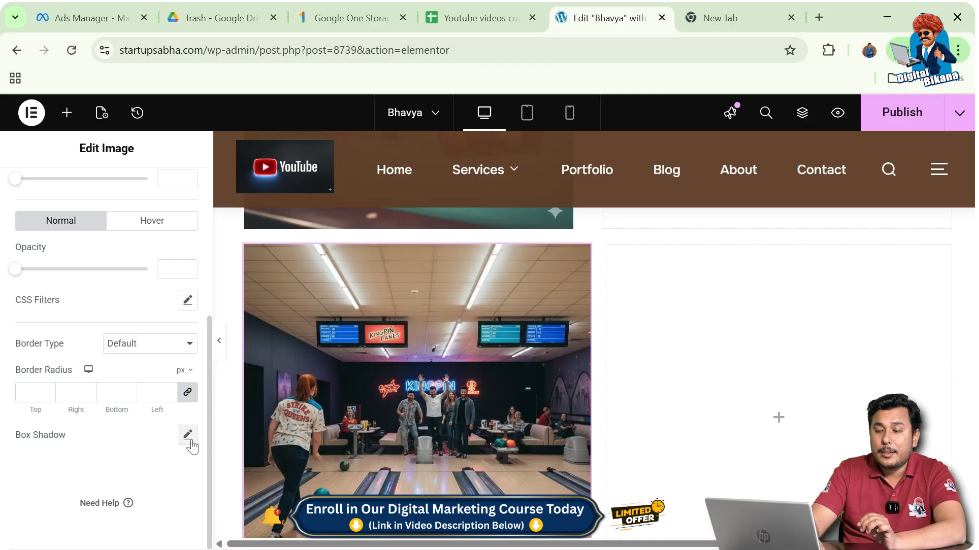
Navigating to Style Settings
To apply box shadow, you need to access the Style tab.
Understanding Style Settings
The Style tab contains options to customize the appearance of the image, including borders, shadows, and effects.
Steps to Open Style Settings
Step 1: Click on Style Tab
In the left-side toolbar, click on the Style option.
Step 2: Scroll Down
Scroll down to locate the Box Shadow option.

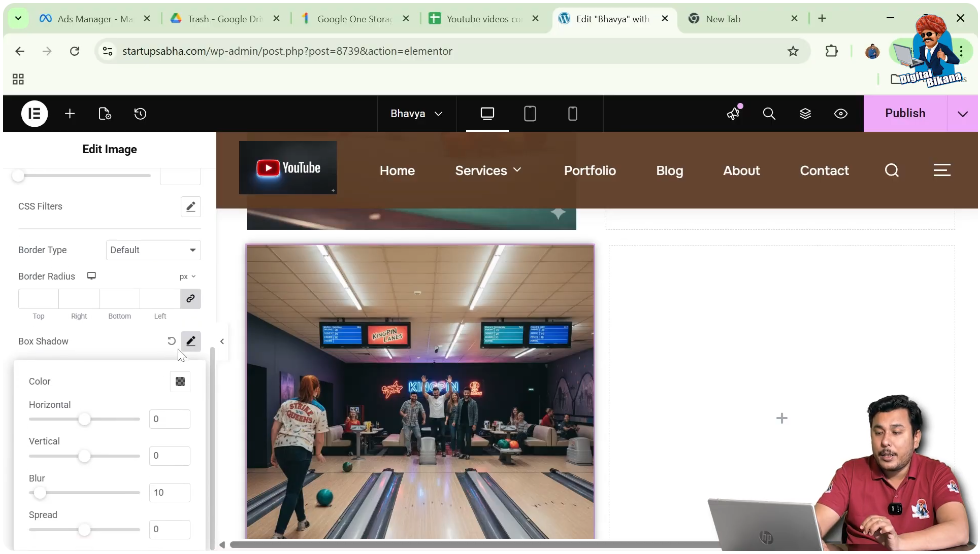
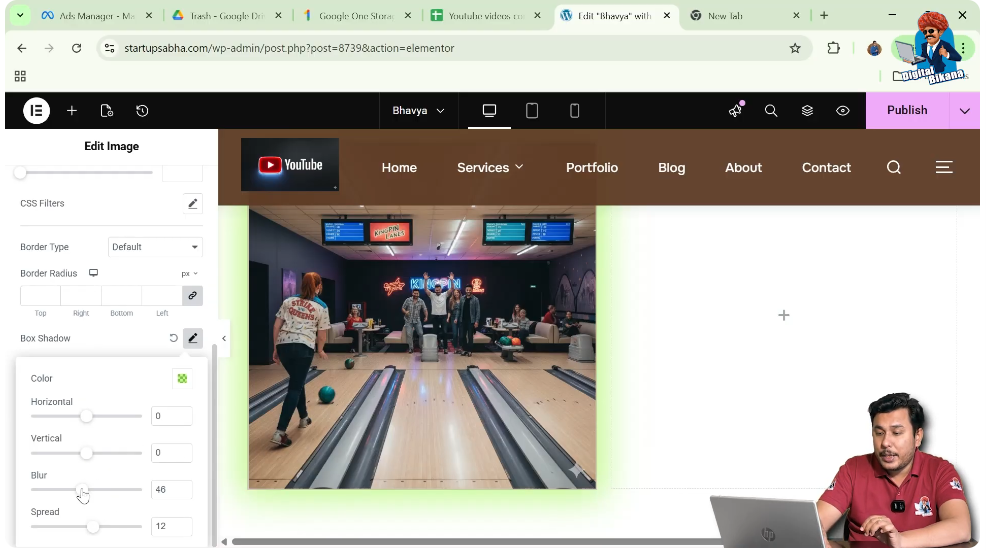
Applying Box Shadow to Image
Now comes the main step—adding a box shadow to the image.
Understanding Box Shadow
Box shadow creates a shadow effect around the image, making it appear elevated from the background.
Steps to Add Box Shadow
Step 1: Click on Box Shadow Option
Click on the pen icon next to the Box Shadow setting.
Step 2: Enable Shadow Settings
Once enabled, multiple customization options will appear.
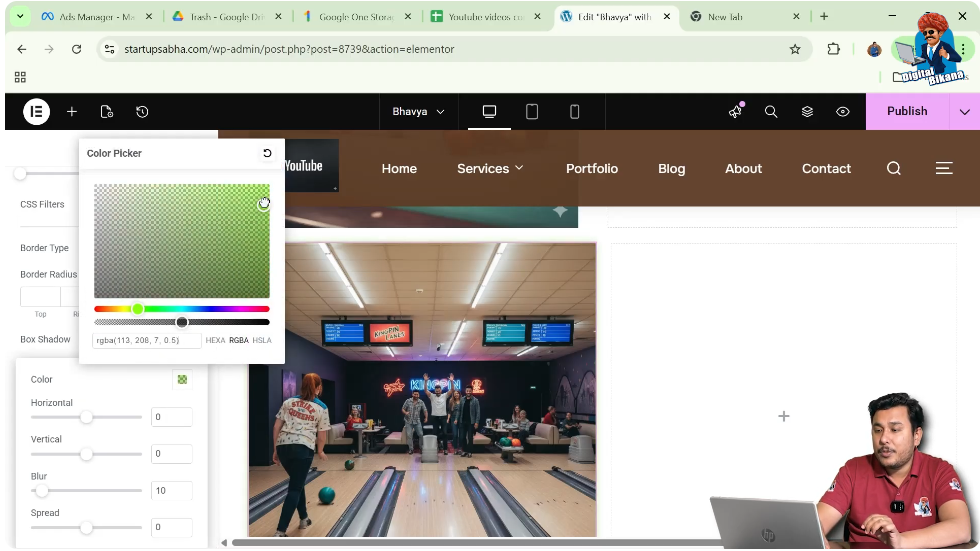
Customizing Box Shadow Color
You can change the color of the shadow to match your design.
Importance of Shadow Color
Choosing the right color enhances the visual effect of the shadow.
Steps to Change Color
Step 1: Select Color Picker
Click on the color option.

Step 2: Choose Color
Select a color such as green or any color of your choice.
Now the shadow color will be applied.
Adjusting Horizontal and Vertical Position
You can control the direction of the shadow using horizontal and vertical settings.
Understanding Horizontal Position
Horizontal controls the left and right movement of the shadow.
Understanding Vertical Position
Vertical controls the upward and downward movement of the shadow.
Steps to Adjust Position
Step 1: Increase Horizontal Value
Move the shadow left or right.
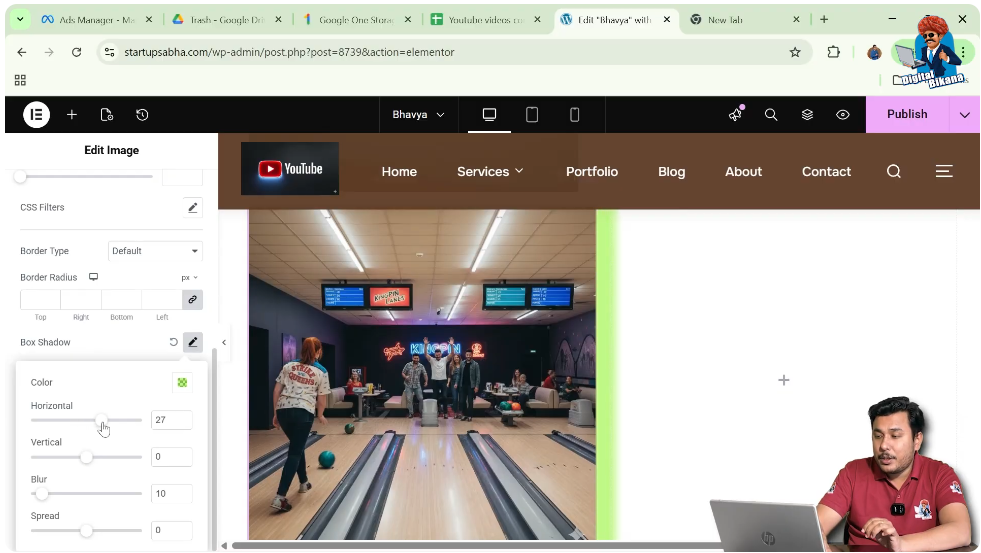
Step 2: Increase Vertical Value
Move the shadow up or down.

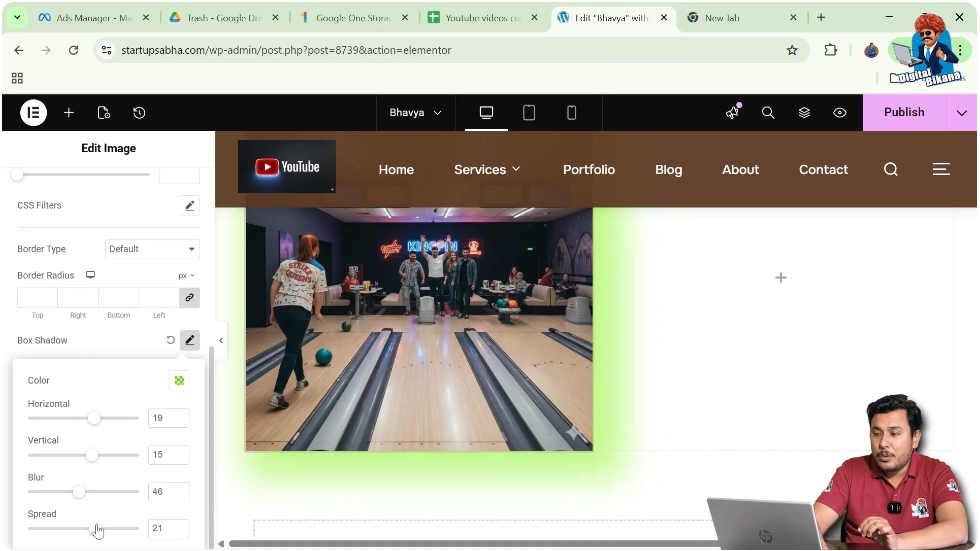
Adjusting Blur and Spread
Blur and spread control the softness and size of the shadow.
Understanding Blur
Blur makes the shadow softer and less sharp.
Understanding Spread
Spread increases or decreases the size of the shadow.
Steps to Adjust Blur and Spread
Step 1: Adjust Blur Value
Increase blur to make the shadow softer.
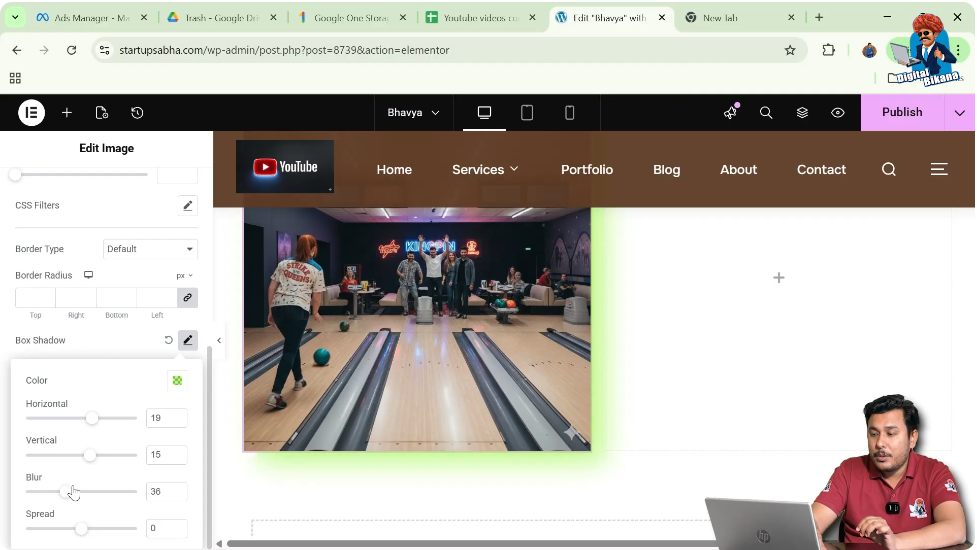
Step 2: Adjust Spread Value
Increase spread to expand the shadow area.
Creating Balanced Shadow Effect
To create an even shadow around the image, you can set specific values.
Steps for Balanced Shadow
Step 1: Set Horizontal to Zero
This removes side movement.
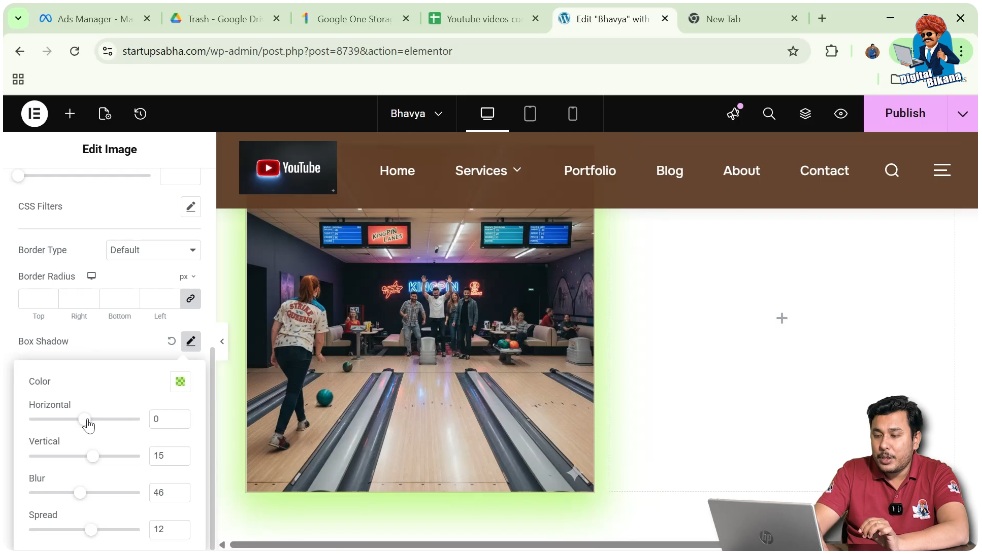
Step 2: Set Vertical to Zero
This centers the shadow evenly.
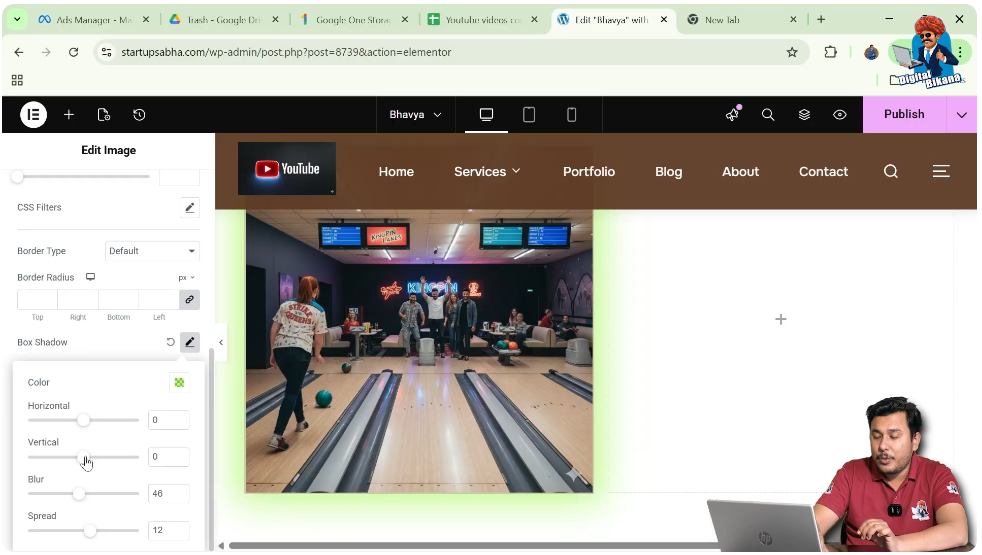
Step 3: Adjust Blur and Spread
Modify blur and spread to achieve a balanced effect.
You can also manually enter values instead of using sliders.
Enhancing Image Design with Box Shadow
Box shadow can significantly improve the visual appeal of your images.
Creating Depth
Shadows give a 3D effect, making images appear elevated.
Highlighting Elements
Box shadow helps draw attention to important images.
Improving Layout Design
It adds a professional touch and enhances the overall design.
Final Output and Result
After completing all the steps, your image will have:
- A customized box shadow
- Adjusted shadow color
- Controlled horizontal and vertical positioning
- Modified blur and spread values
This creates a visually appealing and professional image design.
Conclusion
Adding a box shadow to an image in Elementor is a simple yet powerful way to enhance your website design. By creating a section, adding an image widget, and applying box shadow settings, you can significantly improve the appearance of your images.
Elementor provides flexible customization options such as color, position, blur, and spread, allowing you to create unique shadow effects. By following the steps explained in this article, you can easily apply box shadow and make your images stand out.
Related Posts


