In this article, we will learn how to select a border type in a container in Elementor. Elementor provides multiple styling options that help enhance the design of your website. One of these options is the ability to apply different border types to containers. By using border styles effectively, you can improve the visual structure and presentation of your web pages.
This guide explains the complete process step by step, starting from creating a container to applying and customizing different border types such as solid, double, dotted, and dashed.
Creating a New Container in Elementor
To begin, you need to create a new container where the border will be applied. Elementor makes this process simple with an easy-to-use interface.
Understanding Container Creation
A container in Elementor acts as a layout block where you can add content, images, and design elements. Before applying any styling like borders, you must first create a container.
Steps to Create a Container
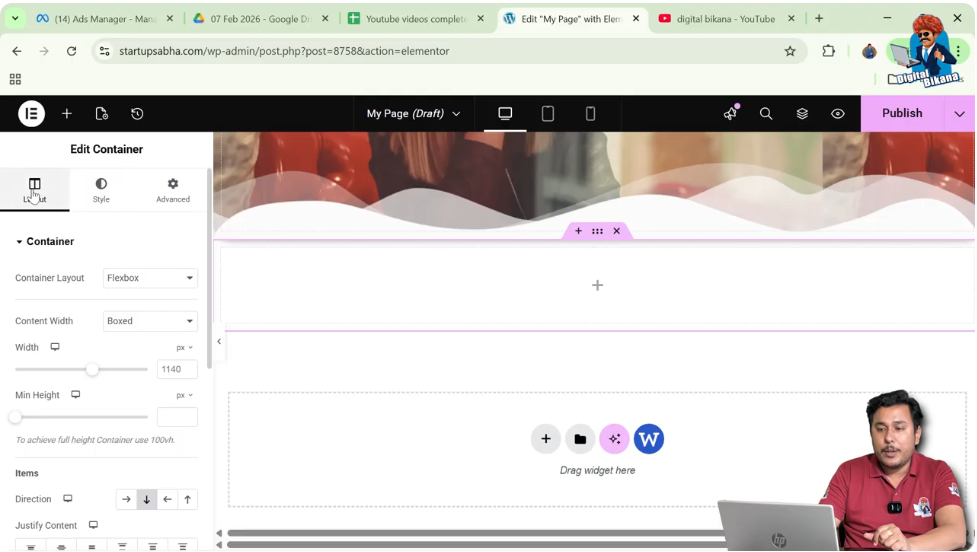
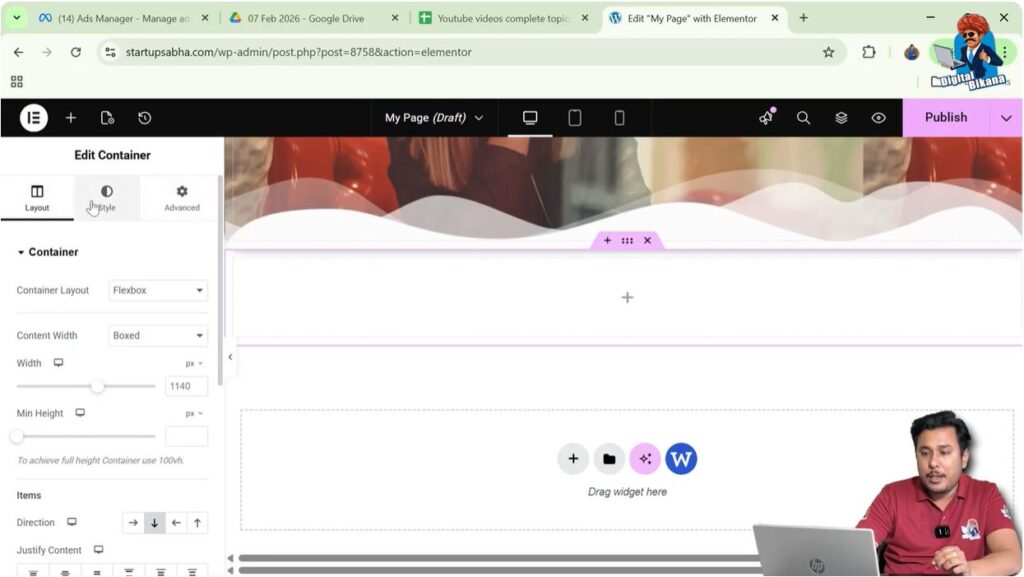
Step 1: Click on the Plus Icon
In the Elementor editor, you will see a plus (+) icon in the middle of the screen. Click on this icon to create a new container.
Step 2: Select Layout Type
After clicking the plus icon, choose the layout type. In this case, select Flexbox.
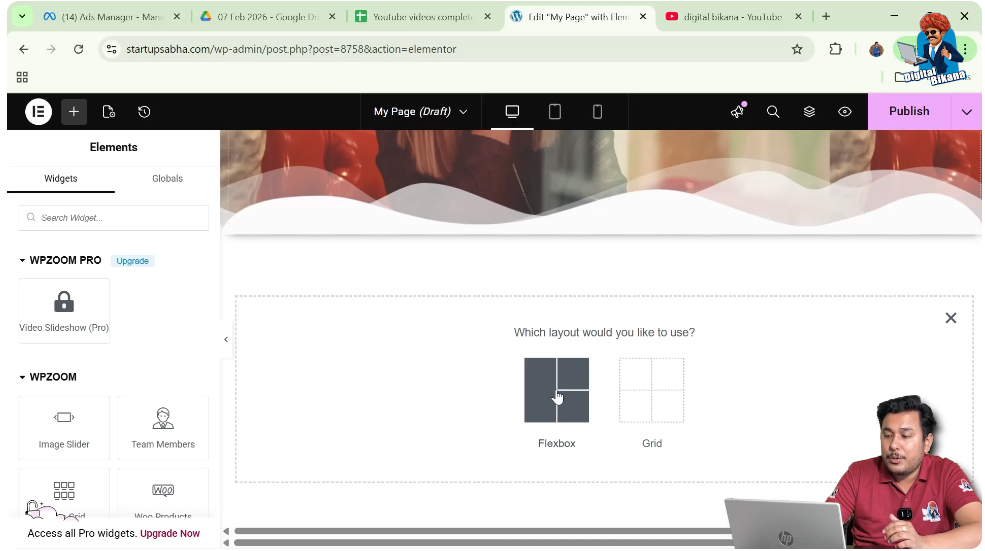
Step 3: Choose Structure
Now select the structure as column direction. This will create a vertical layout for your container.
Once these steps are completed, your container will be successfully added to the page.

Accessing Container Settings
After creating the container, the next step is to access its settings so that you can apply styling options like borders.
Understanding Edit Container Option
Elementor provides an “Edit Container” option that allows you to modify layout, style, and advanced settings of the container.
Steps to Access Settings
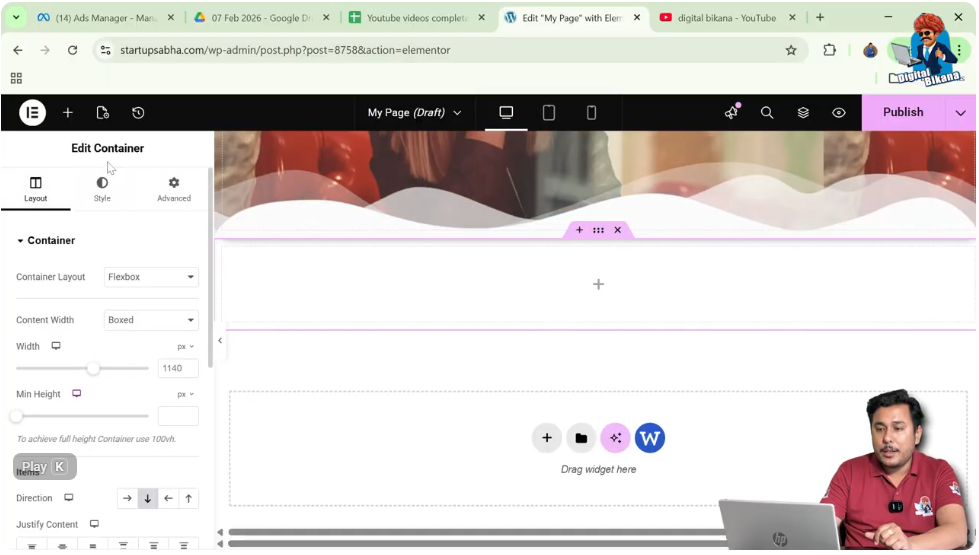
Step 1: Click on Edit Container
Click on the container and select the “Edit Container” option.
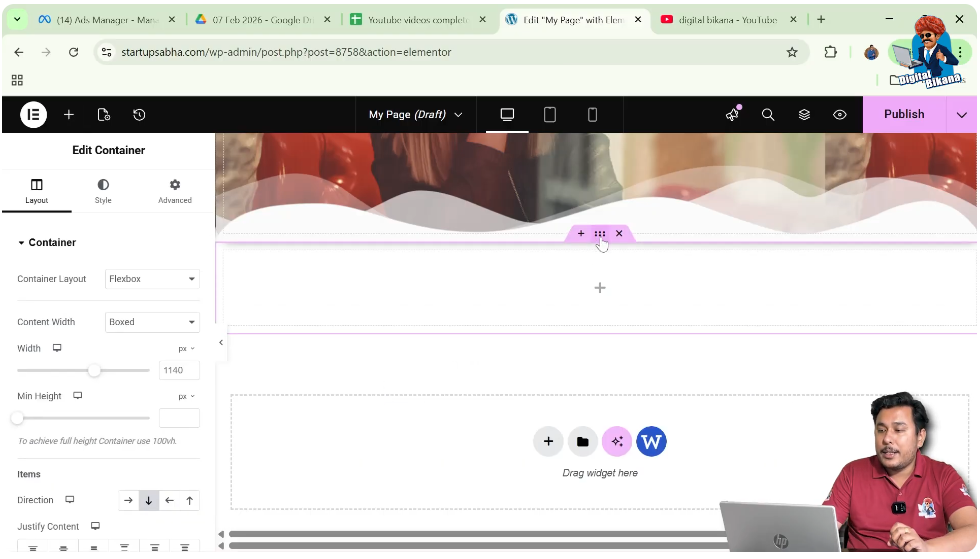
Step 2: Open Left Side Toolbar
Once selected, you will see the left-side toolbar with three main options: Layout, Style, and Advanced.
This toolbar is where all customization settings are available.
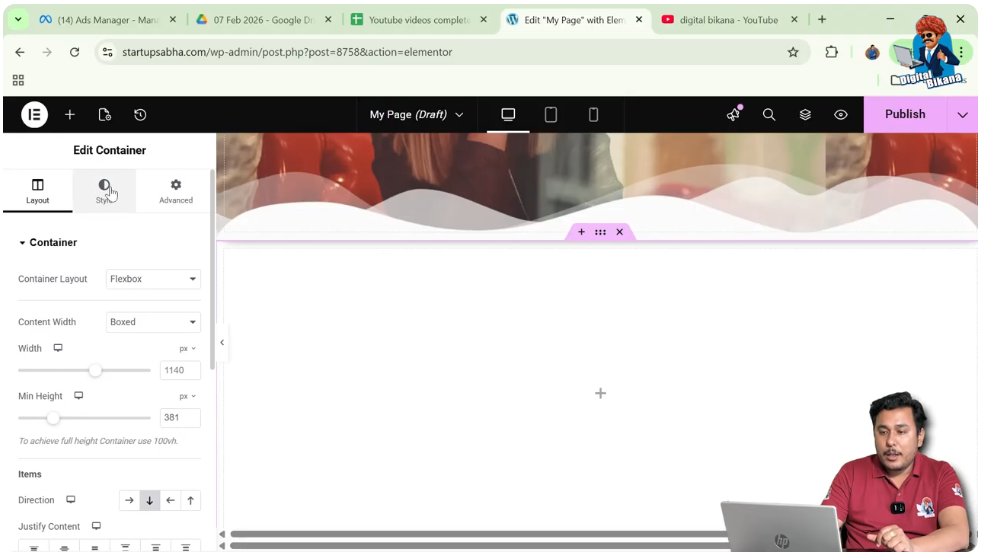
Adjusting Container Height
Before applying border styles, it is important to adjust the height of the container so that the design is clearly visible.
Importance of Container Height
The height of the container affects how the border and background appear. A proper height ensures better visibility and spacing.
Steps to Adjust Height
Step 1: Go to Layout Settings
In the left-side toolbar, open the Layout section.
Step 2: Increase Height
Adjust the height of the container according to your requirement.
After setting the height, your container is ready for further design customization.

Adding a Background Image
To enhance the visual appearance, you can add a background image to the container before applying borders.
Understanding Background Styling
Background images help create a visually appealing base for your container. Borders applied over images often look more attractive.
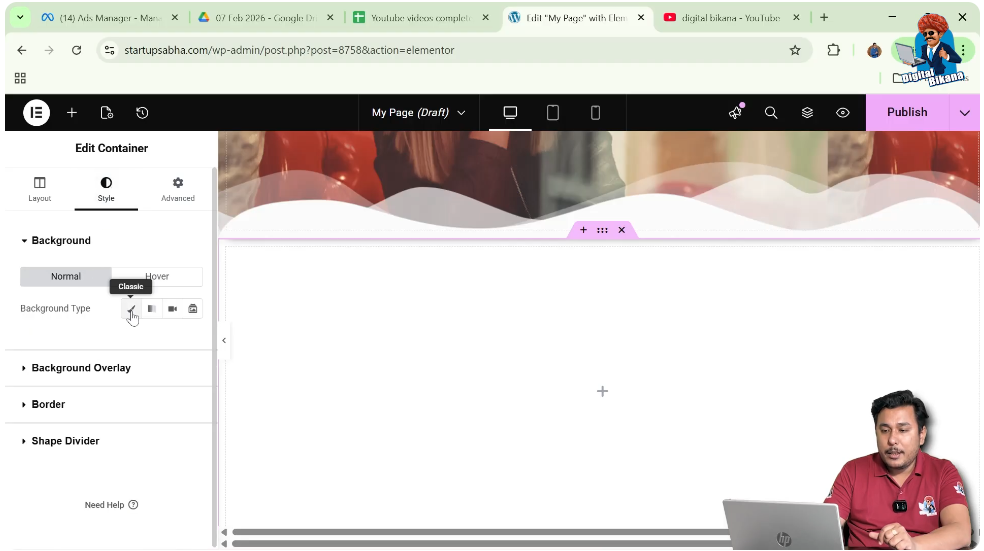
Steps to Add Background Image
Step 1: Go to Style Tab
Switch to the Style tab in the left-side toolbar.
Step 2: Select Background Type
Under the Background section, choose “Normal” and then select “Classic” as the background type.
Step 3: Choose Image
Click on the image option and select an image from the media library.
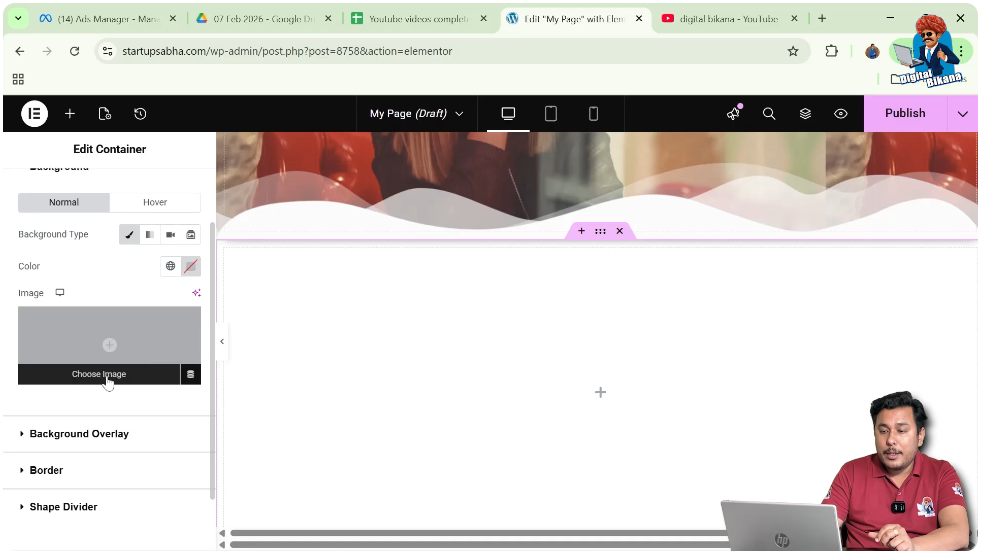
Step 4: Apply Image
After selecting the image, click on “Select” to apply it to the container.
You can also adjust the position of the image to “Custom” if required.

Navigating to Border Settings
Once the background is set, the next step is to apply border styles to the container.
Understanding Border Settings
Elementor provides multiple border options within the Style tab. These options allow you to customize the appearance of container edges.
Steps to Access Border Settings
Step 1: Open Style Settings
Go to the Style tab in the left-side toolbar.
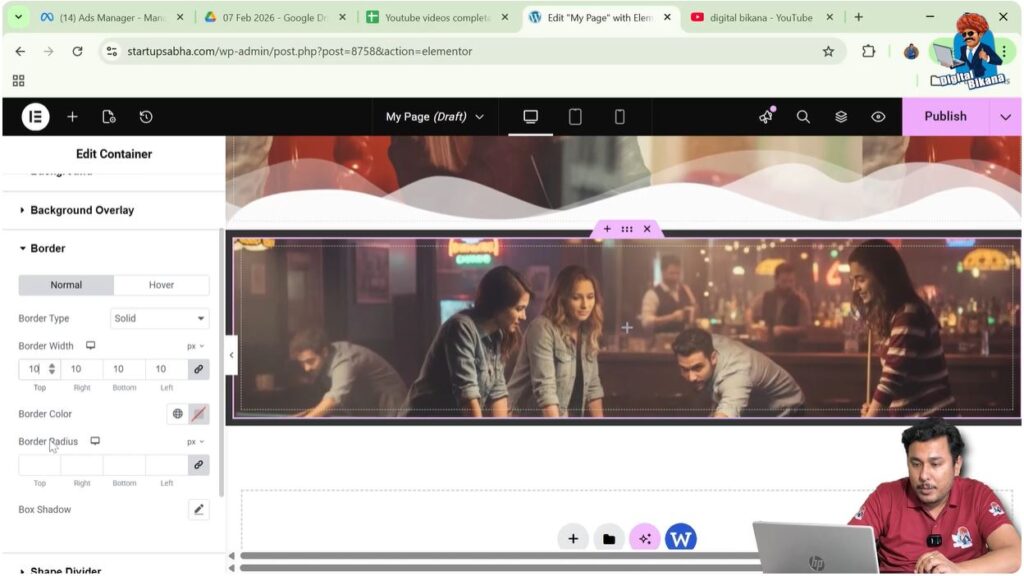
Step 2: Locate Border Section
Scroll down to find the Border settings.
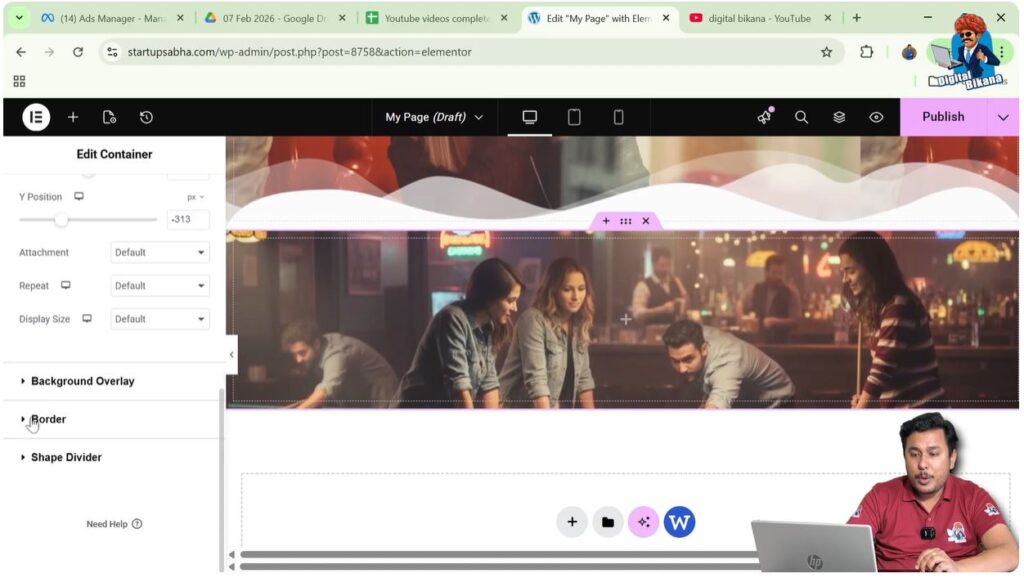
Step 3: Select Border Type Option
Within the Border settings, you will find the option to choose different border types.
Selecting Border Types in Elementor
Elementor allows you to choose from different border types depending on your design requirements.
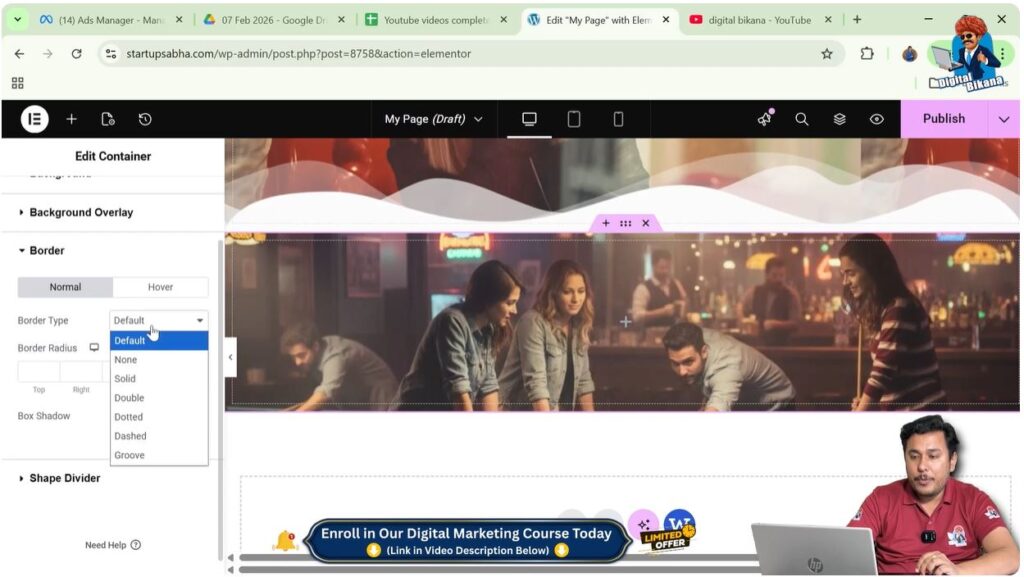
Solid Border
A solid border creates a continuous line around the container. It is the most commonly used border style and gives a clean and simple look.
Double Border
A double border displays two parallel lines around the container. This style creates a bold and highlighted appearance.
Dotted Border
A dotted border consists of small dots forming the outline of the container. It gives a light and decorative look.
Dashed Border
A dashed border consists of small line segments. It provides a modern and slightly informal design style.
Steps to Select Border Type
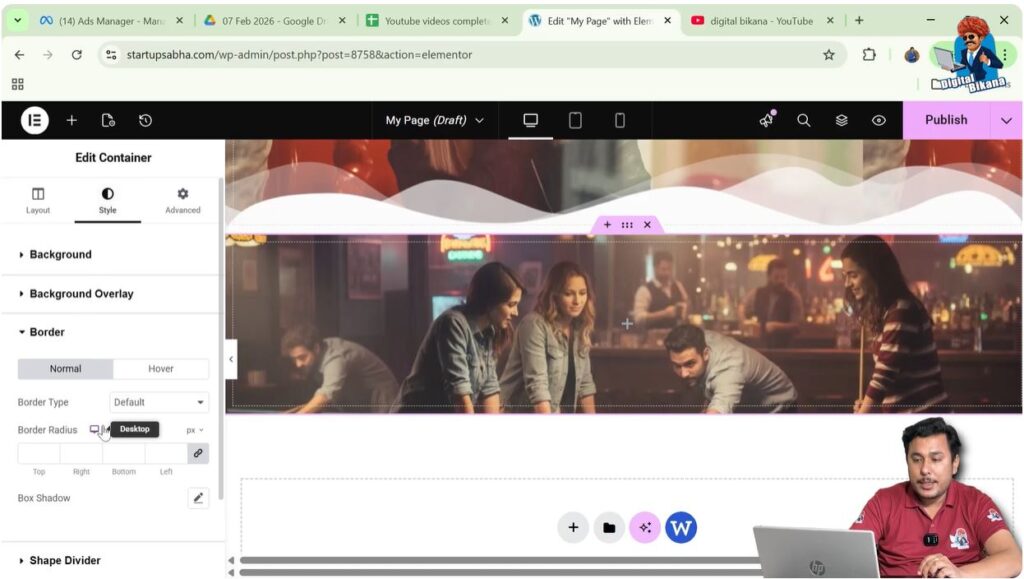
Step 1: Choose Border Type
In the Border settings, select any border type such as solid, double, dotted, or dashed.
Step 2: Observe Changes
Once selected, the border style will be applied immediately to the container.
You can switch between different types to see how each style affects the design.
Customizing Border Width and Color
After selecting a border type, you can further customize its appearance.
Adjusting Border Width
Border width controls the thickness of the border. Increasing the width makes the border more prominent.
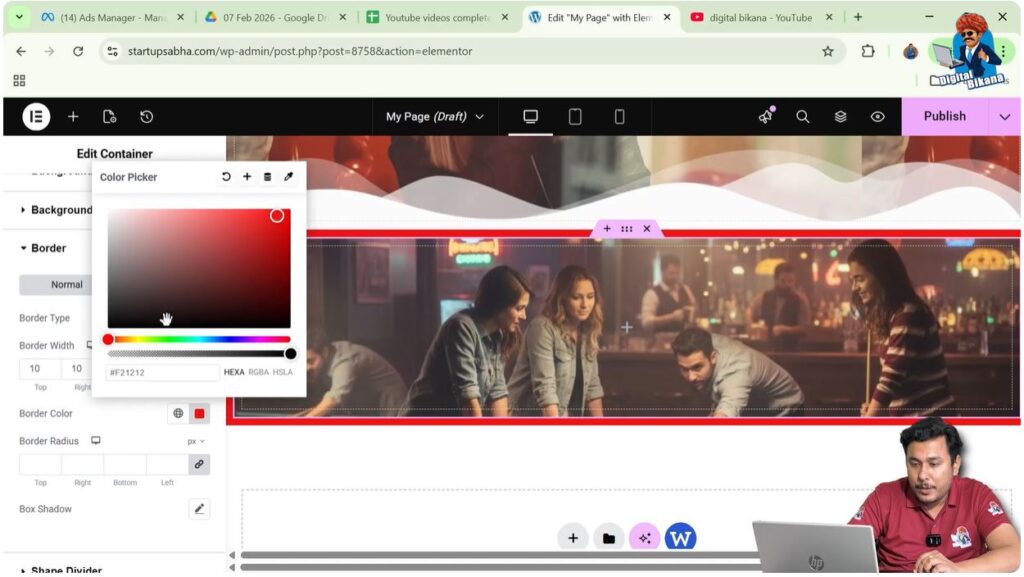
Changing Border Color
You can select any color for the border to match your website design.
Steps to Customize Border
Step 1: Adjust Width
Increase or decrease the border width using the available slider or input field.
Step 2: Select Color
Choose a color from the color picker to apply to the border.
These settings help you create a visually balanced design.
Adjusting Border Radius
Border radius allows you to create rounded corners for your container.
Understanding Border Radius
Instead of sharp edges, border radius curves the corners of the container, giving it a softer and modern look.
Steps to Adjust Border Radius
Step 1: Locate Border Radius Option
In the Border settings, find the Border Radius option.
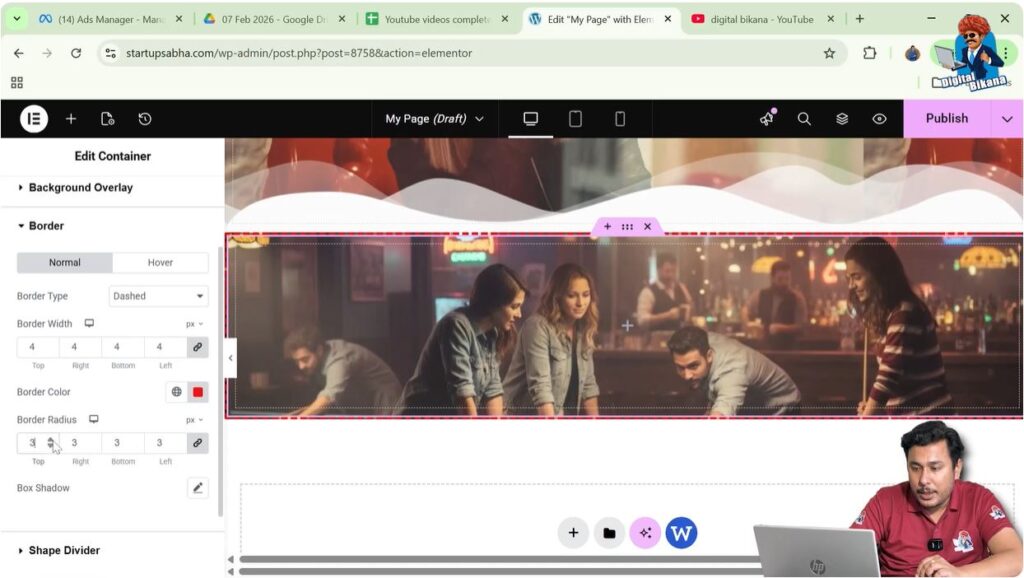
Step 2: Adjust Values
Increase the values to create curved edges.
By adjusting the border radius, you can significantly enhance the overall design.
Switching Between Different Border Styles
You can easily switch between different border types to find the best design for your container.
Experimenting with Styles
Elementor allows real-time preview, so you can try different border types and instantly see the results.
Observing Design Changes
Switching from solid to dotted or dashed borders creates noticeable visual differences. This helps you choose the most suitable style for your layout.
Final Output and Result
After completing all the steps, your container will have:
- A properly adjusted height
- A background image
- A selected border type
- Customized border width and color
- Rounded corners (if border radius is applied)
These elements combine to create a well-designed and visually appealing container.
Conclusion
Selecting and customizing border types in Elementor is a simple yet effective way to enhance your website design. By creating a container, adding a background image, and applying border styles such as solid, double, dotted, or dashed, you can improve the visual structure of your webpage.
With additional customization options like border width, color, and radius, Elementor gives you full control over the appearance of your containers. By following the steps explained in this article, you can easily apply and customize border types to create a professional and attractive design.
Related Posts