
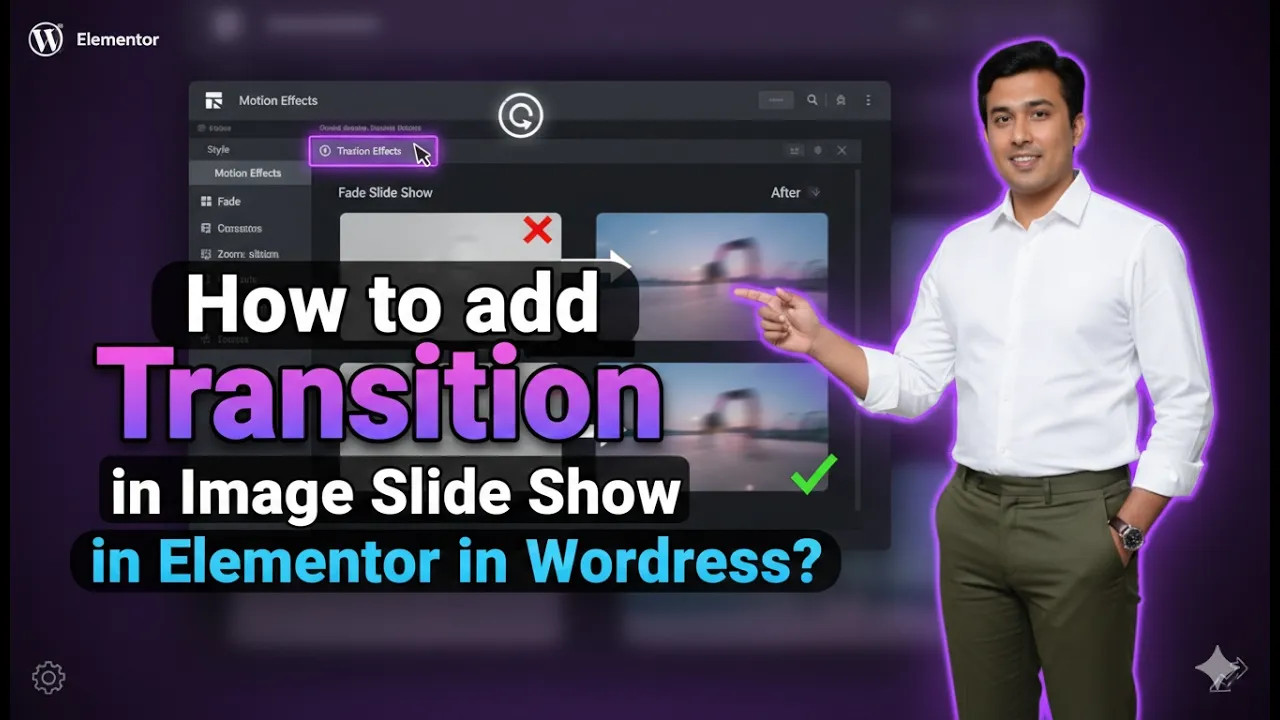
Adding transition effects to image slides in Elementor is a powerful way to enhance the visual experience of your website. Transitions make your image slideshows look smooth, dynamic, and engaging. Instead of static image changes, transitions create a fluid movement that improves user interaction and overall design quality.
In this article, we will explain how to add transition effects in image slides in Elementor step by step. Each step is described in detail so that you can easily understand and apply it to your WordPress website.
Accessing the Elementor Editor
To begin, you need to open Elementor and start editing your web page.
As shown in the process, you are inside the Elementor editor and creating a new web page. To add image slides and transitions, you first need a container.
Creating a New Container
Step 1: Click on Plus Icon
Click on the plus icon displayed in the middle of the screen.
Step 2: Select Layout
Choose the layout type:
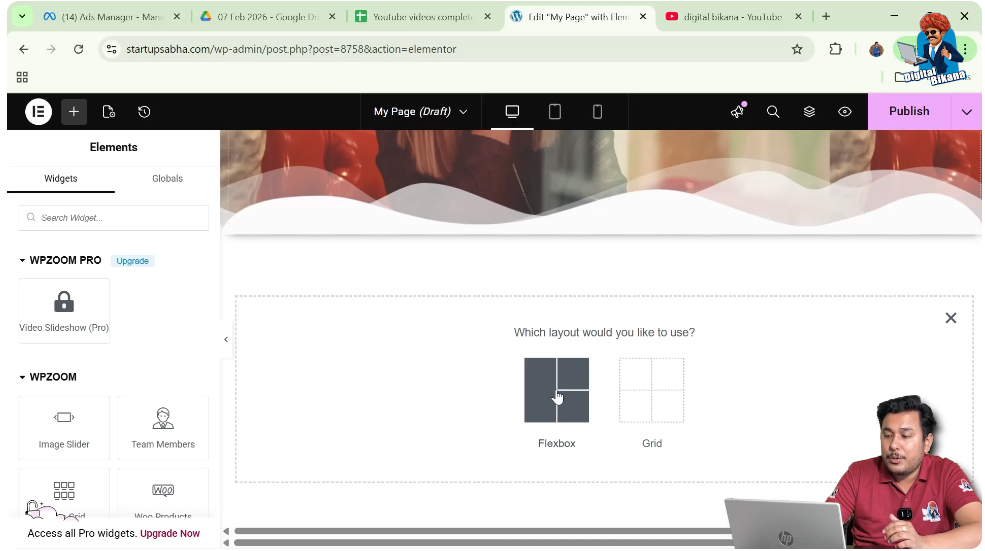
Step 3: Choose Structure
Select the direction as:
- Column
This creates a new container on your page.

Editing the Container
Step 4: Click on Edit Container
Click on the six-dot icon above the container.
This opens the container settings in the left-side toolbar.
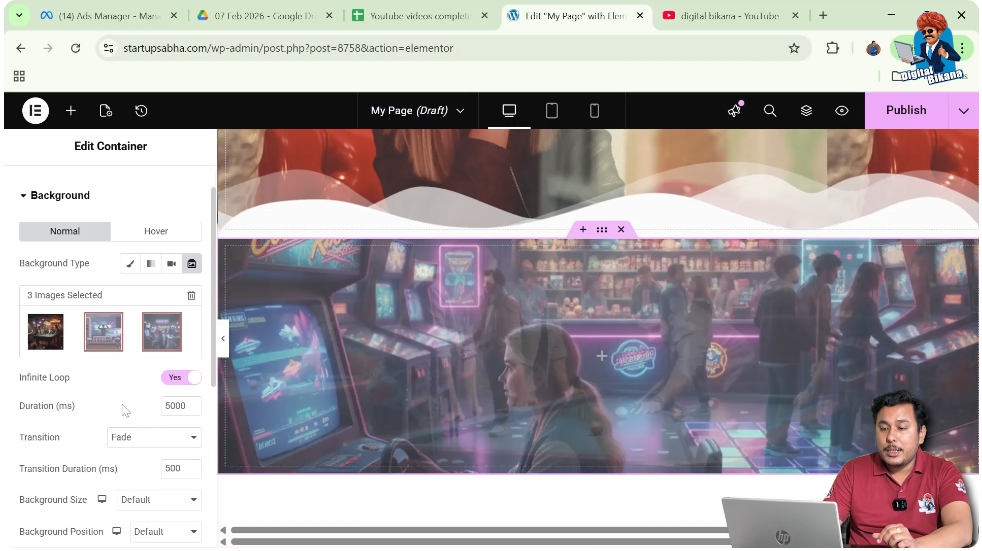
Adjusting Container Height
Step 5: Increase Height
Go to the Layout settings and increase the container height.
This ensures that the slideshow is clearly visible.

Adding Image Slideshow
Step 6: Open Style Tab
Click on the Style tab in the left-side toolbar.

Step 7: Select Background Type
In the background section:
- Choose Slideshow as the background type
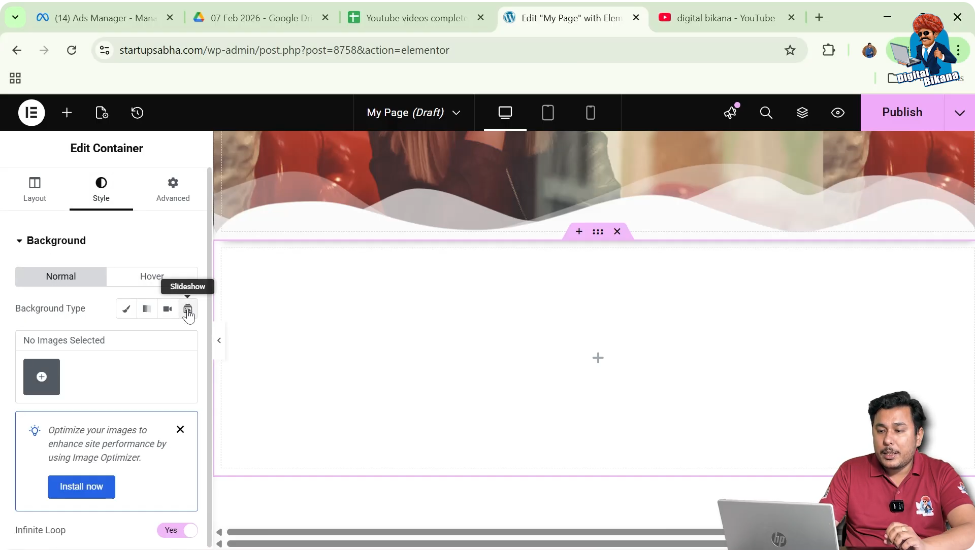
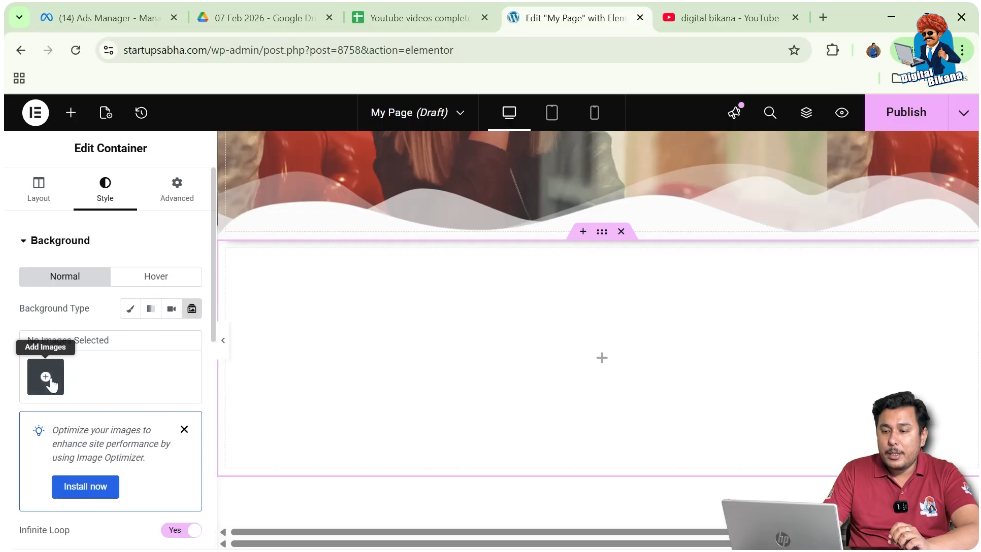
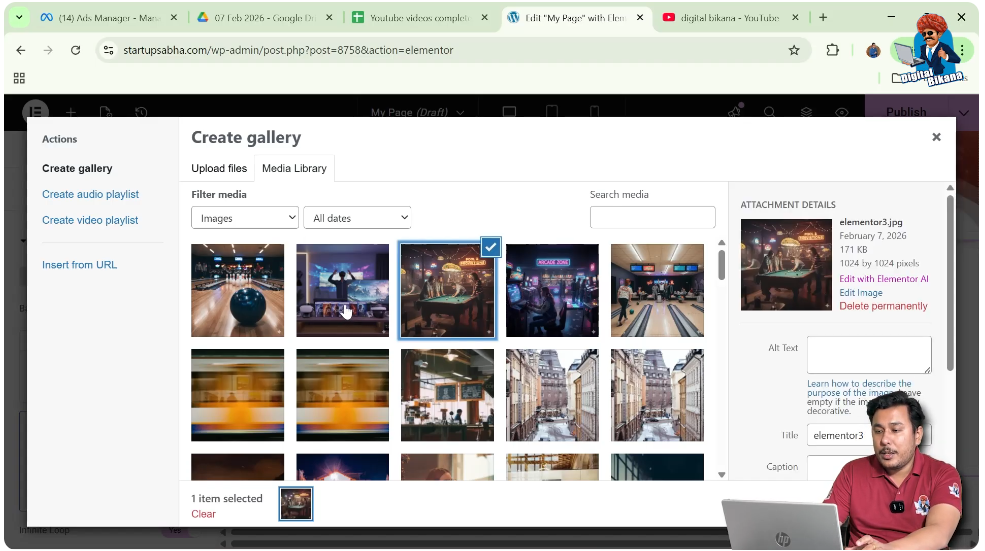
Step 8: Add Images
Click on Add Images and select multiple images from:
- Media Library
- Or upload new images
You can select multiple images by holding the Control key on your keyboard.
Step 9: Create Gallery
Click on:
- Create New Gallery
- Insert Gallery
Your slideshow will now appear in the container.
Understanding Transition Effects
By default, the transition effect is set to:
- Fade
This means images gradually dissolve into each other.
Adjusting Slide Duration
Step 10: Reduce Duration
Reduce the duration of the slides.
This helps you clearly see the transition effects in action.
Changing Transition Type
Step 11: Select Transition
In the slideshow settings, you will find the Transition option.
Step 12: Choose Transition Effect
You can select different transition effects such as:
- Fade
- Slide Right
- Slide Left
- Slide Up
- Slide Down
Each option changes how images move from one slide to another.
Exploring Transition Effects
Fade Transition
Images smoothly fade into each other.
Slide Right
Images move from left to right.
Slide Left
Images move from right to left.
Slide Up
Images move upward during transition.
Slide Down
Images move downward during transition.
Practical Example
In the demonstrated process:
- A container is created
- Height is increased
- Slideshow background is selected
- Multiple images are added
- Default transition is fade
- Duration is reduced
- Transition is changed to slide effects
This results in a dynamic image slideshow.
Benefits of Using Transitions
Smooth User Experience
Transitions make slides visually appealing.
Better Engagement
Users stay longer on visually interactive pages.
Professional Design
Adds modern touch to your website.
Common Mistakes to Avoid
Using Too Many Effects
Too many transitions can distract users.
Ignoring Speed
Very fast or very slow transitions can reduce usability.
Low-Quality Images
Poor image quality affects the overall look.
Best Practices
- Use smooth transitions like fade or slide
- Maintain consistent speed
- Use high-quality images
- Keep design simple and clean
Final Understanding
Adding transition effects in Elementor slideshow involves selecting images, adjusting duration, and choosing the appropriate transition type. These settings help you create visually appealing and dynamic sections on your website.
Conclusion
Transition effects in image slides are a simple yet effective way to improve your website design. Elementor provides multiple transition options that allow you to customize how your images appear and move.
By following the steps explained in this guide, you can easily add transition effects to your image slides and create a more engaging user experience.
Related Posts


