Elementor is one of the most popular page builders used in WordPress for creating modern and visually attractive webpages. It allows users to design layouts using containers, images, backgrounds, overlays, and many styling options without writing any code. One of the useful design techniques available in Elementor is adding an image overlay over a background image inside a container.
Using a background overlay image can help create creative visual effects on a webpage. It allows you to place an additional image on top of the main background image. This technique is often used to add patterns, textures, shapes, or design elements that enhance the appearance of a section.
In Elementor, the Background Overlay feature allows you to apply an additional image layer over the background image of a container. This creates a layered design that can make your webpage look more professional and visually appealing.
In this article, you will learn how to add an image as an overlay of a background image in Elementor while editing a webpage in WordPress.
Opening Elementor Editor
Before adding an overlay image, you first need to open the Elementor editor.
When you edit a webpage using Elementor, the Elementor editing interface appears on the screen. The page preview appears in the center of the screen, and the editing tools are displayed in the left side toolbar.
In the middle of the screen, you will see a plus icon (+). This icon is used to create a new container or section on the webpage.
To begin the process, you first need to create a container.
Creating a Container in Elementor
Containers help organize content and layout elements on a webpage.
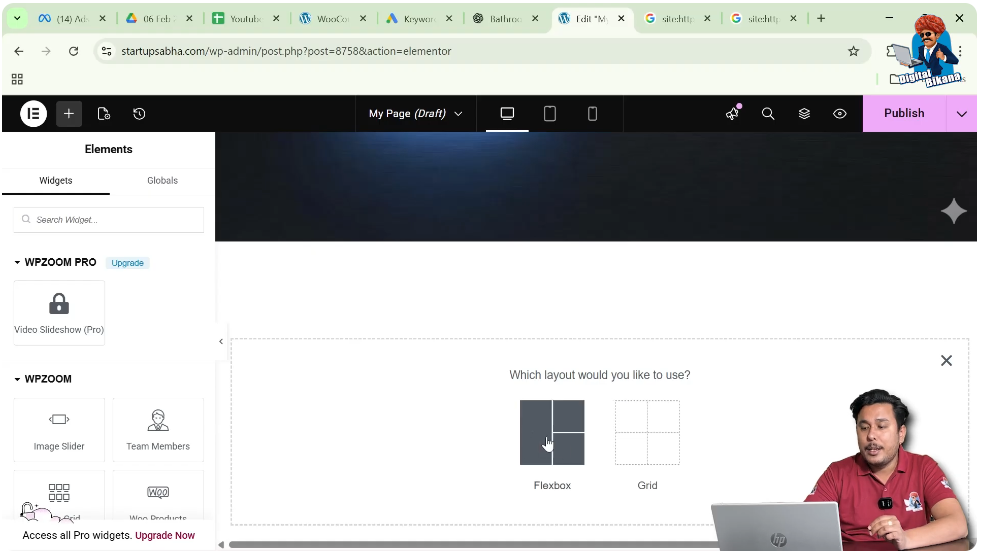
Step 1: Click the Plus Icon
Click the plus icon displayed in the middle of the screen.
After clicking this icon, Elementor will ask you to select a layout type.
Step 2: Select Flexbox Layout
Elementor provides layout options such as:
For this example, select Flexbox.
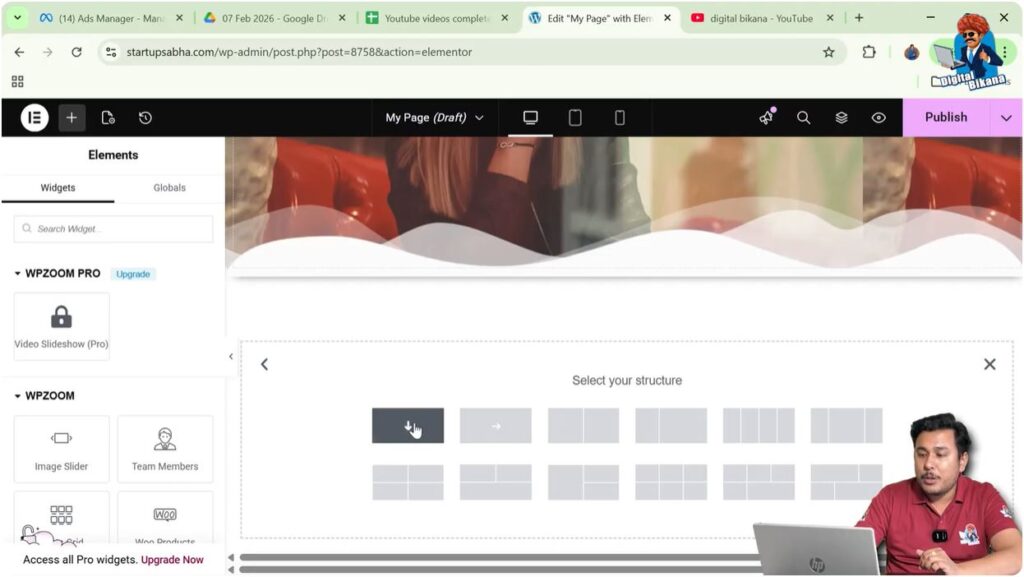
Step 3: Select Structure
After selecting Flexbox, you will see several structure options.
Choose the Direction Column structure.
Once selected, a new container will appear on the screen.
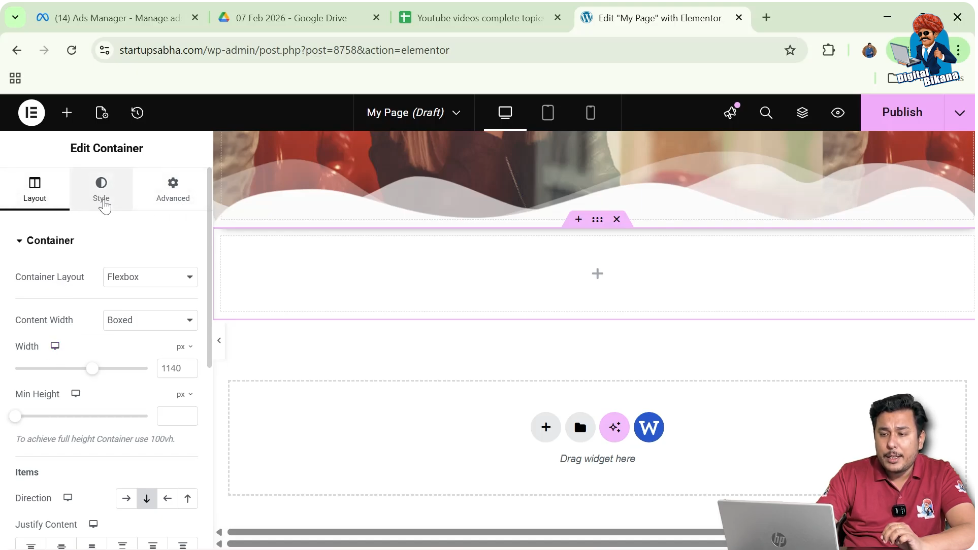
Editing the Container
After creating the container, you can edit it using the container settings.
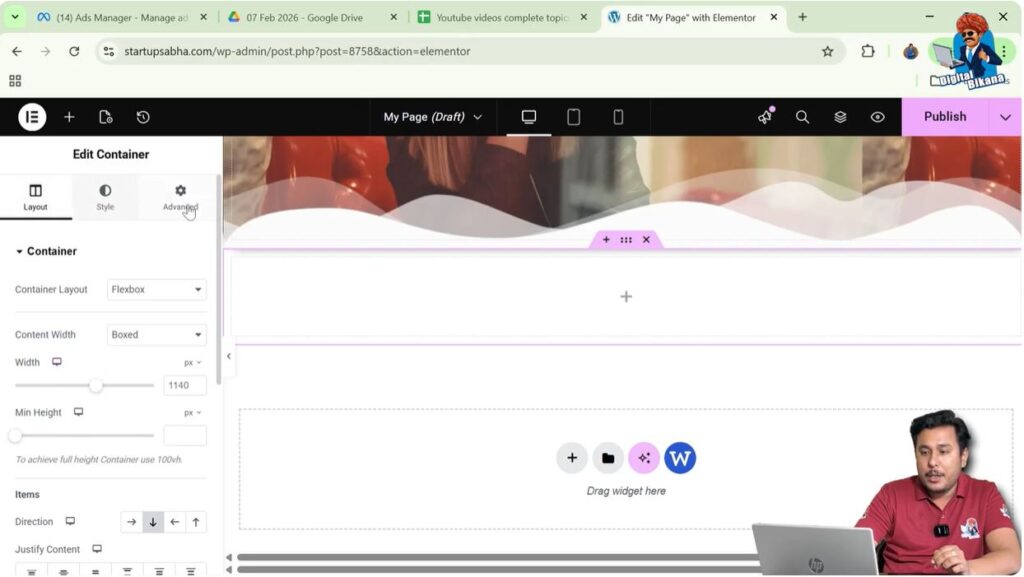
Step 1: Click the Edit Container Icon
Above the container, you will see an Edit Container icon represented by six dots.
Click this icon.
Step 2: Open Container Settings
Once clicked, the container settings will appear in the left side toolbar.
In the container settings panel, you will see three main tabs:
- Layout
- Style
- Advanced
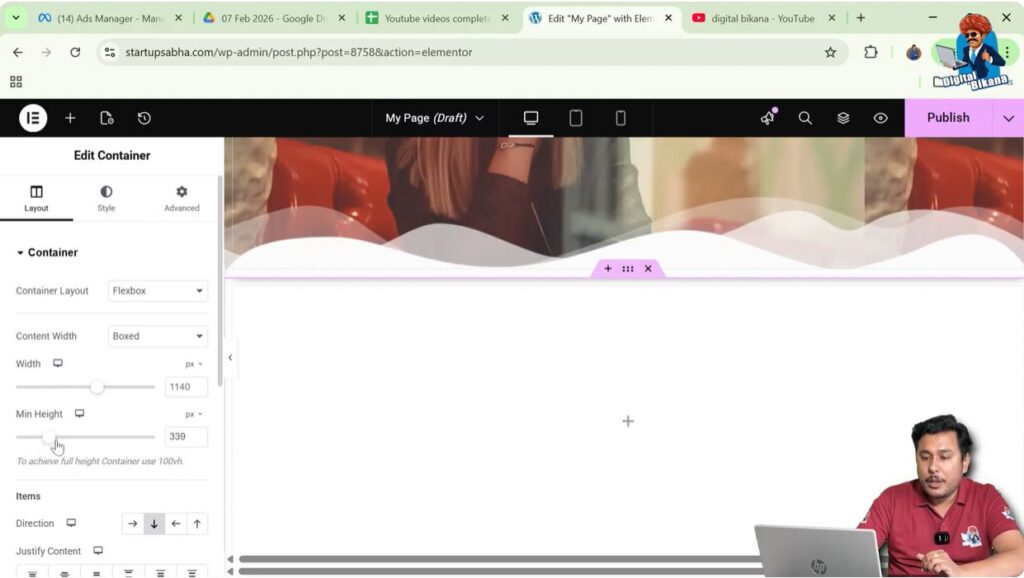
Adjusting Container Height
Before adding background images, it is useful to increase the container height so the design elements become visible.
Step 1: Open Layout Settings
Click the Layout tab.
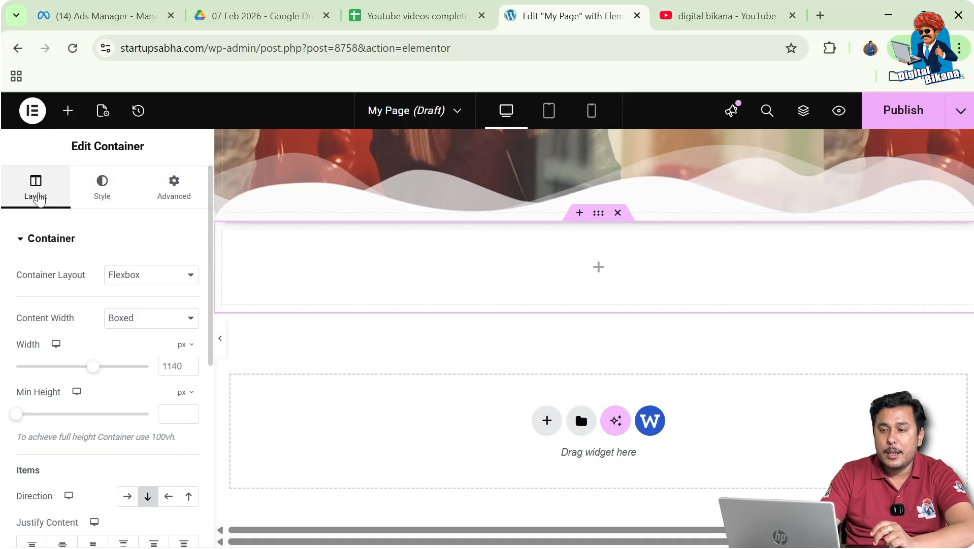
Step 2: Increase Container Height
Inside the layout settings, increase the container height.
Increasing the container height provides enough space for background images and overlay effects.
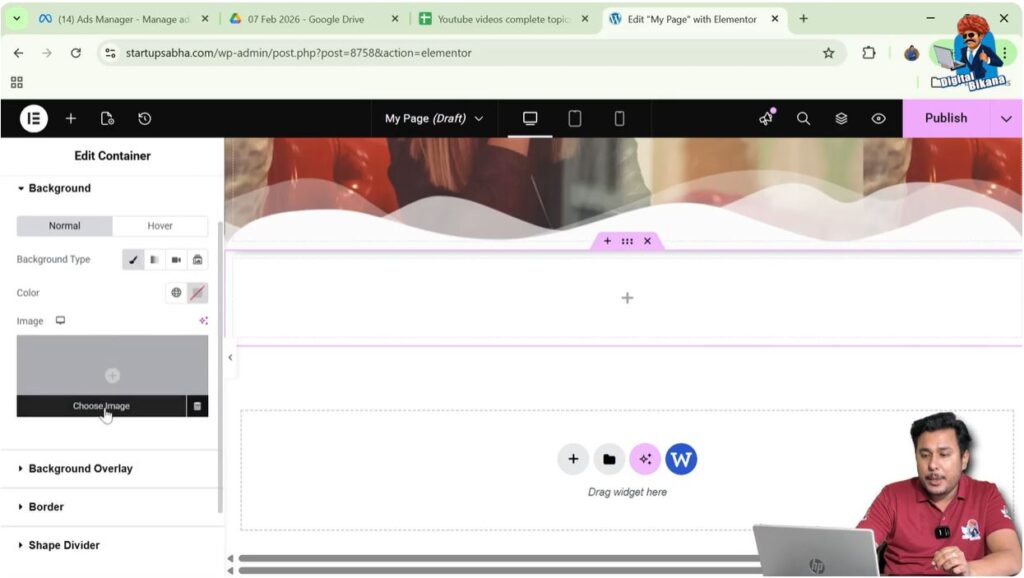
Adding a Background Image
After adjusting the container height, the next step is to add a background image.
Step 1: Open Style Settings
Click the Style tab in the container settings.
Step 2: Open Background Settings
Inside the Style tab, locate the Background section.
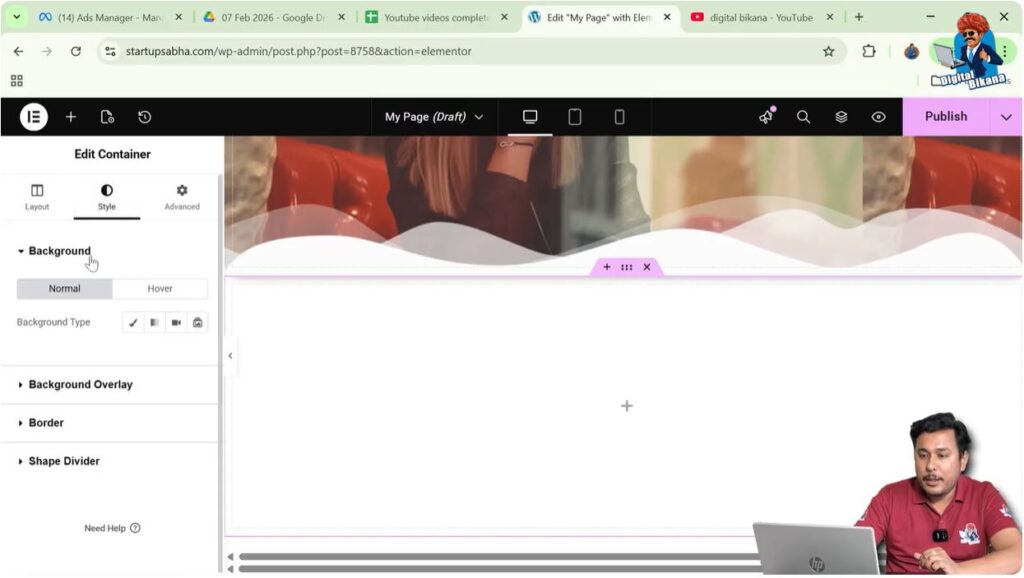
Step 3: Select Background Type
Choose Classic as the background type.
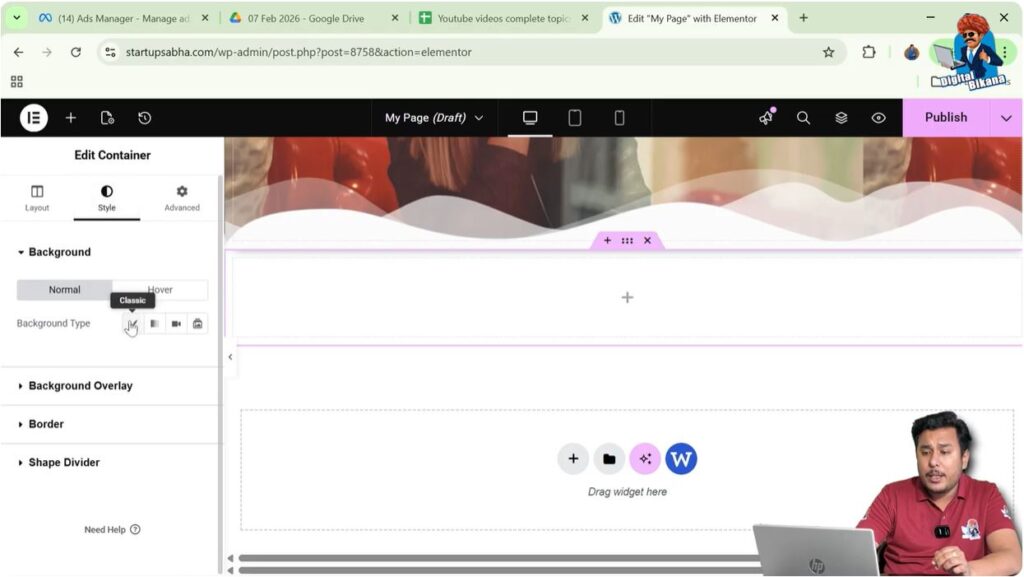
Step 4: Choose Image
Click the Choose Image button.
The WordPress Media Library will open.
Select an image from the media library and click Select.
If the image is not already uploaded, you can upload a new image using the Upload Files option.
Once selected, the image will appear as the background of the container.
Adjusting Background Image Position
After adding the background image, you may want to adjust its position so that it appears correctly inside the container.
Step 1: Open Position Settings
Inside the background settings, locate the Position option.
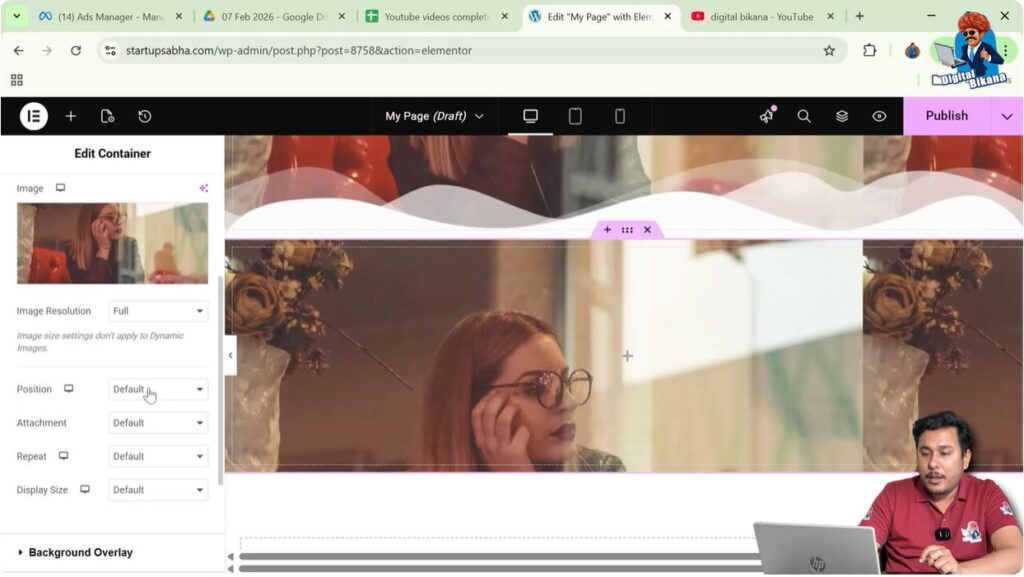
Step 2: Select Custom Position
Select Custom Position.

Step 3: Adjust Y Position
Adjust the Y position value to move the image upward or downward.
This helps align the image properly within the container.
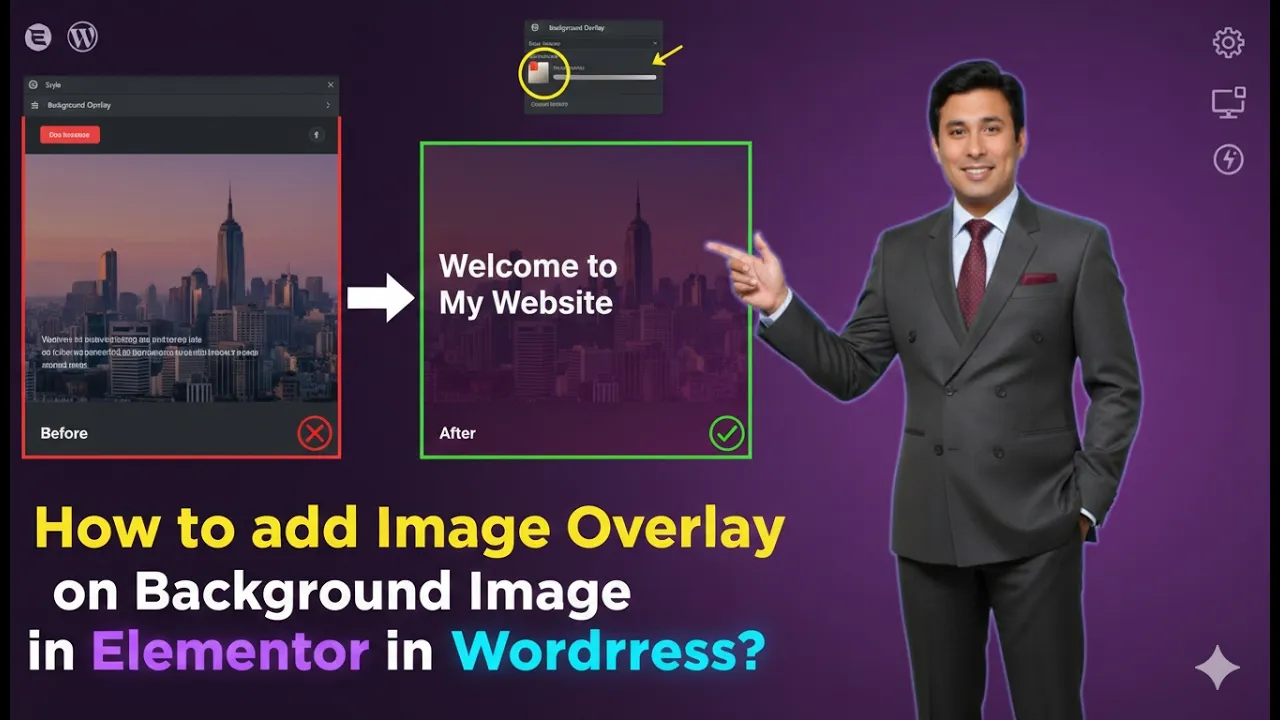
Adding an Image as Background Overlay
After setting the main background image, the next step is to add an overlay image.
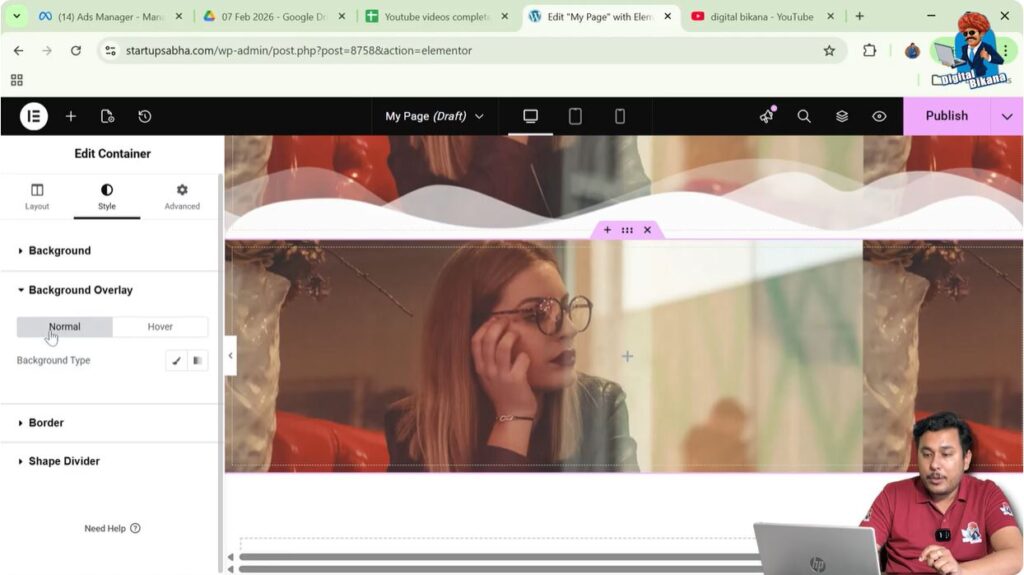
Step 1: Open Background Overlay Settings
Inside the Style tab, locate the Background Overlay section.
Click this section.
Step 2: Select Normal Overlay
Inside the overlay settings, select the Normal tab.
Step 3: Choose Background Type
Select Classic as the background type.
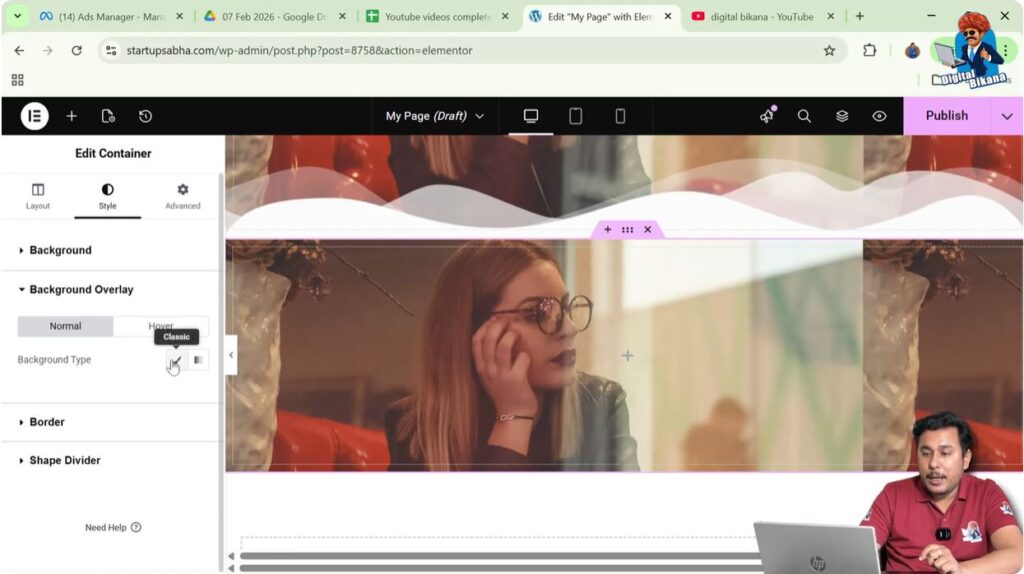
Step 4: Choose Overlay Image
Click the Choose Image button.
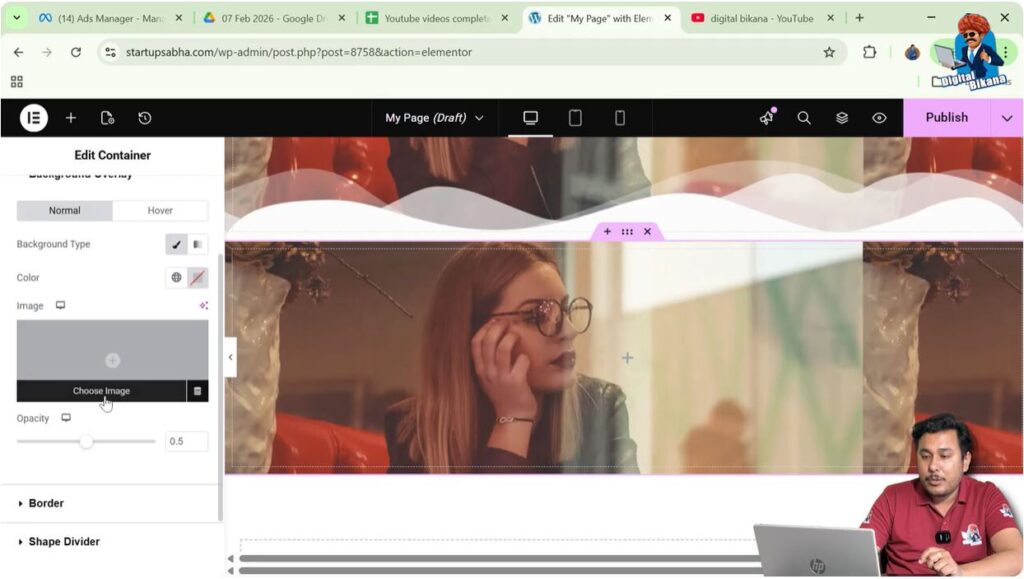
The WordPress media library will open again.
Select an image to use as the overlay image.
Click Select.
Now the selected image will appear as an overlay above the background image.
Adjusting Overlay Image Settings
After adding the overlay image, you can customize how it appears.
Step 1: Change Display Size
Locate the Display Size option.
Set the display size to Cover so that the overlay image fills the container area properly.

Step 2: Adjust Image Position
You can adjust the Position setting if needed.
In many cases, the default position works well.
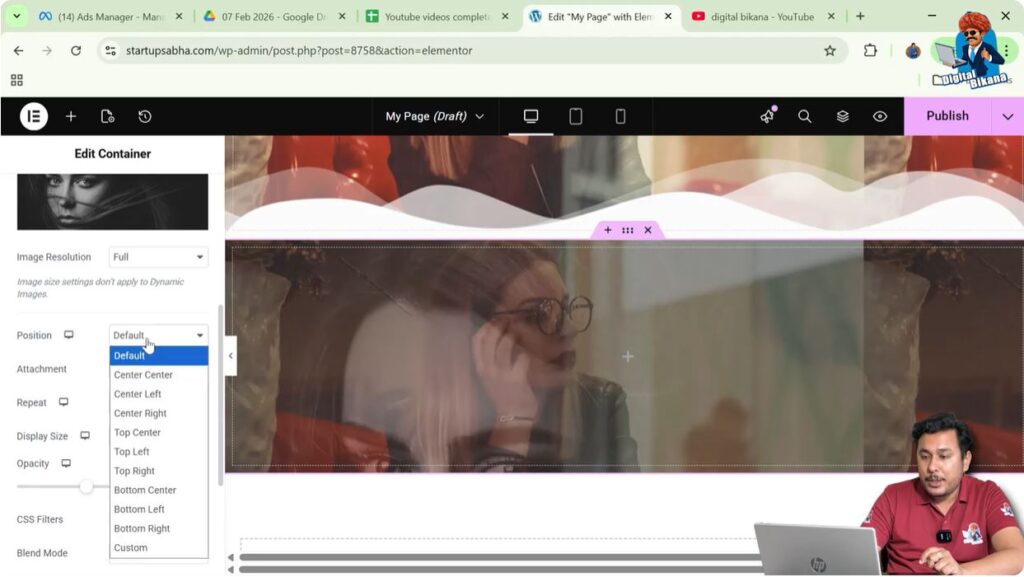
Adjusting Image Resolution
Elementor allows you to choose the resolution of the overlay image.
Step 1: Locate Image Resolution Setting
Inside the overlay settings, locate the Image Resolution option.
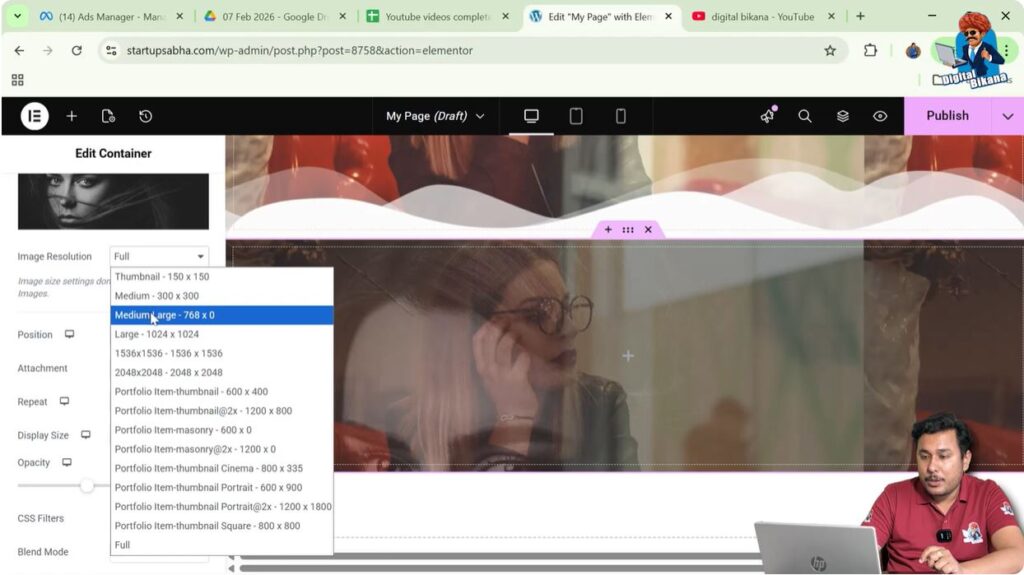
Step 2: Choose Resolution
You can choose different resolution sizes such as:
- Medium
- Medium Large
- Large
- Full
For best visual quality, you can select Full resolution.
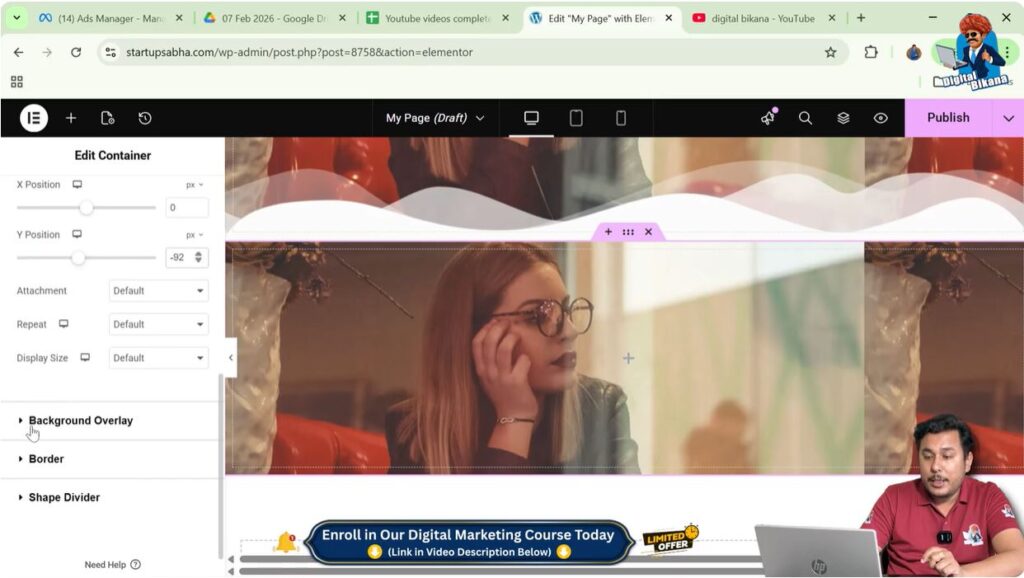
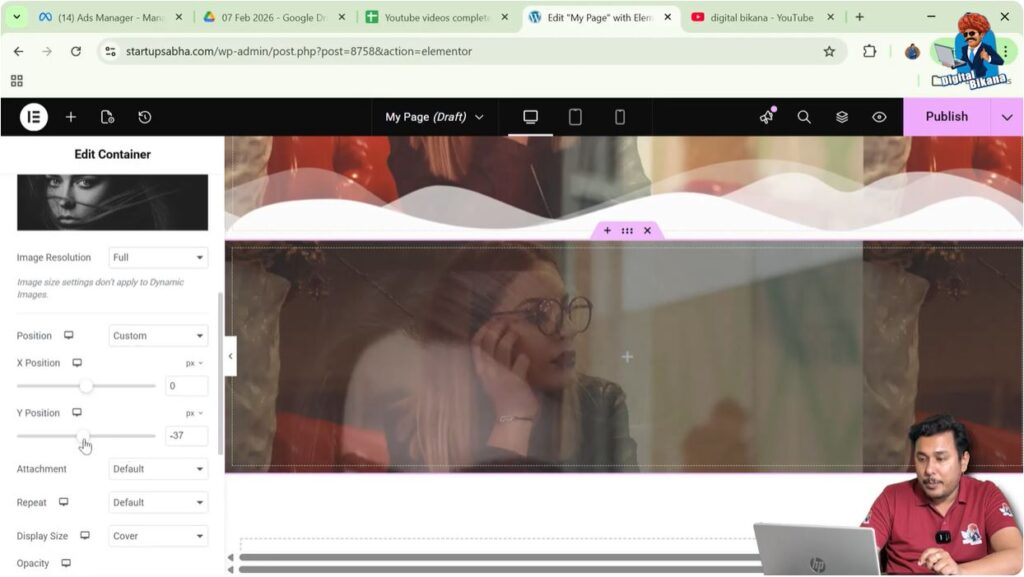
Adjusting Overlay Image Position
Just like the background image, you can adjust the overlay image position.
Step 1: Select Custom Position
Choose Custom Position.
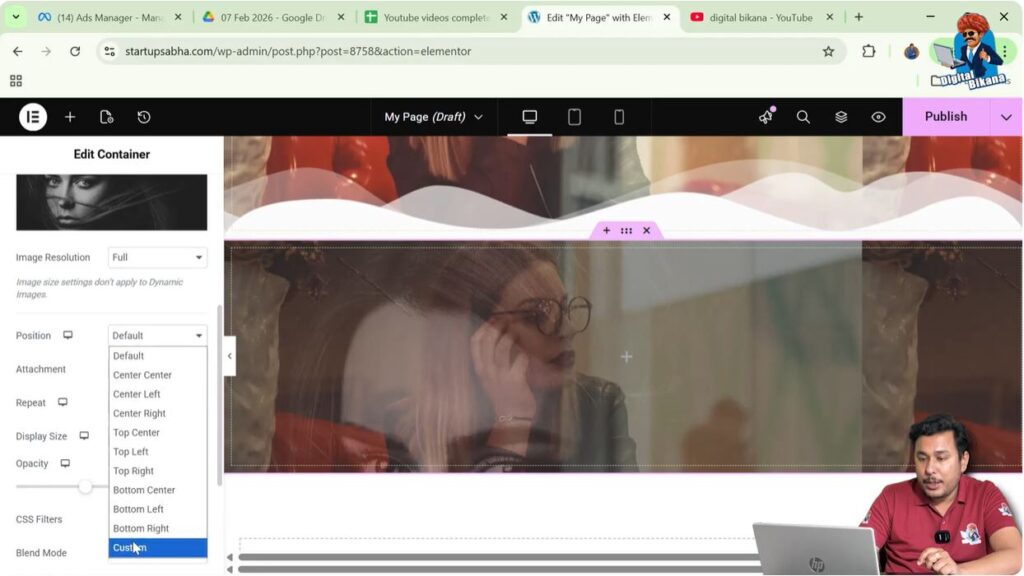
Step 2: Adjust Position Values
Adjust the Y position value to move the overlay image slightly upward or downward.
This helps align the overlay image correctly over the background image.
Viewing the Overlay Effect
After applying both the background image and overlay image, you will notice that the container now contains two layers:
- The background image at the bottom
- The overlay image above it
This layered design creates a visually appealing effect and adds depth to the container design.
Benefits of Using Background Image Overlays
Adding an image overlay in Elementor provides several design advantages.
Some benefits include:
- Creating layered visual effects
- Adding patterns or textures over background images
- Enhancing design aesthetics
- Improving the visual depth of webpage sections
- Creating professional-looking layouts
Overlay images are commonly used in hero sections, banners, promotional sections, and feature sections.
Conclusion
Adding an image as an overlay of a background image in Elementor is a simple yet powerful design technique that enhances the visual appearance of your webpage.
You begin by creating a container using the plus icon and selecting the Flexbox layout. After creating the container, you increase the container height and add a background image using the Style settings.
Next, you open the Background Overlay settings and select another image to place above the background image. You can then adjust the display size, image resolution, and position settings to ensure both images appear correctly.
By using the background overlay feature, you can easily create layered image effects while designing webpages using Elementor in WordPress.
Related Posts