

Elementor is one of the most widely used page builders in WordPress for designing modern websites without coding. It provides a wide range of design features that help improve the visual appearance and interactivity of a webpage. One such useful feature is the hover transition effect.
Hover transition allows you to change an element visually when a user moves the cursor over it. This effect is commonly used on images, containers, buttons, and cards to make a webpage more interactive and engaging.
In Elementor, hover effects can be applied to container backgrounds. When a visitor moves their cursor over the container, the normal background image can change into another image. The speed at which this change occurs is controlled by the transition duration.
In this article, you will learn what hover transition is in Elementor and how to use it while editing a webpage in WordPress.
Opening Elementor Editor
To begin working with hover transitions, you first need to open the Elementor editor while editing a webpage.
When you open a page using Elementor, the editor interface appears on the screen. The page preview is displayed in the center of the screen, while the editing options are displayed in the left side toolbar.

Inside the page preview area, you will notice a plus icon (+) displayed in the middle of the screen. This icon is used to create a new container or section on the webpage.
To start designing, you need to create a container first.
Creating a Container in Elementor
Containers help organize content and layout within a webpage. Elementor allows you to create containers using different layout structures.
Step 1: Click the Plus Icon
Click the plus icon displayed in the middle of the screen.
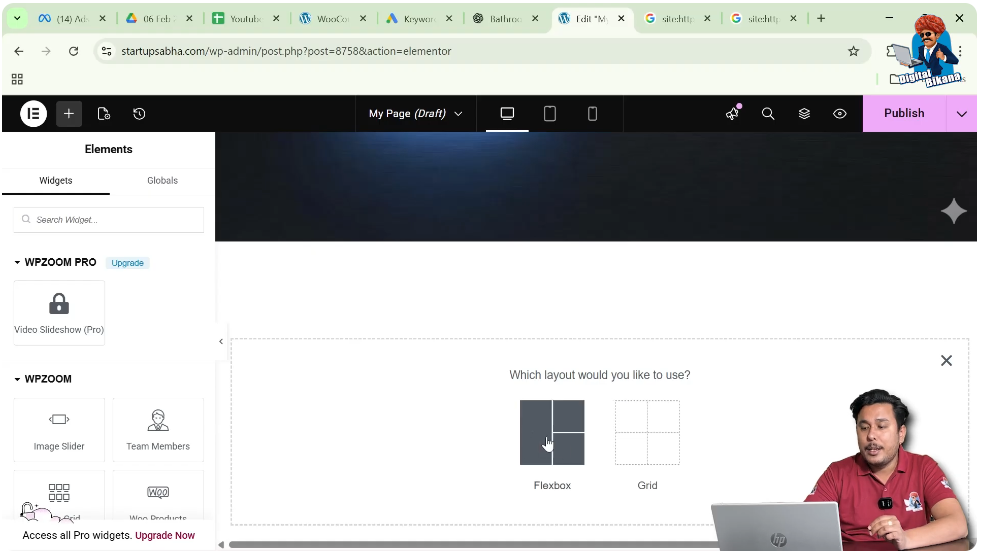
After clicking this icon, Elementor will ask you to choose a layout type.
Step 2: Select Flexbox Layout
Elementor offers layout options such as Flexbox and Grid.
For this example, select Flexbox.
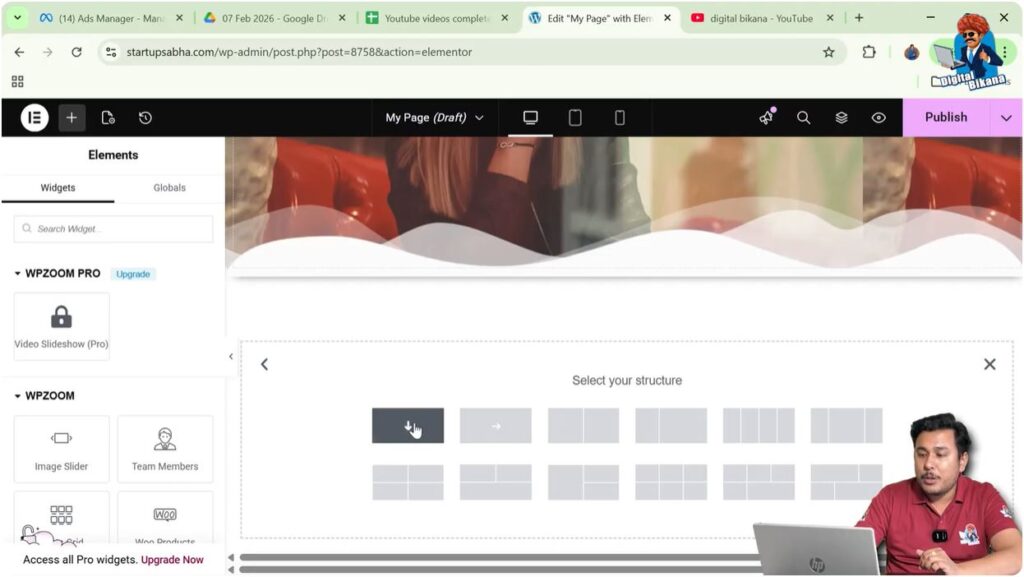
Step 3: Select Structure
After selecting Flexbox, Elementor will ask you to select a structure.
Choose the Direction Column structure.
Once selected, the container will appear on the screen.
Editing the Container
After creating the container, you can edit it using the container settings.
Step 1: Click the Edit Container Icon
Above the container, you will see an Edit Container icon represented by six dots.
Click this icon.
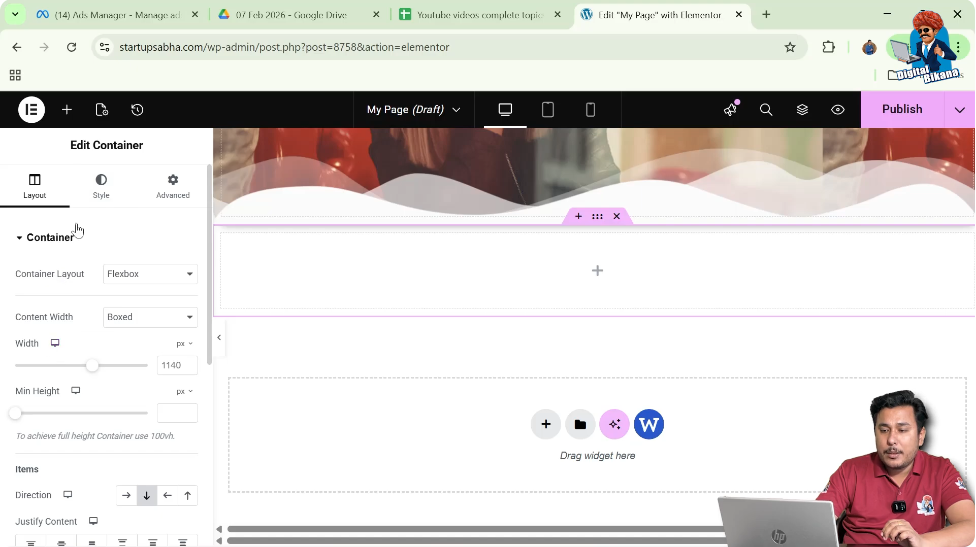
Step 2: Open Container Settings
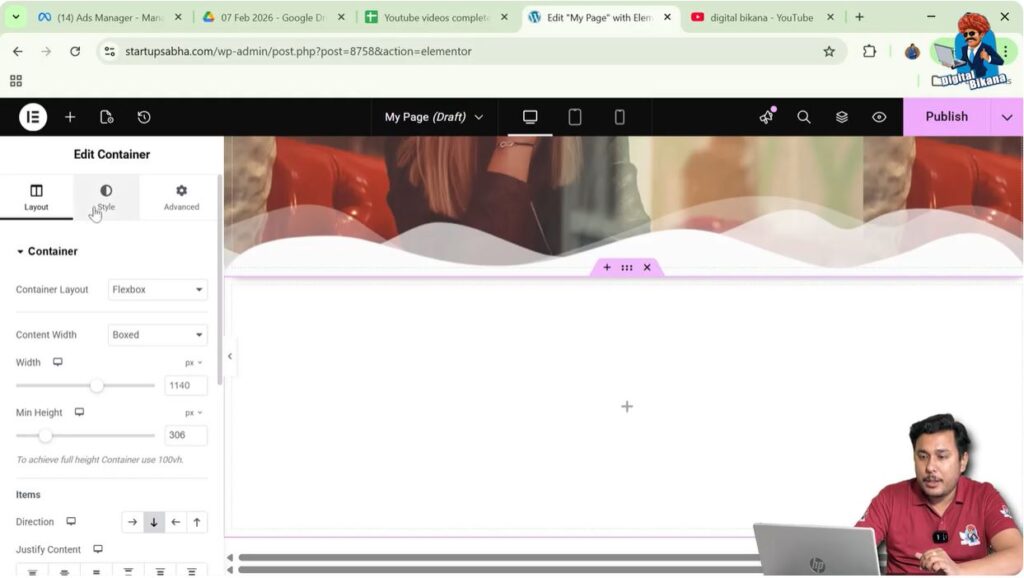
Once clicked, the container settings will appear in the left side toolbar.
From here, you can adjust layout, style, and advanced settings.
Adjusting Container Height
Before applying background effects, it is helpful to increase the container height so the background image is clearly visible.
Step 1: Open Layout Settings
In the container settings panel, open the Layout tab.

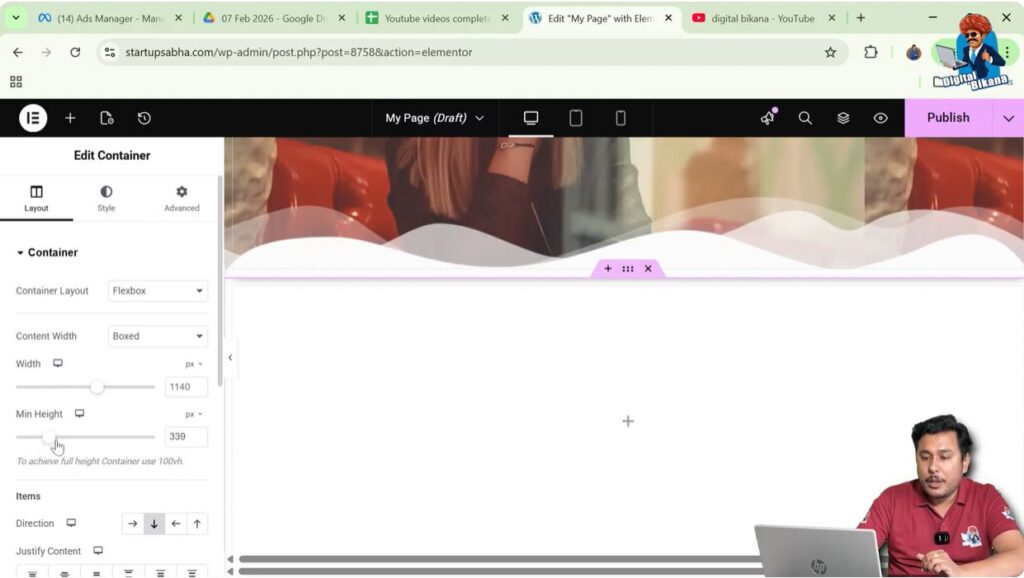
Step 2: Increase Container Height
Inside the container settings, increase the height of the container.
This ensures the background image appears properly inside the container.
Adding a Background Image
To demonstrate hover transitions, you first need to add a normal background image.
Step 1: Open Style Settings
In the container settings panel, click the Style tab.
Step 2: Open Background Settings
Inside the Style tab, locate the Background section.
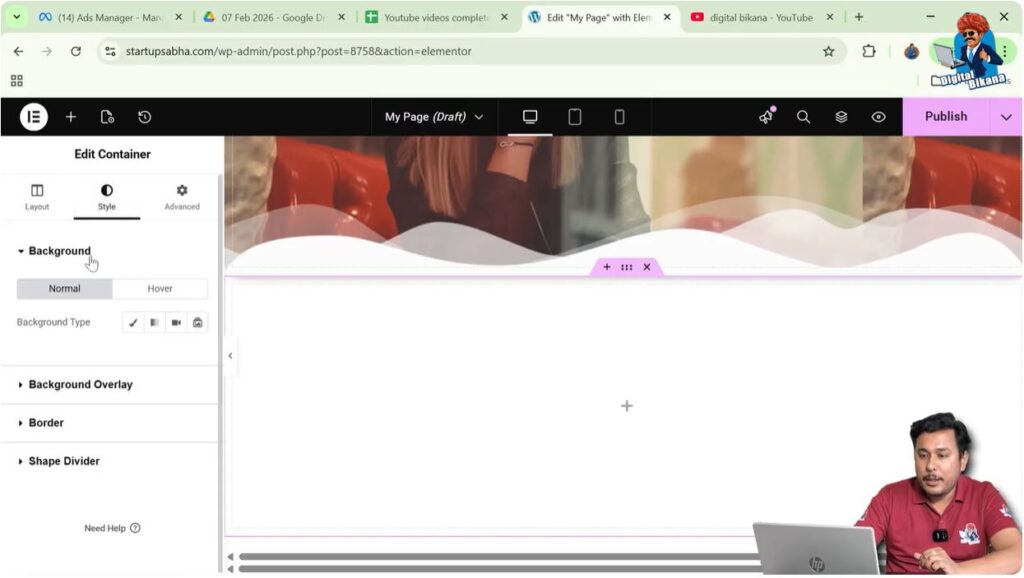
Step 3: Select Background Type
Select Classic as the background type.
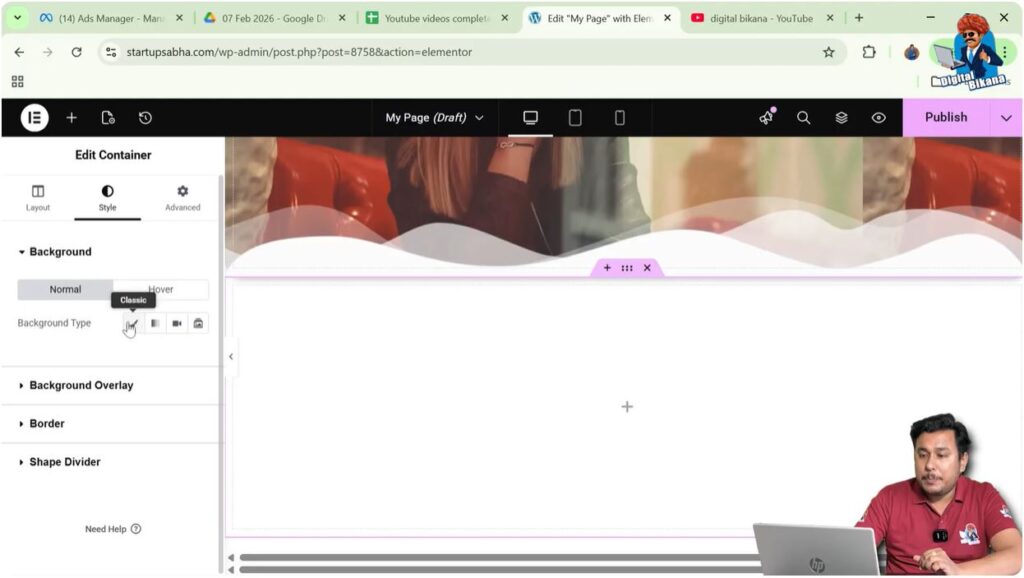
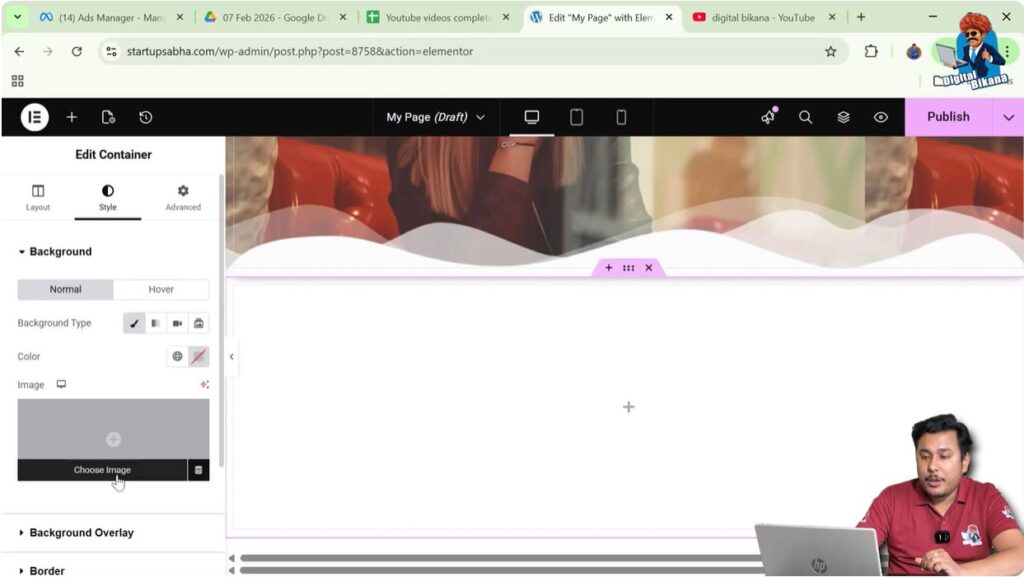
Step 4: Choose Image
Click the Choose Image button.
The WordPress Media Library will open.
Select an image from the media library and click Select.
Now the image will appear as the background of the container.
Adjusting Background Display Settings
After adding the background image, you can adjust how it appears inside the container.
Step 1: Change Display Size
Scroll down inside the background settings.
Change the Display Size to Cover.
This ensures the background image covers the entire container area.
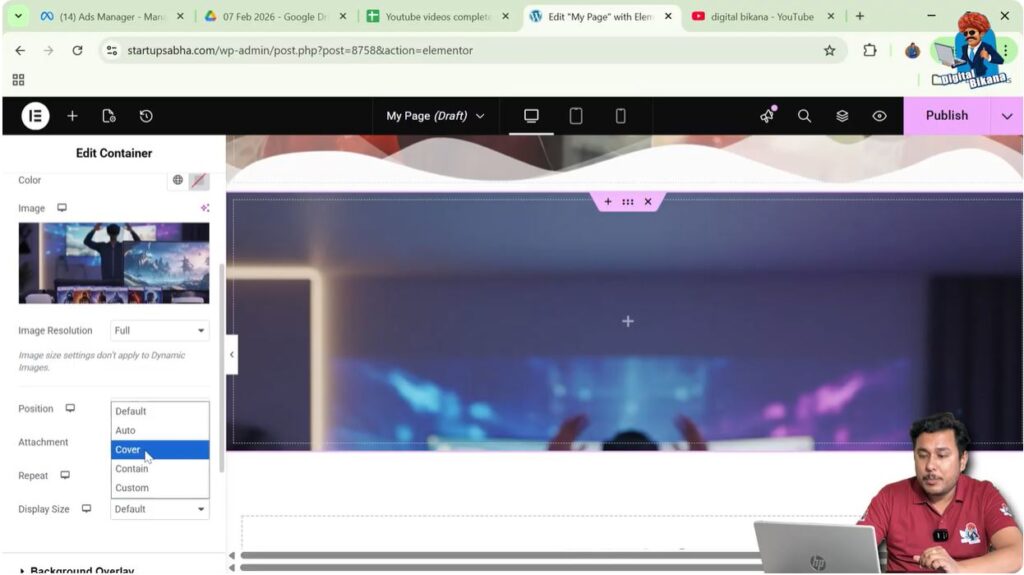
Step 2: Adjust Image Position
You can also adjust the Position setting.
Select Custom Position.
Now you can change the Y position to move the image upward or downward inside the container.
This helps align the image properly within the container.

Adding a Hover Background Image
After adding the normal background image, the next step is to add a hover image.
Step 1: Open Hover Settings
Inside the background settings, you will see two options:
- Normal
- Hover
Click Hover.
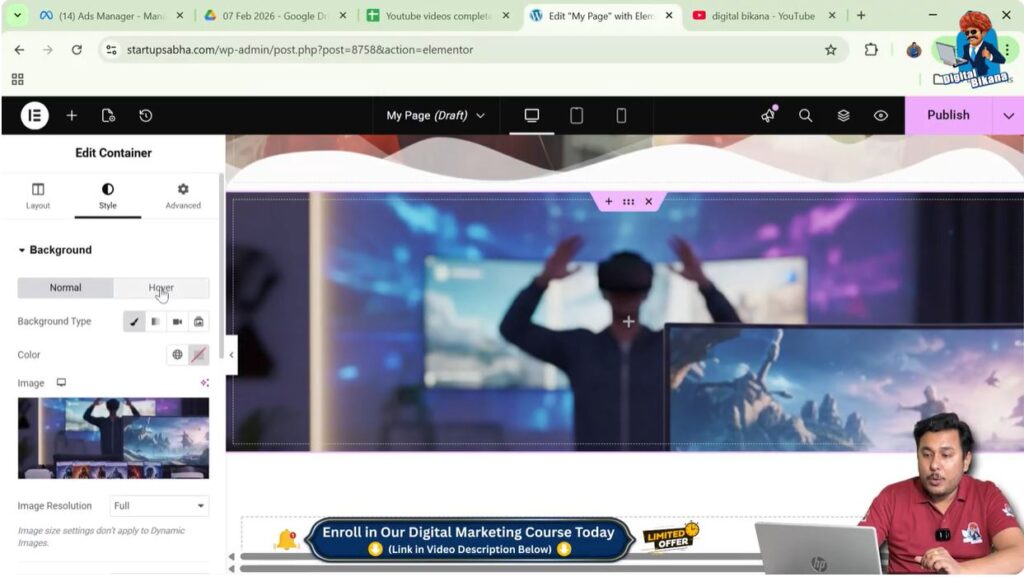
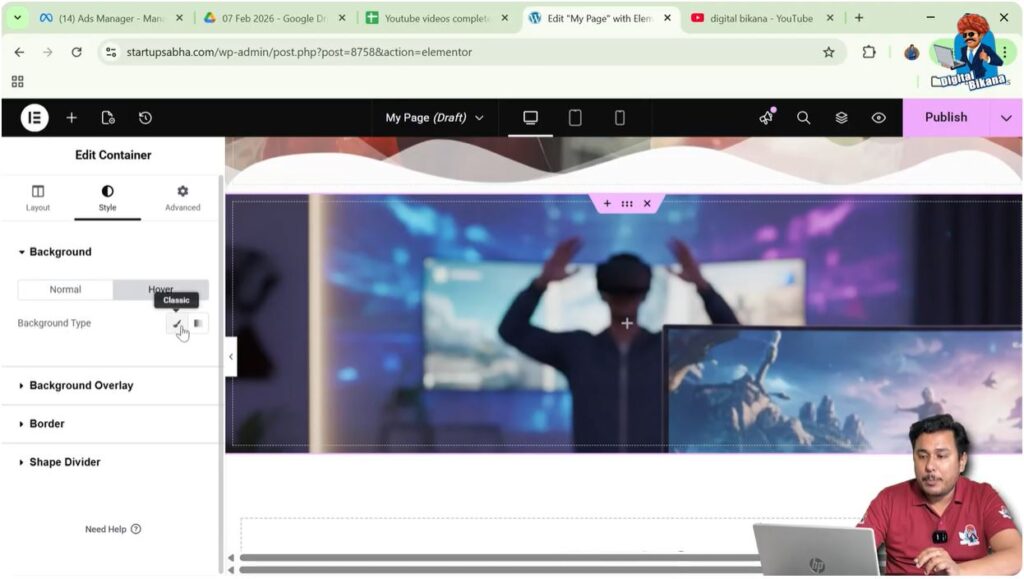
Step 2: Select Background Type
In the Hover settings, select Classic as the background type.
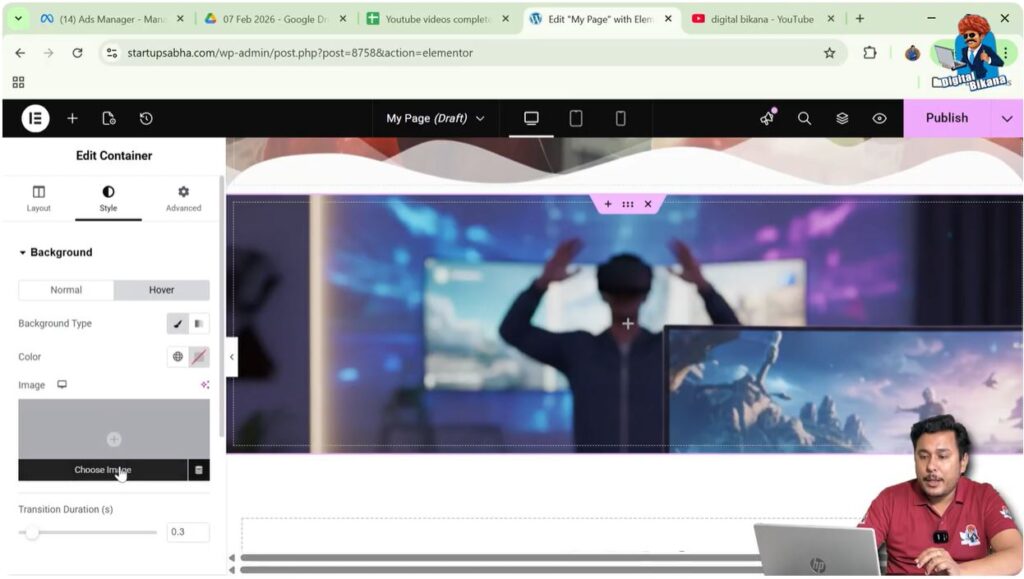
Step 3: Choose Hover Image
Click the Choose Image button.
Select another image from the media library and click Select.
Now the hover image has been added.
Viewing the Hover Effect
Once the hover image is added, you can test the effect.
When you move your cursor over the container, the normal background image changes to the hover image.
When the cursor leaves the container, the hover image disappears and the normal image returns.
This creates an interactive visual effect on the webpage.
Understanding Hover Transition
When the image changes from normal to hover, the change does not happen instantly. Instead, it occurs over a short period of time.
This time delay is called the transition duration.
The transition duration controls how fast or slow the image changes when a user moves their cursor over the container.
Setting the Transition Duration
Elementor allows you to control the speed of the hover transition.
Step 1: Locate Transition Duration
Scroll down in the container style settings.
You will see an option called Transition Duration.
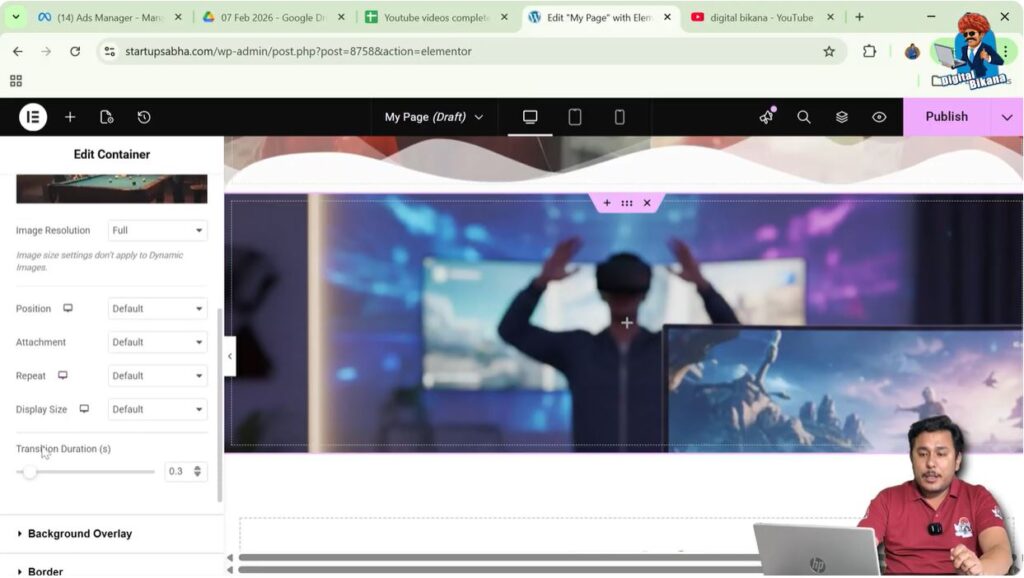
Step 2: Adjust the Duration
By default, the transition duration may be set to 0.3 seconds.
You can increase or decrease this value.
For example:
- 0.3 seconds creates a fast transition.
- 1 second creates a slower transition.
- 3 seconds creates a very slow transition.
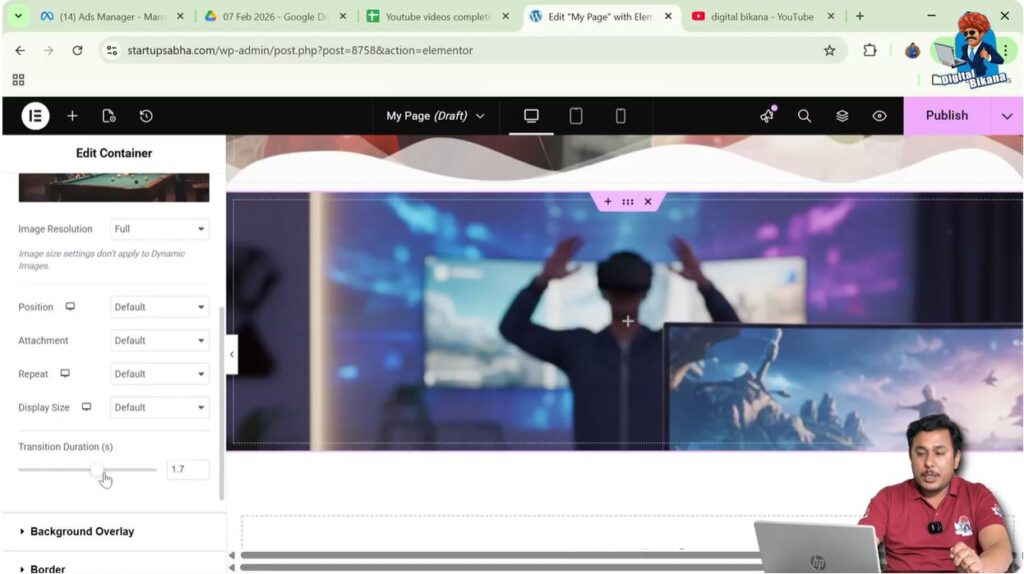
Step 3: Test the Transition
After adjusting the transition duration, move your cursor over the container.
You will notice that the hover image now takes longer to appear.
The larger the duration value, the slower the transition effect.
How Hover Transition Works
Hover transition simply defines the time taken for an element to change from its normal state to its hover state.
In this example:
- The normal state shows the default background image.
- The hover state shows the alternate background image.
The transition duration determines how long it takes for the image to change between these two states.
Benefits of Using Hover Transitions
Hover transitions are commonly used in modern website design because they improve user interaction and visual appeal.
Some advantages include:
- Making webpage elements interactive
- Creating smooth visual effects
- Improving user experience
- Highlighting important content areas
- Making websites look more modern and dynamic
Hover effects are especially useful for image cards, service boxes, and portfolio sections.
Conclusion
Hover transition in Elementor is a simple yet powerful feature that allows you to create interactive background effects for containers.
You begin by creating a container using the plus icon and selecting the Flexbox layout. After creating the container, you increase its height and add a background image in the Style settings.
Next, you add another image in the Hover background settings, which appears when the cursor moves over the container.
Finally, you adjust the Transition Duration to control how quickly the image changes from the normal state to the hover state.
The transition duration represents the time taken for the image to change when the hover effect is activated. By adjusting this value, you can create smooth and visually appealing hover effects on your Elementor webpages.
Related Posts


