
Previewing your blog post before publishing it is an important step in content management. It allows you to check how your blog post will appear on the website once it is live. This helps you identify formatting issues, layout problems, missing images, or any content errors before your audience sees the post.
In this article, you will learn how to preview your blog post before publishing it in WordPress. The process is simple and can be done directly from the WordPress editor.
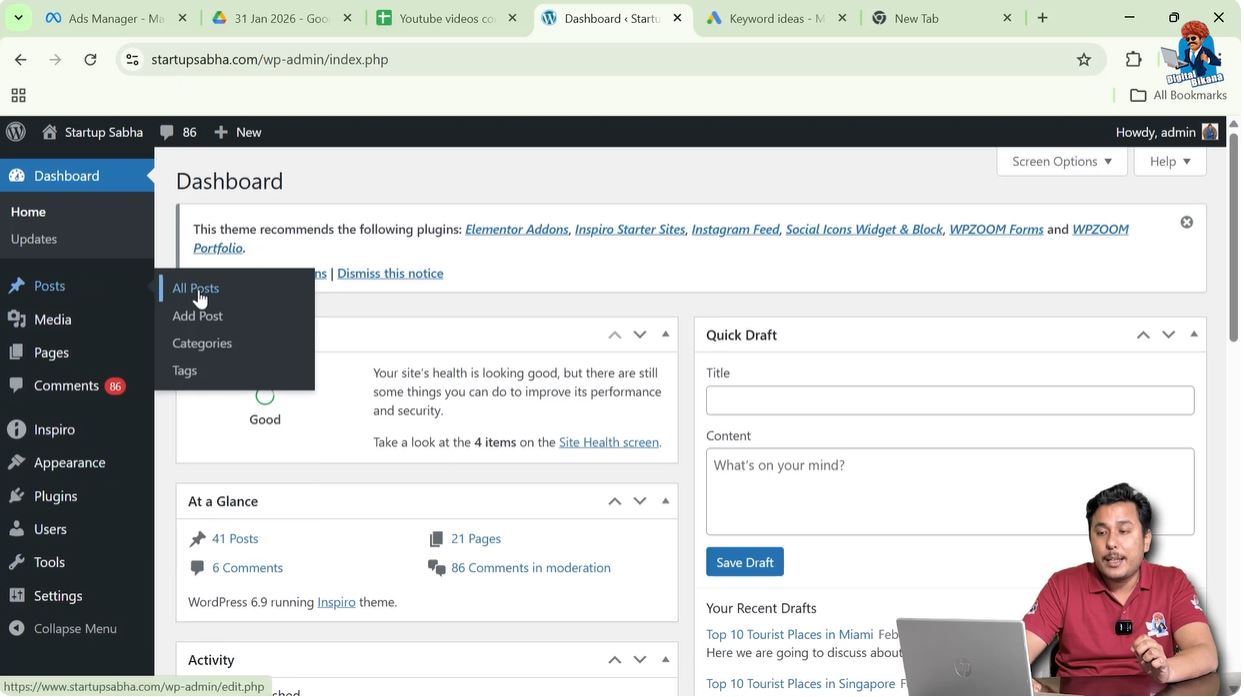
When you log in to your WordPress admin dashboard, you will see various options in the left side toolbar. One of these options is the Posts section, where you can manage all your blog posts.
Accessing the Posts Section
Before previewing a blog post, you need to open it in the WordPress editor.
Step 1: Open the Posts Menu
Log in to your WordPress admin dashboard.
On the left side toolbar, move your cursor over the Posts option.
As soon as you move your cursor over Posts, a submenu will appear.
This submenu includes:
- All Posts
- Add Post
Click on All Posts.
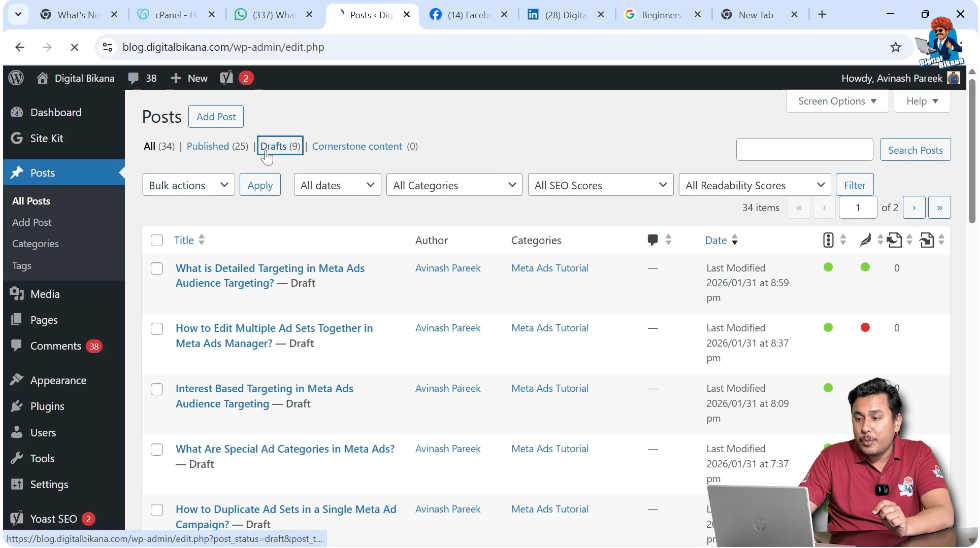
After clicking All Posts, you will see all your existing blog posts.
Choosing the Blog Post to Preview
You can preview either a draft blog post or an already written post before publishing it.
Step 2: Open the Draft Blog Post
In the All Posts section, locate the blog post you want to preview.
For reference, you may already have a blog post saved as a draft.
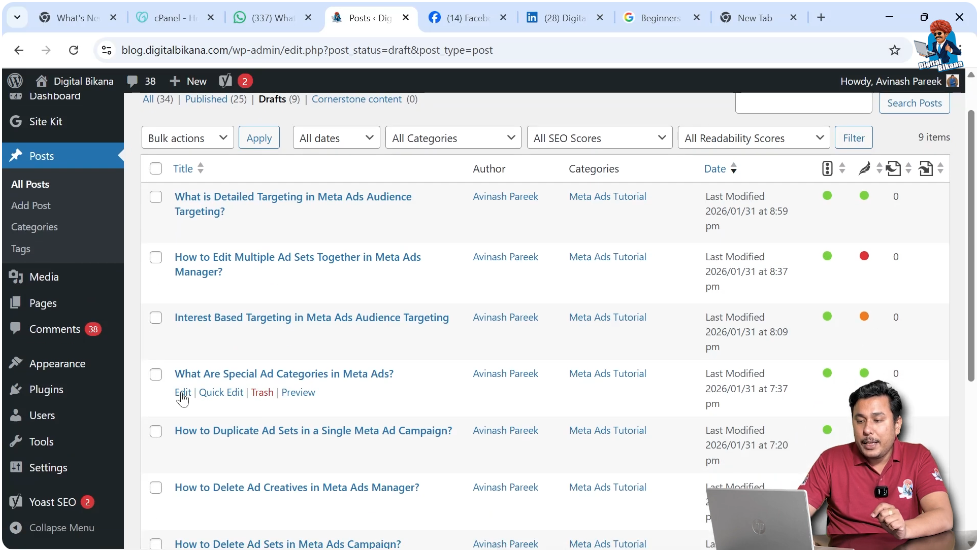
Move your cursor over the blog post title.
Click on Edit under the blog post title.
After clicking Edit, the blog post will open in the WordPress editor.
Viewing the Blog Post in Editor Mode
Once the blog post opens in the editor, you can see the complete content you have written.
You may have:
Before publishing, it is always recommended to preview the blog post.
This allows you to check how it will appear on the front end of your website.
Previewing the Blog Post
WordPress provides a built-in preview option inside the editor.
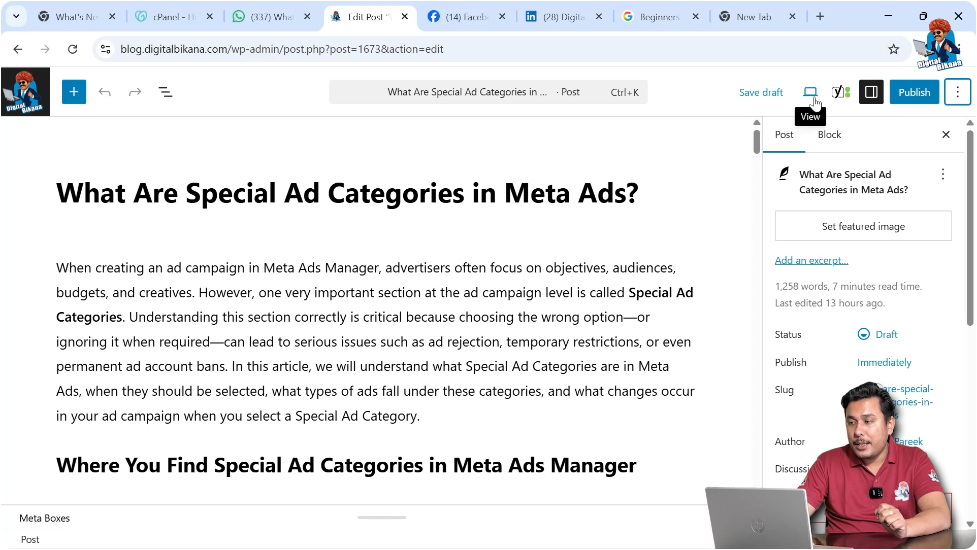
Step 3: Locate the Preview or View Option
In the top right corner of the editor screen, you will see various icons and buttons.
There is a View button available.
In some cases, you may also see a triple dot menu in the top right corner.
However, the main option you need is the View button.
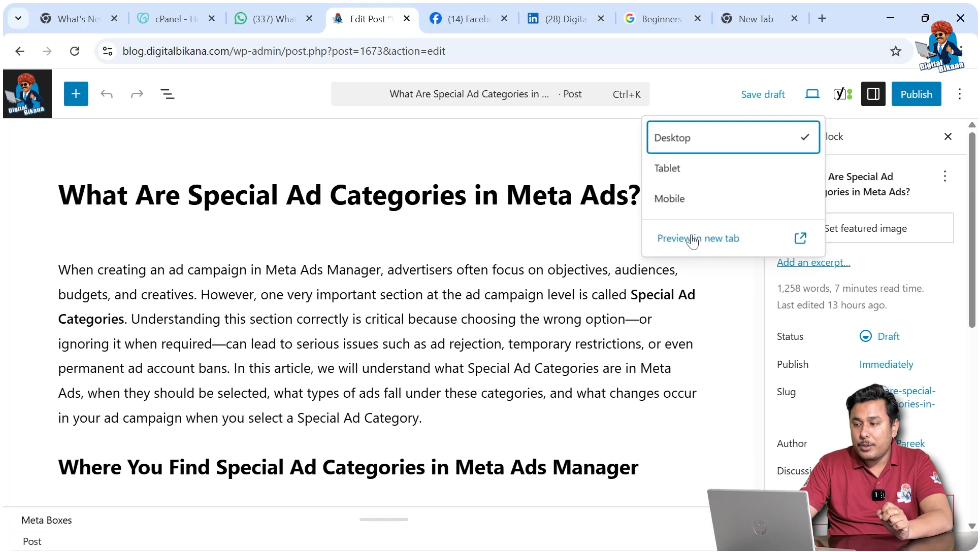
Step 4: Click on Preview in New Tab
Click on the View button.
Then select Preview in New Tab.
After clicking Preview in New Tab, WordPress will open a new browser tab.
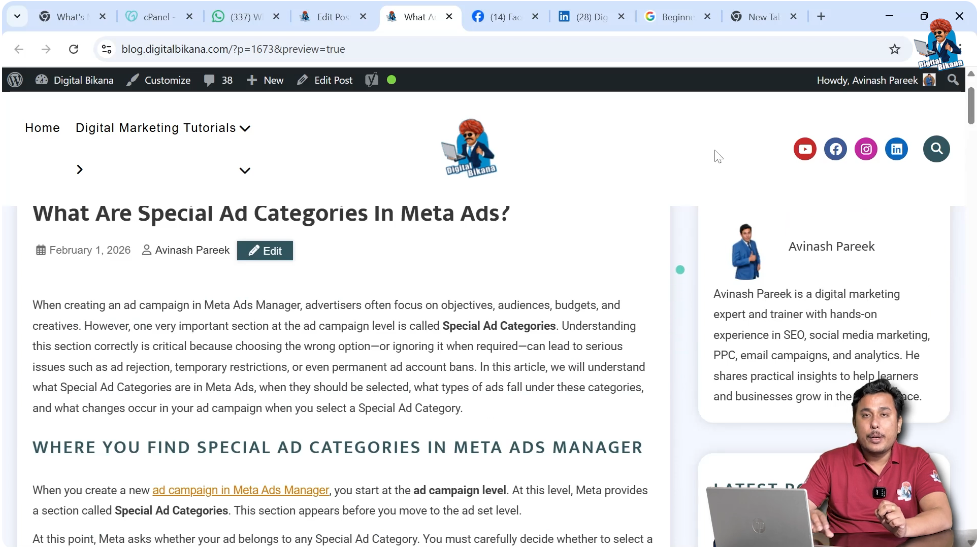
In this new tab, you will see the preview of your blog post.
Understanding the Blog Post Preview
The preview shows how your blog post will appear once it is published.
In the preview mode, you can check:
- Layout and alignment
- Font styles
- Heading structure
- Image placement
- Spacing between paragraphs
This gives you a clear idea of how your blog post will look to visitors.
Why Previewing Is Important
Previewing your blog post before publishing helps you avoid mistakes.
For example:
- Incorrect formatting
- Misaligned images
- Extra spacing
- Missing content
By previewing the blog post, you can correct these issues before making the post live.
Making Changes After Preview
If you notice any errors in the preview, you can go back to the editor tab.
Make the necessary corrections in the content.
After editing, you can preview the blog post again.
This ensures that the final published version is accurate and properly formatted.
Previewing Draft Posts
If your blog post is saved as a draft, previewing becomes even more important.
Since the draft is not visible to the public, you can safely preview and edit it multiple times.
This allows you to refine the content before publishing.
Finalizing the Blog Post
Once you are satisfied with the preview:
- Return to the editor tab.
- Make sure all changes are saved.
- Click Publish when ready.
If everything looks correct in the preview, you can confidently publish your blog post.
Conclusion
Previewing your blog post before publishing it in WordPress is a simple but essential step. By opening the blog post in the editor, clicking the View button, and selecting Preview in New Tab, you can see how your content will appear on the website.
This feature helps you check formatting, layout, and overall presentation before making the post live. By previewing your blog post carefully, you can ensure that your content looks professional and well-structured when published.
By following these steps, you can easily preview your blog post before publishing it on your WordPress website.
Related Posts


