
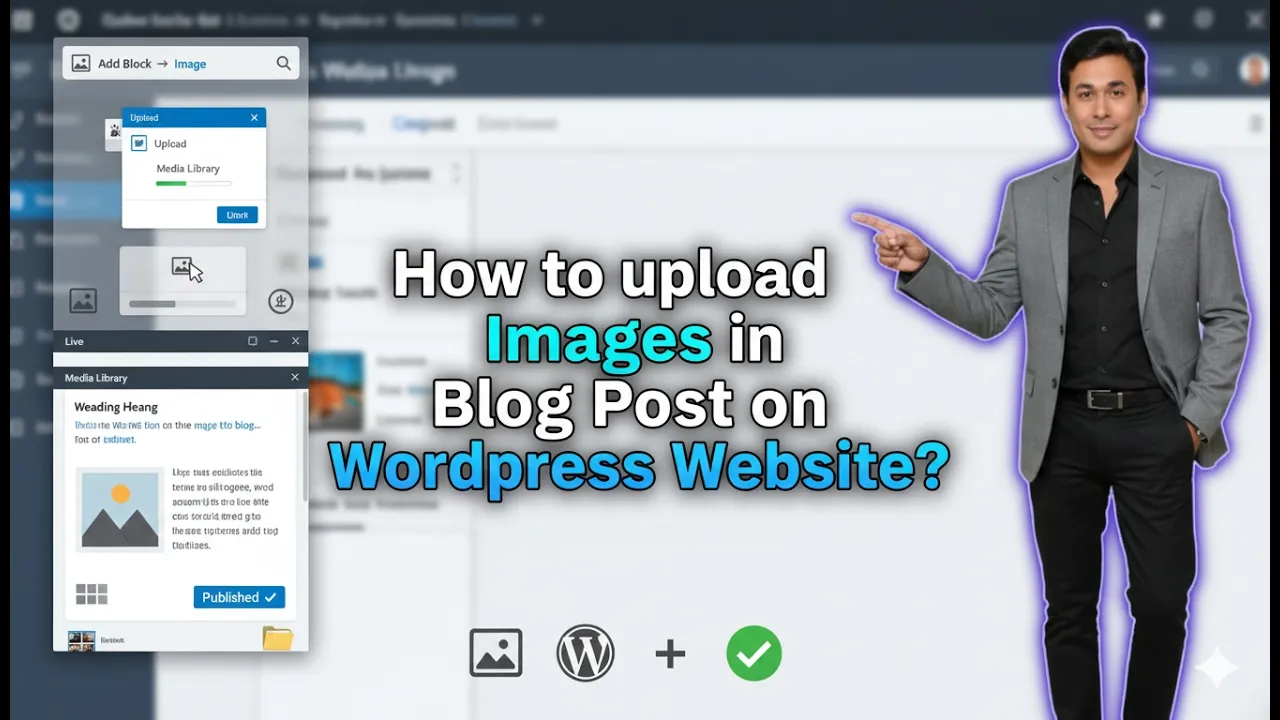
In this article, you will learn how to upload images in a blog post on a WordPress website step by step. Adding images to a blog post is an important part of content creation because images make the article more informative and easier to understand. WordPress allows you to insert images anywhere inside your blog post.
As you can see, we are inside the WordPress admin dashboard. From here, we can edit any blog post and insert images between paragraphs and headings. This guide explains the complete process of uploading and inserting images into a WordPress blog post.
Opening Blog Post Editor
1. Go to All Posts
First, log in to your WordPress admin dashboard.
After logging in, go to the Posts section on the left side of the dashboard and click on All Posts.
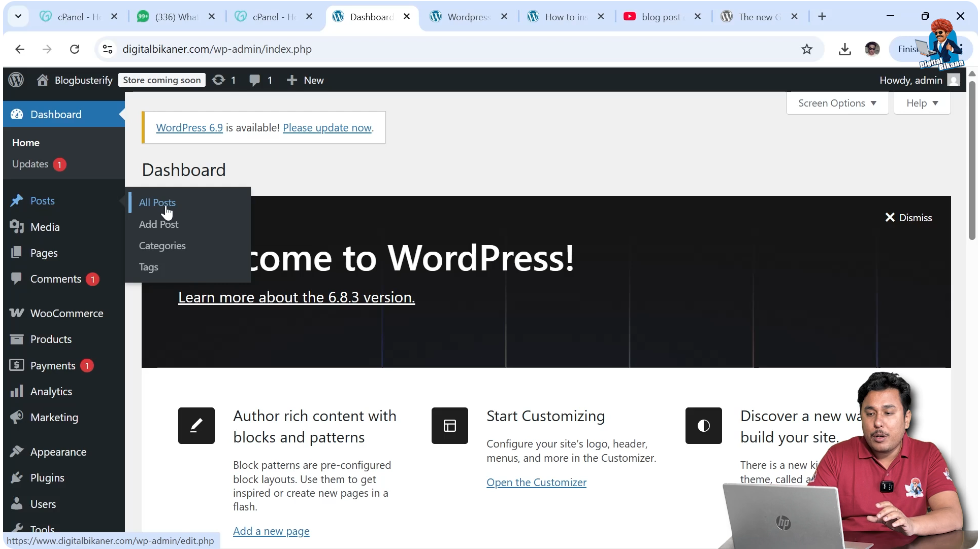
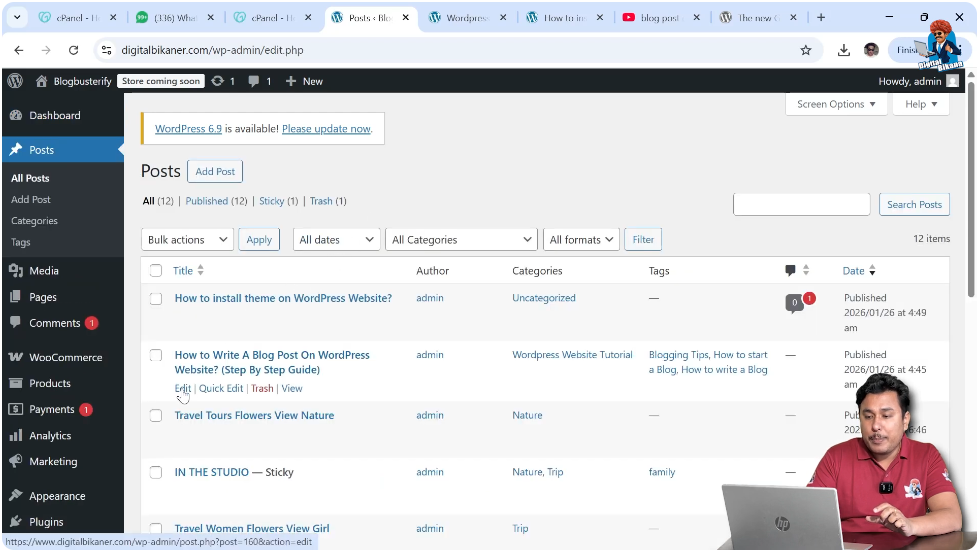
In the All Posts section, you will see all the articles that you have created.
Select the blog post that you want to edit.
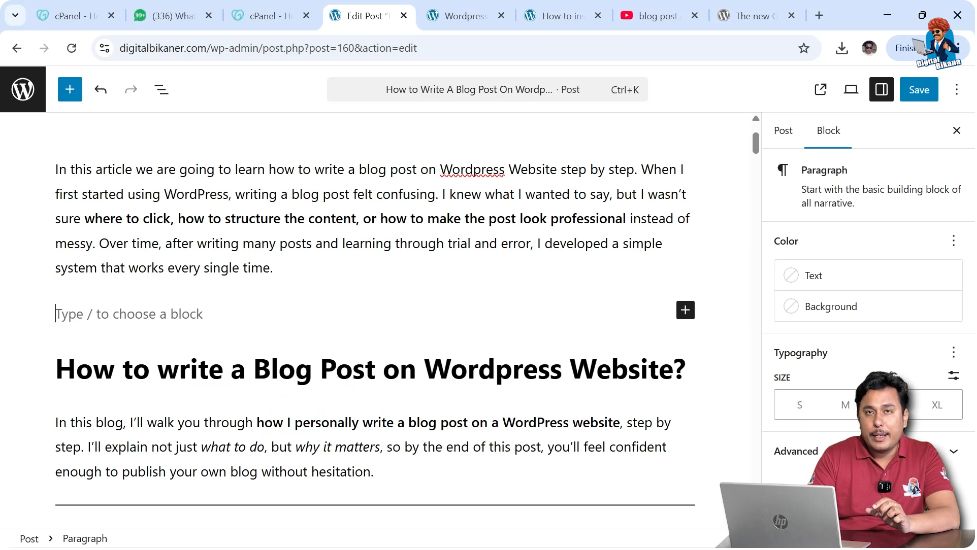
Click on Edit to open the blog post editor.
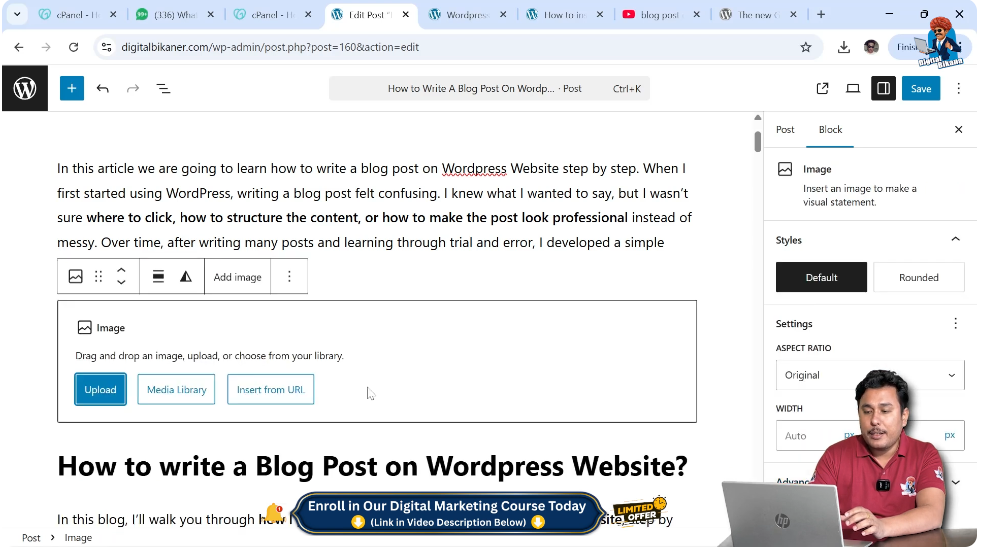
After opening the editor, you will be able to insert images anywhere inside the article.
Creating New Image Block
2. Create New Line for Image
To insert an image between a paragraph and a heading, bring the cursor to the end of the paragraph.
Click at the end of the paragraph and press the Enter key on your keyboard.
After pressing Enter, a new block will be created.
When you move the cursor to this new line, a Plus (+) icon will appear.
Click on the Plus icon to add a new block.
Selecting Image Option
3. Choose Image Block
After clicking the Plus icon, search for Image or select the Image icon from the available options.
After selecting Image, three options will appear:
- Insert from URL
- Media Library
- Upload
You can choose any option according to your requirement.
Uploading Image from System
4. Upload Image
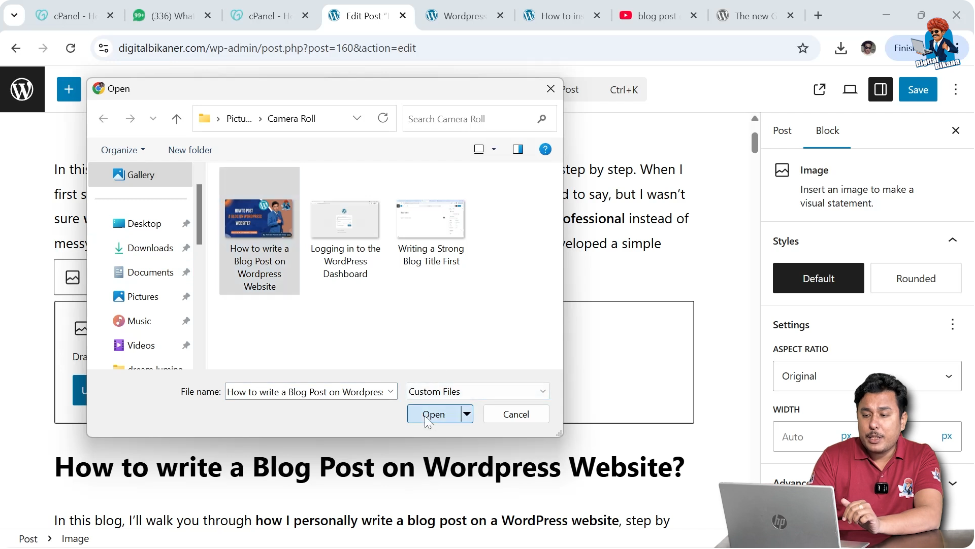
If you want to upload a new image from your computer, select the Upload option.
Before uploading the image, make sure to rename the image file in your computer system.
Renaming images helps in search engine optimization.
Images with names like:
- Screenshot1
- Image123
do not help in SEO.
If you rename the image with keywords related to your article, the image may rank in Google Image Search.
This can help you get additional traffic to your web page.
Renamed images also help Google crawlers and robots understand the content of the web page better.
Images renamed with the article title or keywords increase the relevancy of the content.
After renaming the image, click Upload and select the image from your computer.
Click Open.
The image will be uploaded and inserted into the article.
Adding Alternative Text
Importance of Alt Text
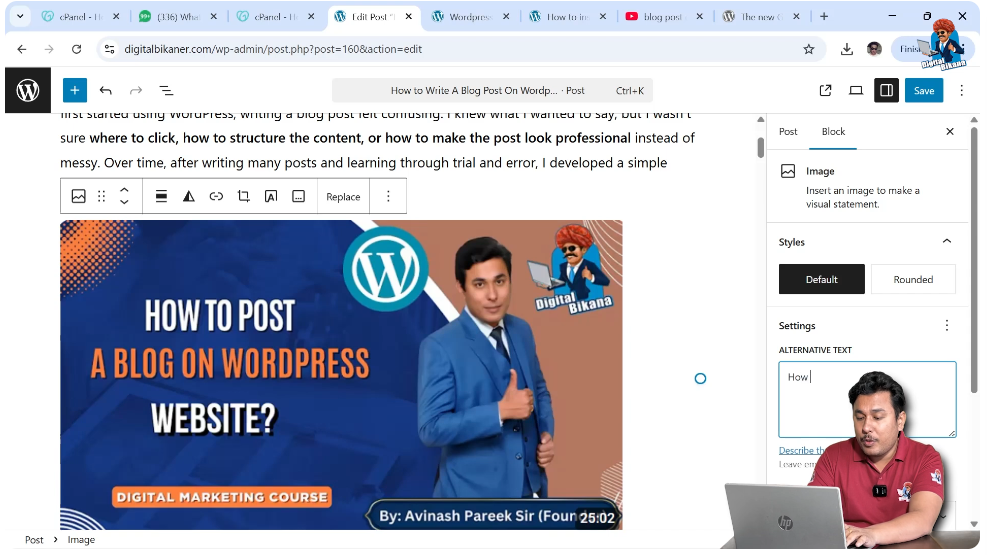
After uploading the image, you should add Alternative Text (Alt Text).
Alt text helps search engines understand the image content.
Alt text describes what the image is about.
Alt text also helps visually impaired users who use screen readers.
Screen readers read the alt text and inform users about the image content.
Sometimes images do not load properly because of low internet connectivity.
In that situation, alt text is displayed instead of the image.
This helps users understand that an image related to the topic is present.
Alt text is also considered an important SEO factor.
Adding Alt Text to Image
5. Enter Alt Text
When you select an image inside the editor, the alt text option appears on the right side.
You can enter the alt text in the alt text field.
For example, you can write the title or keyword related to the article.
After entering alt text, the image becomes optimized for search engines.
Using Media Library
Selecting Existing Images
If you have already uploaded images earlier, you can use the Media Library option.
In Media Library, you will see all previously uploaded images.
You can select any image and insert it into your article.
If alt text is already added, it will appear automatically.
This makes it easier to reuse images without uploading them again.
Conclusion
Uploading images in a WordPress blog post is a simple process. You need to open the blog post editor, create a new block, select the image option, and upload the image.
You should always rename images before uploading and add alt text after uploading.
Renamed images and alt text help improve search engine optimization and make your content more accessible.
This is how you can upload images in a blog post on a WordPress website.
Related Posts


