
Welcome to this article. Did you know that optimizing your images is just as important as optimizing your content?
Many people focus only on text-based SEO, but images play a powerful role in overall website performance. Image SEO improves page speed, accessibility, and even helps your content appear in Google Images.
In this guide, we will walk through how to properly optimize your images for SEO.
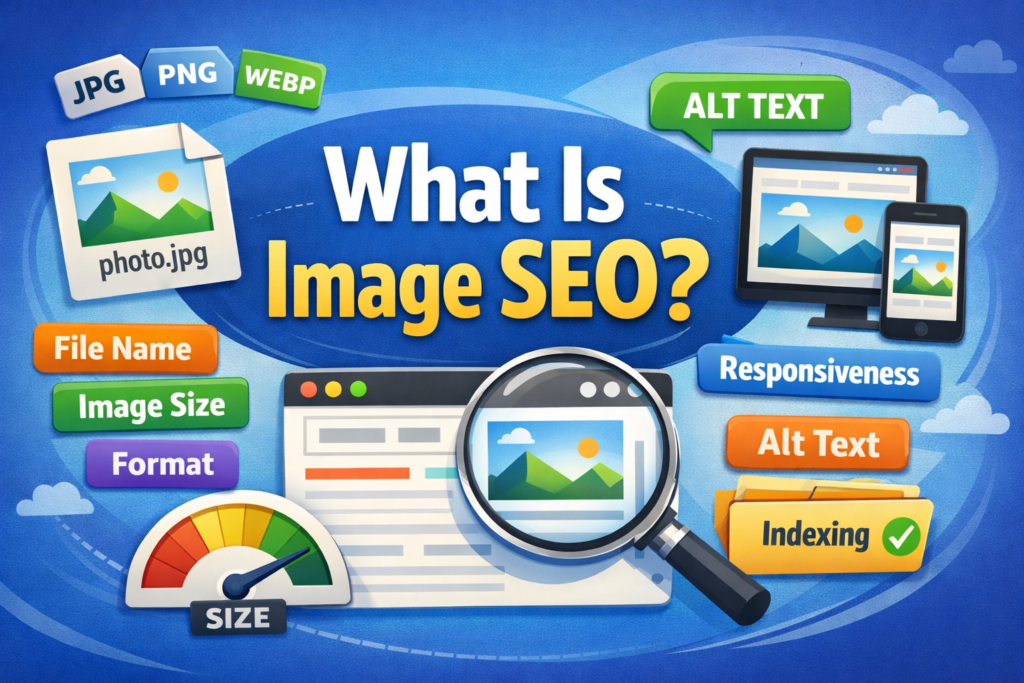
What Is Image SEO?
Image SEO refers to the process of optimizing images on your website so that search engines can understand them better.
It involves improving:
- File names
- Image size
- Format
- Alt text
- Responsiveness
- Indexing
Proper image optimization enhances both search visibility and user experience.
Why Image SEO Matters
Image SEO improves:
- Page speed
- Accessibility
- Search visibility
- User engagement
Search engines cannot “see” images the way humans do. They rely on surrounding text, file names, and alt attributes to understand image content.
When images are properly optimized, they may also appear in Google Image Search, bringing additional traffic.
Use Relevant and High-Quality Images
Always use relevant, high-quality images.
Avoid blurry or generic stock images that do not add value.
Your images should:
- Support the page content
- Provide visual clarity
- Enhance understanding
- Offer real value to the reader
Irrelevant or low-quality images can reduce user trust and engagement.

Step 1: Choose Images That Match the Content
Align Images with Page Topic
Ensure every image directly relates to the content on the page.
Step 2: Avoid Generic Stock Images
Add Unique Visual Value
Use images that enhance understanding rather than distract.
Choose the Right Image Format
Choosing the right image format is key to performance and quality.
Use:
- JPG for photographs
- PNG for graphics with transparency
- WEBP for modern compression and faster loading
WEBP offers high-quality visuals with smaller file sizes, making it ideal for performance optimization.

Compress Images to Improve Speed
Large image files slow down your website.
Compress images using tools like:
- TinyPNG
- ShortPixel
- ImageOptim
Compression reduces file size without visible quality loss.
Faster loading pages improve user experience and SEO performance.
Step 1: Upload Image to Compression Tool
Reduce File Size
Compress the image before uploading it to your website.
Step 2: Maintain Quality
Avoid Over-Compression
Ensure the image still looks clear after compression.
Rename Image Files Properly
Before uploading, rename your image file using relevant keywords.
Instead of:image123.jpg
Use:seo-tips-chart.jpg
This helps search engines understand the image context.
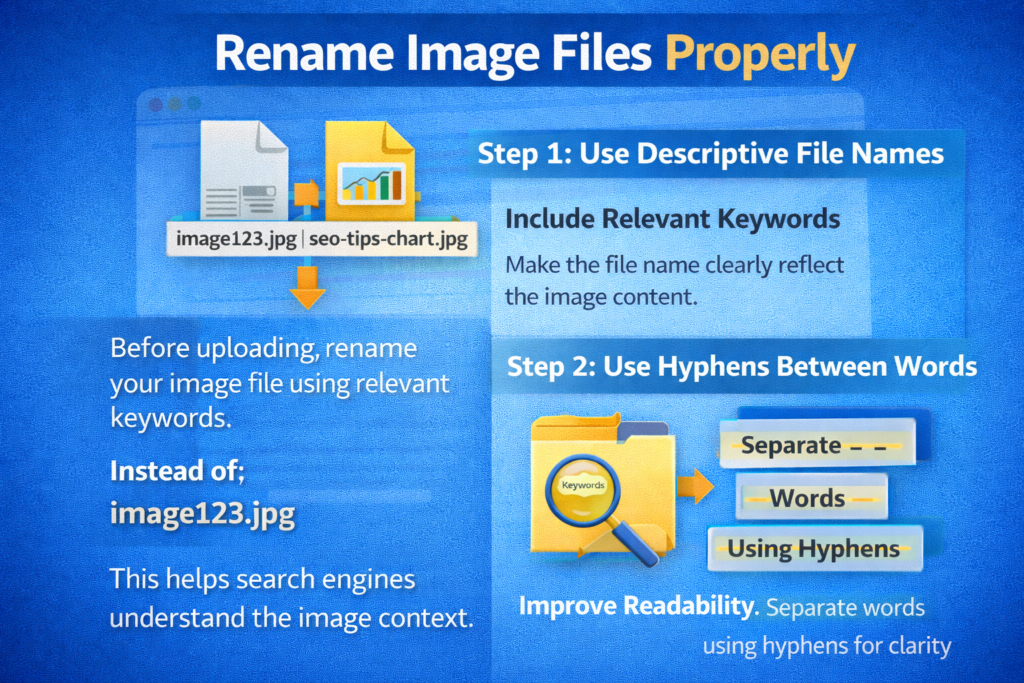
Step 1: Use Descriptive File Names
Include Relevant Keywords
Make the file name clearly reflect the image content.
Step 2: Use Hyphens Between Words
Improve Readability
Separate words using hyphens for clarity.
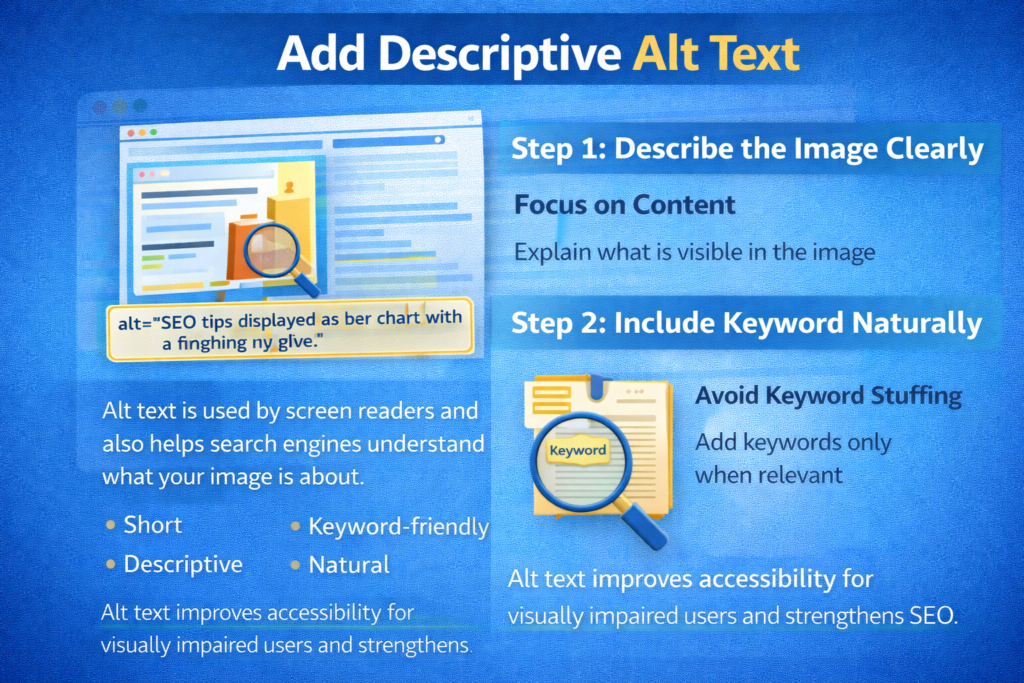
Add Descriptive Alt Text
Alt text is used by screen readers and also helps search engines understand what your image is about.
Make alt text:
- Short
- Descriptive
- Keyword-friendly
- Natural
Alt text improves accessibility for visually impaired users and strengthens SEO.
Step 1: Describe the Image Clearly
Focus on Content
Explain what is visible in the image.
Step 2: Include Keyword Naturally
Avoid Keyword Stuffing
Add keywords only when relevant.
Use Image Captions
Image captions can enhance user experience and keep visitors engaged.
Captions:
- Add context
- Clarify meaning
- Sometimes appear in search
While not mandatory, captions can improve engagement and readability.
Make Images Responsive
Use responsive image code so your images look great on all screen sizes.
Whether on:
- Desktop
- Tablet
- Smartphone
Responsive images enhance user experience and reduce bounce rates.
With mobile-first indexing, responsive design is essential.
Step 1: Use Responsive Image Attributes
Adjust for Different Devices
Ensure images automatically scale based on screen size.
Step 2: Test on Multiple Devices
Confirm Display Quality
Check how images appear on mobile and desktop.
Create an Image Sitemap
If your site has many images, create an image sitemap.
An image sitemap helps Google:
- Discover your images
- Index them faster
- Improve visibility in Google Image Search
This increases the chances of your images appearing in image-based search results.
Implement Lazy Loading
Lazy loading delays the loading of images until the user scrolls to them.
This speeds up the initial page load time and improves performance scores.
Instead of loading all images at once, only visible images load first.
This improves:
- Page speed
- User experience
- Performance metrics
Step 1: Enable Lazy Loading
Load Images on Scroll
Activate lazy loading through your website settings or plugins.
Step 2: Test Performance
Check Speed Improvements
Measure improvements using performance tools.
Tools for Image SEO
There are many tools available to help compress, rename, and optimize images for SEO.
Some popular tools are:
- TinyPNG
- ShortPixel
- ImageOptim
Many of these tools are free and easy to use.
Using these tools simplifies the optimization process.
Common Image SEO Mistakes to Avoid
Avoid these common mistakes:
- Uploading large images without compression
- Using generic file names
- Skipping alt text
- Overusing keywords in alt text
- Ignoring mobile responsiveness
Fixing these issues improves both SEO and user experience.
How Image SEO Improves Overall Performance
Image SEO does more than improve visibility.
It:
- Enhances accessibility
- Improves page speed
- Reduces bounce rates
- Increases engagement
- Supports search engine understanding
Every optimized image contributes to better overall performance.
Step-by-Step Image SEO Checklist
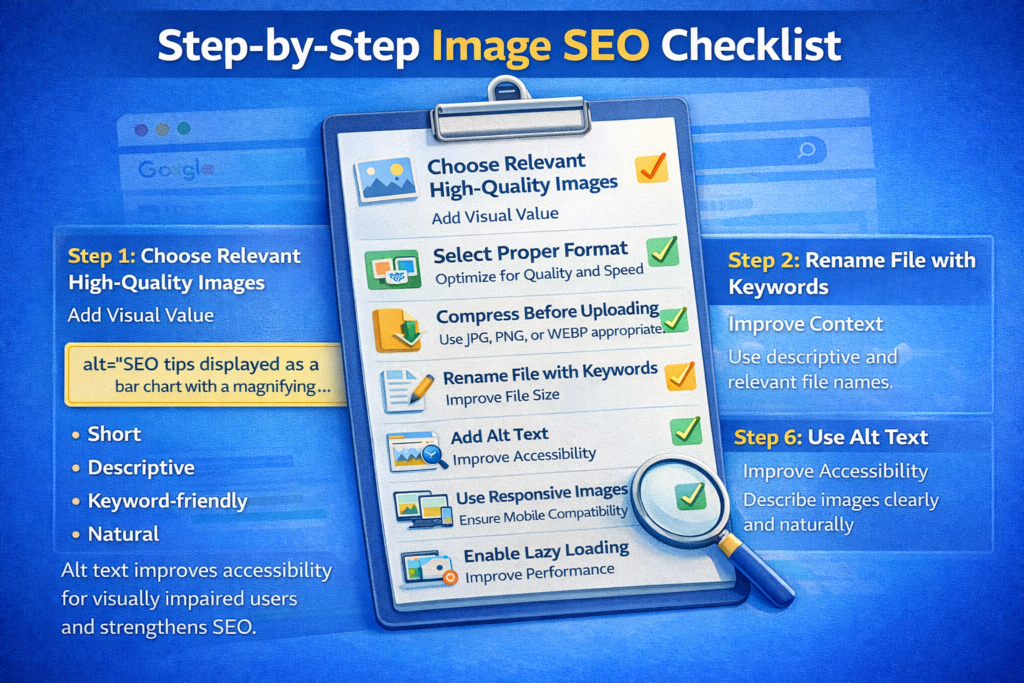
Step 1: Choose Relevant High-Quality Images
Add Visual Value
Use images that support and enhance your content.
Step 2: Select Proper Format
Optimize for Quality and Speed
Use JPG, PNG, or WEBP appropriately.
Step 3: Compress Before Uploading
Reduce File Size
Improve page speed with smaller image files.
Step 4: Rename File with Keywords
Improve Context
Use descriptive and relevant file names.
Step 5: Add Alt Text
Improve Accessibility
Describe images clearly and naturally.
Step 6: Use Responsive Images
Ensure Mobile Compatibility
Optimize for all screen sizes.
Step 7: Enable Lazy Loading
Improve Performance
Load images only when needed.
Step 8: Create Image Sitemap
Improve Indexing
Help Google discover your images.
Final Summary: Every Image Counts
To summarize, image SEO improves visibility, page speed, and accessibility.
From file name to alt text, every step helps search engines understand your content better.
Use relevant images, compress them properly, add descriptive alt text, and ensure responsiveness.
Small improvements in image optimization can lead to better rankings, improved performance, and enhanced user experience.
Every image on your website is an opportunity to strengthen your SEO. Optimize them wisely.
Related Posts